A Beginner’s Guide to Bird Photography: Essential Gear and Basic Settings

Bird photography demands technical skill, patience, and respect for wildlife. However, the rewards of capturing their grace, power, and beauty in their natural environment make the challenge worthwhile.
It stands as one of the most demanding and rewarding genres. Unlike landscape or portrait photography, where subjects remain relatively static, bird photography requires photographers to capture subjects that are constantly in motion. Birds can be unpredictable and frequently uncooperative.
The challenge extends far beyond simply pointing a camera at the subject. Instead, it demands a degree of technical expertise, an understanding of behavior, and considerable patience.
That notwithstanding, novice photographers capture fabulous bird photos. Furthermore, like all photography, learning to capture images of birds should be considered a journey of continuous improvement. Even skilled wildlife photographers will end up with dud shots that never make it to print or the internet.
The Fundamental Challenge for Photographers
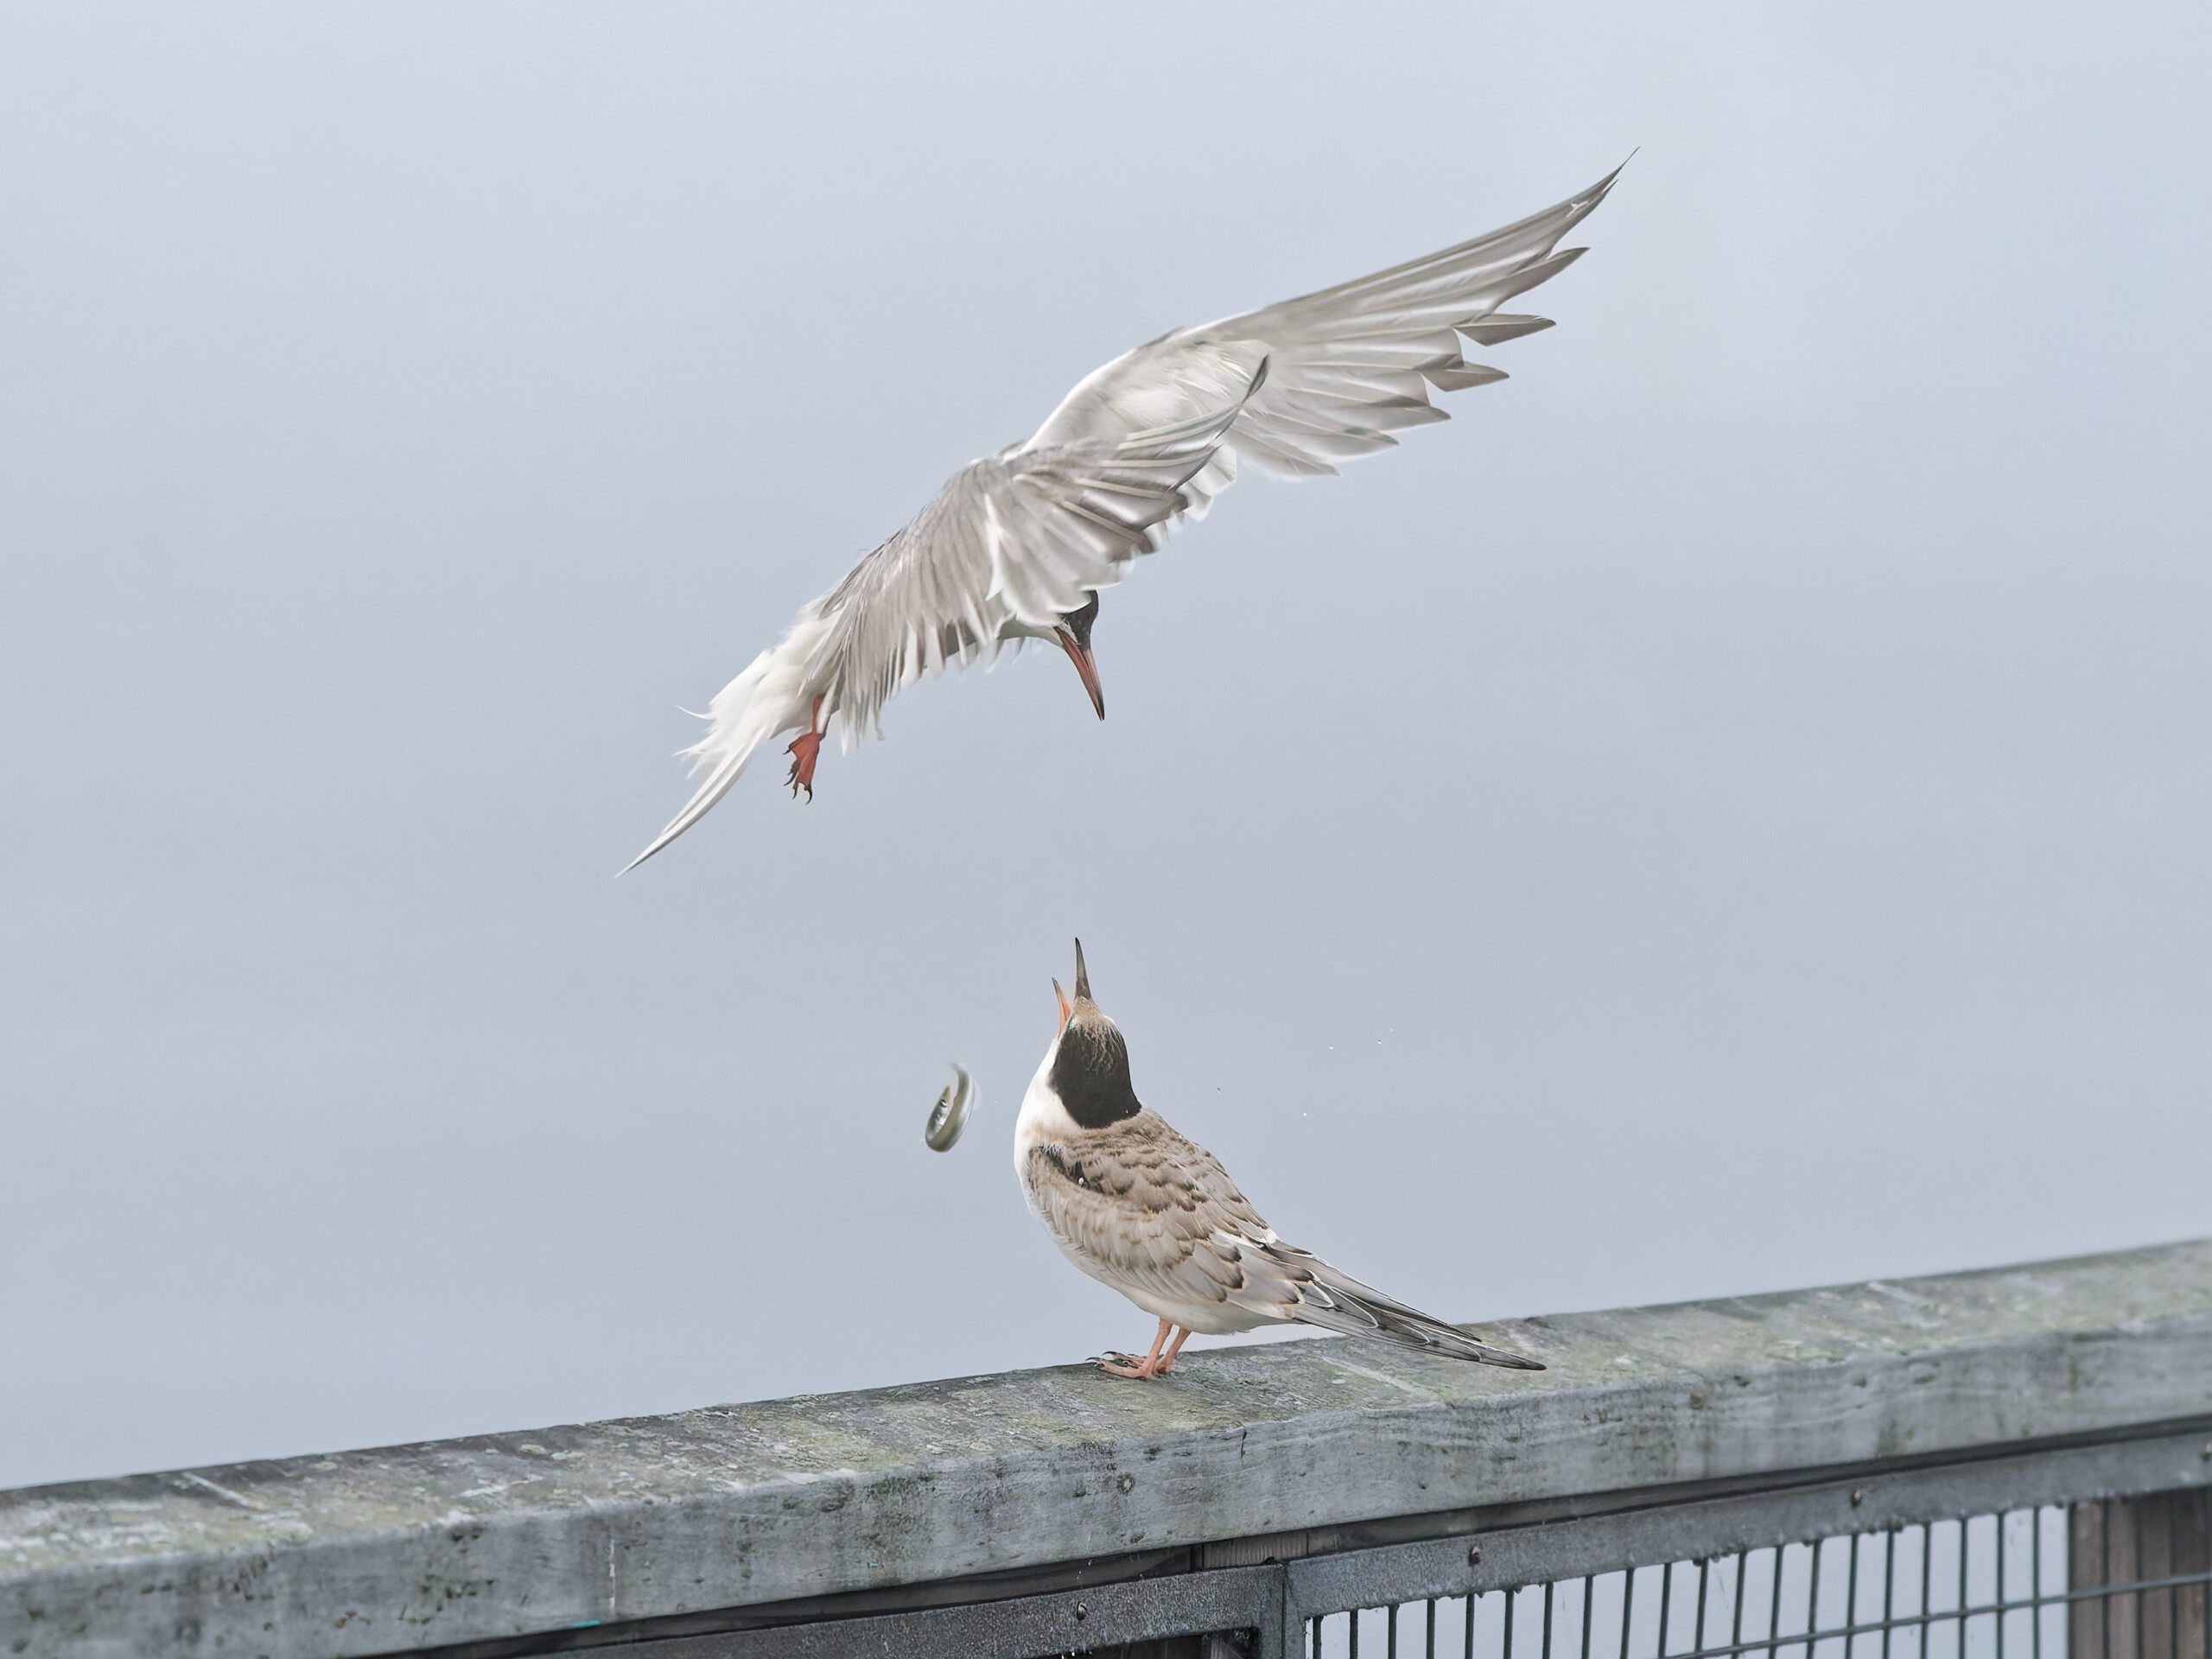
The primary obstacle in bird photography is their constant movement. With some exceptions, such as herons, which may stand motionless while hunting, most birds are in constant motion. Even when perched, they continuously turn their heads, scanning for food, predators, or suitable mates. Consequently, even the seemingly simple “bird on a stick” photographs require significant perseverance, behavioral knowledge, and precise camera control.

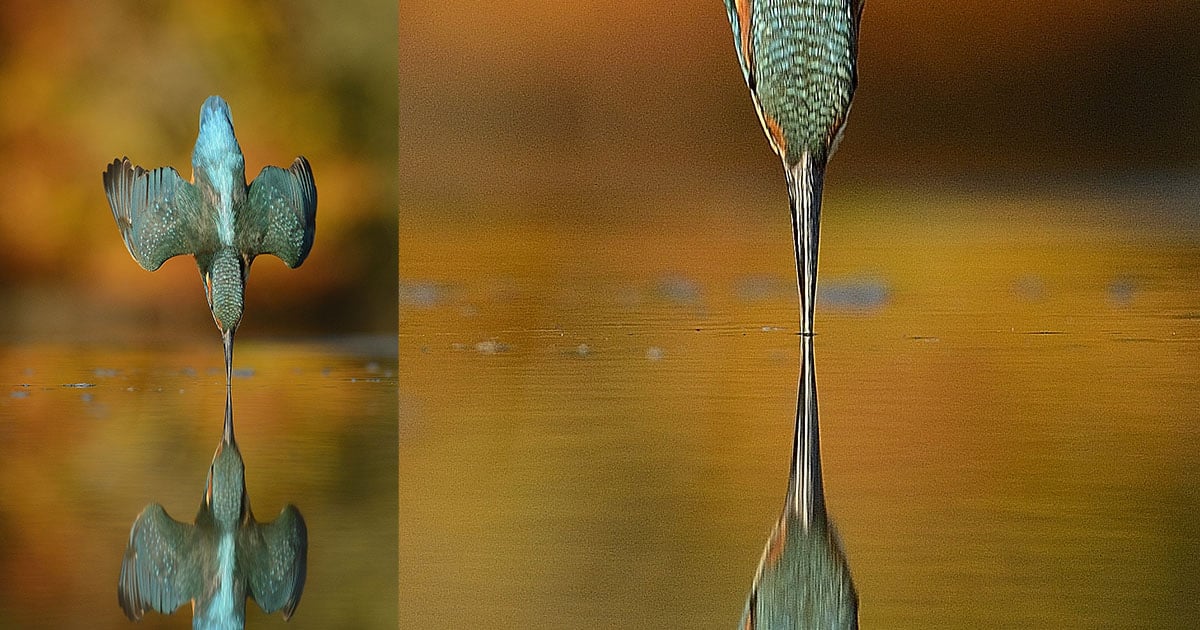
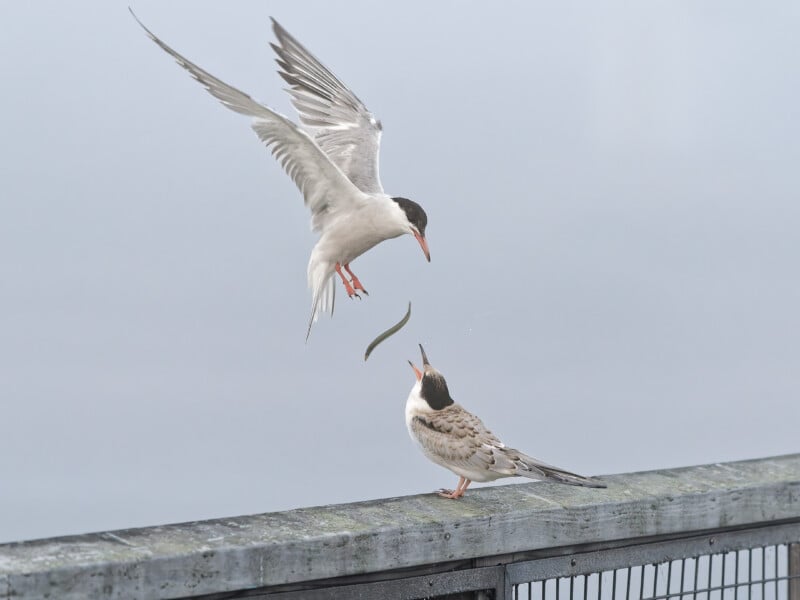
That challenge increases when photographing birds in flight. Small birds especially move at remarkable speeds. Even at relatively fast shutter speeds, they can appear blurred due to their motion.
Moreover, birds can be particularly difficult to track through the viewfinder, especially when they pass close by and cross the entire field of view in less than a second. That brief window leaves photographers with minimal time to acquire focus and compose their shots.
Technology has taken huge leaps forward in recent years; nevertheless, subject recognition, coupled with fast-focusing lenses, has made a significant difference. However, learning the basic skills needed to photograph birds remains essential.
Your Clothing is Important
Birds see in color and, like we humans, different colors mean different things to different species. However, a broad behavioral analysis shows that many birds, but not all, avoid bright or bold color such as white, black, deep brown, orange, red, and yellow. That’s because they can signal predators, toxicity, and danger. So muted tones are far better.
My hair went prematurely white, and I found that I got much better results when I wore a hat.
Start Simple
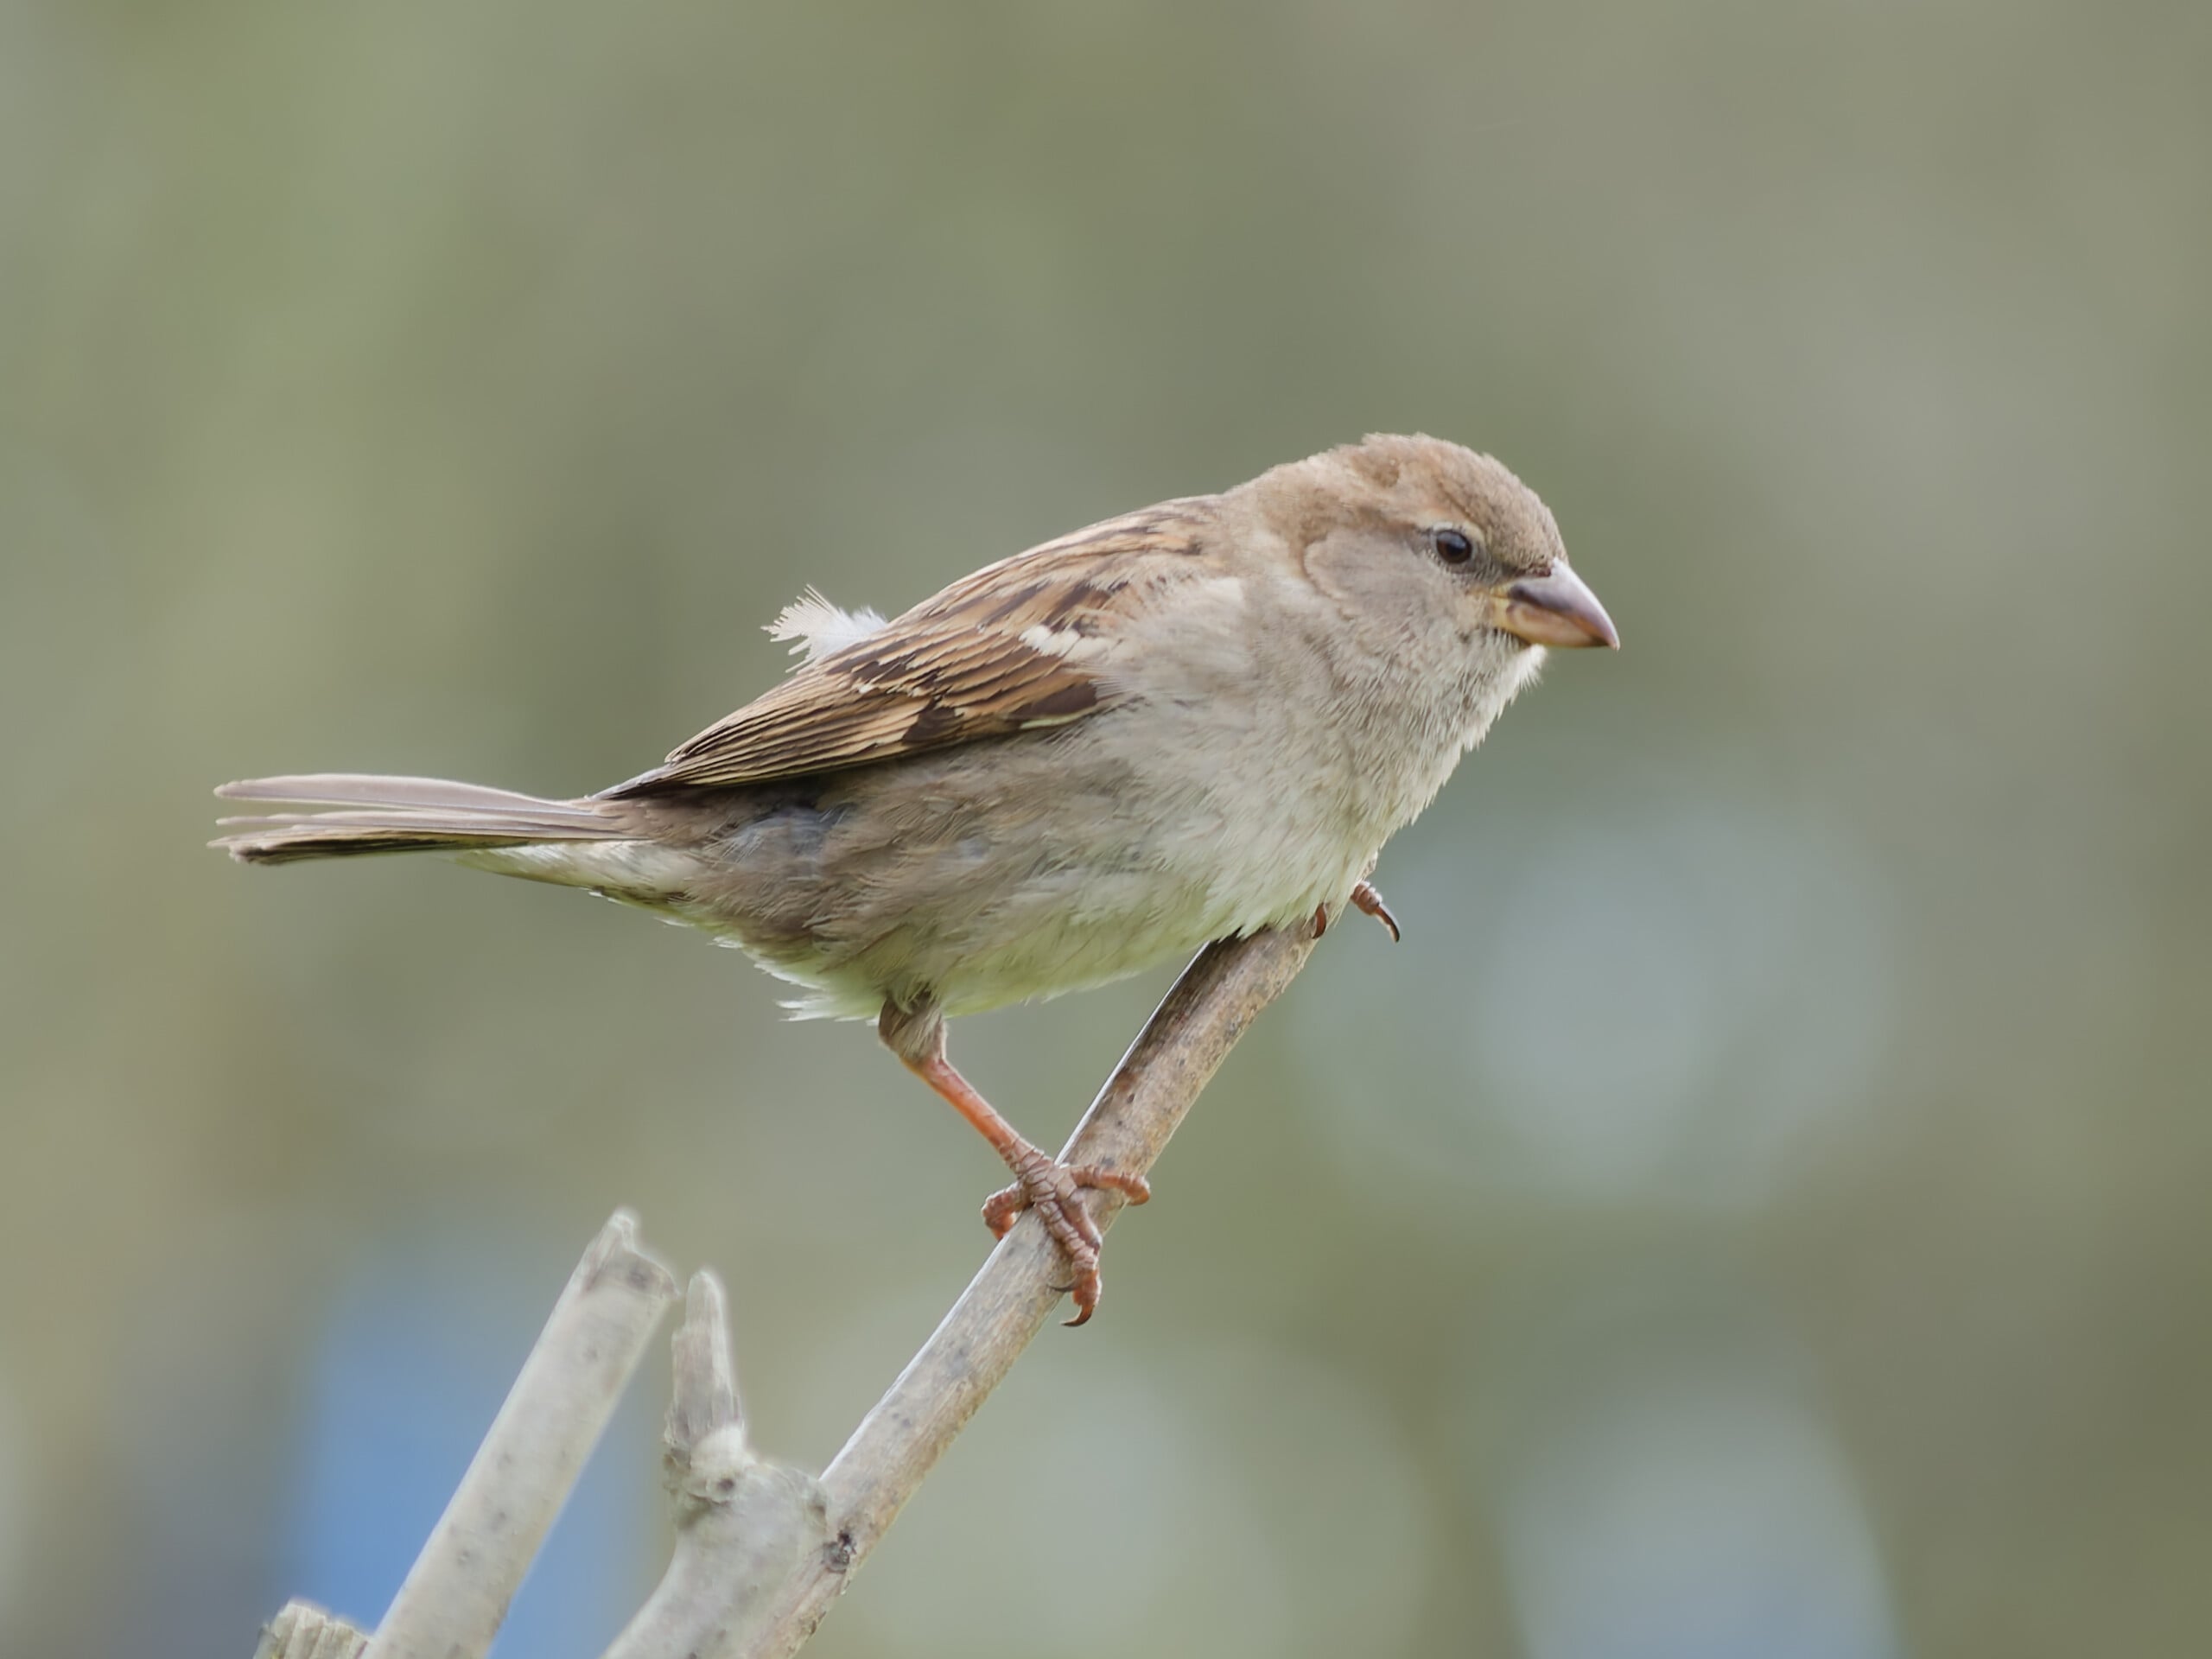
Here in the UK, some birds are jokingly known as LBJs. That stands for little brown job. It encompasses most of the small birds that visit our gardens and yards. They are fabulous for honing your bird photography skills. Firstly, they are ubiquitous and so easy to find without great expense. Secondly, they move quickly, which is great for learning how birds behave. Furthermore, if you make a mistake, you can analyze why that happened and easily try again.
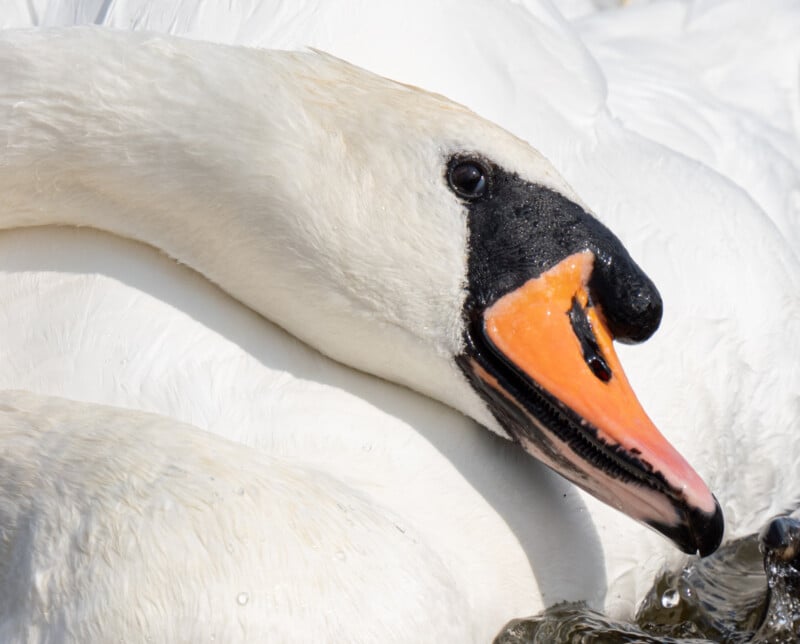
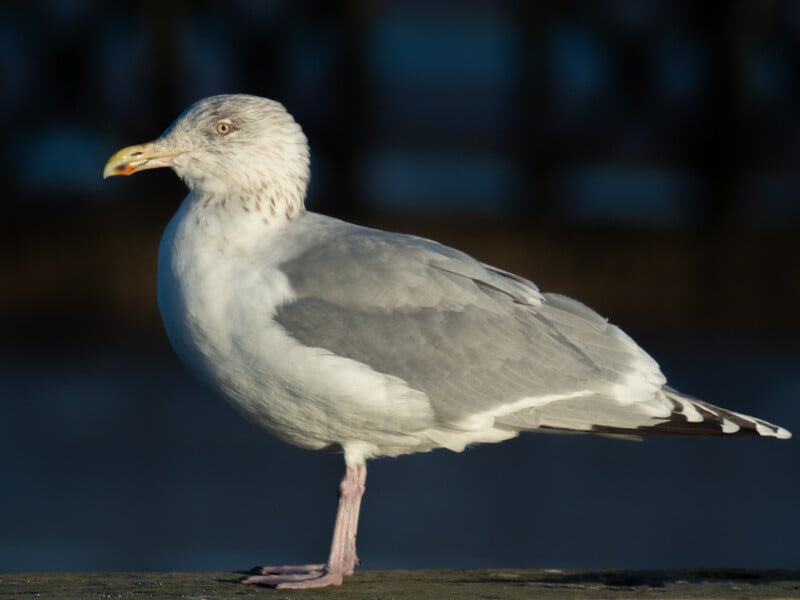
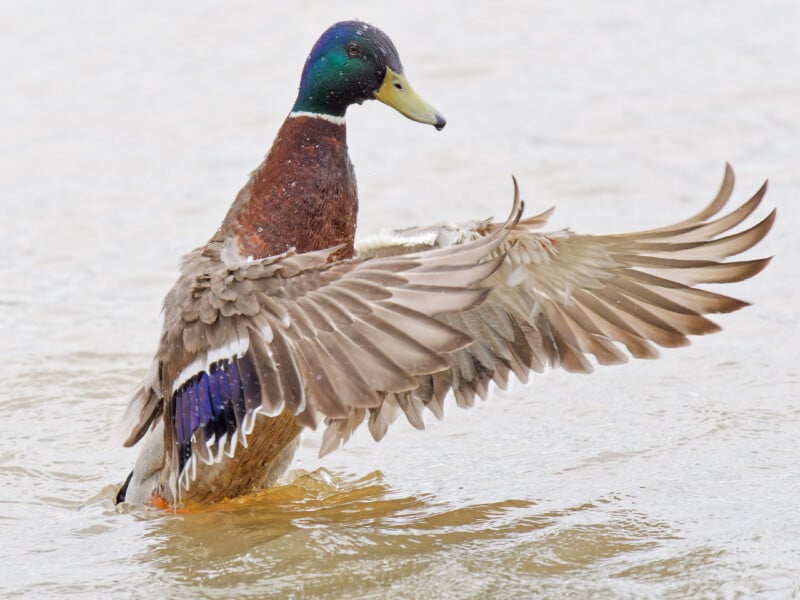
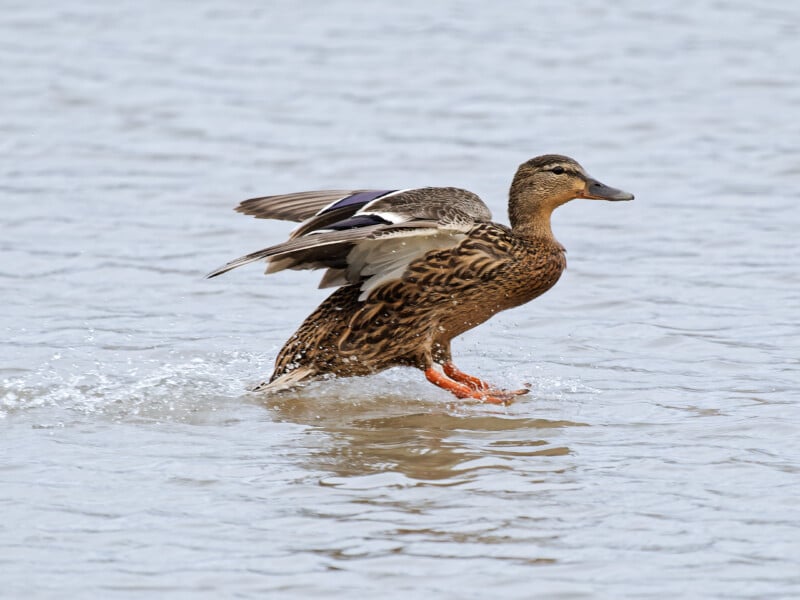
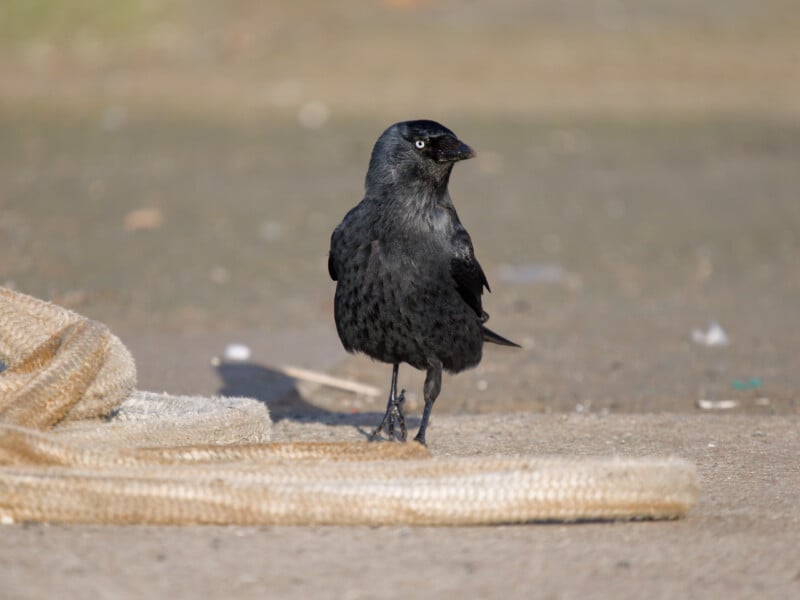
Gulls are also great subjects for learning. They are relatively slow-moving and, often, used to human proximity. Likewise, corvids, swans, geese, and ducks.
If you can master photographing these common species, you will have the skills to capture rare and exotic birds.
To start with, look for stationary birds. Although sometimes derided by photographic snobbery, the popular bird-on-a-stick photos are a great way to learn how to photograph birds.
Look Away and Keep Still
Many birds don’t like it when you look directly at them. I can walk close to gulls and other birds here without disturbing them. But if I turn my head and look directly at them, they will immediately fly off.
Keeping still is an important skill. I’ve seen many photographers walk towards birds hoping to capture images of them. Inevitably, the birds fly off.

Camera-Specific Considerations
Every camera system behaves differently when tracking fast-moving subjects. Some excel at following subjects moving directly toward the camera, while others perform better with lateral movement.
Not only that, but settings that work on one Canon camera may not yield optimal results on another model, let alone on a Nikon, Sony, Lumix, or OM System camera. Therefore, understanding your specific equipment’s capabilities and limitations becomes crucial. For example, I’ve seen a YouTube video by a well-known photographic influencer trying a different camera and not getting a very good hit rate for birds in flight compared with their own brand. However, it was evident that they had not set the alternative camera up properly.
Lenses Make All the Difference
Lens requirements vary by system. For example, I shoot with a Micro Four Thirds OM-1 Mark II. With that, for bird photography, I use a zoom lens usually at 400mm. If I had an APS-C camera, to achieve approximately the same field of view, I would need a 500mm lens, whereas with a 35mm (full-frame) sensor camera, it would be a much larger and more expensive 800mm lens.
Another way to look at it is that if you used the same focal-length lens on both cameras, a subject would appear about 25% smaller in the APS-C camera’s frame and 50% smaller in the 35mm camera’s frame.
Although interesting and the cause of many online arguments, it is mostly academic. You will already have bought your camera and lens. So, it only makes life difficult for writers wanting to recommend focal lengths; it makes no difference to you what other systems can and cannot do.
In general, for bird photography, you will get the best results with the longest lens and the widest aperture you can afford. Such a high-quality lens will usually also deliver faster focusing.
The subject distance from the camera changes constantly, so I find zoom lenses are more versatile. However, I do know wildlife photographers who like prime lenses.
Autofocus
Successful bird photography begins with properly configuring your camera.
Start by setting your camera to continuous autofocus with tracking or subject detection enabled. Many camera systems perform best with automatic focus-point selection when photographing birds in flight, as this helps maintain focus as the bird moves across the frame. So, select all focus points and set the camera to continuous autofocus and tracking.
On some cameras, you can adjust the tracking sensitivity. On my camera, I lower the sensitivity (e.g., -1 or -2) when I want the autofocus less reactive to sudden changes. It helps keep focus on a subject even if something briefly passes in front of it, the subject momentarily leaves the AF area, or a new nearby object enters the frame. It’s ideal for birds in groups, with partially obscured subjects, and when they are moving predictably.
Meanwhile, a higher sensitivity (e.g., +1, +2) means the autofocus reacts more quickly to new objects or changes. It then switches focus faster if the subject changes distance abruptly, or a new closer subject appears in the frame. It’s useful for erratic, fast-moving subjects, where you want the AF to jump promptly.
Getting the Correct Exposure
Exposure presents another challenge. Flying birds are silhouetted frequently against bright skies, causing cameras to underexpose the subject. Therefore, adding positive exposure compensation, often around +⅔ EV, helps avoid silhouetting and reveals details in the bird.
How Much Depth of Field
The temptation is to shoot with a wide aperture to get a fast shutter speed. However, that may give you such a shallow depth of field that the entire creature is not in focus. It’s worth learning with your camera how much is in focus at different distances, focal lengths, and apertures. Long lenses give a shallow depth-of-field. Therefore, depth-of-field management requires careful consideration. Even with continuous autofocus, if the depth of field is shallow, birds may fly out of focus during the brief interval between pressing the shutter and the actual exposure.
Additionally, autofocus systems aren’t always perfectly accurate, and this varies by camera. Therefore, reducing aperture size increases depth of field, making it more likely that the bird will remain in acceptable focus.
ISO
Increasing both exposure compensation and reducing aperture size results in longer shutter speeds. That’s something you want to avoid when photographing fast-moving subjects like birds. So, the solution lies in increasing ISO sensitivity.
However, increasing the ISO makes noise more evident in your photo. I discussed that in this article. Every camera is different, and you need to work out how high you can raise the ISO before noise levels become unacceptable. So, setting the ISO to automatic mode while limiting its maximum setting to keep noise levels acceptable is a good approach.
Many people choose to do that. They set acceptable ISO noise performance parameters and combine that with shutter priority or manual mode. That allows for quick exposure adjustments while maintaining minimum shutter speeds.
That’s not the only way, and I’ll discuss a different approach I take in the next article.
Next Time
In the next article, we will discuss these matters in greater detail, consider more advanced techniques, and examine the importance of an ethical approach to photographing birds.