Capturing Beautiful Seascape Photos Is More Complicated Than You Think
There’s more to photographing the sea than many people realize. Here are some handy techniques for safely photographing one of the most exciting and evocative subjects on our planet.
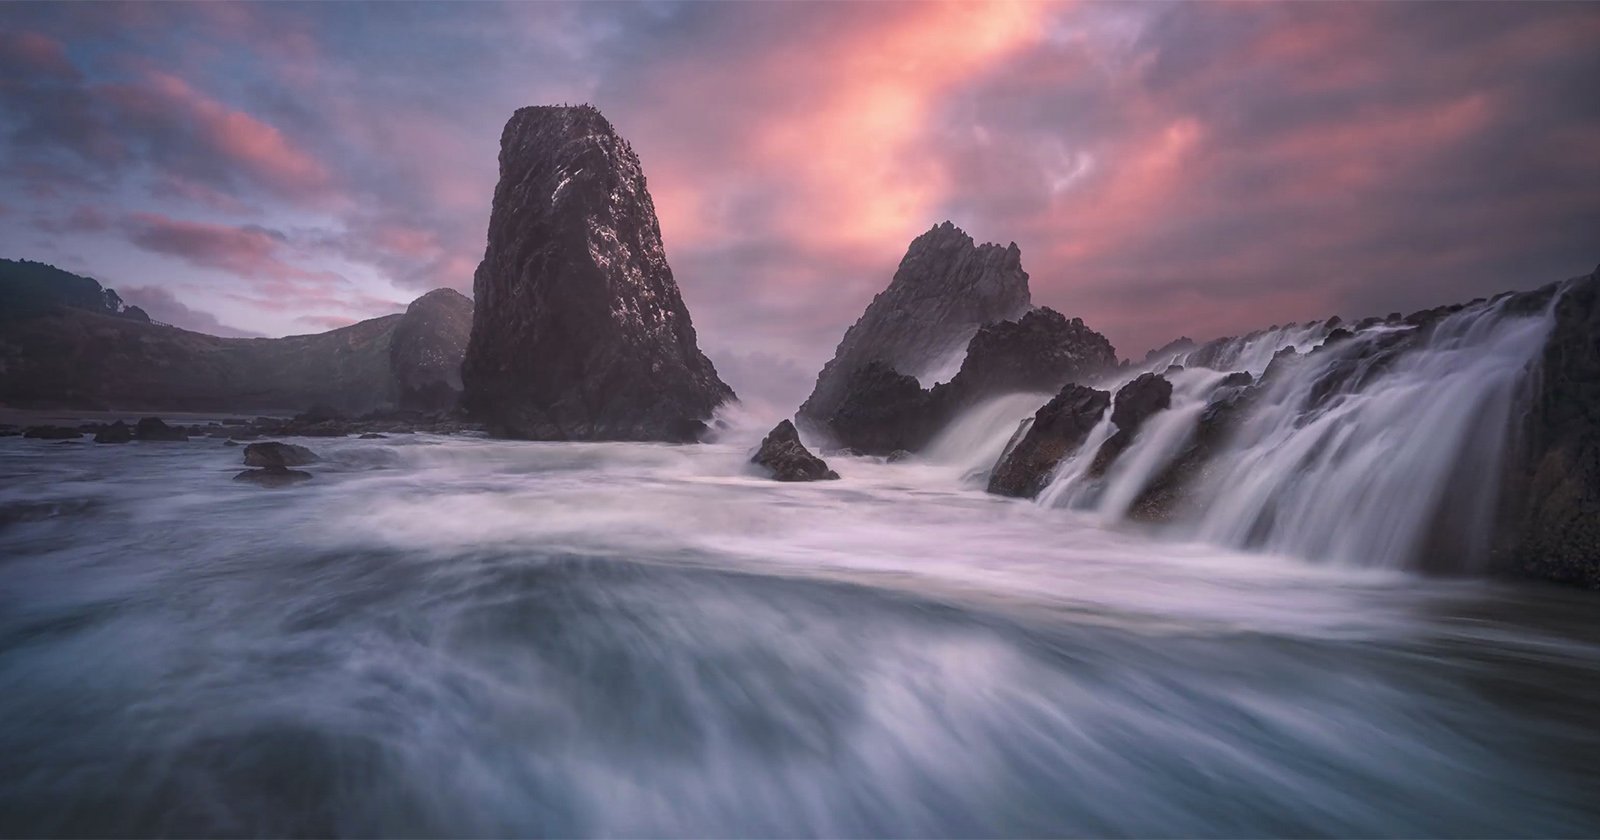
In a recent article, I wrote that landscapes are dynamic subjects that change daily. The sea, however, changes by the moment. It is constantly moving. The tides rush in and out, exposing or burying features on the shoreline. The waves either softly ripple or pound with incredible force. The color and tonal changes as the sun is occluded by clouds seem far more dramatic than on land.
Therefore, although there are similarities with landscape photography, photographing seascapes presents very different challenges and opportunities for the photographer.
If You Still Want to Be Here Next Week, Take Heed
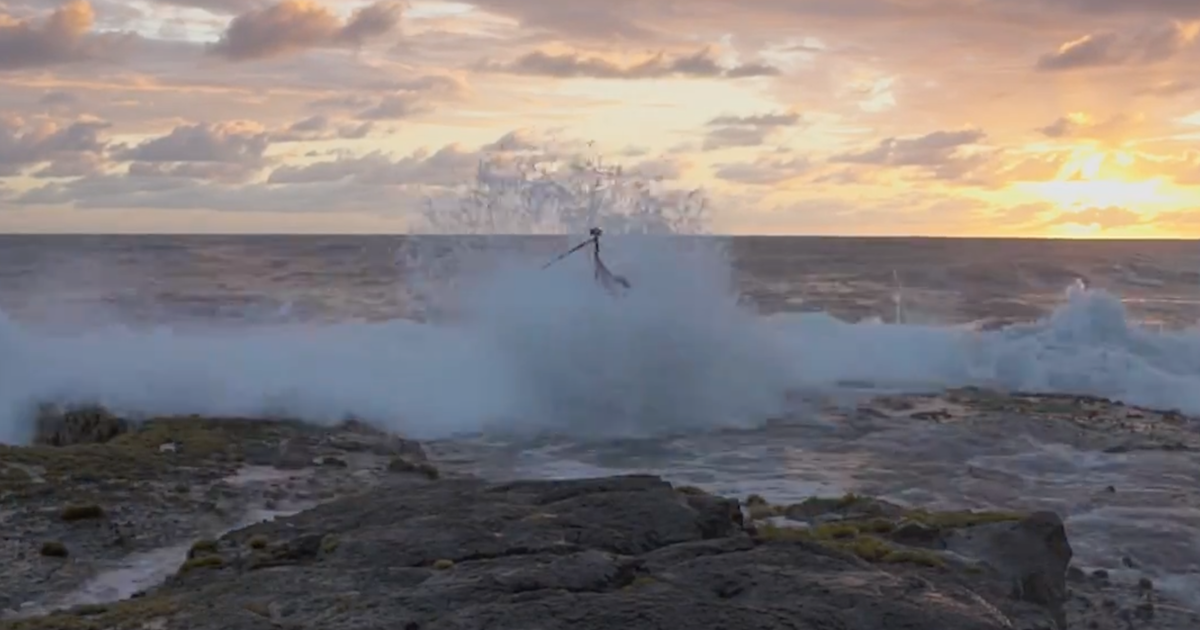
Most people have common sense. Nevertheless, people with cameras do stupid things, especially when they lack awareness of the dangers. For example, they got out of vehicles to photograph lions, climbed onto high ledges to take selfies, or ventured into water with tragic results. There are regular news stories of people being washed out to sea.
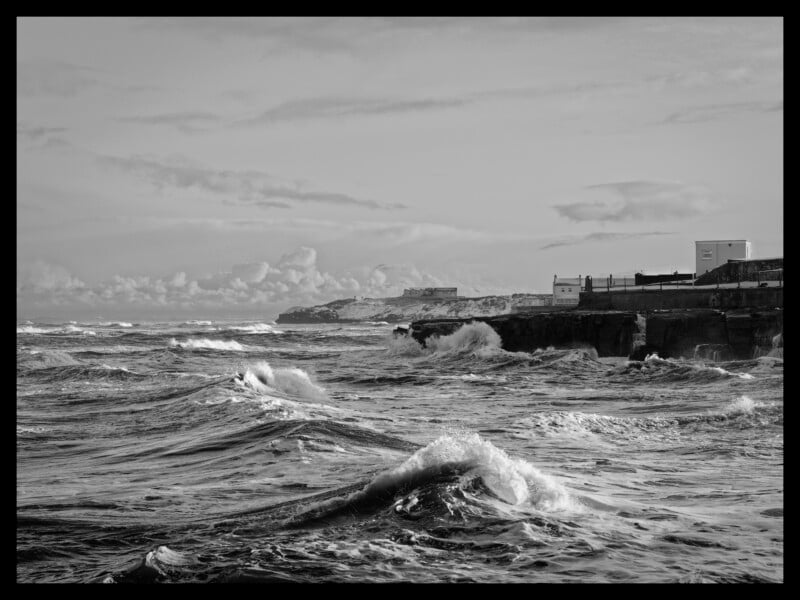
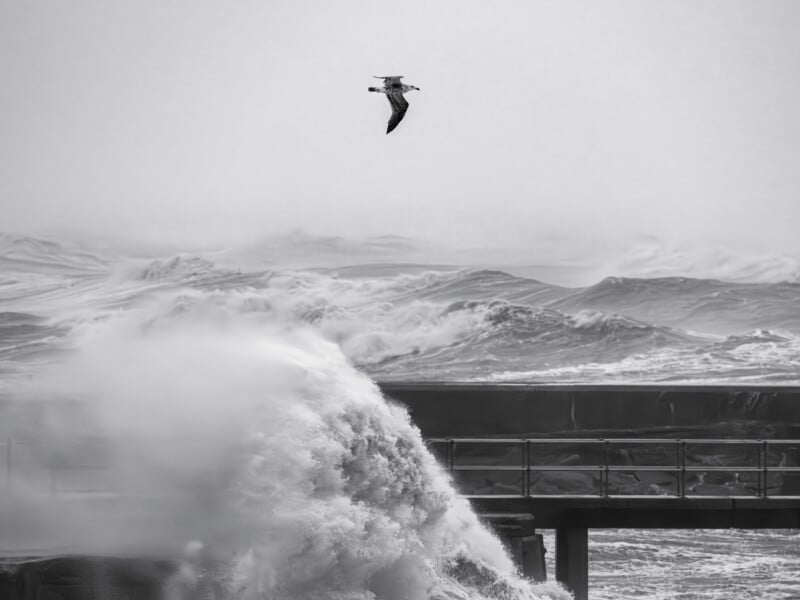
In a matter of moments, the sea can change from a calm, inviting turquoise to a violent, churning grey, with sudden rogue waves crashing against the shore. It demands respect.
Therefore, having a basic understanding of meteorology and the rhythms of the sea cannot only keep you safe but, as you will see, allow you to take better photos.
The Rule of Twelfths
The tides come in and out twice a day. Because of coastal geometry, some parts of the world experience only one high tide and one low tide per day, a phenomenon called a diurnal tide. That includes the Gulf of Mexico and the Gulf of Thailand, as well as parts of Alaska, Vietnam, and Indonesia. But mostly, the tide comes in over about six hours and goes out in the same time.
However, it doesn’t do that evenly. Over those six hours, it speeds up and then slows down again. Those speeds correspond with the Rule of Twelfths. In the first hour, it comes in 1/12 of the way. In the second hour, it is 2/12. In both the third and fourth hours, it comes in 3/12 of the way, 6/12th in total. In other words, it covers half the range in the middle two hours. It then slows to 2/12 in hour five and 1/12 in hour six. That pattern repeats on the outgoing tide.
Why is That Important to Photographers?
A causeway near where I live leads to the Holy Island of Lindisfarne. It is twice daily inundated by the tide. There are warning signs telling you when not to cross. Yet every year, cars get stranded and flooded because people cross when it looks safe. But the sea rushes in and covers the road before they are halfway across. Furthermore, people are sometimes caught off guard because tide tables are not 100% accurate; times can be affected by weather.
Back in 2004, there was a tragedy here in the UK where 23 people drowned while harvesting shellfish at night. Morcombe Bay, where it happened, has an enormous tidal range: the difference in water height between low and high tide is 10 metres (32.8 feet). The bay is flat, and the tide can come in at over 6 mph, faster than those poor people could run.
Knowing the tidal pattern can be important not only for safety but also for getting better photos.
If I am shooting seascapes, I always do so on an outgoing tide. I get completely absorbed in taking photos and am not necessarily aware of what is going on around me. It would be easy to stand on the shoreline and for the incoming tide to flood around and behind me without me noticing.
However, I can use it to my advantage too. When photographing shorebirds, I want the incoming tide. Most birds feed at the waterline, and it is important that they can do that without disturbance. After dog walkers, photographers are the next major cause of human disturbance, which is affecting their population numbers. So, I get into position a long way from the sea at the end of hour two. I then sit and wait for the tide to push the birds towards me. However, I have lost count of how many times I have been doing that when some ignoramus walks up to the birds and chases them off, so neither of us gets good photos.
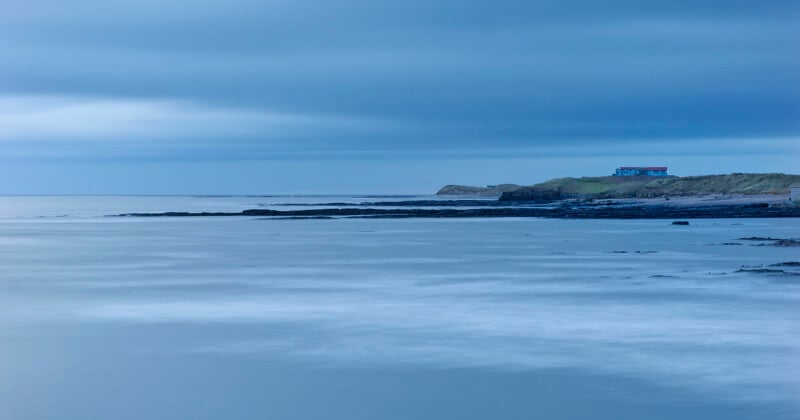
Knowing the tidal state also helps to plan your photoshoots. For example, where I am, the low tide exposes a couple of hundred yards of black rocks that I don’t find particularly attractive. So, if the low tide corresponds with sunrise — when I usually photograph the sea – I don’t bother getting out of bed. It is possible to walk out of them with care, but they are slippery. Consequently, there is a danger of breaking an ankle or falling while doing that, especially if the tide is about to turn.
Pay Attention to the Weather
The weather can dramatically change the sea, and shifting sea states greatly affect a photo’s mood.
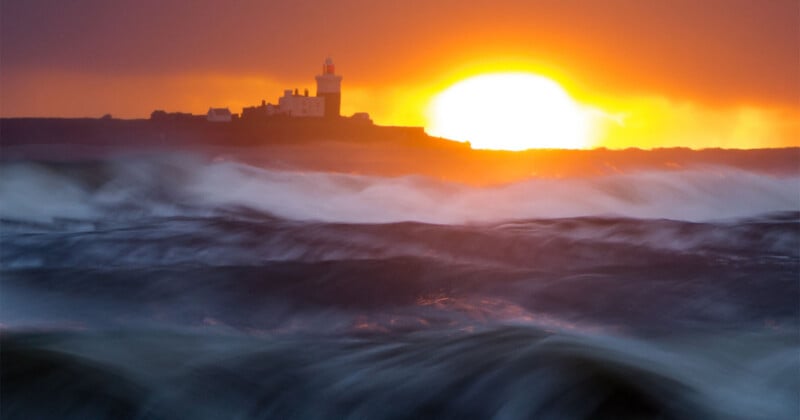
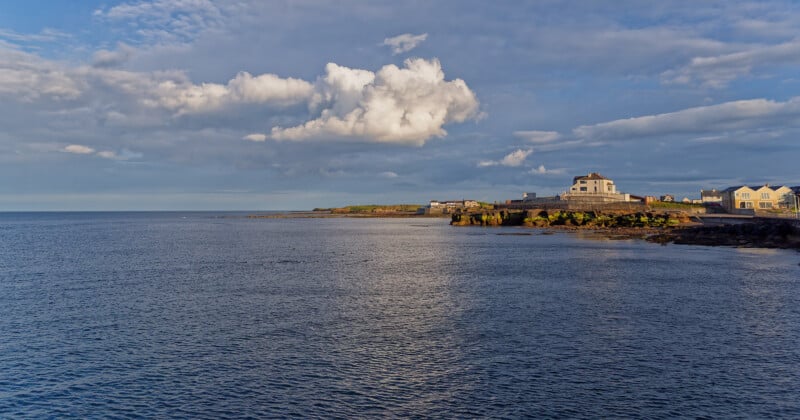
During spells of high pressure, the sea where I live is incredibly calm, and ripples gently lap at the shoreline. However, we also get winter storms with massive waves breaking over the pier. The wind direction affects the size of the waves. Here, north-easterly winds bring the biggest waves as they have had time to build in power all the way from Norway. Meanwhile, on the West Coast of Britain, it’s the south-westerly winds that blow across the Atlantic that bring even larger rollers crashing to the shore. It is worth investigating the weather’s effect on the sea before you turn up to shoot.
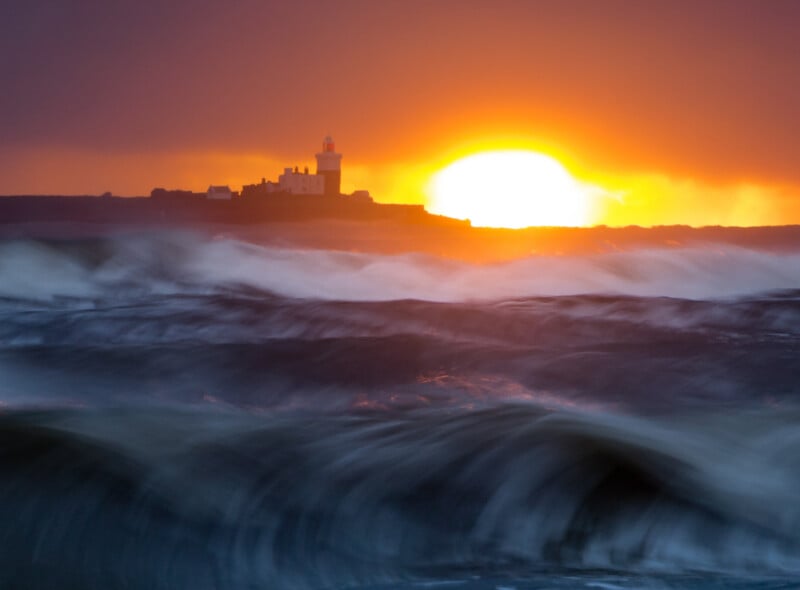
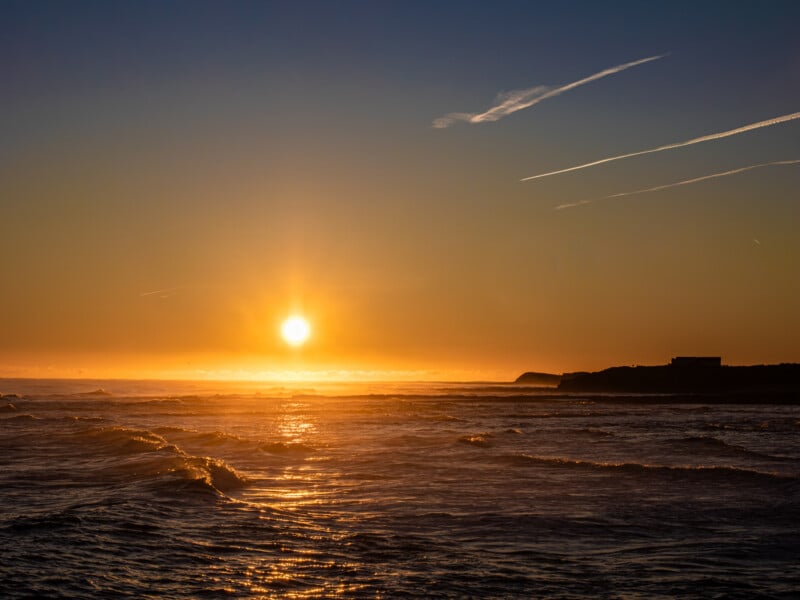
One thing I check for is sudden changes in wind direction. If there has been a north-easterly blow creating big winds and the wind backs to a north-westerly, then I know the tops of large waves are going to be blown off. The dawn sun shining through that spray can make for an interesting photo.
Choosing and Looking After Your Equipment
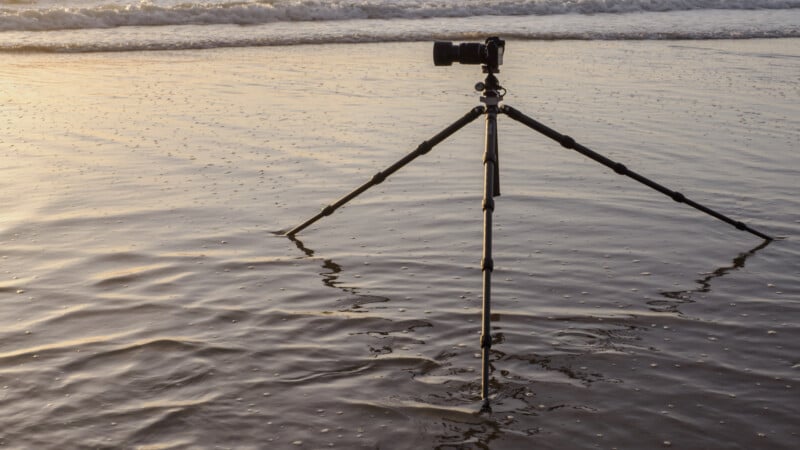
Salt, water, and sand are gear killers. Even on calm days, the air on the beach is filled with tiny salty water droplets. If your camera and lenses lack properly measured weather-sealing ratings, you may pay the price for saltwater-induced corrosion. Bridge and compact cameras with motorised lenses are particularly prone to damage from airborne spray and blown sand.
I usually wipe my camera down with a damp, lint-free cloth after being at the beach. I then use a rocket blower and brush to clean the front element. If the conditions are severe, I attach a top-quality Urth+ Plus UV or polarising filter to help protect the lens’s front element. Yes, I know this is contentious, but I have conducted numerous tests with these Urth UV filters. Unless shooting directly at the sun, I can see no difference in image quality. Shooting contre-jour can slightly affect the appearance of the sun, and sometimes I can see lens flare, but it is easily removed. Historically, sand from sea spray has scratched the front element of a lens, so I now err on the side of caution.
Many years ago, had a tripod with cam levers on the legs. Those levers had tiny springs inside, and they rusted and failed within a year of my moving to the coast. Although my Benro Tortoise tripod performs much better in the harsh conditions I subject it to, I still wash it under the shower after each beach photoshoot, sometimes dismantling it and cleaning the inside of the tubes. Interestingly, Benro now makes the waterproof Induro Hydra tripod that I once borrowed. It prevents water from entering the leg sections.
Photographic Considerations
The choices of how to shoot the scene are the same as those for landscapes. However, there are some considerations.
One thing that becomes very evident is the height of your camera above the water. As you get higher, the amount of water you can see increases. However, that steeper angle to the surface also shortens reflections. Being lower down, on the other hand, gives you the opportunity to shoot through the wave tops.
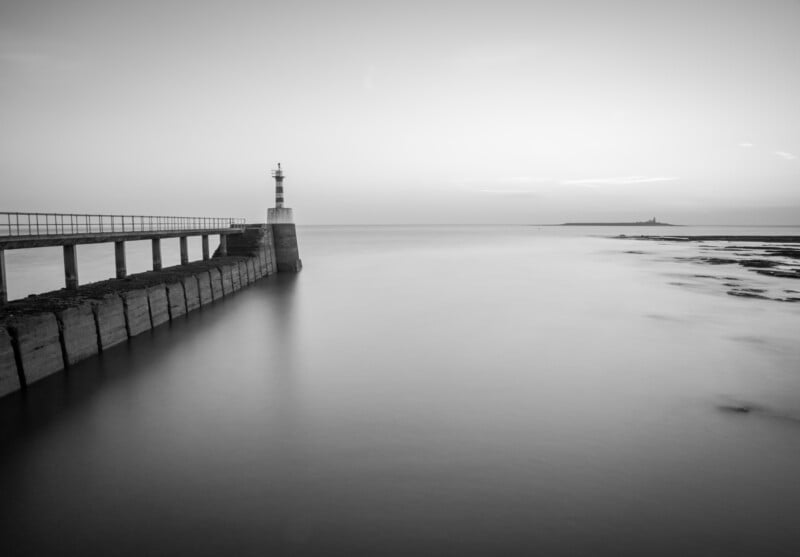
The direction you point your camera can make a significant difference to your photo, too. If you shoot along a beach, the sea’s horizon will converge with the shoreline as the scene disappears into the distance. That can result in an unbalanced photo, with more water on one side than the other. Also, pointing the camera directly out to sea will result in waves running across the frame, potentially stopping one’s eye from traveling into the scene.
The sea can vary in brightness dramatically within seconds. Therefore, staying on top of exposure compensation is important. If the sea is reflecting direct sunlight, you will usually want to increase exposure, since the camera has already reduced it to something near mid-grey. The opposite may be true of a very dark sea.

In Conclusion
That is a brief introduction to photographing the sea. It must be treated with respect; there are roughly 700 sea-related deaths in the USA each year. Nevertheless, it is a compelling subject, and seascape photography is well worth exploring.