Beyond the Basics: 9 Tips to Improve Your Wildlife Photography
For decades, OM SYSTEM Ambassadors Joe and Mary Ann McDonald have traveled the globe, documenting wildlife in its natural element through their photography.
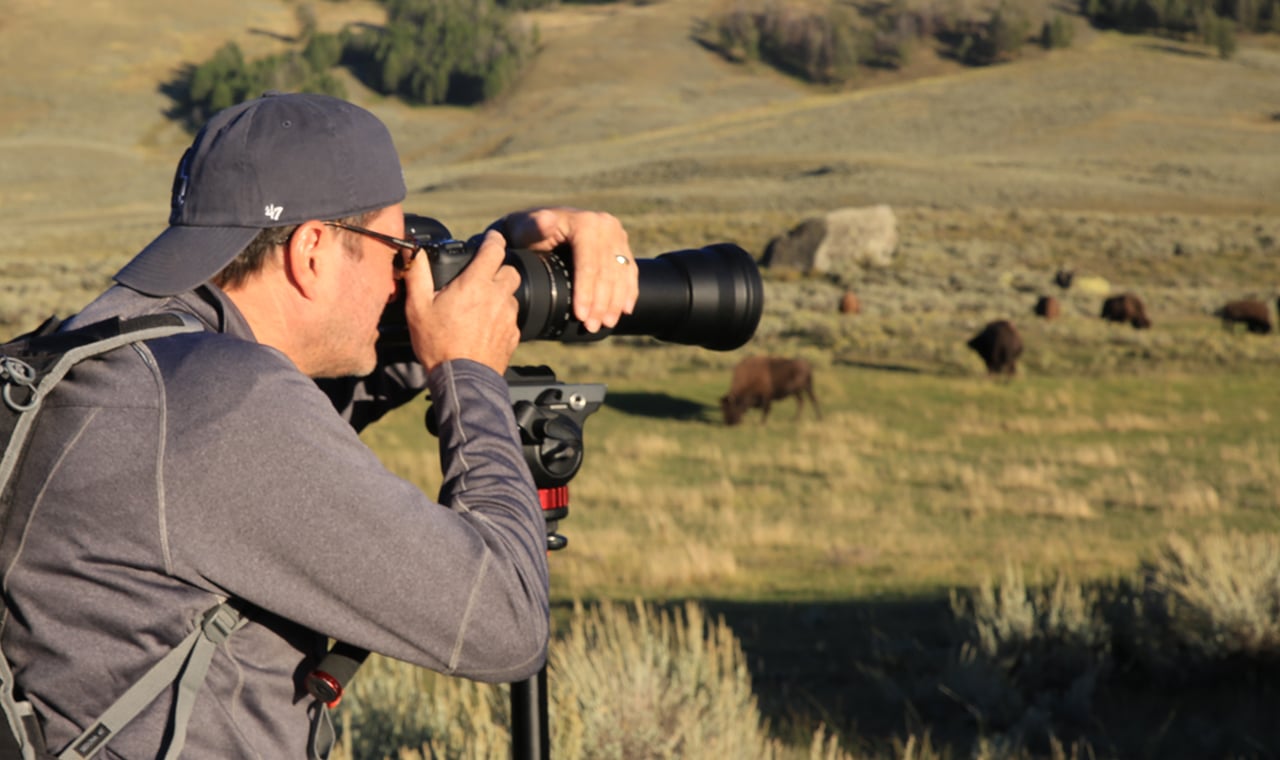
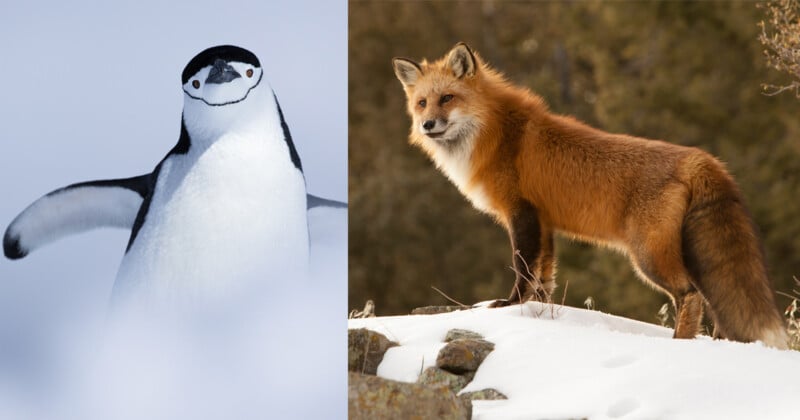
This husband-and-wife team photographs birds, reptiles, mammals, and marine life across all seasons and continents. Their extensive experience, from photographing bison and wolves in Yellowstone to penguins in Antarctica, has yielded invaluable insights. The photography team shares practical tips that have helped them improve their wildlife photography, especially when tackling challenging conditions.
Full disclosure: This article was brought to you by OM SYSTEM Cameras
At a Glance
Joe’s photography journey began with a love for animals, particularly reptiles. “I’ve always been an animal lover,” he explains. “As a kid, I thought I’d be a herpetologist.” His first camera was initially for documenting reptiles, but a blurry photo sparked a new path. “I took a picture of a groundhog in the distance with a 50mm lens, and it looked like a speck in the frame. I started doing research and found I needed a telephoto lens and my love for wildlife photography gradually took off from there,” he recalls. Meeting like-minded friends and getting published by the National Wildlife Federation solidified his career choice.
Mary Ann’s entry into wildlife photography stemmed from her interest in birding. “Joe came to talk at our bird club meeting,” she recalls. Inspired, she attended one of his Everglades workshops. “I fell in love with photography, took out a $10,000 home equity loan to buy photography gear and after that, I fell in love with the instructor.” Thirty-eight years later, they still travel the world together, documenting their passion for wildlife through photography.
The beginning of their adventures together led to winter wildlife photography, initially involving battling the elements in Yellowstone National Park. As they ventured into harsher environments like Svalbard, Antarctica and East Africa, their photography skills evolved. They discovered that capturing fleeting moments in demanding locations required durable and capable equipment. “The OM SYSTEM cameras have been our tool of choice for years,” Joe states. “The OM-1 Mark II is the perfect camera for us. It has exceptional autofocus tracking, incredible image stabilization, and a significantly larger buffer— the three most important features wildlife photographers need.” Yet, Joe and Mary Ann stress that, even with impressive gear, wildlife photography requires patience, dedication, and planning for success.
Have a Plan
While luck can play a role in wildlife photography, consistently capturing compelling images often requires more. Joe recalls a pivotal lesson from National Geographic photographer Frederick Kent Truslow that shifted his perspective from simply reacting to encounters towards proactive planning. “What I learned from Fred about planning reshaped my entire photography process,” Joe says. “Having a plan is as simple as me saying to myself ‘today, this is what I’m going to try to succeed at doing.’ This might be scouting out a new location or planning out my time in a photography blind. However, the lesson is always the same: Adopting a focused strategy rather than a ‘scattershot’ approach is key.”
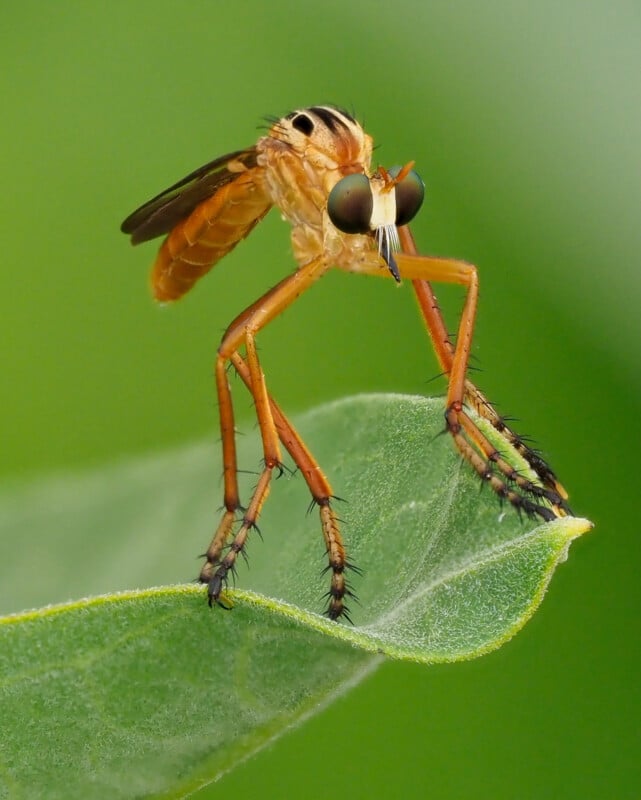
Effective planning involves multiple layers, Joe and Mary Ann explain. Mary Ann emphasizes researching their subject helps them to understand its behavior, habitat, and daily routines to predict photography opportunities. Joe adds that scouting locations, whether physically or using tools like Wikipedia and field guides, is crucial for him to locate the proper habitat for wildlife photography. He also checks weather forecasts and seasonal climates to determine the best time of year to travel to an area. Sometimes, the plan can be a simple gear constraint. “I will often go out for a day only carrying my OM-1 Mark II and my M.Zuiko Digital ED 90mm F3.5 Macro IS PRO in order to force myself to focus on the macro world,” Joe describes, explaining this helps him to avoid the urge to shoot everything and potentially miss unique macro scenes.
Planning is also highly effective for creating specific photographic setups, like attracting birds for backyard photography. While feeders can attract birds, especially in winter, they aren’t always photogenic. “We always have a nice looking perch set up in our backyard and make a plan to change that perch every couple days, leading to different looking environments,” Joe describes. Since birds adapt quickly, they place the desired perch a day before shooting, so the birds are accustomed to it when their photography begins. This helps to minimize disturbance and maximize their opportunities when the birds arrive.

The principle extends to using blinds or hides for wary subjects. Mary Ann shares their experience with Pileated woodpeckers: “We had to get them used to seeing a blind. So we put the blind up a week before we used it, so they had time to learn that the object wasn’t something that was going to harm them. This acclimatization is essential.” As Joe points out, setting up a blind and letting it sit undisturbed for a week gives wildlife a chance to accept it. “Otherwise, we risk sitting in blind that is devoid of action for hours. Planning helps ensure the wildlife acts naturally when they arrive, saving us time and frustration,” he concludes.
Bring Fresh Batteries
Solid planning extends beyond scouting to meticulous gear preparation, and few things are more frustrating than encountering a spectacular wildlife moment only to find the camera’s battery drained. This risk increases significantly in cold conditions, making battery management critical for winter wildlife photography where frigid temperatures drain battery power faster. Being prepared with ample power is a vital part of Joe and Mary Ann’s process. “We always go out with at least two extra camera batteries,” Mary Ann states. She adds that it is better to be over prepared than sorry. “While battery technology has improved, cold weather still takes a toll.”
“Keeping spare batteries warm is incredibly important,” Mary Ann continues. “Years ago, this involved taping hand warmers to our cameras, but with batteries becoming significantly better, simply keeping spare batteries in our inside coat pocket is often sufficient.” She explains that body heat preserves a battery’s charge, so having a warm spare ready is essential. Mary Ann also advises proactive swapping: “Sometimes, the battery in my camera isn’t actually drained, it may just be cold. Switching my batteries out periodically and putting the cold one inside my jacket to warm up keeps me shooting longer.”
While external battery packs exist, Joe cautions against assuming they’re always needed. He recounts a gear-focused friend admitting he rarely used his external pack anymore. “He told me that today’s batteries are smaller, lighter, and carry a charge for much longer, so the external pack wasn’t necessary if he brought enough batteries,” Joe says. He advises that photographers consider their actual needs before investing in accessories that add weight and complexity. “All of that gear is extra weight and tedious,” he says. “Thoughtful planning also means investing wisely. The money saved by not buying unneeded accessories could have been invested in a new lens, or a new photography trip,” Joe explains. Joe and Mary Ann conclude that managing a few well-charged, warm spare batteries is often the most practical plan to stay ready for action.
Dress The Part
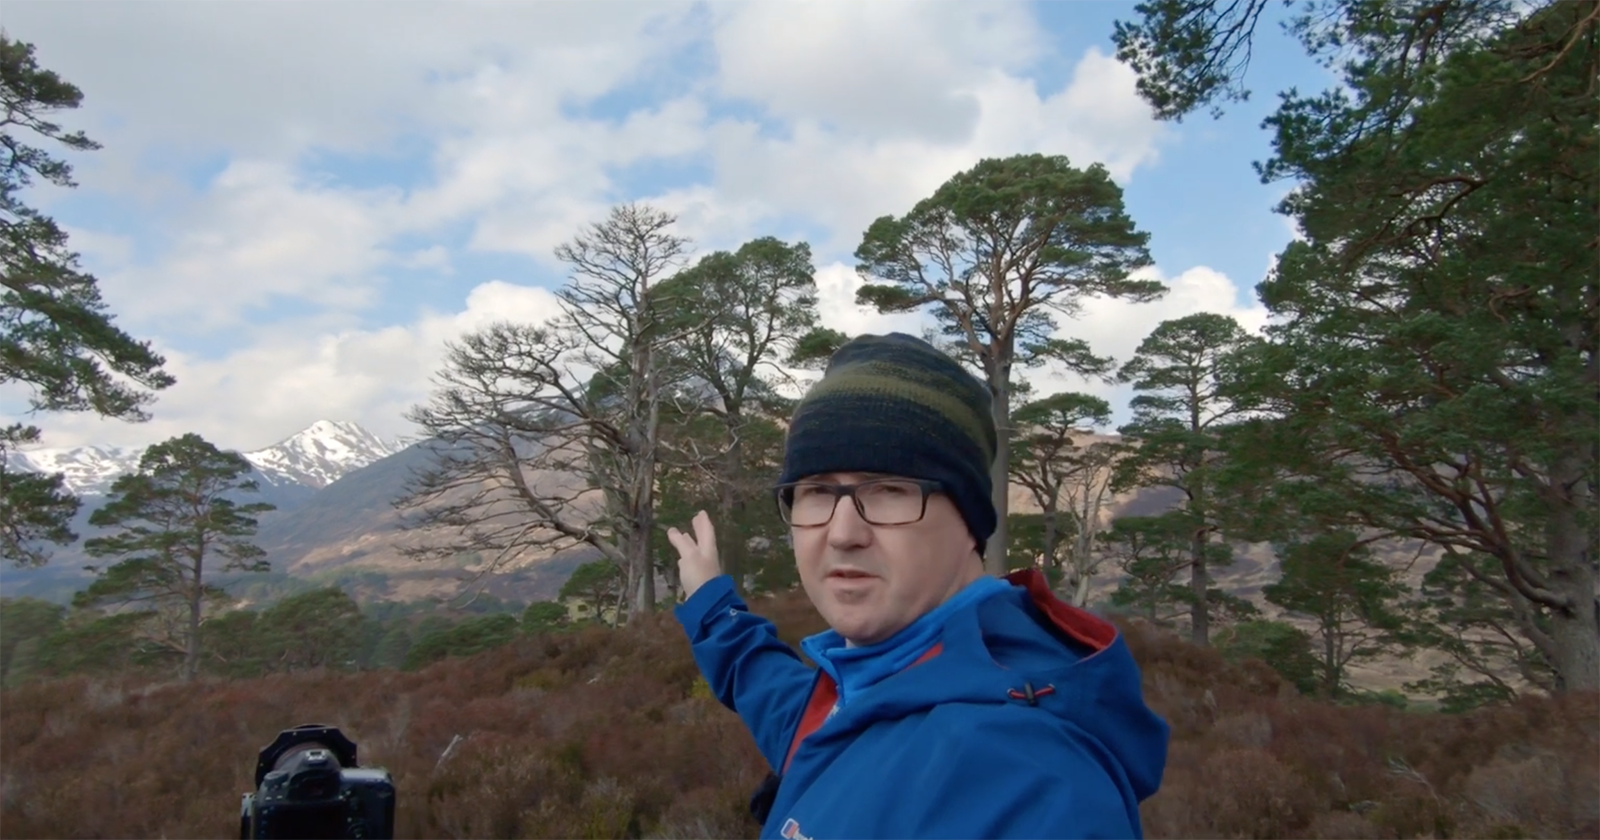
Joe and Mary Ann emphasize that planning extends to clothing, as being unprepared for the elements can cut a session short or cause them to miss shots when they are too cold or wet to operate their OM-1 Mark II cameras effectively. Since weather can shift dramatically, dressing appropriately is fundamental. Mary Ann stresses that mastering the art of layering is key, especially in the cold. “Over our careers, the technology used in clothing has changed,” she notes, making layering more effective than their bulky gear of the past. “The main advantage to dressing in layers is that you can always take off layers if you’re too hot or put them on if you are cold.”
Mary Ann finds moisture-wicking Merino wool critical for her base layer. “The key is you don’t want to dress too warm that you sweat because as you sweat, you become colder,” she advises. Beyond the base layer, protecting extremities is crucial.
“Protecting your feet, hands, and head from the cold is paramount for comfort. We used to wear these old, cumbersome arctic boots and they can’t compare to modern options like Muck boots that offer warmth, support, and comfort. For hands, vital for camera control, we will use hand warmers in gloves or sometimes, even battery-heated gloves. Lastly, a warm hat that covers our ears is essential.”
Ultimately, Joe and Mary Ann say that dressing the part involves anticipating conditions to stay focused on photography. “Whether we are facing the dry cold of the Rocky Mountains or the damp chill of a morning near home, having the right layers, footwear, and clothing accessories allows us to remain in the field longer and react quickly when those fleeting wildlife moments occur,” Mary Ann explains. “It’s another vital layer of planning for readiness that helps us ensure we will be there to capture the wildlife photos that we envision.”
Consider Your Mobility
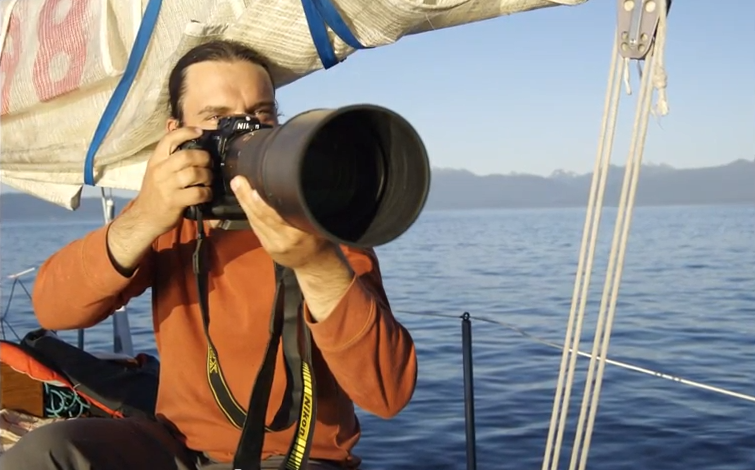
Wildlife photography often demands reacting instantly to fast-moving subjects, so Joe and Mary Ann stress that when they plan for a wildlife photography shoot, they must account for mobility. “It’s critical that we take into account how easily we can reposition ourselves and our gear,” Joe says. This involves choosing between handheld shooting and support like monopods or tripods, factoring in the location and its terrain and weather, the amount of gear needed, and their physical capabilities. Joe notes camera technology significantly influences this decision. “With OM SYSTEM cameras, especially the OM-1 Mark II, the Image Stabilization is so good that at times, we are not using tripods or monopods,” he says, adding this helps them stay mobile.
Handheld shooting offers Joe and Mary Ann clear advantages, as they are quickly able to change angles or compositions. However, Joe cautions photographers to be realistic about their physical endurance. “If you’re young and strong, holding up a heavy lens might be quite easy, but as you get older, it will become much more difficult,” he notes. In those cases, or for long waits, support is essential for capturing sharpness in their images, with a tripod or monopod making a big difference. Joe finds monopods balance stability and mobility well, recommending heads made specifically for monopods, which provide better control than universal ball heads. “For stationary situations, like waiting in a blind or at an eagle nest, we prefer to use a tripod, as we are more confident that we won’t have to move as often,” he says. Joe concludes by saying that planning for maximum mobility means choosing the right approach to ensure comfort, readiness, and sharp images when action unfolds.
Choosing the Right Shooting Mode
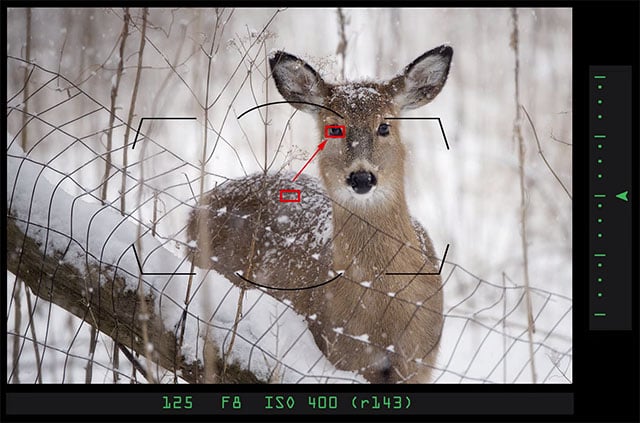
Choosing the right shooting mode is fundamental to capturing high-quality wildlife images, Joe and Mary Ann explain. While modern cameras offer semi-automatic modes like Aperture Priority and Shutter Priority, Joe and Mary Ann primarily rely on Manual mode for ultimate control. “We mostly shoot manual exposure, which means we manually set our aperture, our shutter speed, and our ISO,” Mary Ann confirms. “For us, the main advantage is complete creative control and exposure consistency, especially in tricky situations. Shooting in Manual prevents the camera’s meter, especially when set to evaluative metering, from being fooled by things like bright snow or backlit subjects,” Mary Ann says. “While I am in manual mode, I can quickly adjust the shutter speed, aperture, or ISO to get the exposure that I prefer, which takes the guesswork away from the camera. Having this direct control over all of my exposure settings ensures the final image matches my vision.”
Aperture Priority mode, where the photographer sets aperture and the camera selects shutter speed, is popular with wildlife photographers as it allows direct control over depth of field. “Using depth of field is crucial for isolating subjects or capturing environmental portraits,” Joe says. “However, the camera might choose a shutter speed too slow to freeze action. If I am ever shooting in Aperture Priority mode, I will raise the ISO more than needed and will choose a wide open aperture to ensure a fast enough shutter speed. With how well modern cameras, especially my OM-1 Mark II, limit noise at higher ISO settings, I am not too worried about this in well lit scenes.”
Shutter Priority mode lets the photographer lock in shutter speed to freeze or blur motion, with the camera choosing the aperture. While useful for guaranteeing speed, it relinquishes depth of field control and risks hitting aperture limits, potentially leading to under or over exposed images. Joe finds this too risky for wildlife. “To have it on shutter priority, I am almost guessing how fast of a shutter speed I need,” he says. “With wildlife, sometimes I don’t have time to make those guesses, and guessing wrong can lead to a missed opportunity.” While Joe and Mary Ann find Manual mode offers the most reliable control, understanding each mode helps photographers choose the best tool for the specific wildlife scenario.
Using Pro Capture Mode
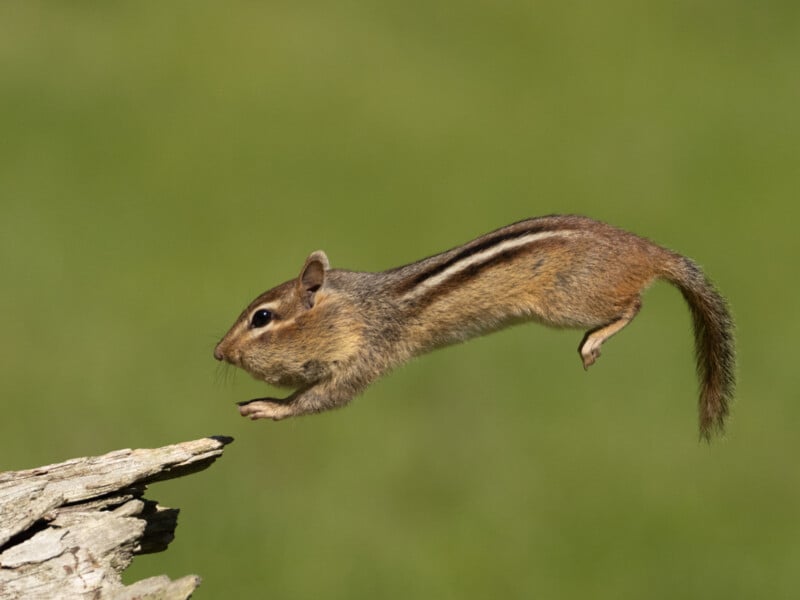
Joe and Mary Ann, like many wildlife photographers, know the pain of missing the perfect shot by a fraction of a second. OM SYSTEM cameras offer them a unique solution: Pro Capture Mode. This feature buffers images when the shutter is half-pressed, and when fully pressed, the camera saves those buffered frames from before the button was fully pressed. “Pro Capture mode allows us to capture moments our natural human reaction time would miss,” Joe says. “I always suggest using Pro Capture Mode when you are fairly confident that your own reaction time cannot anticipate and capture that action.” He gives a prime example of how he recently used Pro Capture mode on his OM-1 Mark II: “I was watching this small robin that was going to launch from a perch. I knew it would launch, however, I didn’t know when. Robins are fast, so if I had waited to see it launch and then hit the shutter button, it would have been too late. Since I was using Pro Capture Mode, I was able to get photos of the action of the moment the robin launched off of the perch.”
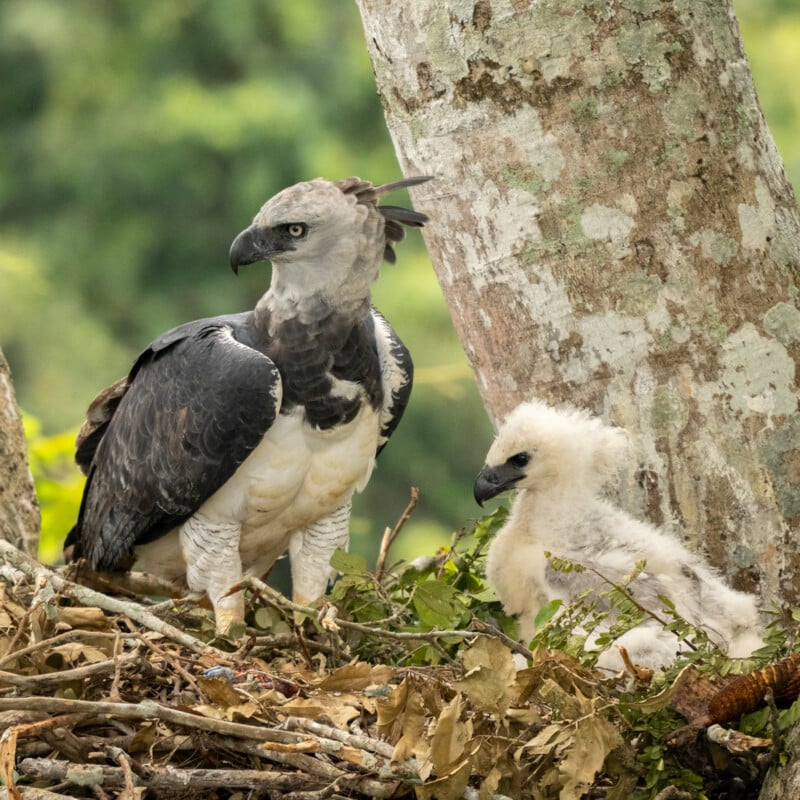
OM SYSTEM offers two different Pro Capture settings (High/SH1 and Low/SH2), both of which are able to capture high resolution RAW files. Joe recommends Pro Capture High for the fastest frame rate to capture peak action for small, fast subjects, though focus is locked after the first frame. For larger, slower subjects like eagles, Pro Capture Low allows continuous autofocus. “Pro Capture Low is excellent for animals coming towards you, as the continuous autofocus will capture each frame sharply,” he describes. Joe and Mary Ann typically set Pro Capture Mode to record 35 pre-shutter frames. “We are probably going to catch the action within the first 15 frames,” Joe explains. “However, the extra frames provide insurance, sometimes capturing additional images that we love.”
Crucially for Joe and Mary Ann, Pro Capture Mode can also keep capturing frames after the shutter press, even indefinitely. “This allows us to keep tracking the subject after the initial moment, especially using Pro Capture Low with continuous autofocus,” Mary Ann says. “By effectively enabling us to capture moments just before we fully react, Pro Capture Mode significantly increases our chances of success with unpredictable wildlife. The enhanced buffer on the OM-1 Mark II also increases the number of frames we can record in Pro Capture Mode, adding even more security against missed opportunities. It’s an invaluable feature that makes OM SYSTEM cameras the perfect tool for our wildlife photography.”
Taking Advantage of Custom Functions
Joe and Mary Ann stress that wildlife photography demands quick thinking and even quicker reactions. They leverage their OM-1 Mark II’s capabilities, utilizing its multiple custom function modes (C1-C4) to pre-program camera settings for recurring scenarios. “Having four different custom functions available can make all the difference for catching the shot when sudden situations occur,” Joe explains. “Setting up these custom functions saves us invaluable seconds that otherwise would be spent fumbling through menus when action erupts.”
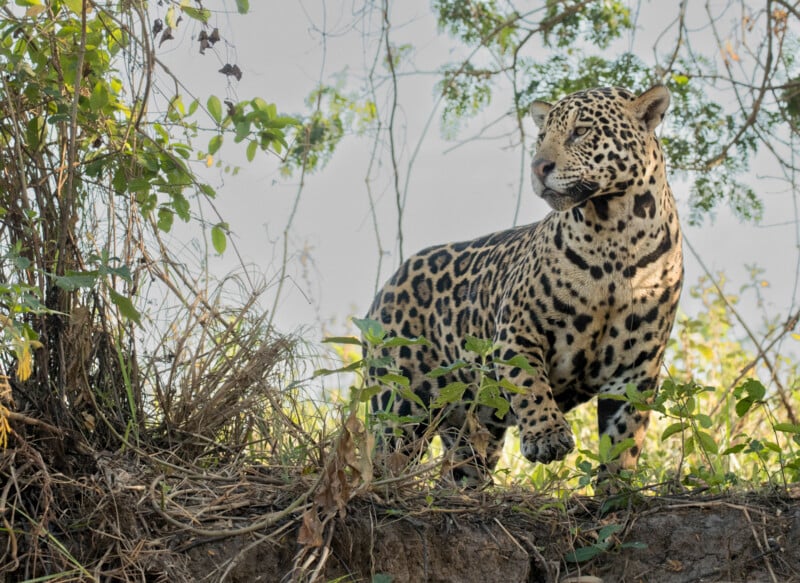
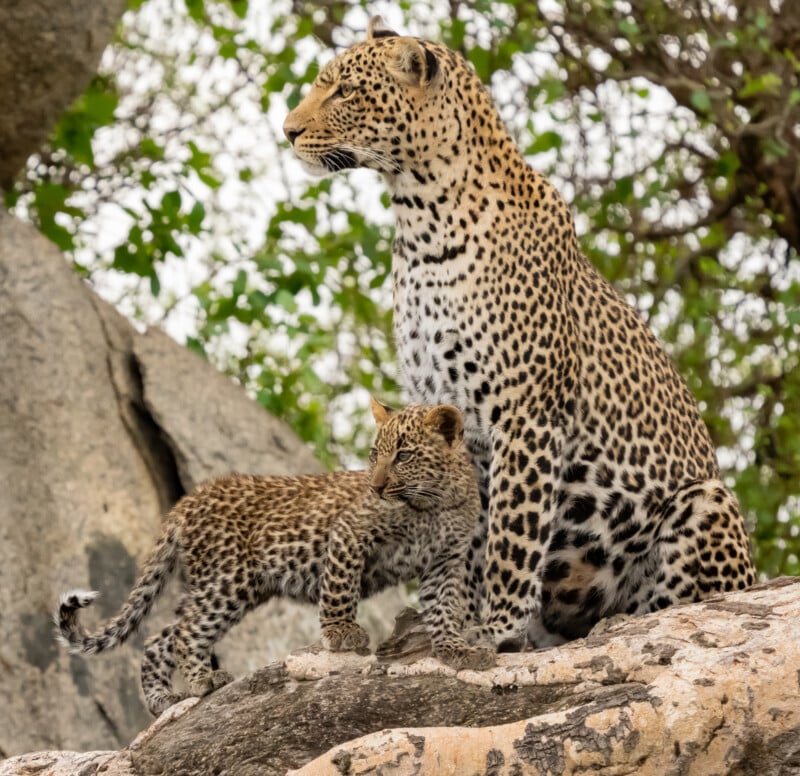
Based on decades of experience, Joe and Mary Ann configure these modes based on location and likely subjects. “On safari, we have one custom function set for bird photography, which sets our camera to a fast shutter speed and higher ISO,” Joe details. “If a leopard appears, we can go to custom function 2, which we have set up with a slower shutter speed and low ISO to capture slow moving or still mammals.” They often dedicate C3 to OM SYSTEM’s powerful Pro Capture Mode, ideal for unpredictable action like a bird taking flight. They reserve C4 for general use like landscapes or macro. “With those four custom function set ups, we almost never have to visit the rest of the camera’s settings,” Joe adds, enabling them to quickly adapt to evolving scenarios.
Mary Ann suggests tailoring modes for specific needs, like birds-in-flight versus perched subjects, Focus bracketing settings for macro work or specific AF settings. She notes the OM-1 Mark II’s AI Subject Detection for birds and mammals is vital. “Animals move fast, so it’s nice when I can quickly access a custom function that has my camera detect the mammal or the bird in my frame,” Mary Ann explains. She stresses that custom function setup is personal to each photographer. “Everyone’s style and needs are unique, so it’s important that photographers understand their needs and set up their custom function buttons to help them become better photographers.”
Create a Menu For Yourself
Beyond custom function buttons, many modern cameras, including OM SYSTEM models, offer another powerful personalization tool: a customizable “My Menu.” Mary Ann explains this lets photographers build menu pages with their most frequently accessed settings, preventing the frustration of digging through menus when wildlife action happens. “Often, people don’t realize they have the option to personalize their camera’s menu with their most frequently used tools,” she says. “Just like Custom Function buttons, this feature is a significant time-saver for us in the field.”
With multiple available tabs, Joe and Mary Ann can organize a wide range of settings. “On our custom made My Menu, we have Format Card, Pro Capture Mode, Night Vision, AF Assist, and Live ND, among other menu items that we need to adjust frequently,” Mary Ann says. “Having these functions instantly accessible means I spend less time fiddling with the camera and more time observing wildlife. Being able to quickly make changes in My Menu can be the difference between capturing a portfolio worthy image or missing it,” she concludes.
Mastering the Wait: Distractions & Mindset
Wildlife photography often involves long periods of quiet waiting. Whether settled in a blind or patiently observing a known habitat from a safe distance, hours can pass with little action for Joe and Mary Ann. Joe recommends finding ways to stay occupied to maintain patience and alertness. “If I’m thinking it might be hours before something comes in, I bring a book or have headphones so I can be listening to music or a podcast,” he shares. He adds that simply staring out of a hide or waiting for something to happen can quickly lead to fatigue or boredom, especially if you aren’t a professional getting paid for the waiting time. “You might give up faster than you would if you’re occupied in some fashion,” Joe advises. He notes that staying engaged, even while reading or listening, allows him to remain observant, checking his surroundings frequently between paragraphs or podcast commercials.
Beyond simply passing the time, however, Joe and Mary Ann emphasize the importance of appreciating the entire experience. “Those quiet moments are part of the process,” Mary Ann reflects. “It’s not just about the photographs you hope to get; it’s about being present in nature, noticing the small details, the sounds, the light changing. Sometimes the best memories aren’t the photos themselves, but the feeling of peace and connection you get while waiting.” Photography, they believe, is a unique passport to witnessing the natural world.
“We feel incredibly privileged to spend our lives documenting wildlife,” Joe says. “It’s taught us patience, observation, and a deep respect for the animals and the environments they call home.” While the thrill of capturing a perfect shot is undeniable, the couple says that the experience of connecting with nature through the lens is just as rewarding. “Photography gets us out there, experiencing the world’s beauty firsthand,” Mary Ann adds. “Whether we come home with a portfolio image or just a memory, embracing the moment is what makes this pursuit so incredibly fulfilling for us.”
See more from Joe and Mary Ann McDonald on their website.
Full disclosure: This article was brought to you by OM SYSTEM Cameras
Image credits: All photos by Joe and Mary Ann McDonald