How to Recycle Cardboard Into a Creative Photography Backdrop
It’s no secret that most photography equipment is expensive and typically highly specialized. But that doesn’t always need to be the case. In the above video from Adorama, photographer Gavin Hoey walks viewers through how to create studio portraits using a simple sheet of cardboard and some studio lights.
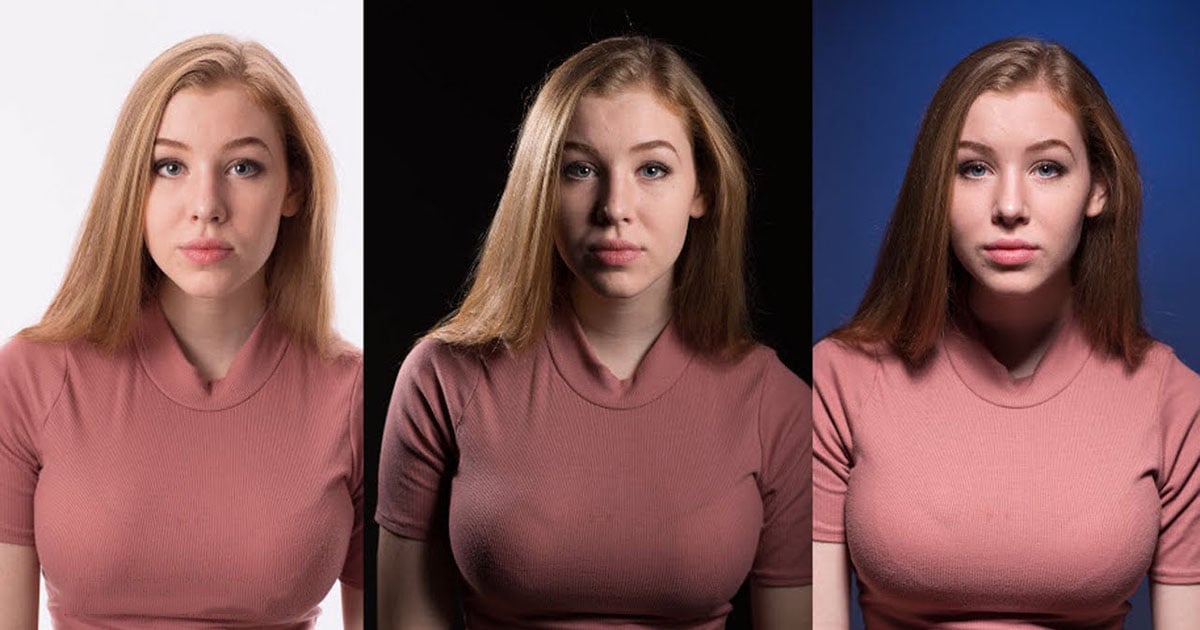
Many photographers are drowning in boxes in this post-holiday period, making it the perfect time to try these effects. In the video, Hoey shows three different looks photographers can achieve with a large piece of cardboard. All three start the same way, though. The first step is to stab holes all over the cardboard. Luckily, this is a great post-holiday activity for those who have spent too much time with family and need to get some aggression and frustration out.
For the first setup, Hoey places a light with a large softbox as close to the back of the cardboard as possible. Then, he pulls the subject away from the background and shoots at a wide-open f/1.2 aperture to create a soft bokeh behind her. An f/1.4 or f/1.8 aperture would work very well, too.
Leaving it like this would result in his model being much too dark, though, so he also adds light to illuminate the subject. Hoey used two lights, both of which he is careful to keep directed away from the cardboard to keep the contrast and dark background. The final image is a well-lit portrait with a dreamy bokeh behind the model.
The second style Hoey creates with the cardboard background aims to create pinpoints of light, as opposed to the soft bokeh orbs. To do this, he places his subject closer to the cardboard and switches to a narrower aperture, in his case, f/5.6.
His two-light setup still needs to be directed away from the cardboard, as the goal is to keep that mostly black with only the points of light visible. But, given the limited room between the model and the cardboard, it didn’t create the look he was going for. So, he leaned into this and turned his subject, creating a profile image.
To add a final special touch to the image, Hoey used a starburst filter. This filter is clear glass, so it won’t change the exposure or white balance. But it creates, as the name implies, a starburst effect for a more dramatic image when there are points of light in the frame. Users could play around with all sorts of filters that modify light to put their own spin on this.
The final setup uses the holey cardboard as a light modifier. First, Hoey removed the softbox and added a snoot for a more intense, focused beam of light. He then used the modeling light to adjust the placement of the strobe, allowing it to cover the entire piece of cardboard.
As with the other shots, the cardboard separates the model from the strobe, but this time, the cardboard isn’t physically in the shot at all. Instead, the light shining through the holes casts speckled light onto the model. Hoey points out that if the photographer doesn’t like the hotspots created on the model, they can either edit these out in post or put black gaffers tape on holes that cast light onto the face to remove them in camera.
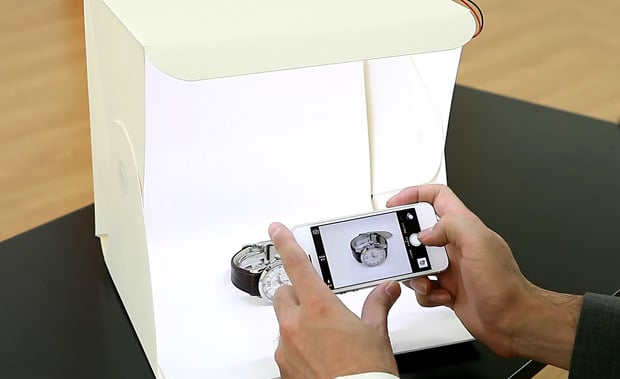
With all the highly technical equipment available these days, it is nice to see some tutorials involving basic and cheap materials. Of course, users will need lighting equipment, but they could make do with continuous lights instead of strobes.