7 Hidden Pro Camera Settings on iPhone You Should Turn On Now
Some of the coolest pro camera features on iPhones are hidden by Apple and turned off. Want to shoot like a pro? You need to go into Settings and turn these bad boys on right now!
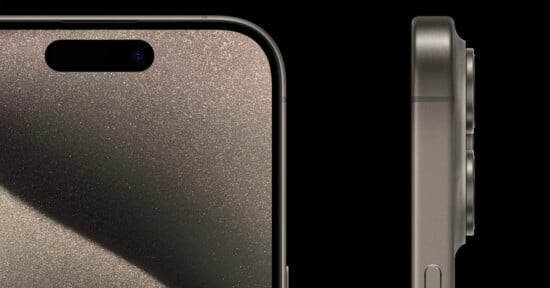
And while it has great tools for better composition, including a new tripod-like leveler to fix horizon fails, you don’t get to use them unless you reach into Settings and turn these on.
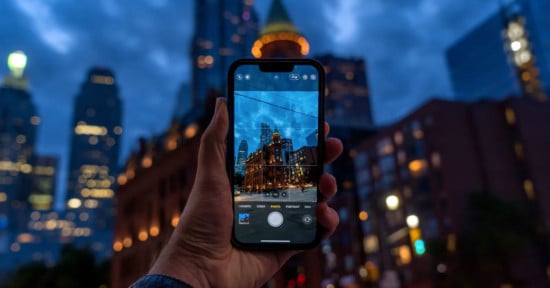
Ready to adjust your settings to a professional level? Let me walk you what you need to do.
First, confirm that you have upgraded to iOS17, the latest edition of the operating system software. You’ll need it for some of the new features. (Go to Settings, General, and Software Update to download.) It’s also in Settings where you’ll need to scroll way down to the Camera app.
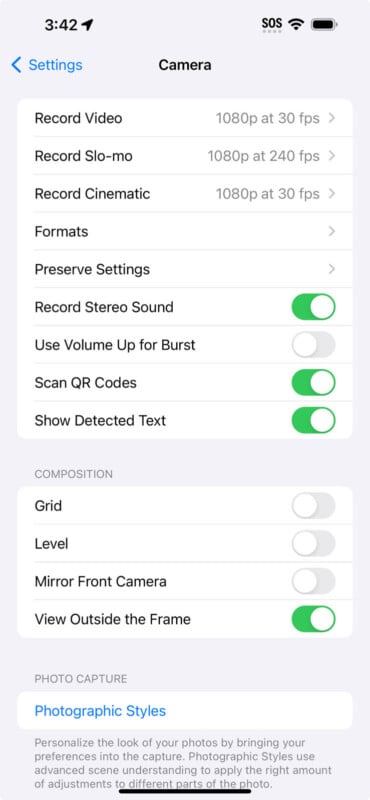
On the most recent models, the first thing you’ll see are settings for Video, Slo-mo, and Cinematic, which is the video version of Portrait Mode, video with a blurred background. I opt for the higher resolution 60 frames and 4K for video, 1080p and 120 frames per second for slo-mo, because 240 frames, the other option, is just too slow, and 4K in Cinematic, because I prefer higher resolution over lower res.
Next up is Formats, which is very important.
Here you can select the smaller file size HEIF files over the larger JPG, or stick with JPG, which is more widely accepted. (WordPress, Pinterest, and others still reject HEIF files). I prefer JPG.
Photo Capture: You can choose to snap your photos at either 12 megapixels or 24 megapixels. TURN THIS ON and take 24 megapixels. More information is better than less.
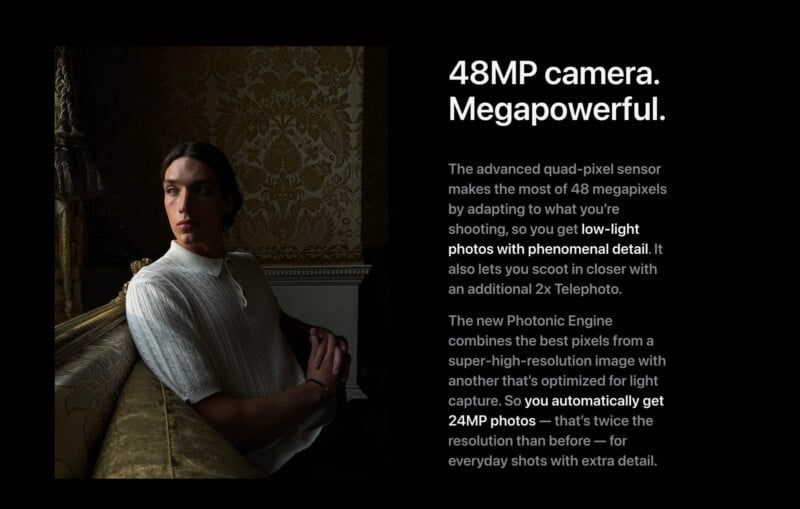
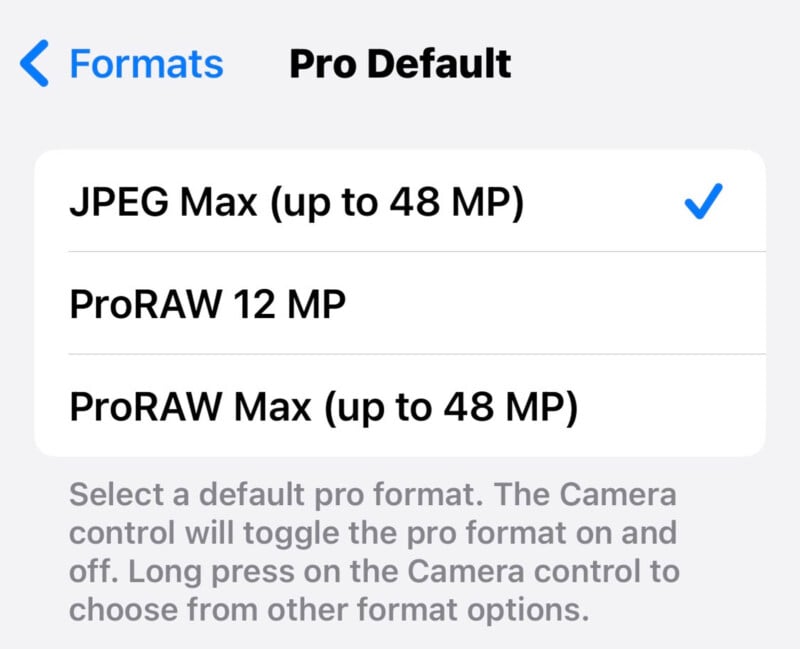
ProRAW and Resolution Control. You can’t use the iPhone Pro camera to photograph with the higher-resolution 48-megapixel sensor unless you turn on Resolution Control and select one of three options, JPEG MAX (48 megapixels) or ProRAW at 12 or 48 megapixels.
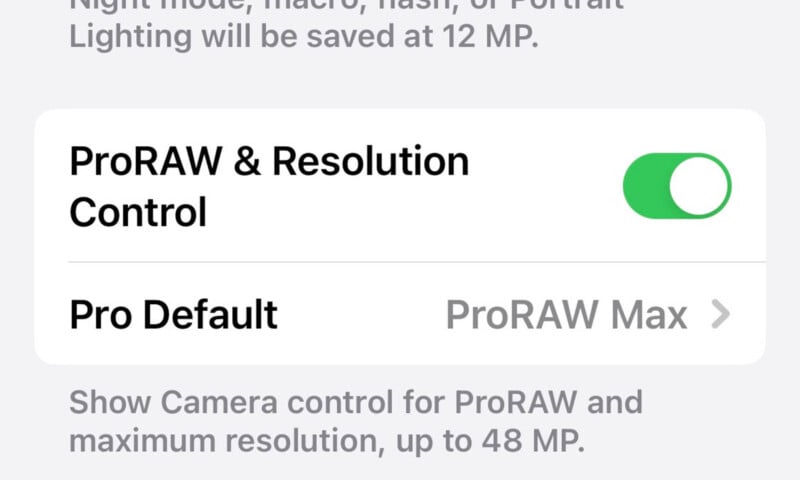
In Pro Default, you can shoot in RAW, which is a higher-resolution, uncompressed file, but you can’t do it unless you click on the ProRAW/Resolution tab first. (Once you open the Photo mode in the Camera app, you get to choose between JPG and RAW when composing the shot.)
Next up are video tabs: Apple offers the ability to shoot in the higher-resolution ProRes and the uncompressed LOG formats. You don’t have to do either, but you won’t have the ability to try them without at least turning these on.
Preserve Settings
I turn on every one of these. In a nutshell, if you liked dialing down the exposure by half a stop, closed the app, and opened it again, it would revert back to normal exposure. With these tabs turned on, every setting you’ve selected sticks with you every time you shoot.
Recording in stereo is next (and why not?) followed by “Use Volume up for Burst.” The burst mode on the iPhone, allowing us to take dozens of photos in rapid fire and stop action, is pretty good. However, getting to it on the shutter on the main Camera screen is a little awkward. We have to slide the shutter, without pressing down on it, otherwise, it begins recording in video.
If you click on the top left of the volume button and leave your finger on it, you can zip out 50-100 photos at a clip, and it’s a less awkward stance. But only if you TURN ON this button.
Next is the Composition tab, and it’s very, very important. Like vital to everyone reading this now. Why Apple has these turned off by default is a mystery.
The Grid adds nine squares to your camera frame to help you can help you straighten and compose your shot, while Level adds a little leveler, similar to what you see on high-end tripods, to make sure you get your horizon in check. (I.E.: you are taking a sunset beach shot, and due to user error, the water tilts when it’s not supposed to. The leveler helps guide you to make sure the horizon won’t make your viewers seasick.)
Mirror Front Camera I leave off—this is for Selfie shots. When you’re wearing a T-shirt in your selfie and this button is on, the words come out backward in your photo. You would turn this tab on if you were doing an instructional video and needed to tell people to “turn left” and you wanted it to mirror the right way. For the rest of us, don’t bother.
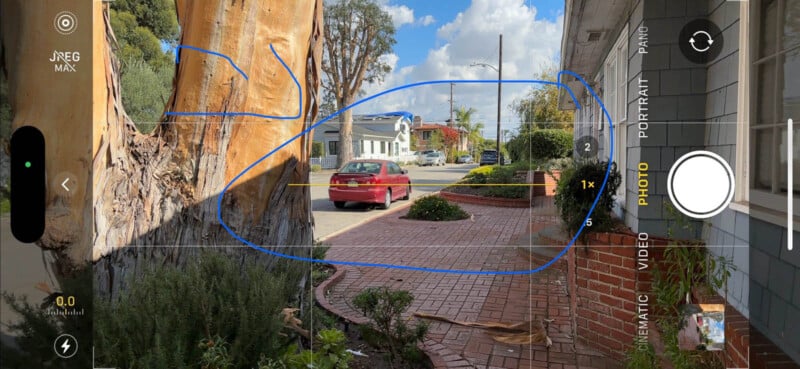
View Outside the Frame is for those with iPhones that have 3 lenses. It’s a camera preview to show you what could be captured by using another lens in the camera system with a wider field of view.
On the iPhone 15 Pro Max, you can opt for 24mm, 28mm, or 35mm as your main 1x camera. I opt for leaving it at optical 24mm, as the switch to 28mm and 35mm are digital zooms.
The Portraits in Photo Mode button lets you blur the background without having to switch from Photo to Portrait Mode on the 15 series. Not a biggie, but there’s no reason not to turn this on.
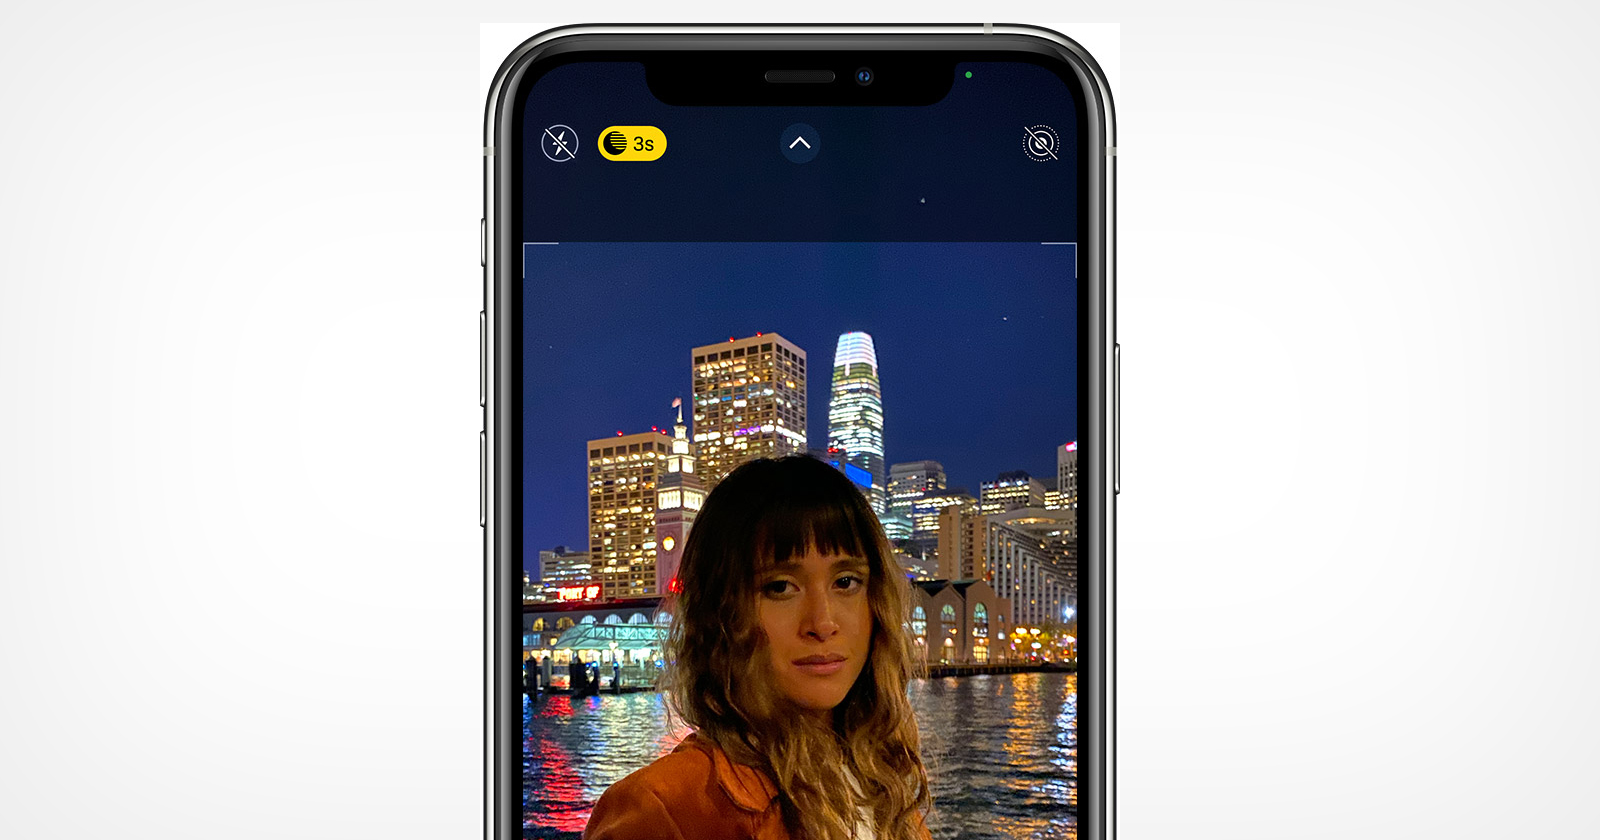
Finally, the last important setting to be turned on is Macro Control. This confirms that you are indeed photographing in Macro when you get really close to a subject by flashing a little yellow flower icon at the bottom of the screen.

Have fun experimenting!