How I Made a 10-Day Timelapse Video on an iPhone and Galaxy
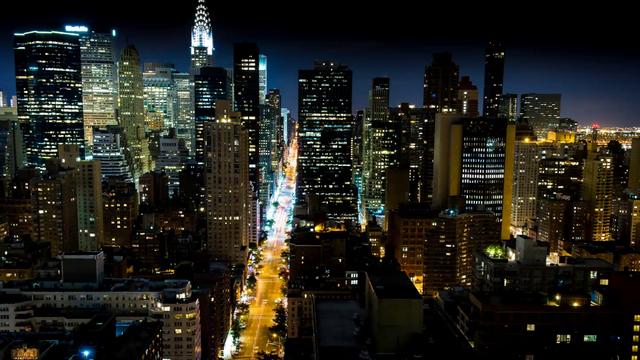
I recently made a ten-day timelapse video on two smartphone cameras of my hometown of Manhattan Beach, California, for multiple sunsets, moonrises, flowing clouds, and all sorts of stuff the naked eye rarely gets to see.
So let me fill you in.
Inspiration
During a recent visit to a country inn in Nova Scotia, I noticed a video playing on the TV: an extended timelapse of the area.
Hey, I thought—that’s cool. I should do that when I get back home to Manhattan Beach.
But where? I wanted to keep the camera running for 24 hours to capture the night turning to day turning to afternoon and back to night again. It’s not like I could just park a tripod somewhere and hope for the best without me by its side for the entire time. My usual procedure is to start the timelapse and stand guard for an hour or so. I would never leave the camera behind unless I could be certain of its safety.
Was there a restaurant near the water where I could put the camera (one of my iPhones or Galaxy) on the roof for hours without worry of theft? (Not that I know of.) Could I place it by the picture window at the Strand House, which overlooks the water? My hunch was that this would get annoying to the paying customers and that I’d be rejected by management, so I didn’t bother asking.
However, I do have two friends who live on the Strand, which also overlooks the beach, and inquired if I couldn’t leave a camera on their front deck, without worry of someone breaking in and nabbing it.
I ended up getting an even better deal: their upstairs second-story neighbor was on vacation, and they were watching over her place. Why not put the camera up there, where all my concerns were rendered moot?
Bingo! Thank you, John and Evelyn!
Power
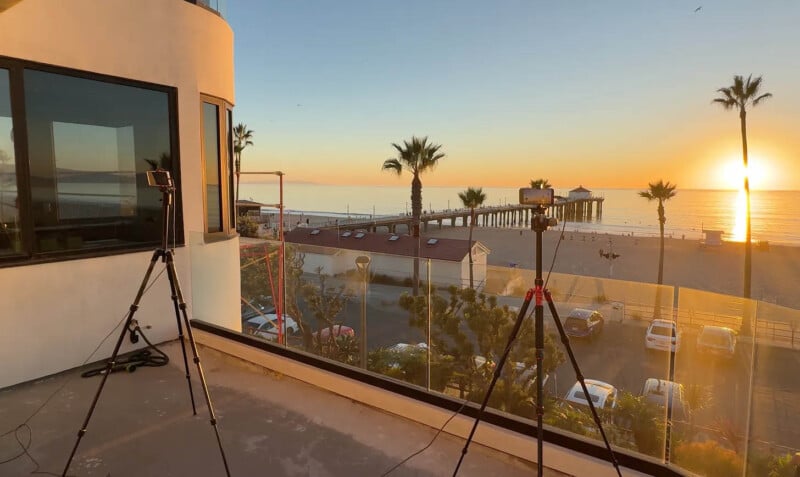
I brought along two phones for the project, the iPhone 15 and Samsung Galaxy S23+, multiple extension cords, and even an extended USB-C to USB-C cable to power up the smartphones without having to worry about the battery expiring. I set up two tripods, and smartphone mounts to house the cameras. From there, it was simple: frame the shot and click record.
Why Small Vs. Bigger
The advantage of making timelapse videos on a smartphone is their ease of use. On a DSLR or mirrorless camera, you take thousands of photos at different exposure levels, import them into an editing program, fine-tune them, export them to a video editing program, and then process the video there. On a phone, click record, capture the images, and once you stop recording, the timelapse is processed and ready for viewing rather instantly.
What Accessories Do I Need?
Start with a good tripod that can remain steady. You can buy an ultra-cheap one from Amazon for $20 or so, but a heavy wind would ruin your shot, so expect to buy something at least in the $150 and up range. I love my Manfrotto Element Mark III tripod, which is small and compact, and sells for around $185.
You’ll need a smartphone tripod mount to connect the phone to the tripod. I use the Manfrotto Smartphone clamp, which sells for $21, and is fine for a timelapse. (I’ve used many different brands, and this is my favorite.) However, it’s not as sturdy as a “cage,” as I learned when an iPhone slipped out of the clamp during a summer whitewater rafting trip. Smallrig makes a $50 cage that connects directly to the tripod plate, eliminating the need for the mount, and has two cold shoe slots to plug in mics, lights. etc. One of my filmmaking phones lives in the cage. (I have multiple phones. My main one is in a wallet case.)
How Fast Should the Timelapse Go?
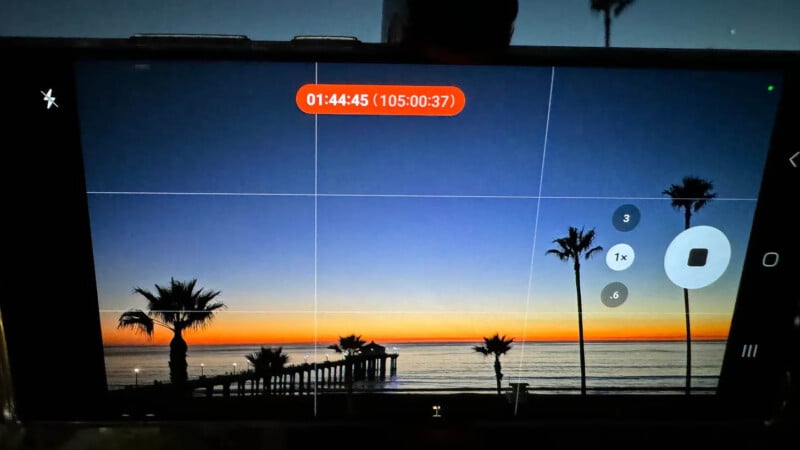
The rule of thumb is that timelapse videos (which are nothing but a series of still images) should snap every one to five seconds, but Apple doesn’t offer speed choices. (Boo hiss.) It automatically defaults to about 2 frames per second for shorter timelapse videos, (more on this in a minute,) while Samsung offers many, many choices of speeds. I opted for automatic recording on the iPhone and unlimited time and 1 frame per second on the Galaxy.
Checking In
I went back to the location several times to make sure that the cameras were still running (they were), that they didn’t overheat (no problem), and that they weren’t fighting the elements of dew and fog. Remember that modern smartphones are water resistant, and thus, I had no issues whatsoever.
Apple’s * Fine Print
After running the iPhone 15 for days on the endless timelapse, (and turning it on and off several times to check the footage) I was surprised to find that no matter how long I ran the camera, I always ended up with just 30 seconds of footage, compared to the Galaxy, which was giving me hours.
I learned that Apple automatically adjusts the frame rate so that no matter how long the camera is on, you’re getting a short video, so not to eat up the storage space on the phone.
The frame rate is variable: one frame every two seconds at 0-9 minutes, and getting way faster, one frame every four seconds at 40-80 minutes, and so on.
This leads to a great question, from reader Karen:
Speed?
Was the video “faster at the beginning? I was kind of dizzy so I skipped ahead and thought it was slower and nicer later on, but maybe I was dreaming.” Nope, Karen, you weren’t.
Because I had the camera running for so long, Apple’s timelapse shots were adjusted to be faster than anything I’d ever seen coming from an iPhone before. In fact, in my video, I had to slow down every Apple clip to 25% because it was so zippy. I loved the look, but must admit, on a longer video, it gets very unnatural looking. The iPhone timelapses look better when recorded for smaller periods of time.
Apps
Luckily, there’s an app to save the day for iPhone users. Now that I know what I know, I wouldn’t have made the long timelapse on an iPhone in the native Camera app; I’d have chosen the app I discovered, Lapse It. It lets you choose frame rates, and run as long as you’d like. It’s free, but you’ll want to pay the fee (which starts at 99 cents for a week) for extended timelapse recordings.
Which Camera is Best for Timelapse?
That goes to the Galaxy, hands down, thanks to the speed choices, and the manual controls. The video produced by the iPhone is wild to me — I’ve never seen anything like it, but I’d rather speed things up in editing instead of having Apple choose my frame rate. That said, I’ll be using the Lapse It app for my iPhone timelapses from now on.
And that’s the lowdown on making long timelapses.