A Roadmap to Growing as a Beginner Photographer
Are you interested in photography and ready to learn skills to up your game? Do you want to evolve from iPhone snapshots to crafting something intentional? Today my plan is to drop some photography-for-beginners tips onto your shutter finger.
As you read through this guide, you’ll learn a variety of aspects of photography and my main advice is to choose something that interests you and dive deeper. You might just want to get better at taking photos with your phone or you might be interested in learning what the best camera technology allows you to do.
Photography Lingo

There’s a lot of jargon in photography that can make it daunting to learn but understanding that lingo will help you take better photos. When you look at a photo you take and you don’t quite love it, the first step in making it better is to understand why it’s not working. Similarly, when you take a photo you love it helps to know why you love it if you’re going to try to create something similar.
One of the easiest things to drastically improve your photos is to nail the exposure. In simple terms, if your photo is too dark it’s under-exposed and if it’s too light it’s over-exposed. Exposure is a balancing act to get the amount of light just right, and learning the exposure triangle is a key first step in understanding photography.
The second thing that will improve your photographs drastically is composition. How are the various elements in the photograph arranged? You may think that since it’s a photo of real life you don’t have control, however, you can actually change your body position or change what you include in the photo and it can have a big impact on the result.
Depending on the type of camera you’re shooting with, you’ll have to learn terms associated with the settings that your camera has. If you’re shooting with your phone, you’ll want to focus on learning composition such as negative space, the rule of thirds, and leading lines. If you’re going to be shooting a DSLR or mirrorless you definitely want to dive into learning about aperture, shutter speed, and ISO (aka the “exposure triangle”).
Framing and Composition Tips
Regardless of the type of camera you’re shooting, the difference between a snapshot and a photograph is the intention you put into creating the photograph. Did you just aim and click or did you squat down to get the most interesting angle and include the most interesting elements? In this section, I’ll talk through a variety of composition tips for you to experiment with.
Think about framing as the decision of what you’re putting in your frame and what you’re excluding from the frame. What you include in the frame is what is telling the story so you want to include enough to say something but not so much that your photo is busy and distracting. You also don’t want to cut off someone’s head or hand unless it’s an intentional choice.
Then, you can think about composition as how the contents of the image relate to each other. Say you decided to include a person walking down the road. Did you shoot them in a way where there’s a long road ahead of them with leading lines that make it seem like the person is on the beginning of their journey or is it a tight shot that shows a person who is present here on this section of the street?
There are a lot of rules and techniques you can employ but when you’re just starting out I find the best way to learn the different effects of framing is to get high, get low, get close, and get far. You can take a picture of the same scene in a variety of ways and learn a lot about how framing and composition impact your photos.
Photography Gear that Can Up Your Game
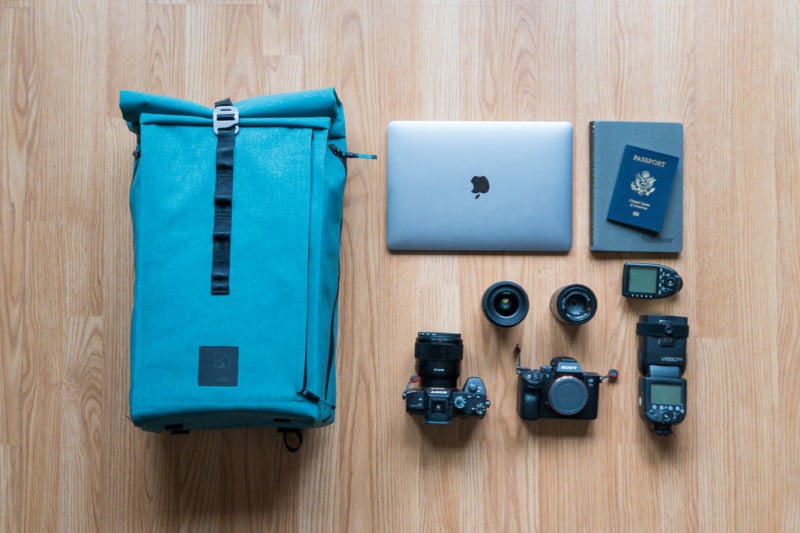
You can learn some lingo and then practice framing and composition with whatever camera you have. However, even though I do agree with the wisdom that the best camera is the one you have with you, I much prefer shooting with my camera to shooting with my phone.
For me, the experience of looking through a viewfinder gets me into the zone of composition much more than shooting with my phone does. I believe this is for two main reasons. First, the versatility of a variety of lenses, and second, having more control of my settings.
You can up your iPhone photo game by learning to use some of the iPhone settings but since that’s not my preference I don’t have much to say about it in particular other than you should check out ways that you can have more control. The technology is getting insanely powerful and the phone takes great pictures but it does things for you rather than you learning how to do them yourself.
Additionally, your iPhone lens is essentially a 26mm lens so that’s the focal length you’re likely used to seeing. With a DSLR or mirrorless camera, you can shoot with a variety of focal lengths and each of them has its own strengths and purposes. Then you can use different camera settings for creating different effects.
Print Your Photos

I’m all about scrolling through photos of my kids or places I’ve been on my phone but there’s something magical about printing your work. The enjoyment of photography includes the vision you have, crafting the image, and then enjoying the photo. Doing something with your photos will help you appreciate the process and inspire you to go out and create more.
Sometimes I feel like when you print a photo and hang it on your wall you suddenly view it as art. Then you start to think about photography as a creative act. That’s a mindset shift that will allow you to think about crafting a story with your photography rather than just taking a selfie to help you remember a day.
Share your work too, send it to friends or post it on social media. But sometimes that can feel fleeting and temporary and you have to rush off to create something else. Printing and hanging a photograph somewhere is more permanent and the image might even speak to you differently on different days.

In Summary
In order to up your photography game from beginner to aficionado you’ll need to shift your mindset from the idea of snapping a photo to the concept of crafting an image. As you learn more and more photography jargon you’ll be able to understand what makes photos work and what doesn’t so that you can incorporate that into your framing and composition. Then, as you learn more about your gear you can take more and more control of the photo.
Technology has advanced making photography easier and more accessible than ever before. However, relying on technology can either make you lazy or it can make it possible for you to create something you used to need a lot of gear and experience to be able to do. It might come down to your mindset, if your desire is to see photography as art then there is plenty to learn.
What’s something you learned that you want to practice or dive deeper into? Maybe it’s learning about camera settings or practicing various composition techniques. Whatever it is, enjoy the creative process!
About the author: Brenda Bergreen is a Colorado wedding photographer, videographer, yoga teacher, and writer who works alongside her husband at Bergreen Photography. With their mission and mantra “love. adventurously.” they are dedicated to telling adventurous stories in beautiful places.
Image credits: Header photo from Depositphotos, and all other photos by Brenda Bergreen.