Five Tips for Capturing Stunning Portraits on vivo X70 Pro+
Portraits are more than just capturing faces or expressions, they are moments in time that can evoke feelings and anchor lasting memories. Smartphones have made it easier to capture portraits with pleasing bokeh for dramatic effect, but there’s so much more to it than that.
Full disclosureThis article was brought to you by vivo.
Get to Know Your Camera Setup
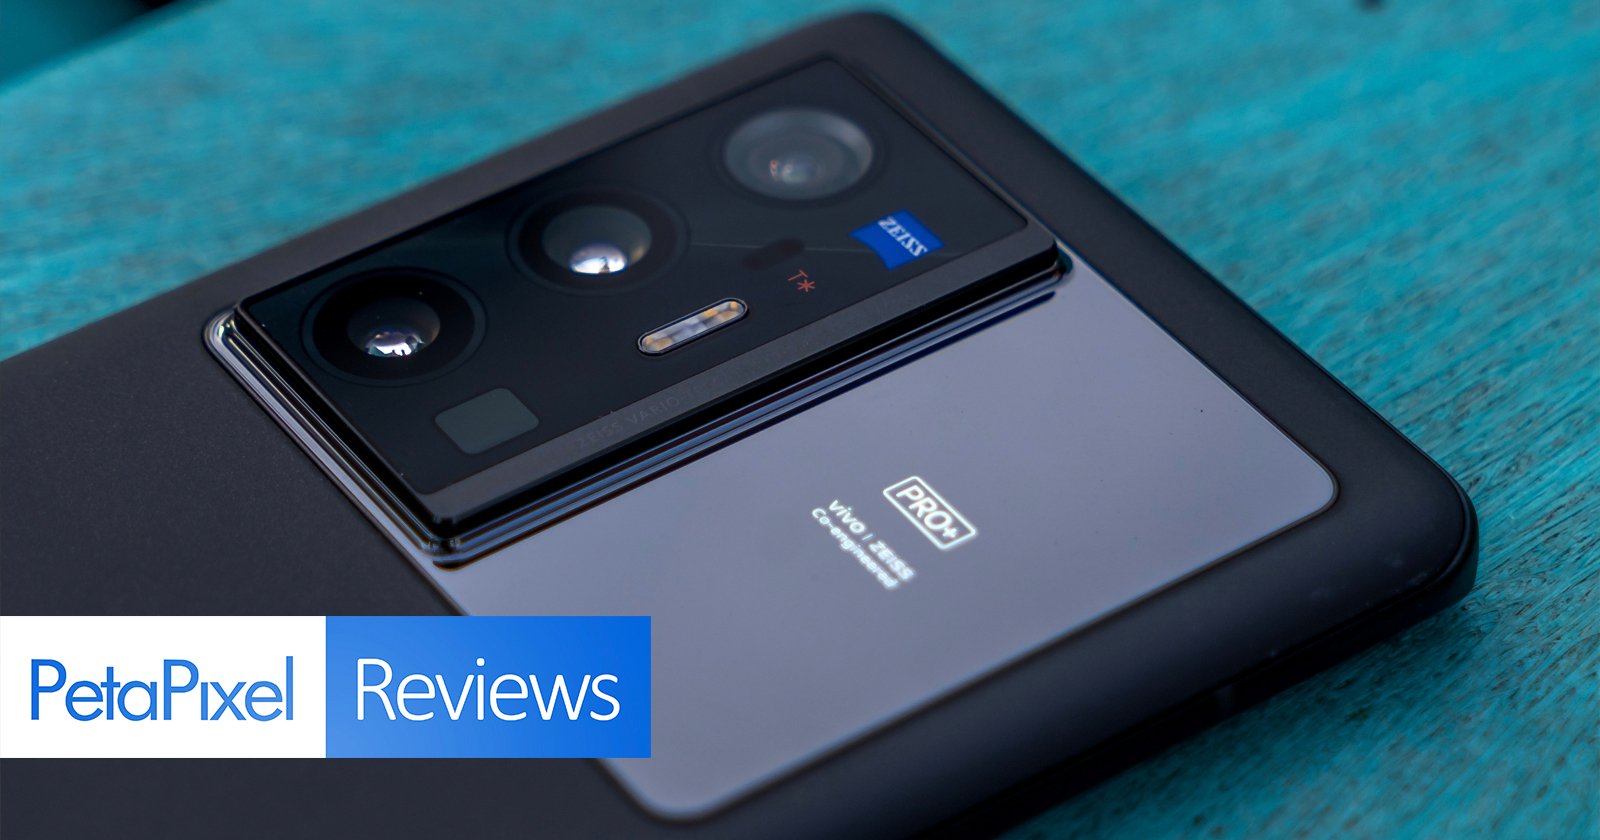
Knowing what the camera is capable of makes it easier to bring your vision to life. The best way to familiarize yourself with the camera setup and how it performs in different light conditions and scenarios is to spend some time trying out the different options. The default lens on the vivo X70 Pro+ is a 50-megapixel main camera (23mm equivalent), with a 1/1.3-inch Ultra-sensing Samsung ISOCELL GN1 sensor and f/1.57 aperture. This is a versatile camera that you can use in different scenarios to capture urban landscapes, nature, or portraits. If you are taking a close-up portrait, however, you should opt for the dedicated 12-megapixel portrait camera, a 50mm equivalent with an f/1.6 aperture. This camera emulates a prime lens by taking natural-looking photos with subjects clearly in focus and natural out-of-focus bokeh.

The vivo X70 Pro+ also sports an ultra-wide 48-megapixel camera (14mm equivalent) with a Sony IMX598 sensor and f/2.2 aperture. The ultra-wide camera provides a 114-degree field of view and is embedded with vivo’s Gimbal Stabilization 3.0 technology, keeping the lens still as you shoot images and videos. Thanks to the wide angle and the advanced stabilization system, this camera is suitable for capturing wide, action-packed scenes.
The last piece of the quad-camera setup is an 8-megapixel periscope camera, a 125mm equivalent with an f/3.4 aperture, offering 5X optical zoom. Turn to this camera when capturing someone in the distance. Using this option will compress the elements in your image, bringing the background closer to your subject.
Choosing between the different lenses and focal lengths dictates the relationship between your subject and foreground and background in the photo, so don’t skimp on playing with the different options to see what works best for your style.
Find Your Subject and Make it Pop
Who says a face has to look directly at the camera all the time? A thoughtful gaze, exuberant smile, or immense satisfaction – the beauty of capturing people is to see them from more than just one angle. It’s easy to do that with the vivo X70 Pro+ in hand and a portrait mode that offers flexibility through a variety of bokeh modes. The vivo X70 Pro+ has four distinct bokeh effects inspired by classic ZEISS lenses – ZEISS Biotar 1.5/75, ZEISS Distagon 2.0/28, ZEISS Planar 2.8/80, and ZEISS Sonnar 2.8/180. Those effects hark back to the days of film, but when you apply them to portraits on this particular phone, you get something unique.
To decide which one of these options is right for the portrait you are creating, you need to consider the background light you are working with and the visual composition you are going for.

The unique swirly ZEISS Biotar Style bokeh is suited for sunny days and works best against a backdrop filled with light spots, such as light shining through a leafy tree. The ‘Hollywood Distagon’ style delivers an anamorphic-like look with sharp images in-focus and is more suitable for wide-angle composition. When working with a busy background, such as a crowded street, the ZEISS Sonnar Style bokeh is the way to go. This portrait style is known for its creamy blur that provides depth and clarity.

Taking a portrait against the city lights in the background? The ZEISS Planar Style Bokeh manipulates both sharpness and soft focus to pinpoint the background lighting, bringing out the best in its subject even in limited light.


Take the Portrait (and Then Change It After)
Bokeh often adds a sense of perspective to a photo, highlighting the subject in focus. It’s not just about depth, but also about the subject’s presence within their surrounding environment. While you may have the ability to change how much the background blurs after you’ve taken the shot, you don’t always get the chance to do it as many times as you want. You may have phones that allow you to change the level of blur, but not necessarily what is in focus, like you see with the vivo X70 Pro+.

If you capture a portrait with a lens that gives you an f/1.6 aperture, you should get a pretty creamy background. But why not change that by choosing between a variance of virtual f-stops that can emulate what it would be like to shoot that way? When you have a range between f/0.95 and f/16, you gain plenty of flexibility in the final output.
That’s a key feature underpinning the vivo X70 Pro+ and is an improvement over its predecessor because of the improved sensor, optical image stabilization (OIS), and wider aperture. Open up a photo taken in Portrait mode, and you can refocus on any part of the image, with a slider to adjust the blur on the rest of the shot.

Since you can save the changes, and then re-do the whole process again, you can essentially change where you want the photo to focus. Whether you’ve changed your mind, or your subject would prefer a different level of bokeh, you can apply it on a whim.
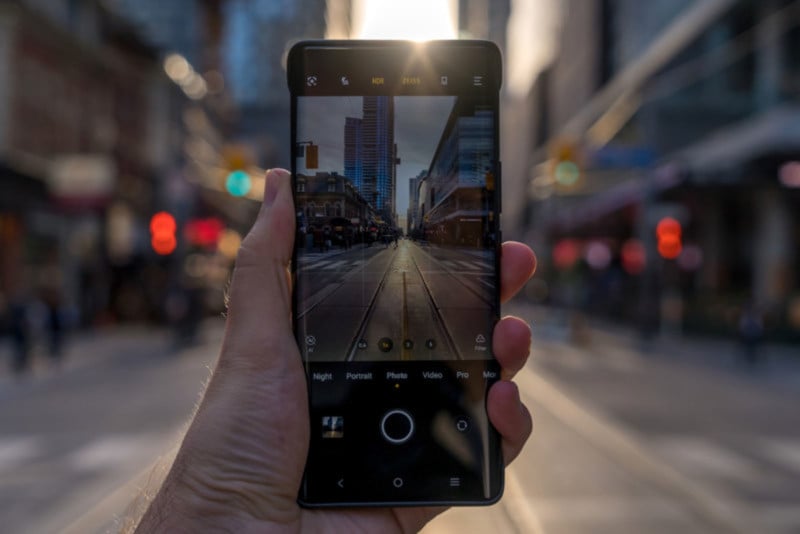
Portrait mode in the X70 Pro+ presents three lenses to shoot with: a 1x (23mm equivalent), 2x (50mm), or 5x (125mm). Of the three, the 2x 50mm equivalent represents the portrait image sensor and lens and is the one the mode turns to by default.
Moreover, you can also do this no matter which bokeh style you choose. All four of the ZEISS bokeh styles — Biotar, Sonnar, Planar, and Distagon — are easy to use, and when you take a portrait with any one of them, you can still make the same adjustments.
Capture the Moment, Even in Low-Light
When your camera can see better, you can shoot better. That means you don’t have to wait for daylight to get a great shot. Computational software on phones continues to improve to make photos look better with little effort on your part. It’s what vivo has tried to make even better with its own V1 chip inside the X70 Pro+. This chipset speeds up all the processing the phone must do to optimize and render photos, which is very important when it comes to low-light or night shooting. ZEISS T* Coating does its part to reduce glare and improve light sensitivity, especially when harsh lights, like streetlamps, beam right into the lens.
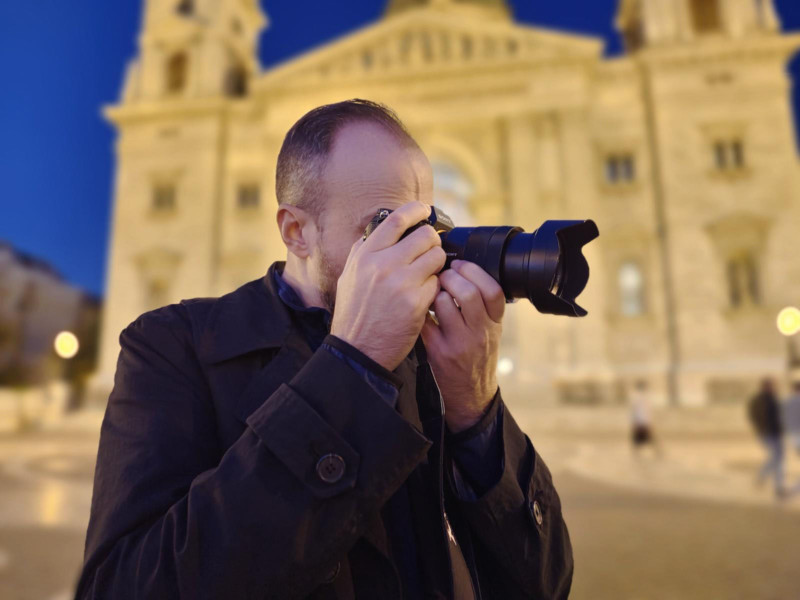
There is something different about capturing people in these settings, and the right kind of hardware and software makes your job easier. Even if you use the regular Photo mode, or Night, for example, you should be able to capture the beauty in the portrait. Night is a little trickier because it is emulating a longer exposure. If your subject moves, there’s a higher likelihood they will look blurry. If they can stay still enough, though, the results could look fantastic.
Not all portraits need to have a lot of bokeh, and that’s why it’s good to have such a wide range of virtual f-stops within that mode. Use available light sources on your subject, even if it is from only one angle. Play around with the exposure slider on the camera as you focus to determine what the best balance is.

When there is enough light to illuminate your subject, you don’t have to rely on Night for that. Portrait or Photo should be fine. The best part is you get to experiment and see what works best in any given scenario. You also have options, like shooting in Pro mode for RAW output. If you feel more confident having more control over how to compose a shot, and then process it yourself afterward, there’s nothing standing in your way to do that.
Be Candid
When good lighting is there, don’t be shy to start snapping away, especially when faster autofocus can lock onto a subject and enable you to capture a moment in time. Candid shots can turn out to be iconic in one’s life. It happens all the time while capturing ‘slice of life’ moments of young children. They’re not the easiest to pose, and they rarely stay still, but when you catch that special moment, or luck out on a joyous expression, the photo becomes priceless.

Softer light is great for bringing out richer skin tones, though you do have the luxury of HDR in the vivo X70 Pro+ to help balance highlights and shadows in all situations. The X70 Pro+ is designed to work well in varying conditions, giving you a chance to not only quickly determine how to best take the shot, but also the tools in which to do it your way.
It’s common practice to capture a person standing in front of a sunset, but why not also capture them looking at one? The glow from a falling sun can be mesmerizing, and neat light sources also present interesting opportunities. Try doing it with neon signs or candles illuminating your subject. The results can be pretty cool, and as you master the camera, you gain a better sense of how to get the image you’re looking for.


The thing about candid photography is that it isn’t something you plan. You just pick up the phone and start snapping away, and you don’t really care if it takes dozens of shots to get the perfect one. Portraits can follow the same pattern, and there’s real value when they do. Social media has certainly led to a rise in ‘staged’ candid shots, but you can always do it your own way. There’s just something about snapping away to get the right shot – and don’t be surprised when you get a better photo. Natural action is special, and it often turns out that way when you compare photos later on.
Image creditsPhotographs by Ted Kritsonis, unless otherwise noted.