How to Photograph a Total Lunar Eclipse
![]()
You’re about to learn everything you need to photograph a lunar eclipse, including the upcoming total lunar eclipse on May 26, 2021. Everything!
Ready? Keep reading!
What is a Total Lunar Eclipse?
![]()
A total lunar eclipse occurs when the Earth moves between the Sun and the Moon, covering the Sun’s rays and casting its strong shadow, called the umbra, on the Moon.
As the Moon enters Earth’s shadow, the eclipse goes through 7 phases or stages.
![]()
- Penumbral eclipse begins (P1): The penumbral part of Earth’s shadow starts moving over the Moon. This phase is very difficult to observe with the naked eye.
- Partial eclipse begins (U1): The Earth’s umbra starts covering the Moon, and the eclipse becomes more and more perceptible.
- Total eclipse begins (U2): The Earth’s umbra completely covers the Moon. The Moon turns into red, brown or yellow. It’s popularly known as the Blood Moon.
- Greatest eclipse (Max): This is the central moment of the total eclipse.
- Total eclipse ends (U3): The Earth’s umbra starts moving away from the Moon so it’s visible again.
- Partial eclipse ends (U4): The Earth’s umbra completely leaves the Moon allowing the lunar surface to be visible again.
- Penumbral eclipse ends (P4): The Earth’s penumbral shadow moves away from the Moon. It’s the end of the eclipse.
![]()
Depending on where you are on Earth, you’ll be able to see:
- All the phases of the lunar eclipse, including the amazing phase of totality.
- The partial lunar eclipse phase.
- The penumbral eclipse phase.
- Or no eclipse phase at all.
That’s why it’s key to know where exactly you need to go to see and photograph the total lunar eclipse.
And you can use an app like PhotoPills to figure it out in the blink of an eye.
When and Where is the Total Lunar Eclipse Visible?
The May 26, 2021, total lunar eclipse will be visible in the United States, Canada, Central America, South America, Antarctica, New Zealand, Australia, Japan, China, Indonesia, Philippines, Malaysia, Taiwan, South Korea…
But as I said, depending on where you are within these locations, you’ll be able to photograph the total eclipse phase (the Blood Moon), the partial eclipse phase, or only the penumbral eclipse phase (weak eclipse).
So here you have a list of places where you can enjoy all the phases of the eclipse (including the phase of totality).
The table also shows the time the eclipse begins (total lunar eclipse phase begins U2), the maximum (Max), and when it ends (total lunar eclipse phase ends U3).
![]()
To create the table above, I’ve used the lunar eclipse information that the Planner tool included in the PhotoPills app provides. The app allows you to plan your photos ahead of time so you’re always at the right place, at the right time to capture the scene you want.
In the app, to get all the total lunar eclipses info you need, all you have to do is to:
- Go to the Planner and choose the May 26, 2021, total lunar eclipse from the eclipse calendar. The eclipse info will appear on the map.
- Place the Red Pin in the location you want to photograph the lunar eclipse. You can use the Load button (at the bottom) to type the name of the place if you know it. Otherwise, you can drag and drop the Red Pin. Or just do a long press on the spot you want to place the Red Pin and it’ll be placed there.
- Get the local times each eclipse phase occurs from the eclipse panel above the map (Panel 10). Swipe the panels until you find it.
- Swipe the Time Bar (below the map) to change the time and see on the map where the eclipse occurs at all time (thin line).
- And if you’re right where the Red Pin is, you can also use the Augmented Reality (AR) button to visualize the position of the lunar eclipse in the sky.
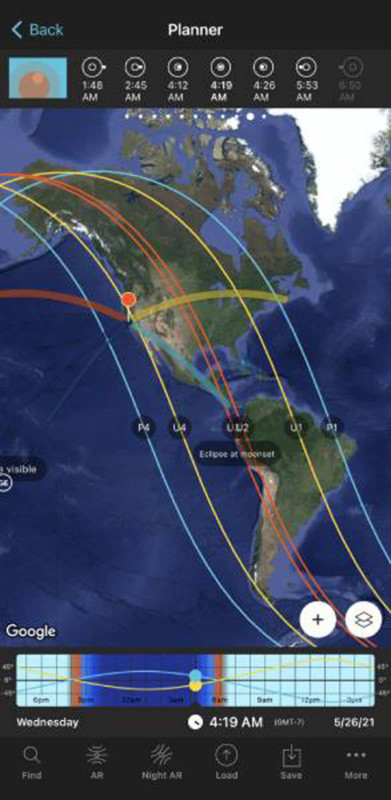
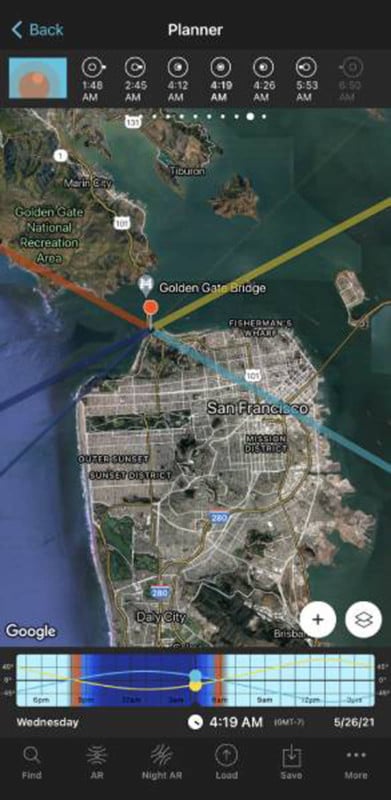
Confused? Don’t worry: everything will become clear in the next section. I’ll show you how to plan your total lunar eclipse photo step by step in a video.
How to Plan a Photo of the Total Lunar Eclipse Step by Step
If you want to photograph the lunar eclipse, the first thing you need to do is to plan your shot. This means to find the right shooting spot and right shooting time the photo of the eclipse you wish to capture occurs.
So, first, decide what you want. Maybe you want to photograph a particular phase of the lunar eclipse, without a foreground.
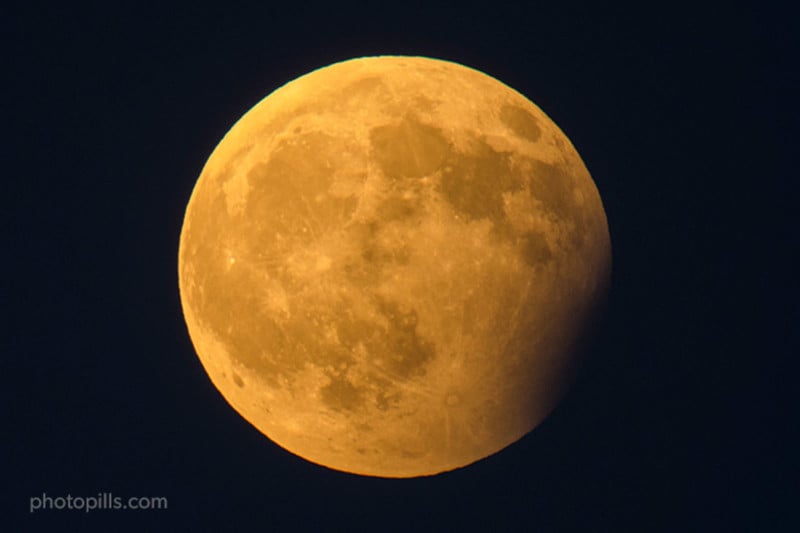
Or maybe you’re interested in capturing the eclipse aligned with a cool subject you know.
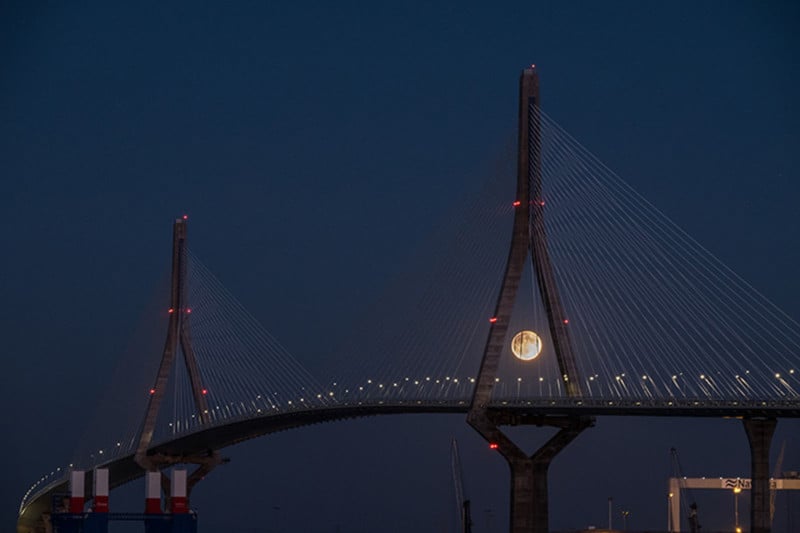
No matter the photo you want to capture, watch this video and you’ll learn how to easily plan it.
So you can go and capture it!
In the video, you’ll learn how Rafa (the Bard of PhotoPills) plans to photograph the May 26, 2021, total lunar eclipse in San Francisco (USA). All you have to do is to follow the same workflow to plan your shot.
Now that you’ve planned your photo of the lunar eclipse. You know your shooting spot and shooting time.
Let’s see now all the gear you need to photograph the eclipse.
All the Equipment You Need to Photograph the Total Lunar Eclipse
![]()
I love my lunar eclipse checklist. It’s the only way I make sure to bring everything I need for the shooting session. So, I thought you might like it too.
Long story short, this is the gear you need to photograph the lunar eclipse:
- Telephoto lens
- Teleconverter (optional)
- Camera
- Sturdy tripod and head
- Shutter release or intervalometer
- Memory cards and batteries
Lens
The lens choice depends on the photo you want to capture.
Go wide (14-35mm) if you want to photograph the path of the eclipse with a beautiful landscape. The Moon will be a small dot in your photo, but you can make it work in your composition.
Go long (200mm, 300mm, 500mm, or more) for a close-up view and to create a powerful image of the lunar eclipse aligned with a subject. Or to photograph all the phases of the eclipse without foreground.
To get an even larger focal length, use a teleconverter if you have one.
Camera
Use your own camera! You don’t need a special camera to photograph the eclipse.
The advantage of using a crop sensor camera vs a full frame camera is the focal length multiplier effect. For instance, using an APS-C camera with a 1.5x crop factor sensor, a 200mm focal length turns into a 300mm focal length.
Tripod and Head
The camera and the lens are heavy. Therefore you need a sturdy tripod and head capable of bearing the weight and which are as stable as possible on a windy day.
Shutter Release or Intervalometer
Don’t press the shutter button of your camera! If you do so, you’ll shake your camera and your images won’t be 100% tack sharp, and you want them crispy and sharp!
Always use a shutter release or an intervalometer.
Memory Cards and Batteries
Don’t forget to bring several memory cards and spare batteries just in case something goes wrong. And no, you don’t need any lens filter like you do when photographing a solar eclipse.
How to Photograph the Total Lunar Eclipse Step by Step
Photographing the total lunar eclipse will be lots of fun, and the good news is that you have plenty of time. So practice a bit photographing the Moon before the eclipse begins.
Just follow the steps in this section and you’ll nail the photo!
Go to the planned shooting spot
On the date of the eclipse, go to the planned shooting spot. And make sure you set up the tripod and head right where the PhotoPills’ Red Pin is in your photo plan. Being at the right spot is key, especially if you’re photographing the lunar eclipse aligned with a subject.
Shoot in raw
Don’t shoot in JPG, shoot in RAW to collect as much data as possible and have more creative possibilities in the post-processing.
Use a long focal length (200mm, 300mm, 500mm, or more)
If you want to center the attention of the viewer on the eclipse, use a long focal length. The longer the better!
Set the spot metering mode
Meter light on the Moon to nail the exposure.
Close the aperture (f/8)
Set the aperture to f/8 to get a nice deep depth of field. But get ready to open the diaphragm to f/5.6 or more to keep the shutter speed under 2s.
Don’t set a shutter speed over 2s if you want to avoid the motion blur in the Moon caused by the rotation of the Earth. It’d be ideal to keep it under 1s if you can.
Use ISO 100
Use a low ISO to prevent image noise. Use the nominal ISO of your camera (100 or 200). But again, get ready to push the ISO up to 400 or even 800 so you can keep the shutter speed under 2s.
Set shutter speed (1/125s-1/2s)
Now set the shutter speed that gives you the right exposure for the Moon.
For example, during the phase of the partial lunar eclipse, set a base shutter speed of
1/125s.
And bracket the exposure to make sure you’re getting at least 1 photo correctly exposed. 1-stop bracketing of 3 photos will be enough in most situations.
As the eclipse progresses, you’ll have to increase the exposure to get more detail in the shadows. So during totality, you should use slower speeds – for example 1/2s. But remember, don’t go over 1-2s if you can.
Bracket your exposure
After all the planning, the last thing you want is to fail to get the exposure right, so make sure you apply the bracketing technique. 1-stop bracketing of 3 photos will work.
Focus at the edge of the Moon
When you’re ready to start shooting, focus at the edge of the Moon, take a test shot, and use the Live View option on the LCD screen to double-check that the Moon is in focus.
If you’re photographing the lunar eclipse aligned with an interesting subject, I recommend that you focus on your subject.
If your subject is behind the hyperfocal distance, the eclipse will appear acceptably sharp in the photo.
And if your subject is in front of the hyperfocal distance, well, it’s better to have your subject tack sharp and a blurry Moon than the other way around.
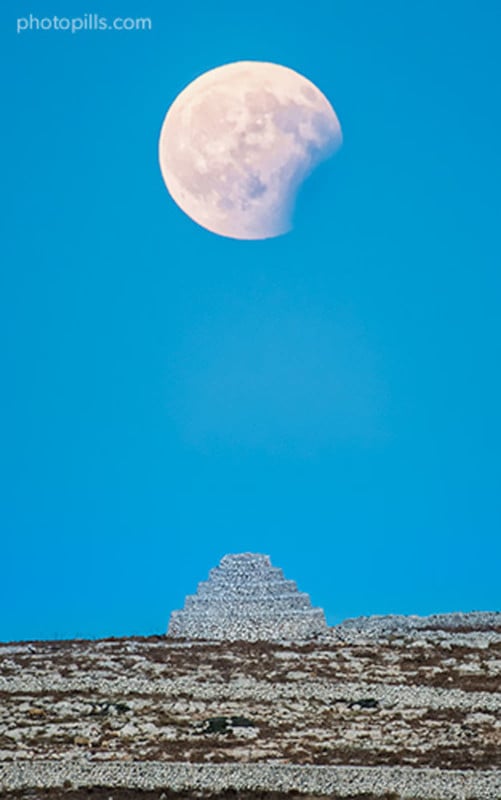
Congratulations! Now you have everything you need to successfully photograph any other lunar eclipse in the future. Good luck!
Full disclosure: Antoni Cladera is an employee of PhotoPills, but this article was not sponsored by the company.
About the author: Antoni Cladera is a landscape photographer with commitment to the environment. The opinions expressed in this article are solely those of the author. Cladera is an artist of the Spanish Confederation of Photography and a member of the Spanish Association of Nature Photographers (AEFONA). This article was also published here.