Lighting Setups Are Nonsense — Here’s How You Really Learn Light
When starting out, you will inevitably stumble upon someone telling you to use a three-light setup for portraits and a beauty dish for fashion photography. I think that’s a whole bunch of nonsense. Lighting setups don’t teach you light — they only confuse you and derail you from progressing.
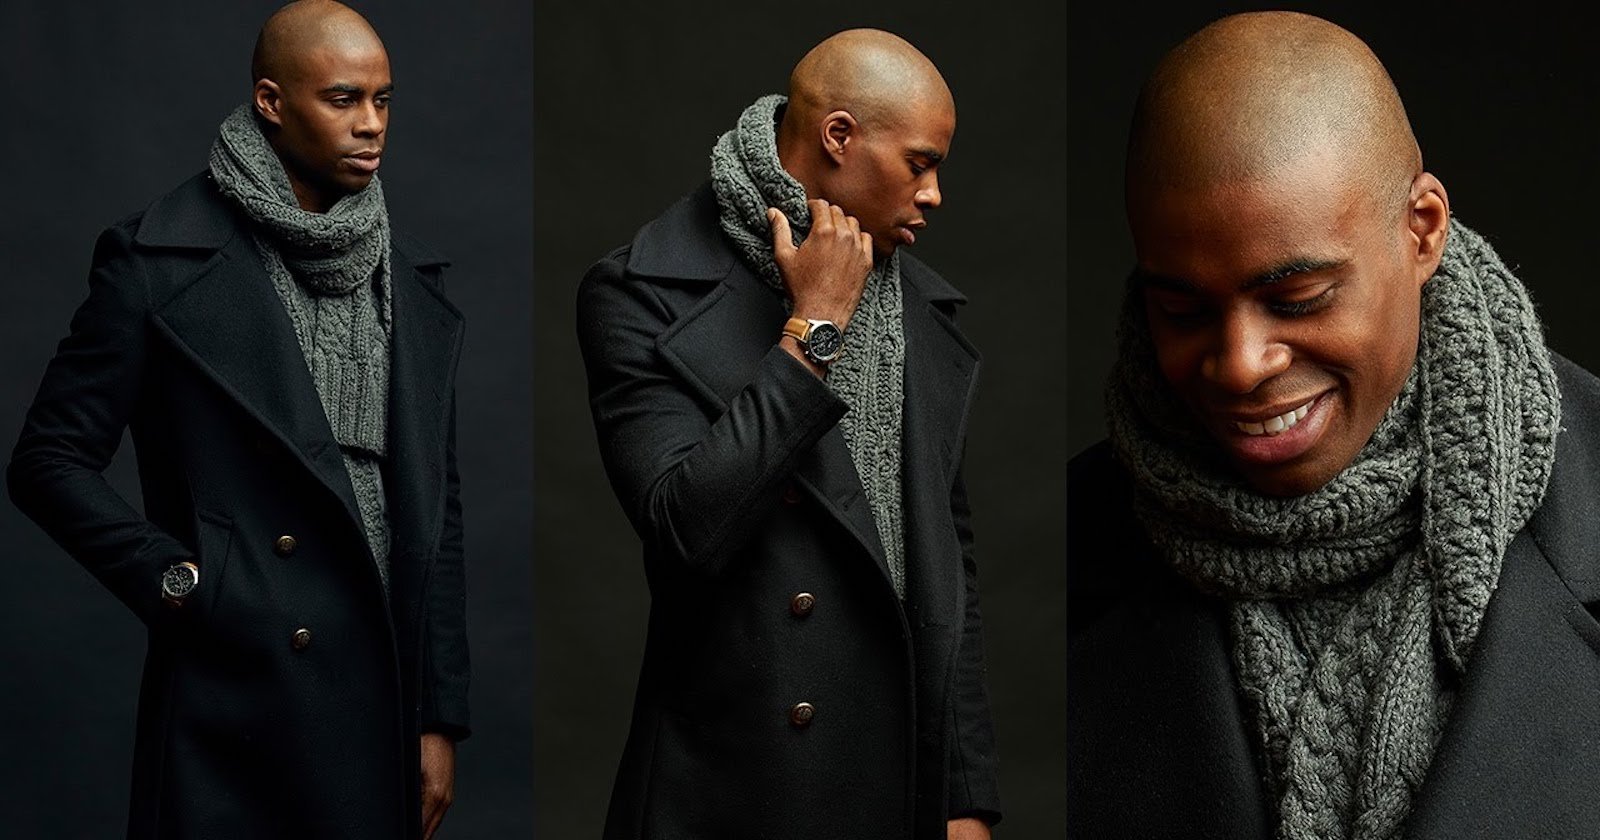
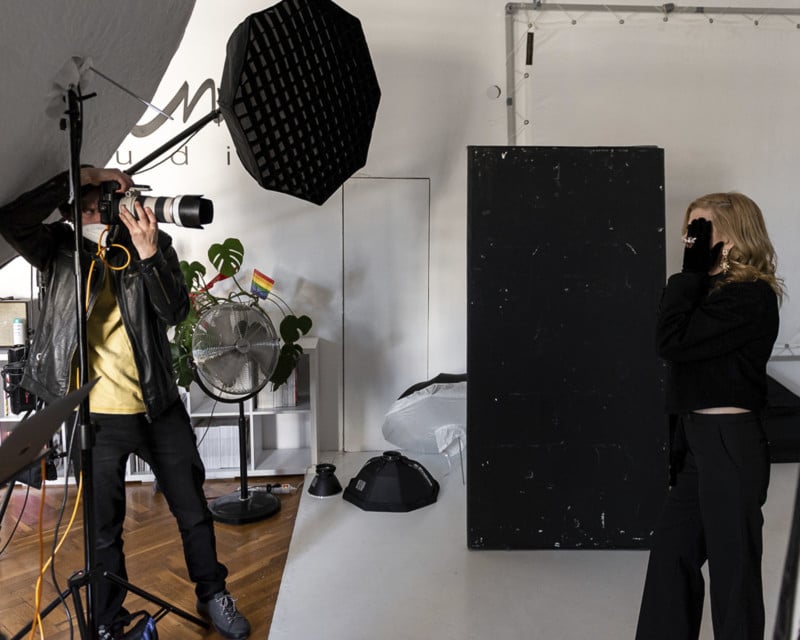
After I took the poor strobe with an umbrella to shoot a full-length shot during darkness, I soon realized that I knew nothing about light. The magical ultimate 1-light portrait setup all photographers must know turned out to be utter nonsense. Why? Well because it didn’t teach me how light works, instead it showed me how to use it in one situation only. Due to my lack of knowledge of light, I lost that client.
Read also: No, You Can’t Take Great Pictures Without Knowing Light
Knowledge of Light Setups Is Not Knowledge of Light
I am sure that this situation is nothing out of the ordinary for beginner photographers. I’ve met one who claimed to be the master of light while relying on simple YouTube light setups. Suffice to say, he is not shooting commercial work or anything significant. If you have a light setup that works for you and are not bothered with how it is limiting your creativity, you may tune out now. But, if you are interested in being able to be creative with lighting, invent your own lighting scenarios, and impress your clientele, I hope to give you a basic starting point with this article.
Surround Yourself With Darkness
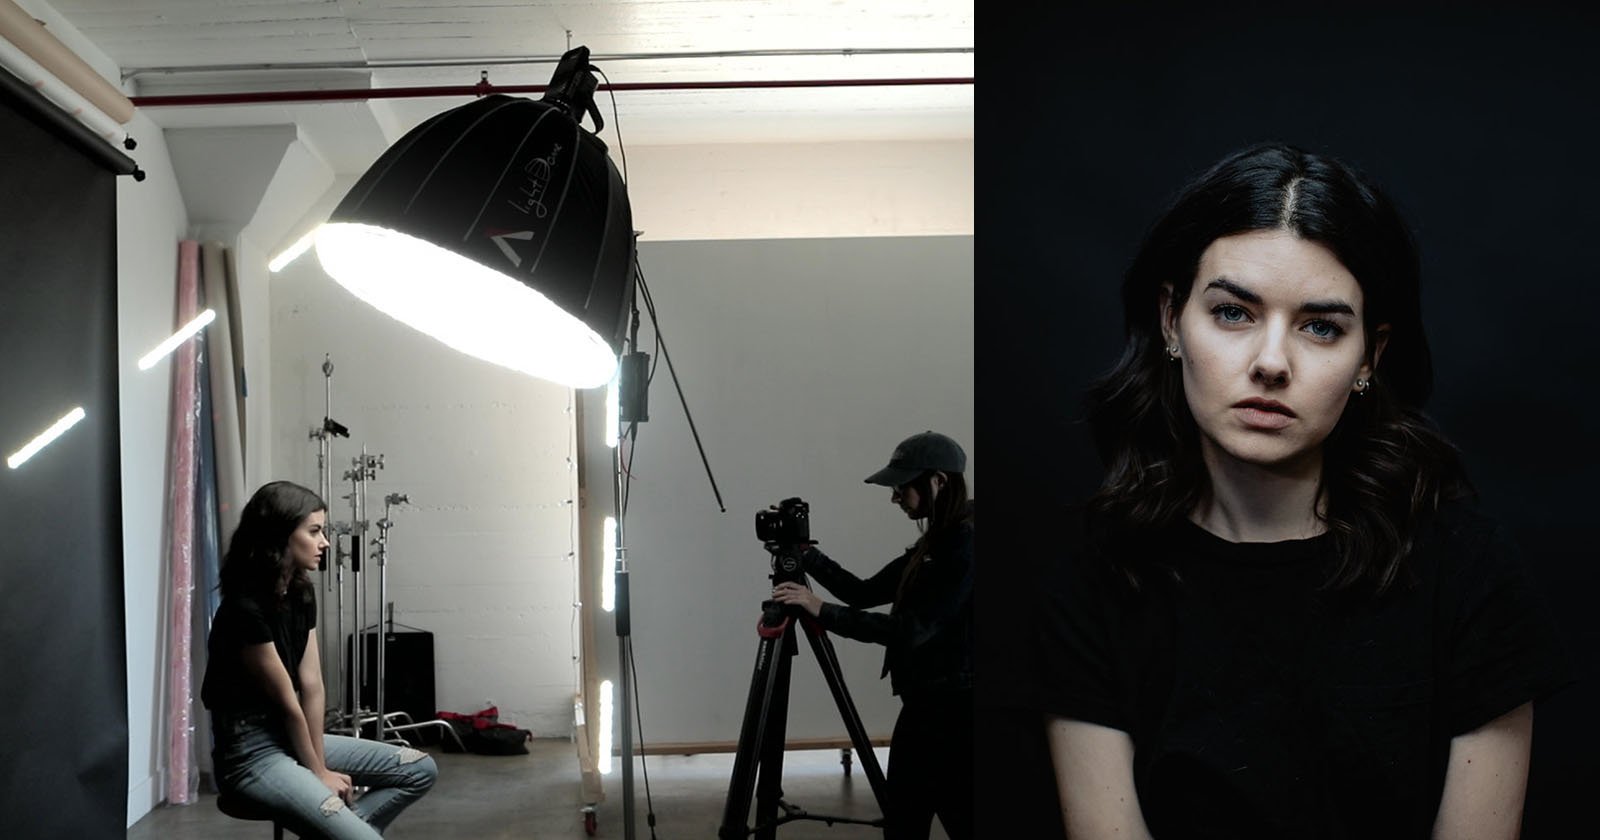
The best starting point for anyone interested in light is to go into a pitch-black room, get any light source, and experiment. You may either grab an object, ideally a small bust if you have one, or just use yourself as the subject. Move the light far away, and back close again. Take note of what you see. Ask yourself, how is this look different from that look?
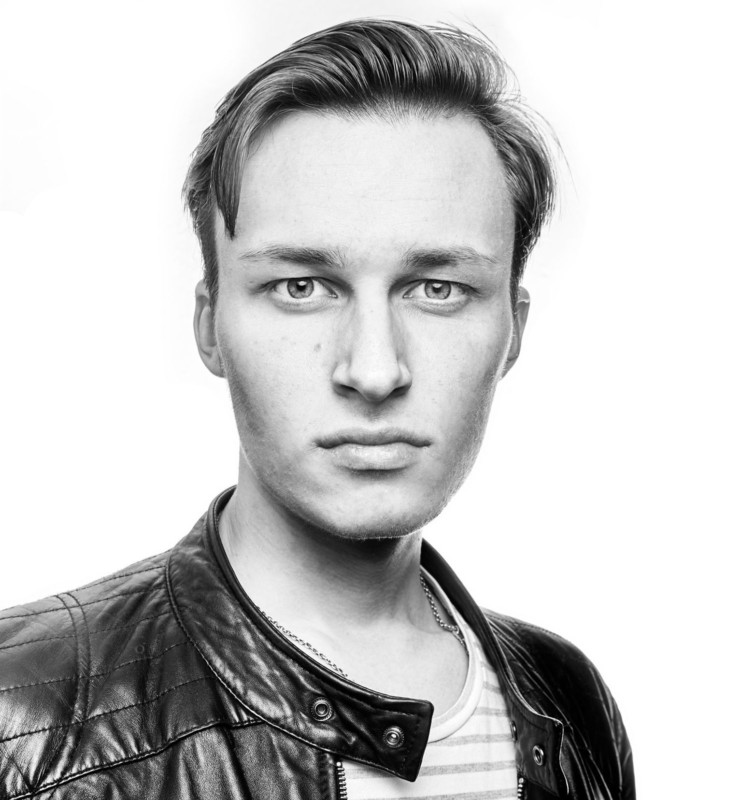
When it comes to distance, the light falloff will become more gradual. A light source close to the face will give a bright shadow on one side of the face, while a light source far away will illuminate the face more evenly. While the process seems a bit simplistic and quite frankly time-consuming, it is the best way to dive into learning light. I personally spend hours on end doing this, only now this has evolved in me shooting self-portraits to test out various ideas. My profile picture was done that way.
Three Items To Help You Along the Way
To be able to do the previous method successfully, you may want to pick up a few things light-related, the first one being a book:
Light: Science and Magic
This is the only book to my knowledge to do such an incredible job of breaking down what light is, how it works, and how to use it to your advantage. Light: Science and Magic explains the simplest concepts of light for beginners, as well as provides new horizons even for experienced professionals.
I can confidently say that this book was far more useful than any lighting tutorial I saw. It’s complete with diagrams, detailed breakdowns, and exact explanations for the light chosen. It features solutions to most difficult scenarios such as photographing white-on-white or black-on-black. A chapter is dedicated to photographing various surfaces, making this a great source for aspiring still-life photographers.
The 2015 edition is complete with a chapter on portraiture, as well as ways to use LED panels and fluorescent lights. By the time you’re done, you will not be using “this new 5-light portrait setup”, but instead inventing your own lighting. A 6th edition is going to be released on the 28th of April.
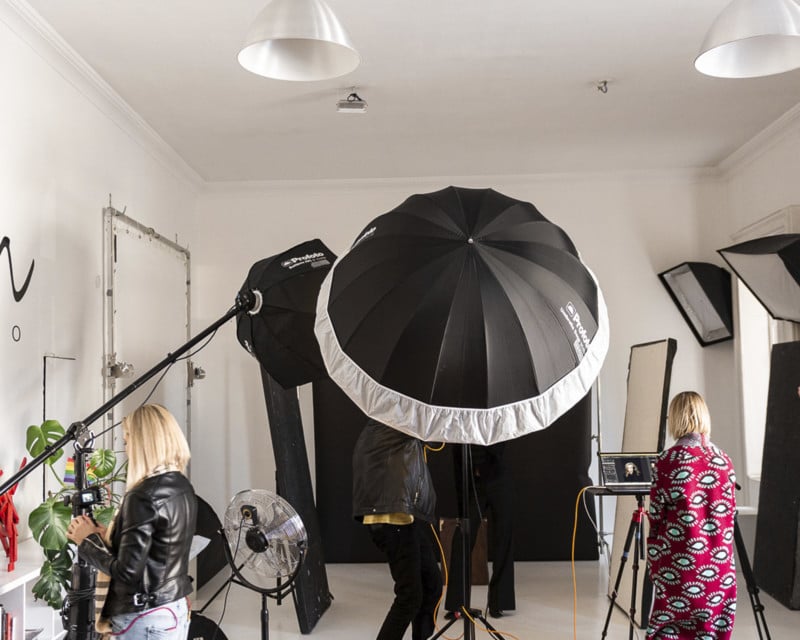
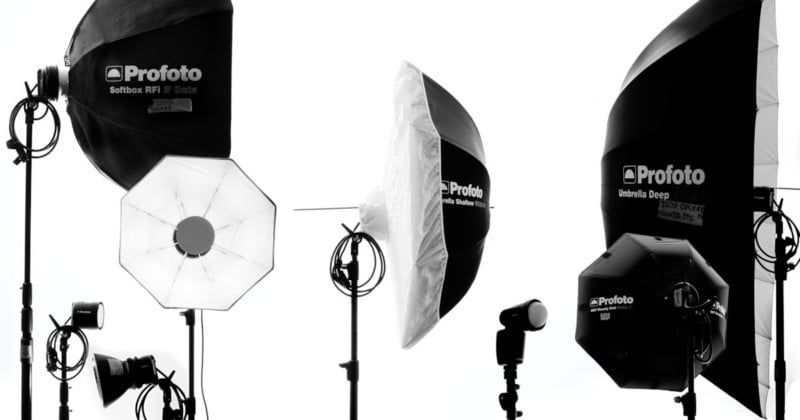
White Umbrella With a Diffusor
This is the modifier I used when I need good light in a pinch. It provides soft, flattering light. Whenever I am shooting a portrait, I have a white umbrella on standby with my assistant (in case of last-minute changes). I prefer it over the silver one as it is much nicer with the skin, meaning less retouching. This is not the one modifier to rule them all.
An umbrella would not work when trying to light a full-body portrait evenly with a 250W strobe (you will need a 7′ indirect octabox). The umbrella is simply a starting point in your light setups. It is probably the best starting point.
I suggest not going cheap and investing in a decent umbrella, it will last longer. I use Profoto, but Photek makes them as good.

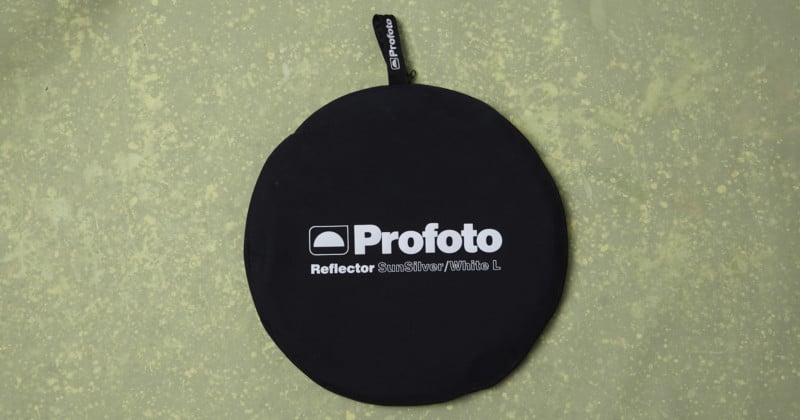
5-in-1 Reflector
This is probably the best way to learn how you can modify light. In a small, cheap package you get a diffusor, white bounce, silver and gold reflectors, and a black flag.
Let me break this down: a diffusor will smoothen the shadow edges, the white surface will bounce light in a natural way, while silver and gold surfaces will reflect either cold or warm light. A black flag will be handy when you want to darken shadows or cut light from a particular part of an image. This is a very basic breakdown — there are a million ways you can use a 5-in-1 reflector.
Friendly tip: don’t use the silver surface when shooting in the sunset, it cools the light down and looks unnatural.
In Conclusion
The journey of light is endless, and the topic will be forever relevant. Learning light never stops, as there is always a new challenge to overcome. The solutions I have to invent on the spot never come from light setups, but instead from my knowledge of how light behaves. Go-to setups work until they don’t, and the client gets frustrated with your incompetence.
A photographer with knowledge of light is like a chameleon who is able to adapt to whatever situation arises. One of the joys of photography is to be able to transform the scene with nothing but light. It is with light, that photographers deliver surprises to their subjects, success to their clients, and joy to themselves.