Stellar Astrophotography Tips for Upcoming Astronomical Phenomenons
With several astrolnomical events coinciding with the Winter Solstice, including the Jupiter-Saturn Conjunction and the Ursids Meteor Shower, December 21st is poised to be a prime opportunity for practicing nighttime and astrophotography skills.
An Astronomical Phenomenon: December 21, 2020
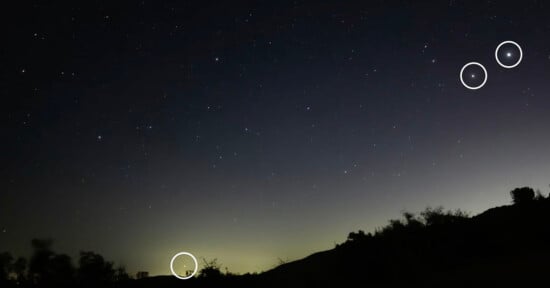
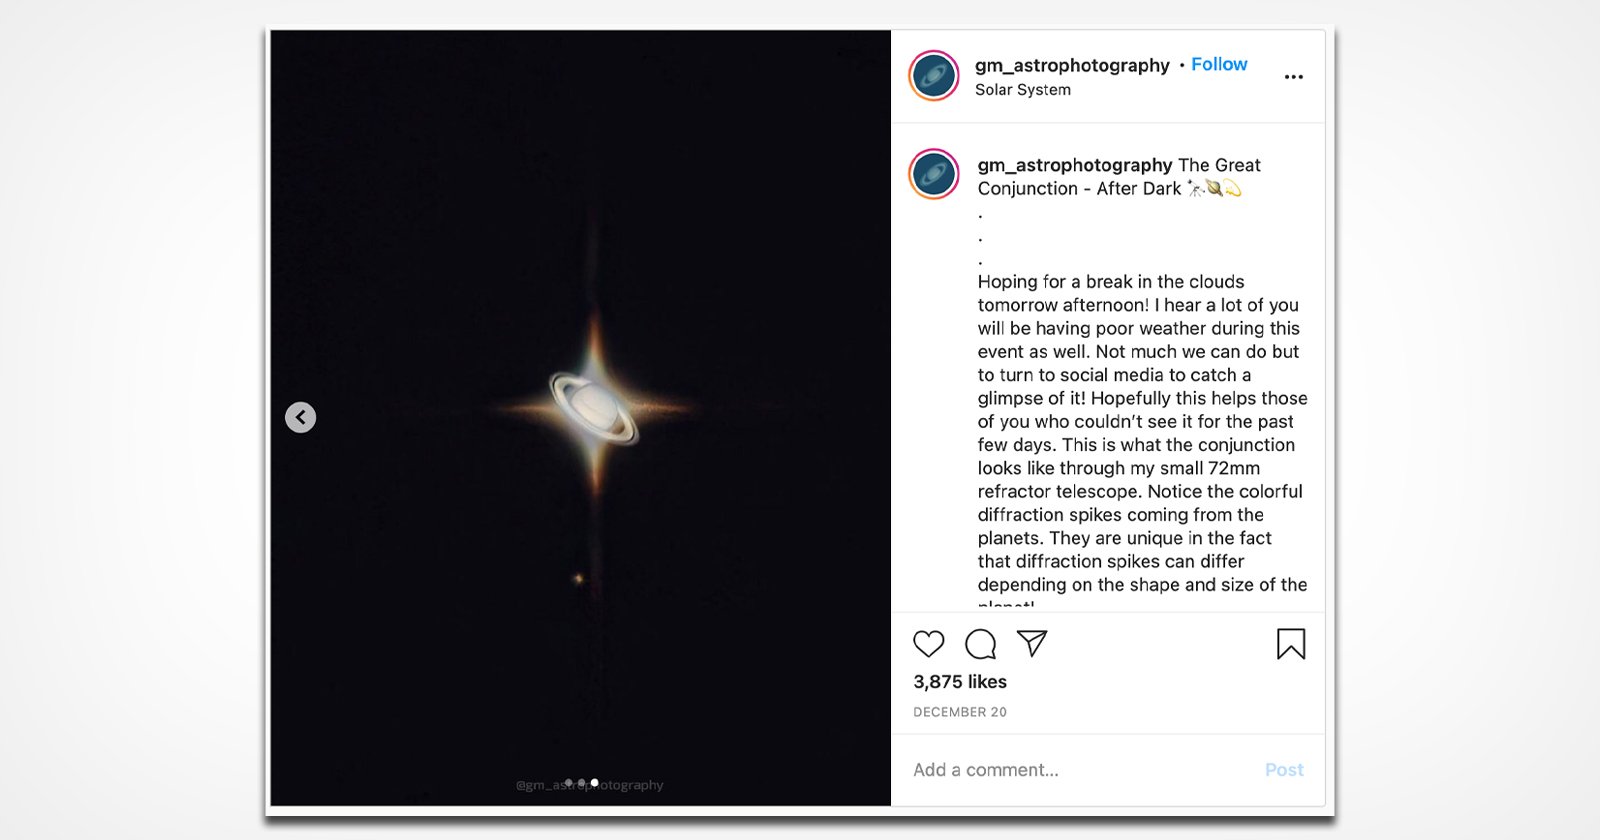
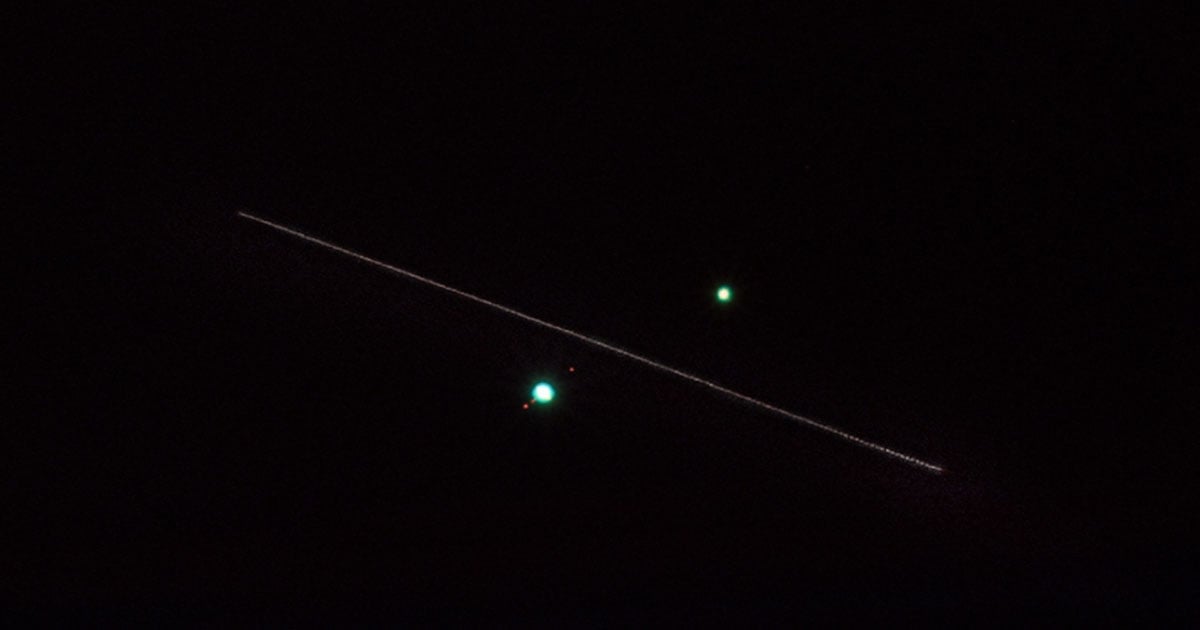
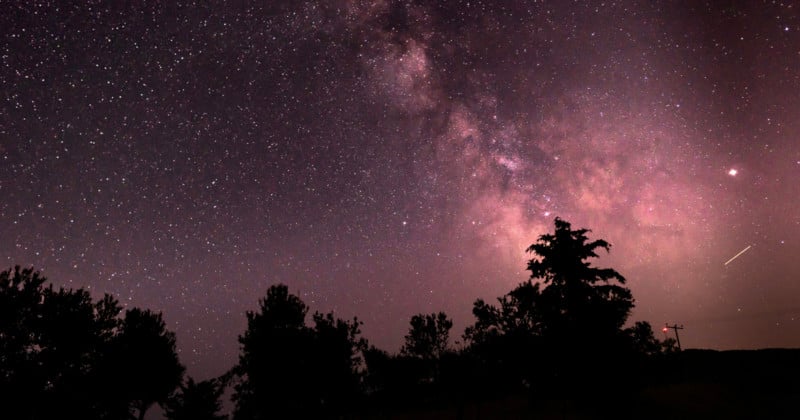
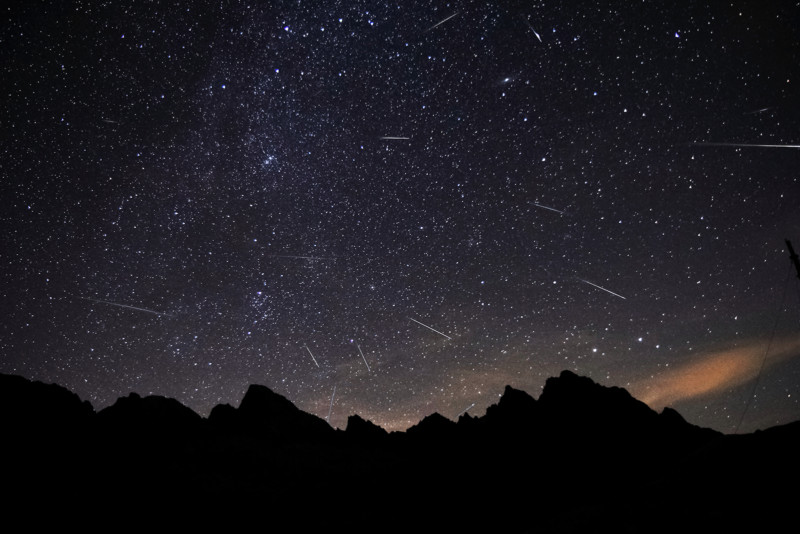
After sunset, Jupiter and Saturn will hover together above the western horizon at a strikingly close distance, the closest observable conjunction since the year 1226. Later that night, the peak of the Ursids Meteor Shower will originate at Ursa Minor and become visible after midnight. Not to mention, it’s the Winter Solstice, making it the ‘longest’ night of the year. Below you can find some of my top tips for capturing these events on December 21st and shooting the night sky at any time.
How to Set Up Your Shot
When shooting photos of the night sky, stabilizing the camera is key and will assure both the sharpest image and the lowest possible noise. Use a firmly planted tripod, assure that the head is tightened, wind is low or blocked and the baseplate and camera are secure. Remember, the stars move quicker than you might think, so don’t use too slow of a shutter speed! Trigger the shutter remotely or with a self-timer to minimize vibration.
Visual fidelity is crucial to astrophotography – the better the file, the better your experience editing. I recommend shooting raw, mid-ISO, and wide-open or close to your subject.
Shoot in Manual Mode for the Most Control
To capture the best nighttime photography, consider shooting in Manual mode. While somewhat intimidating, using the above tips and shooting with a fixed aperture can yield great results. Varying your shutter speed to achieve well-exposed stars will be easier than you think and you’ll be able to preview the best results within a few frames. If you encounter focus trouble, switch to manual focus and set focus at infinity. Shoot with a telephoto lens where possible, otherwise many cameras are high enough resolution to crop in post.
Shoot for the Stars
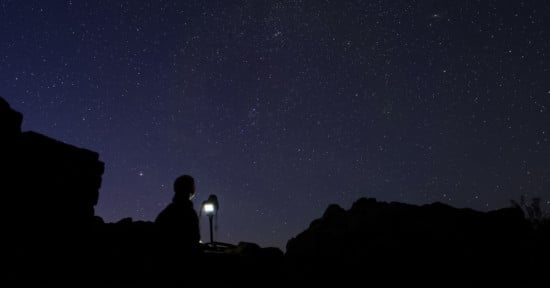
Now, it’s time to get shooting! Find a dark spot with as little light pollution as possible and bracket your view. Since your camera’s preview is small and not always the best reference, you can adjust the variables to give yourself a safety net. Make sure to vary the ISO slightly between captures, as noise may not be evident until you’re looking at a large screen. Expose for the highlights, even if the image looks dark. Remember, it’s easier to adjust shadows than recover lost highlights. Especially with longer exposures, be mindful of movement in the night sky (planes, etc.). For this reason, shooting the exact same frame more than once will often save you later.
Editing Your Shots in Lightroom
Once you’re happy with your shots, you’re ready to cull and edit. You’ve probably shot a lot of what looks like the same image, so cull what you can. Import first and assure that your photo editing platform is building high-resolution previews. Zoom in to 100%+ on your subject – you’re looking for focus – a lack of motion blur and recoverable information (highlight data). Reference metadata with your best composition and check for the best focus, best detail, and lowest ISO.
Now to make what you shot look like what you saw! Remember, everything in Adobe Lightroom is non-destructive, so experiment with the knowledge that you can always undo. Crop to place your subject – whether that be a soaring fireball flare or a group of shooting stars – where it makes the best composition. Begin with the Highlight (negative) and Shadow (negative) sliders to introduce contrast and place focused detail on the subject. Remember that controls like Exposure and Contrast are sledgehammers and best reserved for more extreme cases. Temperature will warm or cool your photo and Tint will establish or counter a color cast – either will dramatically change the look and feel. Establish a pleasant exposure first, then adjust color, and then refine the exposure.
You can further refine your photo by using the Texture slider in Lightroom. When taken to a positive value, this amplifies texture; but when taken to a negative, it smooths texture and can be great for softening the night sky. Play around with the Curves by using the sliders to adjust quadrants of the image (highlights, lights, darks and shadows). The Clarity slider introduces (or reduces/softens) mid-tone contrast, adding a “punch” that will make your subject “pop,” but use it sparingly. Dehaze is an incredible tool that allows you to remove atmospheric haze, but also should be used sparingly – too much will darken your image.
Go the Extra Mile with Photoshop
Finally, putting a batch of images in Photoshop can offer even more control with Smart Objects. Check out this video on how to use several grainy images of the same subject to create one almost completely denoised photo using the Smart Objects functionality:
Happy Winter Solstice and good luck, everyone!
Editor’s note: A previous version of this article misidentified “astrological” and “astronomical.” The error has been corrected.