Tips for Better Holiday Food Photography
Sarah Crawford is an accomplished baker and food photographer most well known for her blog Broma Bakery and in conjunction with Adobe Lightroom has shared her tips for getting the most out your photos of holiday baked goods.
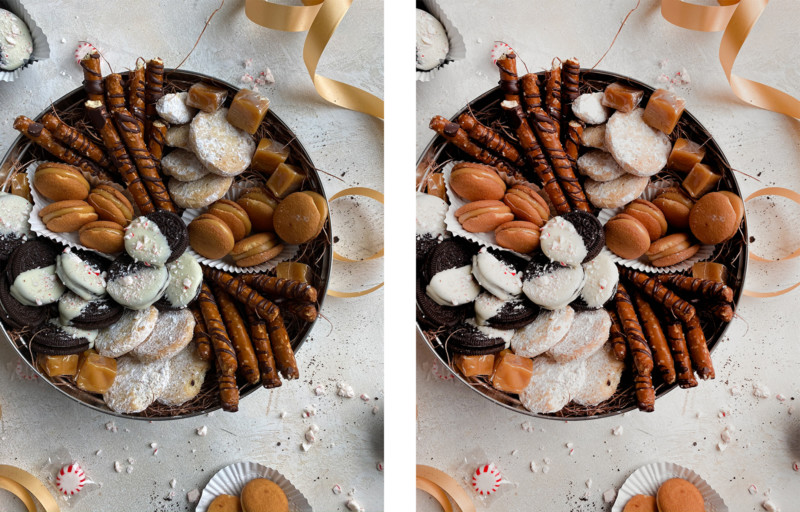
Below, Crawford describes her top tips and tricks on how to style and photograph holiday cookie boxes and other treats.
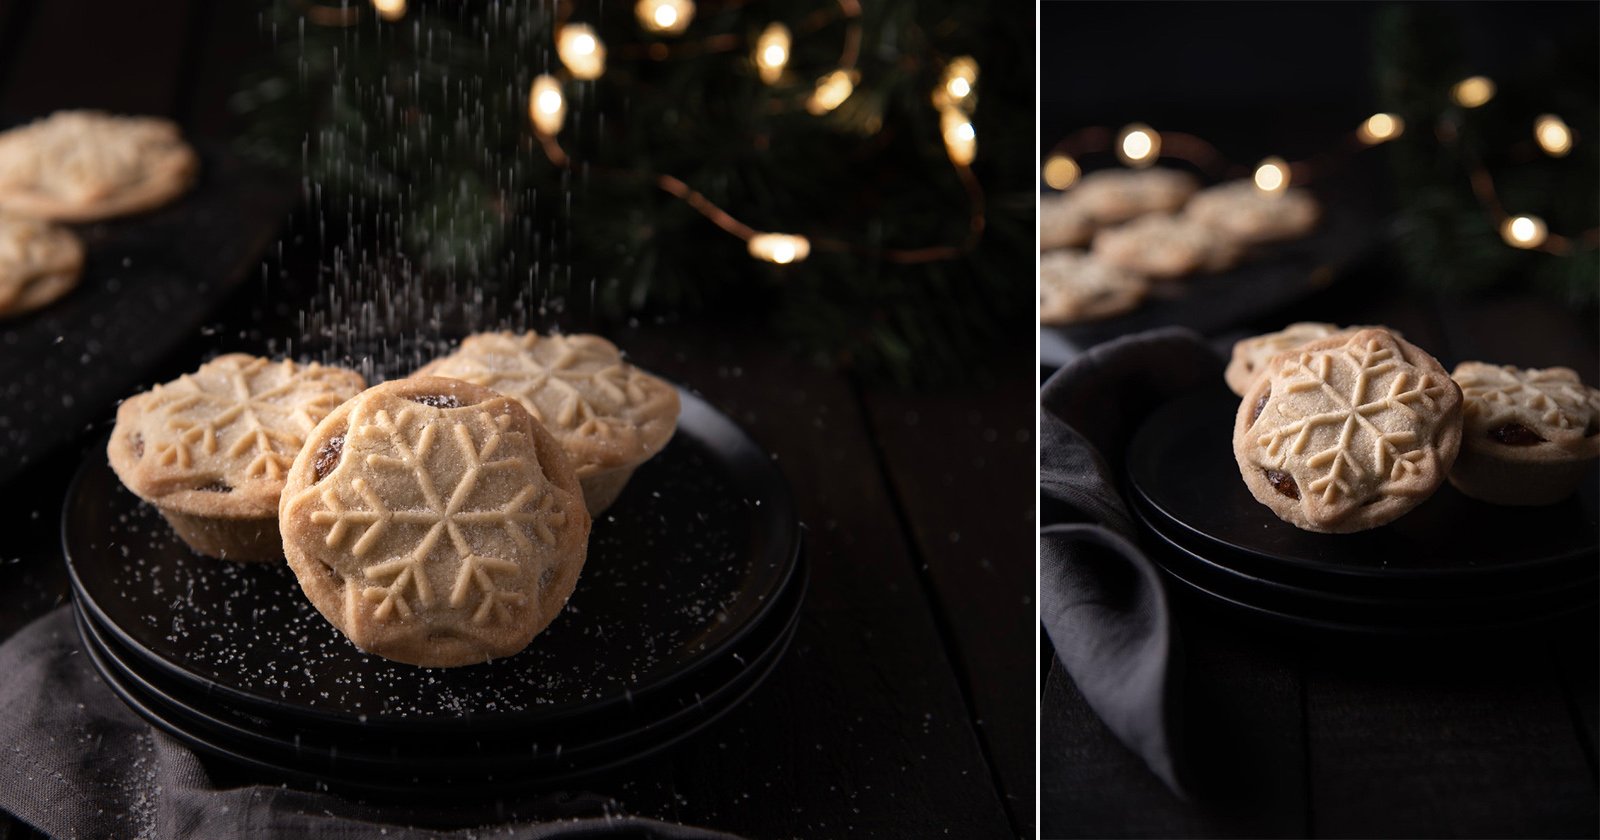
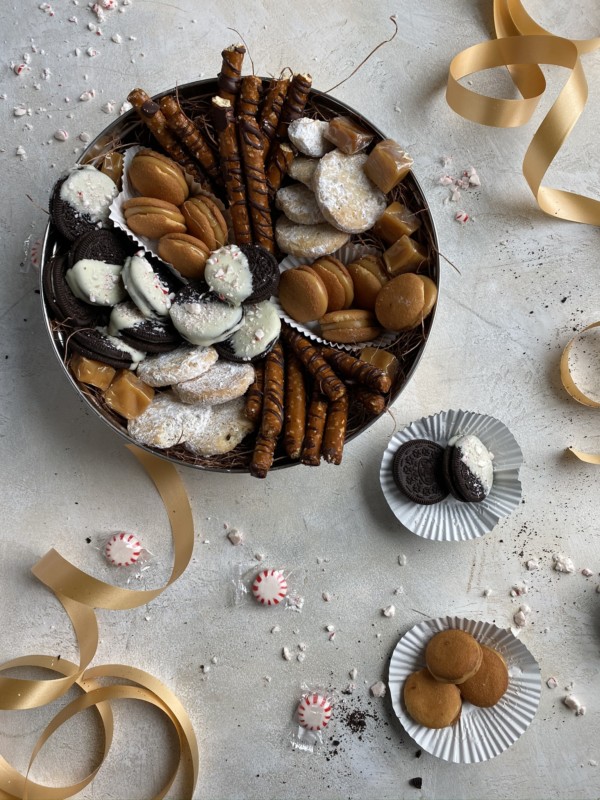
Style your food to set the scene
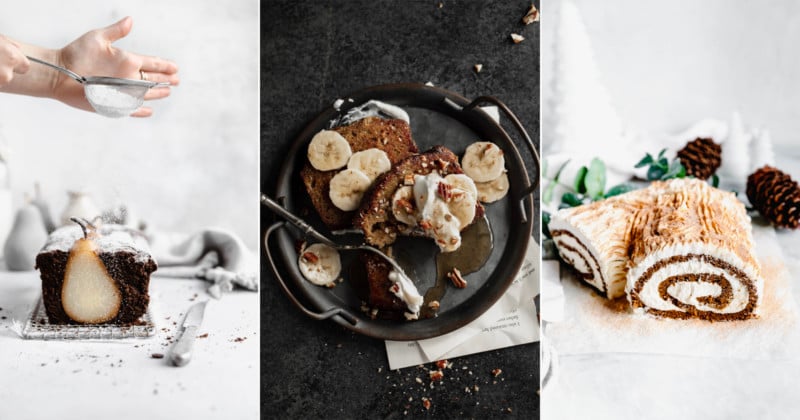
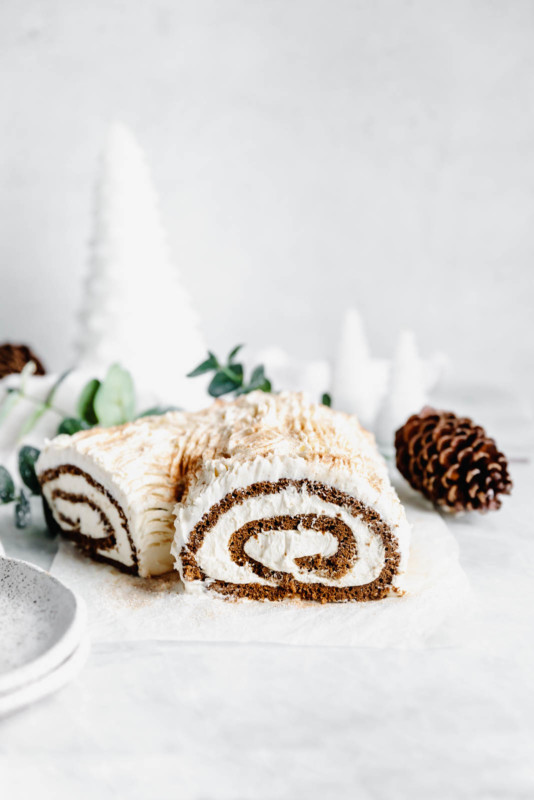
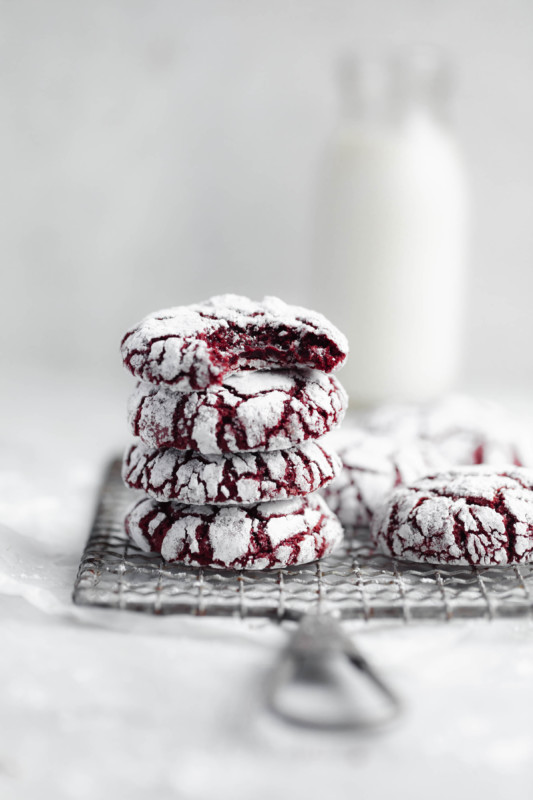
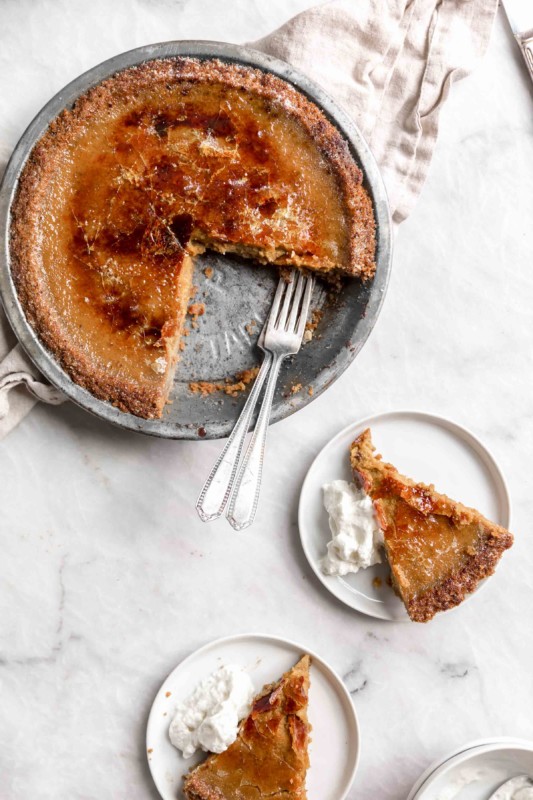
“Styling your food is an important way to get the right look and feel for your photos,” Crawford says. “Find the best angles. Think about what’s most pleasing to the eye when displaying your food. For example, if you are shooting a cookie that has a beautiful decoration on top, show the top. If it’s a sandwich cookie, then you would want to show its layers.”
Crawford says that balance is important. “Don’t place similar colors or shapes next to each other. You should space them out to create the most dynamic photo or otherwise, they will look too similar.”
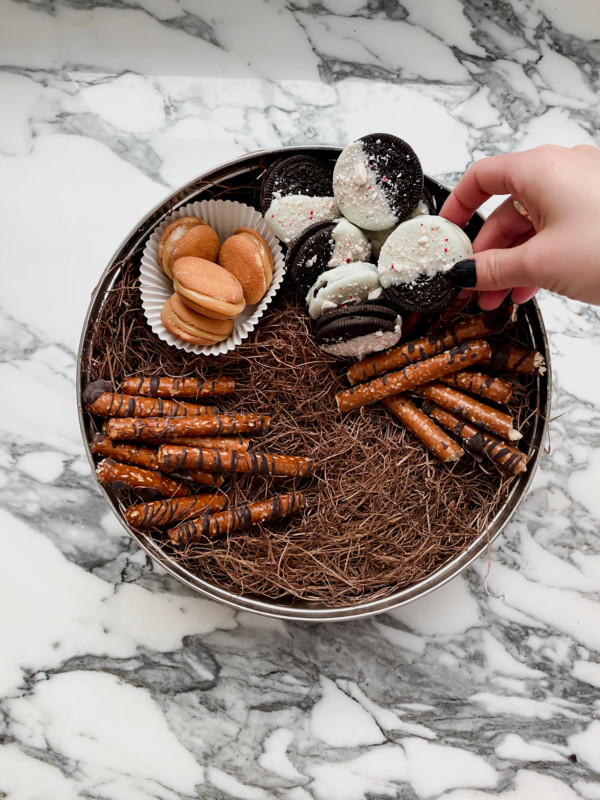
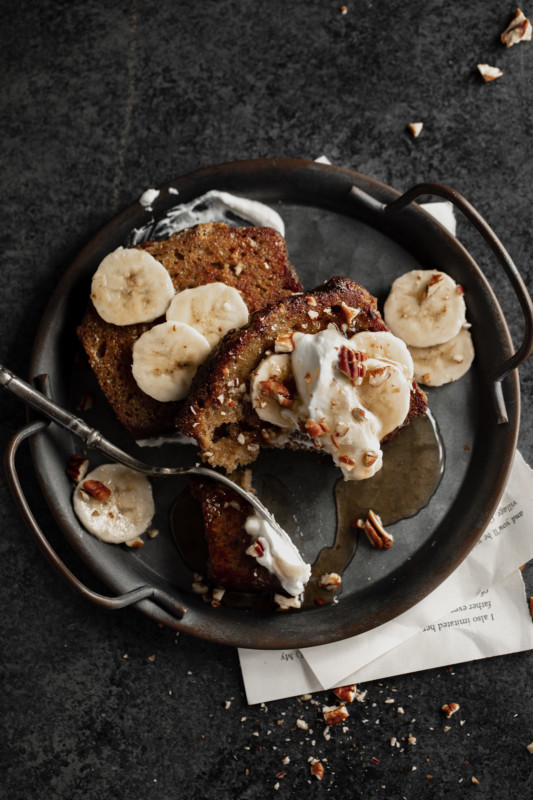
“Taking bites out of your food is a great way to show its deliciousness in the photo,” Crawford says. Getting messy helps to add dynamism to the photo. “It’s like the photographer just couldn’t wait to eat it!”
She says that props can be used to bring the image further to life. “Think about how you would actually enjoy the food you’re styling and incorporate that into your scene. These visual cues help tell your story.”
Find good lighting
“Food photography needs strong light,” Crawford says. “You should be one to three feet from your window when you shoot. Any further away and the light won’t be strong enough, causing your food to look flat.”
She says that there are two notable things to keep in mind when it comes to lighting.
“Say no to overhead lighting. Make sure to turn off any overhead lights since these tend to compete with your natural light,” Crawford says. “And, when possible, shoot using a single light source, such as a window. Relying on multiple light sources – like two windows in a corner of a room – makes the light from these windows compete with each other, leading to a lack of shadows in your scene. Shadows are important for giving food dimension.”
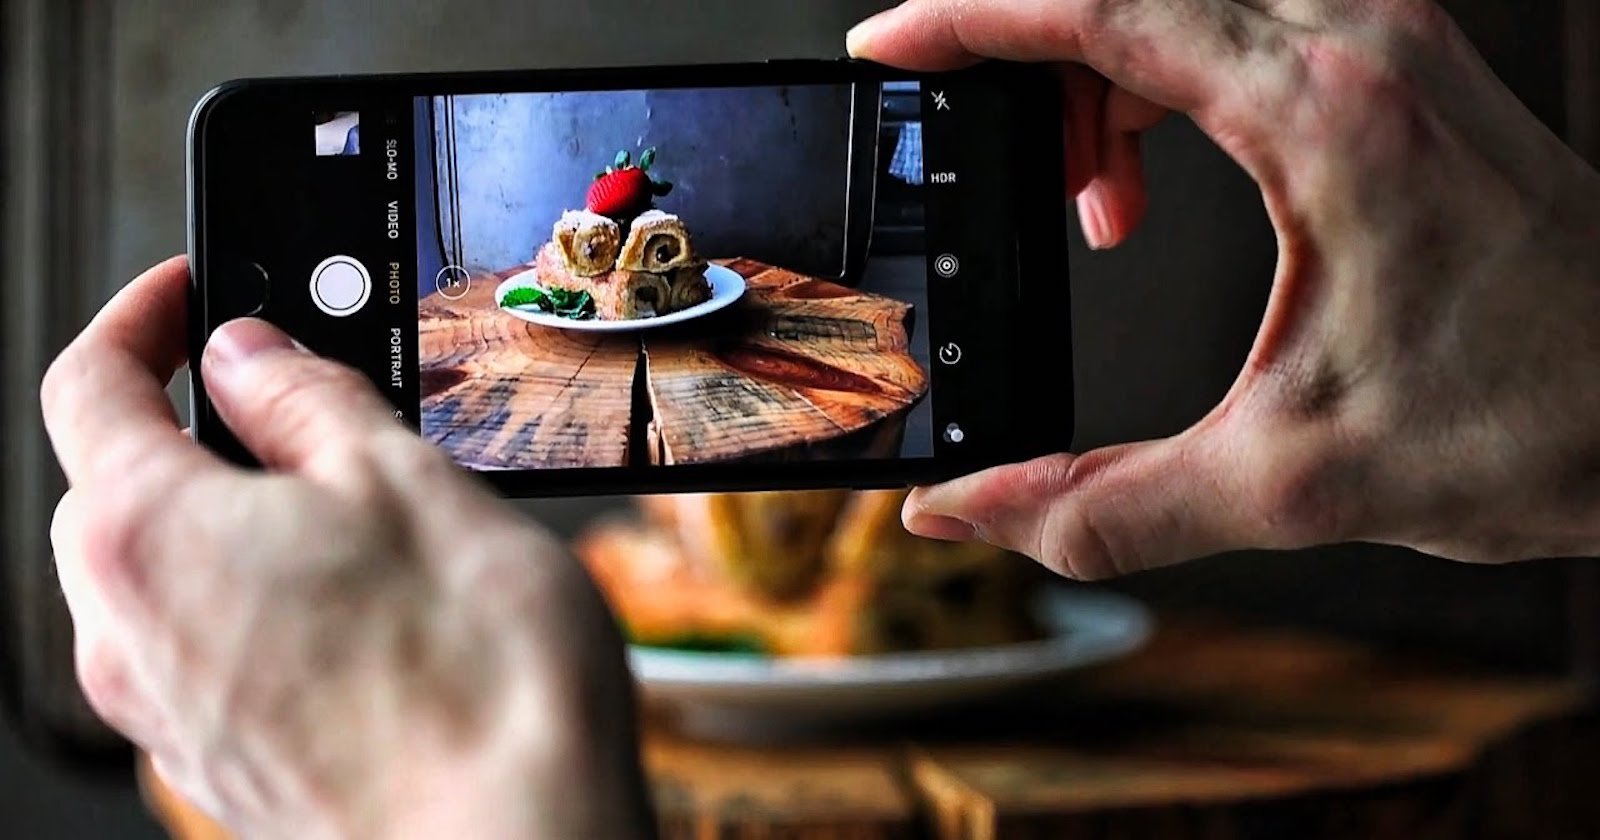
Unsurprisingly, Crawford recommends using smartphones for those who are just getting started with photography or are just curious about what kinds of photos they can make with their food as the subject. In conjunction with Adobe, Crawford has made Lightroom presets that are free to use. You can download Sarah’s presets directly on your mobile device for free through her Discover pages: Baked at 350, Over Easy, Bright Baby, Bittersweet Chocolate, Mood Booster, and Dark Roast.
These files show before and after photos and the editing process to know what it took for her to achieve the result. When you view this file from your phone through the links above, you’ll have the option to select “Save as Preset” so that you can use those same techniques on your own photos. For more in-depth information and instructions on downloading the presets click here.
While these tips were clearly written as part of a promotion with Adobe, the information Crawford provides is still valuable regardless of what you use to edit your photos or what kind of camera you choose to shoot with. Additionally, if you’re using Lightroom there is really no harm in taking a look at free presets.