Concert Photography: A Complete Guide
One of the most exciting things to photograph is a live concert. Rock concerts in particular have an air of electricity about them that you can feel. When you are hired to photograph one you automatically feel like you are a part of that excitement.
Table of Contents
Start Small
You probably got a taste for photographing concerts as a fan with your phone and, upon reviewing your images after the show, you wondered how you can take it to the next level. Unfortunately, you can’t just walk into a concert with your DSLR and long lens hung around your neck thinking you can start taking pictures.
Artists protect their image and don’t want anyone showing up to take pictures and possibly sell them without the artist’s permission. The artists also want to control their image and how it’s presented to the public so they will often hire their photographers to shoot images that they will use in albums, posters, and their social media channels.
A great way to get practice photographing live music is to start locally. Many of the local musicians, who are just starting, would love to have someone photograph their show. The artists are also very busy rehearsing, hauling gear, and getting ready for the show and often overlook having someone photograph the event.
Many of the small venues like bars, don’t have restrictions like large concerts do, so it’ll be no problem, but you should make arrangements with the band first. I have encountered some nervous bar owners who knew I was there to photograph the band but asked that I keep my camera pointed at the band and not patrons.
Equipment
There are some challenges to photographing in a small venue or bar. Even though they may have lighting often it’s homemade or something minimal provided by the venue. It will still be a challenge to get a good aperture/shutter speed combination that will work for you without running too high of an ISO. Fortunately, many of today’s high-quality DSLRs have reduced high ISO noise so it’s not that too noticeable.
Come prepared with a lens that will give you an aperture of f/2.8 or better. You’ll also be able to get nice and close at these small venues so you could effectively shoot the concert with a 50mm prime lens or get some cool wide-angle shots with a 28mm lens or wider that has at least a f/2.8 aperture.
A great lens to have that will provide some versatility is a 24-70mm lens with a wide aperture. Some professional photographers will carry two cameras each mounted with a different prime lens so they don’t have to change lenses amid the excitement.
Other things you should have with you are extra batteries (make sure they’re all charged before you go to the venue), and memory cards (be sure you have downloaded the images that are already on them and they are cleared and ready). The most important safety item you must have with you are earplugs. Concert sound has improved over the decades but if you photograph concerts enough, repeated exposure to those kinds of volume levels can create long-term damage to your hearing.
Things to Remember
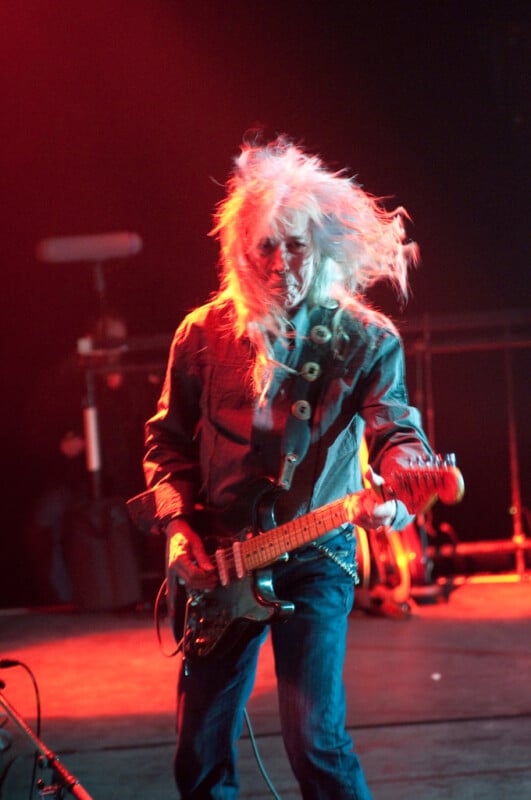
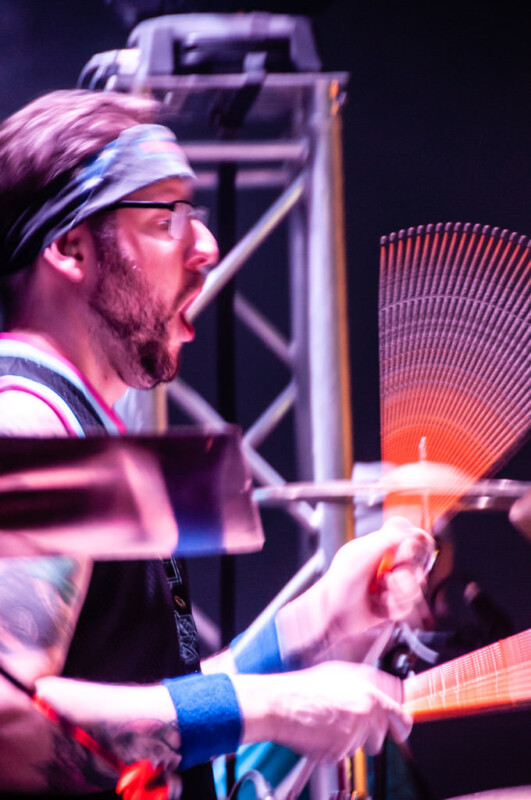
You will be changing camera settings on the fly so be ready. You may want to shoot in aperture priority mode to make things go smoothly. Pay attention to your shutter speeds. Depending on the concert, the performers move a lot so you’ll need at least a shutter speed of 1/125 of a second, and 1/250 of a second is even better. Hence the need for a lens with as wide an aperture as possible.
Each photographer will have their preference as to whether or not to shoot in manual or autofocus. Continuous autofocus is great when the artist is moving quickly about the stage. The focus point will track them and keep them sharp. I’ve had no issue with autofocus but if the lighting is particularly moody and dark for a song, autofocus may have trouble finding those lines of contrast to lock on to. So, switching to manual focus will work better.
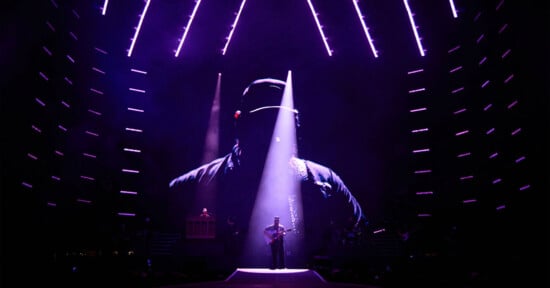
Capture the atmosphere of the show with a wide shot that shows the entire stage. Watch out for interesting things that might happen; especially if the band uses pyrotechnics. There’s nothing like a wide shot of the stage while flash pots are going off. Other great atmospheric elements to watch for are fog machines, cold spark machines, or even flames. These are always shown best when taken from farther back. There’s less chance of having these special effects at small venues and bars but be on the lookout for unique ambiance lighting effects.
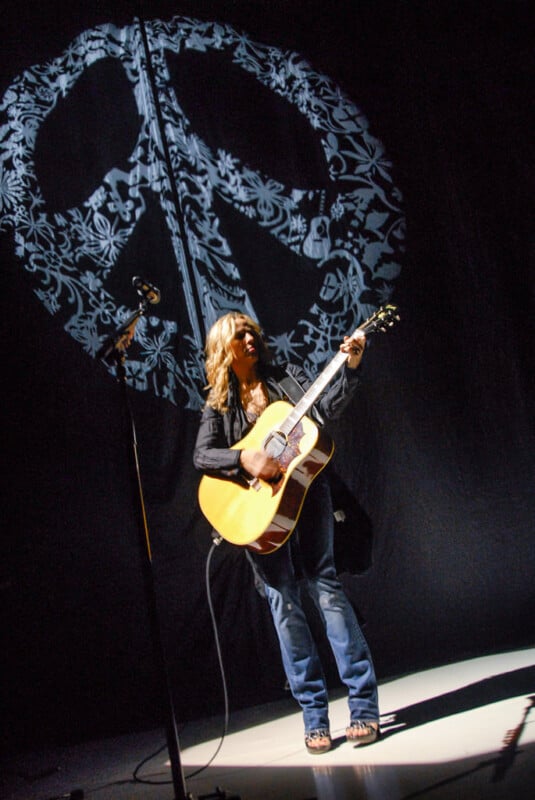
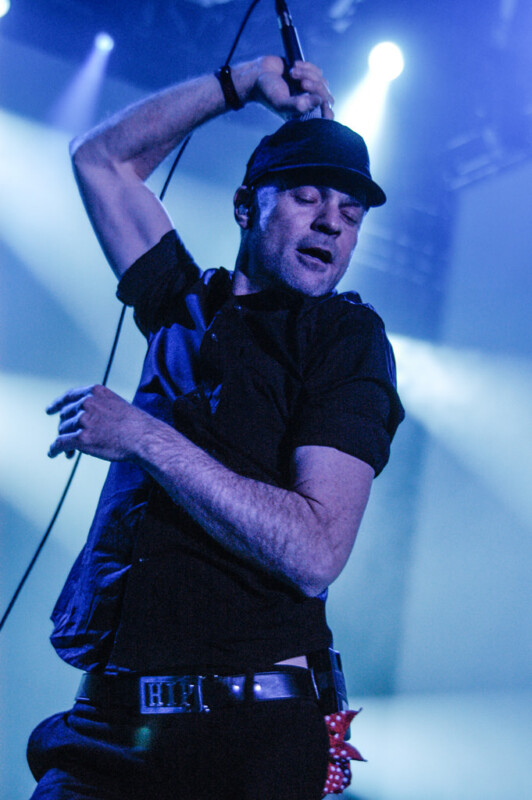
Use all your composition knowledge to create dynamic images during the concert. An example is when photographing a singer who plays guitar, put them to one side of the frame so they are looking into the negative space and the microphone stand will be a nice leading line. Lighting can also provide framing tools for the subject. There’s nothing like a classic shot of a musician standing in a funnel of light all by themselves.
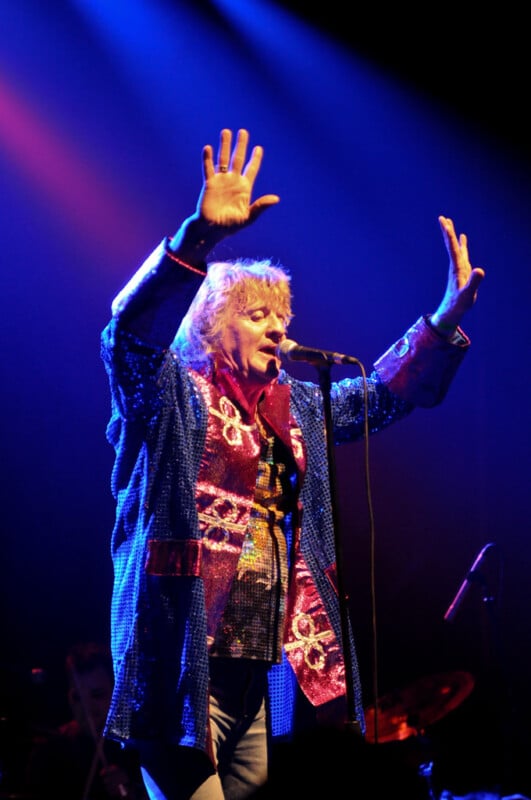
When it comes to metering your exposure, spot metering is recommended. Spot metering takes its reading from the center of the viewfinder. This works well for concert photography because of the extreme dark and light conditions you’ll be under. Since the band members will be spotlighted, especially the lead singer, you can get an accurate reading when it gets dark or when there are a lot of flashing light patterns being used. Place the artist’s face right in the middle of your viewfinder, spot meter it and you’ll be golden.
Outdoor shows; especially those during daylight hours, will make everything much easier for you. Lighting is no longer an issue; you’ll be able to capture some fantastic images. Be sure to check the weather forecast before going to the concert. If rain is possible, bring something to protect your gear because many concerts go on rain or shine.
Big Names In Big Venues
Now that you’ve built a great portfolio shooting local bands at small venues, you’d like to take the next step and start shooting those big acts that play arenas. To do that you’ll need to secure a photo pass.
Photo passes are issued by the tour to credentialed photographers who work for publications – online and print. Yet there are a few ways to get one of these coveted passes.
The way I would secure an official photo pass is by offering to become the house photographer for the venue. This is usually easier to do in smaller to medium-sized towns and venues as compared to super venues like Madison Square. If you’re going to approach a venue with that offer, make sure you have a portfolio ready to show your work. This is where shooting at small bars can help you build a strong book to show off your work.
The other way to gain a pass is to contact a publication that might be interested in running a story on the band. Reach out to them and ask if they are interested in concert photography. Research the publication first to see if there is a need you can fill. Look for smaller new online publications that might need the photos. They may not pay much, if at all, but it will give you that access that can help you get some great images for your portfolio.
Many photographers have started their own publications. These are usually online and are updated regularly. Post the images from the shows you shoot and do a bit of a write-up about the concert. Be sure your online publication has a social media presence that is also updated regularly.
If you live in a smaller market town, approach your local newspaper and see if they are interested in having you photograph the concert. Often, with smaller newspapers, they don’t have photographers on duty 24/7 so the event often goes without coverage. They may not pay you much but you will get that coveted photo pass.
You can also get a photo pass without going through a publication. Try contacting the band’s management or the promoter. They often look for new, updated images of the acts they manage or promote that they can share on social media channels. Always be kind when you ask and be patient. If the band is still growing and coming up in the business, they may not have as many gatekeepers, if any, sorting through their emails and socials. Contact them directly. If you have their blessing, you won’t have to worry too much about the rules the other photographers will have to follow.
The Paperwork
Once you arrive at the venue, head to the nearest ticket booth and tell them who you are and who you’re with. They’ll most likely point to a corner of the foyer and have you go stand with the other photographers who are there. Someone from the venue will come and get you, but before you are brought to “the pit”, you usually have to sign a release.
The managers and promoters are there to look out for and protect the image of their clients. That protection also includes protection from commercial profit from their image. The photography release helps control these issues and includes editorial features and illegal and unauthorized use of the photographs.
Each release can vary depending on the artist and management. In the case of a publication, the release controls the editorial content of the images. The release also sets out the rules that you have to work under during the show. Some of them are as follows:
- You can only take photographs during the first three songs of the concert from the designated area. That’s usually the pit right in front of the stage.
- No flash. That’s a big one. Don’t bother with your flash at all. Also, shut off the small focusing light that is usually next to the lens. The artists find these very distracting.
- Don’t stand in the way of the people attending the concert or obstruct the performers in any way.
- Images are for editorial purposes only.
There may be a few clauses in the photography release that might cause you concern. Some of those can be:
- Signing away broad rights to your photography. The artist can use your images in any way they see fit without any further compensation to you.
- You cannot sell, license, or reproduce the photographs for commercial purposes.
- Transfer of copyright and/or moral rights.
Strict terms like this don’t happen often but mega-star acts use them often enough. Nothing could come from any of these terms, but signing away copyright is something that should be avoided. If you are on the staff of a publication like a newspaper, news photography agency, or magazine, this doesn’t matter to you because your employer usually owns the rights to the images. By not signing the release, your editor probably won’t be very happy because they won’t have any photos to go with the story.
None of this should be taken as legal advice. It’s always good to know what you might face when you photograph a concert. If you’re freelancing, it certainly makes a difference as to what you are signing away. Photographers have fought hard to retain the copyright to their works. Don’t be quick to give it away just because you’re going to be photographing famous rock stars.
Time To Shoot the Show
You’ve got your gear, the paperwork is taken care of, and now here comes someone from the venue with your photo pass and is ready to take you to “The Pit”. Before we start the trek to the stage area, let’s mention where to wear your photo pass.
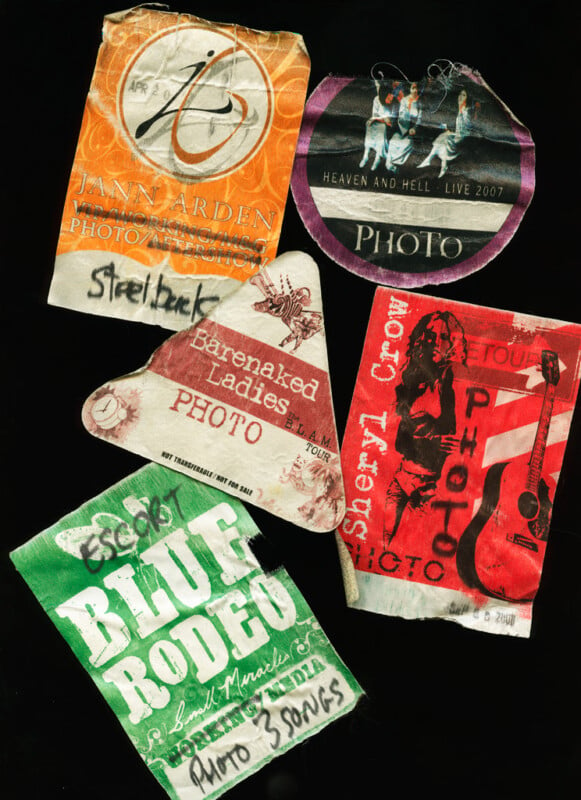
I have seen and heard about where to place your pass on your person but it always seems to come back to the same two places. If you get a pass that is laminated it will usually be on a lanyard. That’s an easy one. Just wear it around your neck.
I only got one laminated lanyard pass and the others were a peel and stick pass. These are made from a light woven fabric. Your first instinct is to place them on your chest which is what I did the first time. While I was standing in the pit waiting for the show to begin, a friendly roadie came up to me and told me the correct place to wear it is on my upper leg (I went with my right leg) halfway up. That way it’s not blocked by clothing items and can be readily seen.
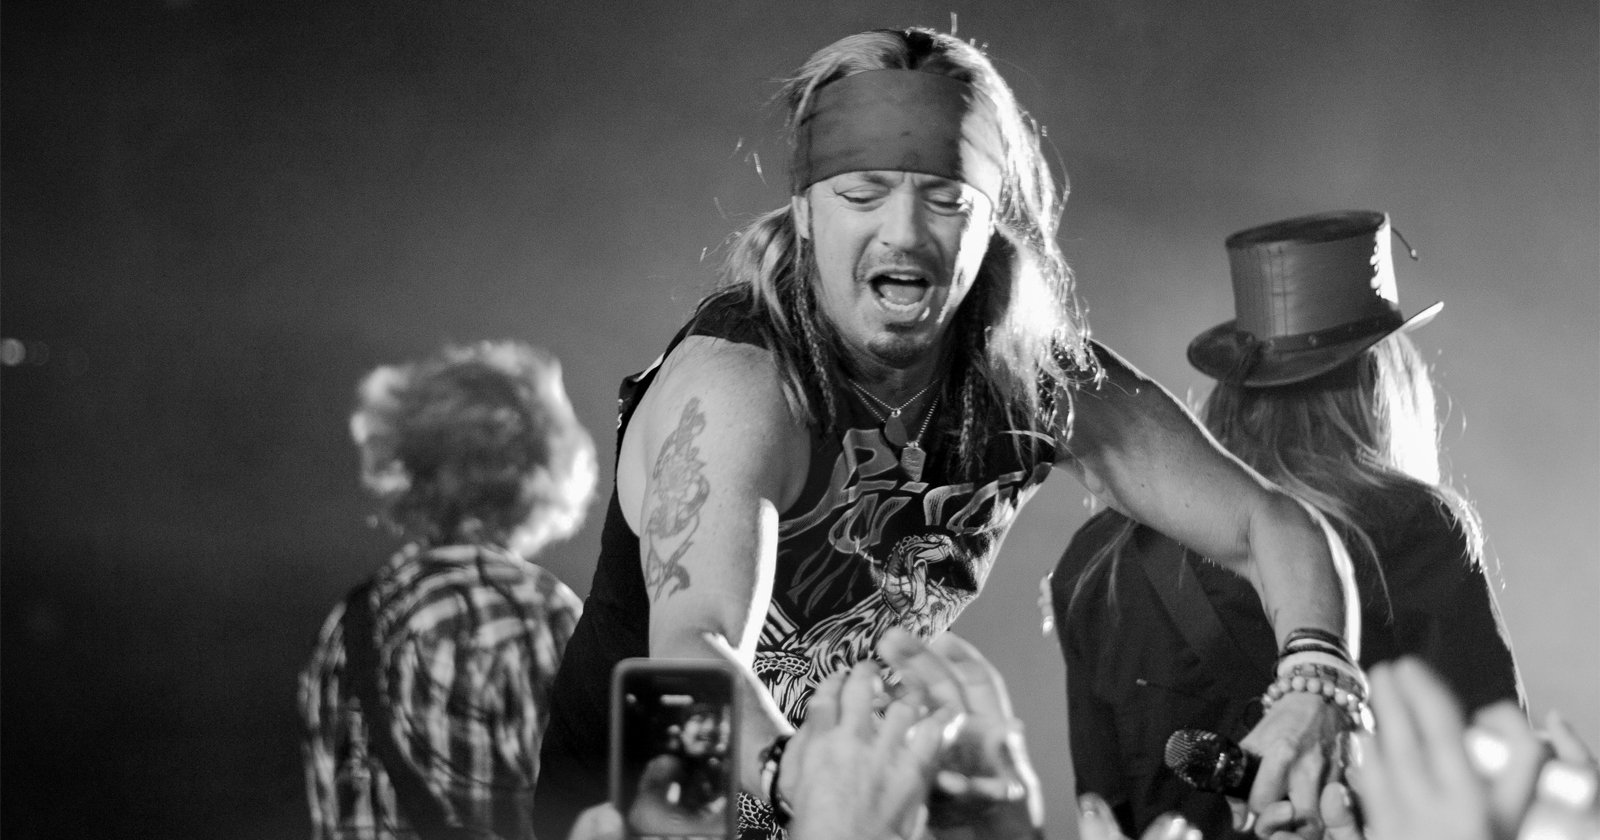
Your escort will take you to the front of the stage and you will be between the crowd barrier and the stage. You’ll be there with your other fellow photographers from whatever media outlets they happen to be from. There is plenty of room in the pit but once the action starts be aware of the other photographers so that no one gets hurt. Also, watch out for any cabling that might be on the floor. They are usually covered with cable covers and that can create some speed bump-like hazards, so be on the lookout for them.
Before going into a photo pit for the first time, be sure you familiarize yourself with basic concert photography etiquette — unwritten codes of conduct that photographers adhere to — so that you don’t step on other people’s toes.
Credentialed photographers can only photograph the first three songs of the concert. After that, your escort will return to bring you back to the entrance. Sometimes things can change so always be ready. At one concert, we had the usual three-song limit, but we got to shoot one song from the pit and then the other two songs were from the sidelines where the boards to the hockey rink were. At another concert, the photographers were not allowed anywhere near the front of the stage and were relegated to a platform next to the soundboard that was at the midpoint in the arena. Make sure you have a good telephoto lens with you just in case you have to be further away from the stage than you expected.
It can be a fun and exciting job photographing concerts. Sometimes it lacks a lot of the glamour that many people think there is when they find out you photograph concerts. They have visions of being backstage, chatting with the performers, and partying. That could be the furthest from the truth except if it’s a small show for a local band.
There could be some fun at those small concerts. I was backstage at one well-known rock star’s concert. It was put on to raise money for a charity and they wanted to have some of the dignitaries from the charity photographed with the artists. I was happy to do it. I got to exchange some pleasantries with the stars and it was over.