Long Term Review: 9 Months with the Fujifilm X-Pro3
![]()
The Fujifilm X-Pro3 is Fuji’s flagship stills-orientated body aimed at street and documentary photographers. And while it mostly follows the rangefinder style body of the previous bodies, the X-Pro3 features some significant design changes that will affect the way you use it.
The main and obvious change is the new hidden LCD screen with the sub-monitor. This is supposed to keep photographers engaged with their subject and prevent them from constantly “chimping,” i.e. checking their photos after every shot. A pure photography experience. This is then backed up with a sub monitor display that can either show your film simulation or display settings info like you see on the top LCD of the X-H1 or GFX 50S. When shooing the film simulations, the sub-monitor is reminiscent of older film cameras that had the slot for the end tab of the film boxes.
I think this is great idea and a concept that I know a lot of users have been very keen about. I personally use mine in the more informative orientation so that I can keep an eye on my white balance and exposure triangle. The information shown can be customized in the menu; however, while this screen has proven to be quite useful, other times it can be quite annoying. The panel isn’t back-lit, which means that you can’t see what’s being shown unless its well lit. As a result of this, in dark circumstances like when doing night photography or at the end of a wedding at the reception, this screen has proven to be very hard to see and it is easier to just flip down the main LCD, defeating the purpose.
It’s annoying, but it’s not all bad. Personally, I shoot a lot of film and scan it myself, and when I’m using the camera to “scan” film top-down over a light panel, the angle of the screen makes it very easy to see exactly what settings I’m using on the top of the camera, while also seeing exactly what I’m composing for. This may be a very niche user experience but one I thought worth mentioning as I found this to be very useful.
![]()
The X-Pro3 is now made with a Titanium top and bottom plate. There are 3 options to choose from: the standard black one, which is simply painted, two other more expensive options that are coated with what Fuji calls “Duratect.” The latter are considerably more scratch resistant and give the camera a very premium feel as well as looking, in my opinion, stunning!
I went for the Dura Black as I thought the “gun metal” aesthetic looks great. The Dura Silver reminds of Fuji’s old TX-1 wide format camera. However, while they do look great, there is an annoying issue: fingerprints. I know that for some this is an immediate turn off; for me personally I don’t mind too much as it gives the camera a weirdly “personalized” feel that I almost enjoy.
But like everything, and to put it bluntly, you get used to it one way or the other.
The hybrid viewfinder design has also been improved. Fuji wanted to make the EVF the priority and have therefore included a larger, brighter and a higher-resolution panel. Still no where near as good at the one you’d find on their GFX bodies or even the X-T3/X-T4, but a massive step up from their X-Pro2 nonetheless.
Unfortunately, as a result of making the EVF larger and higher quality, the OVF had to lose some wide angle coverage. You now can no longer see frame lines past 23mm and no longer than 130mm. Personally, I don’t shoot a lot of wide angle in the first place nor do I use the OVF all that much, but that might be an issue for you depending on your shooting style.
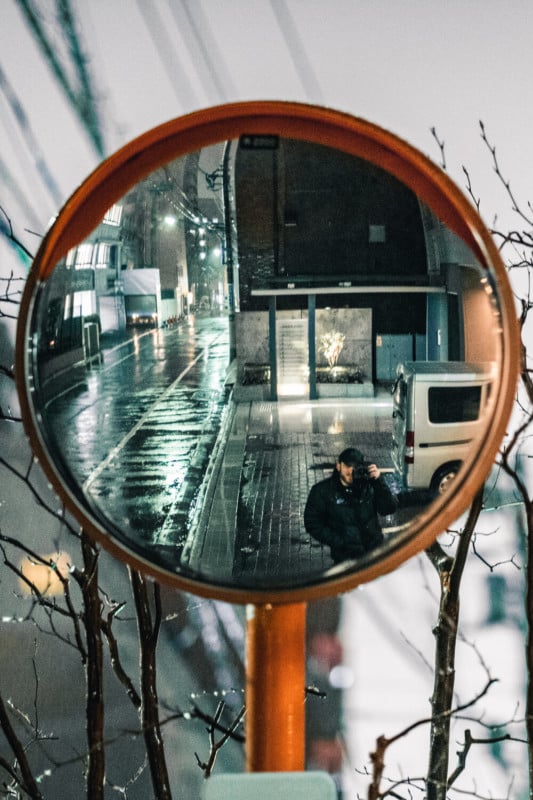
A minor change that’s still worth mentioning is the removal of the front dial button. The dial is still there, with full functionality like normal, but it is no longer a physical button like on the older models. I haven’t experienced this to be too much of a hindrance—especially given the overall customizability of the X-Pro3—but I wanted to point it out.
Fuji have also brought the camera in line with some of their other models by removing the D-pad. I used to shoot with the X-T2, and while this has the D-pad, I haven’t found myself missing it; in real word use, a joystick is much faster and easier to use anyway. The D-pad does offer a little additional customizability, but for those shooters who really need this much functionality, Fuji still incorporate it into the X-T3 and X-T4.
Another tiny change is found at the SD card slot. This used to use a “slide out and spring open” mechanism. It is now a lever type mechanism, just like the X-T range.
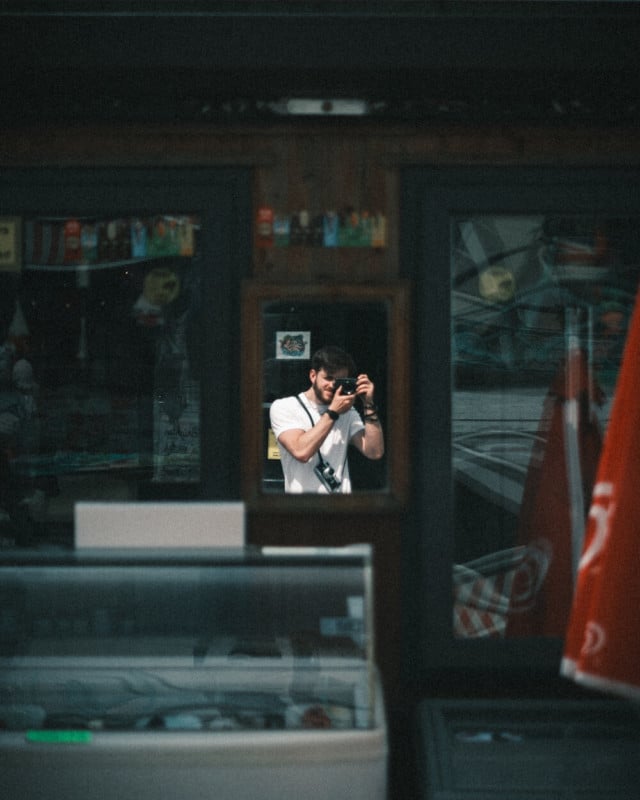
The changes above might seem small, even insignificant, but from what I understand they allowed Fuji to improve the camera’s already-great weather sealing. There are 73 points of sealing around this camera and this proved very useful when I was shooting in the pouring rain in Japan earlier this year. The camera performed beautifully and I would trust it to the same degree as I used to push my old Canon 5D Mark IV… assuming I’m using a weather sealed lens.
To that end, keep in mind that Fuji label all their sealed lenses with “WR” right on the front. This stands for “Weather Resistant”. The older and slower f/1.4 lenses are not sealed, with the exception of the 16mm, while all of the newer f/2 lenses are. I know this is a review about the camera but just quickly: the f/2 and f/2.8 lenses are smaller, cheaper, faster to focus, and feature WR, while the older f/1.4 and f/1.2 lenses are in some cases sharper, with more depth of field, and tend to produce a more characteristic look.
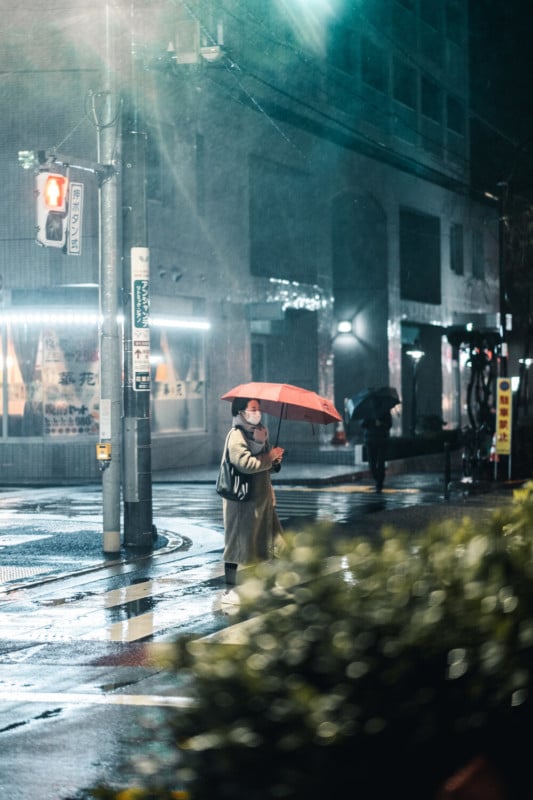
The X-Pro3 now includes Fujifilm’s latest 26-megapixel BSI X-Trans 4 image sensor paired with the X-Processor 4 image processor. This is now the same as the X-T3, X-T4, X-T30 and X100V. There are considerable differences among the various cameras, but to answer the inevitably question: yes, they do all deliver exactly the same image quality and output… it’s how you go about taking a photo that differs.
Without getting off topic, this new sensor is great! For an APS-C sized sensor, the low-light and dynamic range performance is truly remarkable. I am consistently getting 13-14 stops of DR with usable ISO ratings up to 12,800. Granted, full-frame flagships from Sony, Nikon and Canon boast higher resolution and can often resolve more; however, I rarely push higher than ISO 8,000 anyway and, for an APS-C sensor with that much resolution, that’s very impressive.
This is partly down to the BSI technology implemented and partly down to the impressive power and performance output of the X-Trans 4. For weddings, gigs or any low-light circumstance, personally I trust the X-Pro3 and this sensor entirely. The days are behind us when making a lens purchase based on how much light it lets in. The truth is, a lens could be an f/5.6 and it wouldn’t matter because the camera’s ISO performance is so good that it doesn’t matter if you push it past 10,000 ISO. I believe a lens purchase decision should only be made now based on aesthetic qualities and the artistic look a shallow depth of field can give you, not based on how much light it lets it. The low light on these modern cameras, especially this one, is just that good.
But, why no IBIS? Well, my guess is to keep the size, weight and cost down. These mirrorless cameras are renowned for being small and light. And this is especially apparent when looking at the X-Pro3’s bigger, scarier rival… the Leica’s M10. Fuji may have also opted to leave out an IBIS mechanism to keep the cost down. It already retails £1,700 while the Duratect coatings were £1880. Include an IBIS system in there and I wouldn’t be surprised if the camera topped £2000, which is squarely in full-frame territory.
One final and maybe selfish reason for leaving it out, may be to create clearer distinction between their various models. The stabilized X-T4 came in at £1,500, which is already quiet close to the baseline X-Pro3. This way there is clear distinction and differences.
![]()
The new X-Processor 4 also allows for some pretty significant autofocus improvements. It now has 425 autofocus points covering 100% of the frame. The camera is also capable of shooting 11fps mechanical and 30fps with electronic shutter, although the latter puts a 1.25x crop on your images and can only be shot for 3 seconds at a time before the buffer runs out.
If you will be taking advantage of the faster shooting, you may also be keen to know about the “Sports Finder” mode when in this crop setting. This shows you the frame lines through the EVF or LCD where the image will be cropped, just like through the OVF. This allows users to see as objects or subjects come in and out of a frame so you can precisely capture the exact moment your subject enters the shot. If you don’t like this idea, you can always just turn it off in the settings.
On the topic of fast action shooting, the X-Pro3 has 2 card slots, both UHS-II. These types of cards are recommended for this camera in order to get 100% of the features and potential of the body. Also, a side note: I’ve heard some horrible horror stories from shooters using Lexar cards in Fuji bodies, so I personally only recommended and use the Sandisk cards in mine.
Back to the processor. If you own and use the XF 35mm f/1.4 and use it at f/1.4, then you can focus down to -6ev. This has proven to be useful quite a few times in my testings.
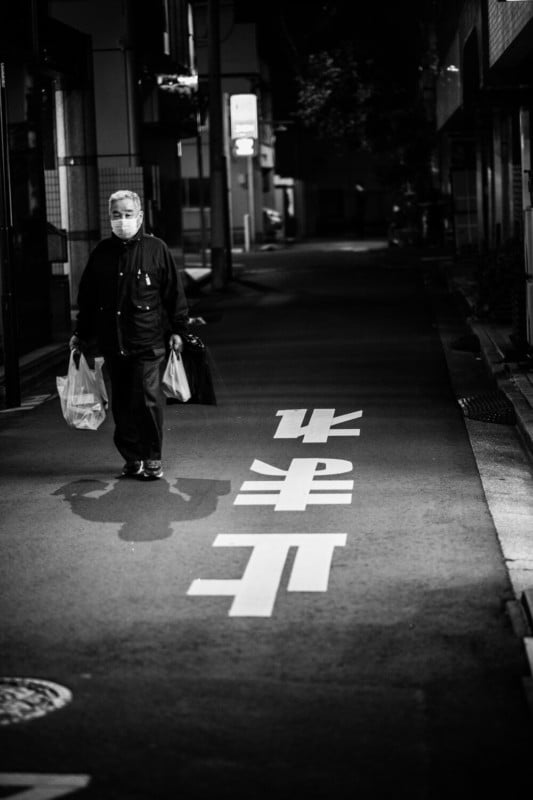
Another new addition to the X-Pro3 is the “Classic Negative” film simulation, which is meant to emulate the popular film stock “Superia.” I personally love this new simulation and use it as a starting place for 90% of my edits. As a bonus, you can change things like the shadows and highlights within the jpeg setting before you even take the photo; and just like any other mirrorless, you can see these changes live though the EVF or LCD.
To improve on this, Fuji added changes like clarity and curves, along with unique things such as grain amount and size. There is even a toggle called “Colour Chrome FX Blue” which gives a cool toned, cinematic aesthetic to your JPEG images and previews. Something else they added is the “Colour Chrome Effect” first seen in the GFX 50S. This brightens highlights and hues in the color images and gives a unique look to your shots.
All these enhancements combined sometimes takes the camera a little while to compile and buffer the images to the card, especially if you’re writing both RAW and JPEG like I do to separate cards. Even more reason to go for UHS-II cards.

I’ve found that by adding the grain in my JPEG images on top of the Classic Neg film simulation, as well as lowering the contrast and slightly overexposing every photo, I can make every JPEG image look almost identical to a film image. This effect is even more apparent when using with the slightly soft, characteristic lens that is the 35mm f/1.4.
I’ve even had a lot of fun adapting some of my M-Mount lenses as well, and you can now set names and focal lengths to third-party lenses in the setting so that your images have metadata attached. Very helpful when testing and comparing lenses!
![]()
With the X-T3 we saw the addition of USB-C. I’m pleased to say that the X-Pro3 also has this. It allows me and other photographers to use the camera out in the field and charge it during down time by using a portable charger that a lot of us already own for our phones.
I’m liking the shift to USB-C for a lot of things. My headphones, laptop and now my camera all charge with the same cable. The newer iPads also charge with USB-C now, and I know the vast majority of Android phones do as well. One cable to do everything? Yes please!
However, as much as I like this feature—and while the camera does come with a USB-C cable—it does not come with an actual battery changing brick, nor does it even come with a plug to put the cable into. A lot fo people have a USB-C power brick anyway, but when spending almost £1,900 on a camera, I was a little surprised to find that it doesn’t come with one in the box.
I’m presuming Fuji’s incentive behind this is to reduce waste, and I’m sure it saves them a lot of money when you add it up, so I understand the decision, but it was a surprise to say the least.

Fujifilm cameras have always been very customizable—from the menus and the buttons, to the physical aesthetics of the camera. The X-Pro3 is no exception. Holding down the “Display/Back” button opens the custom controls menu in any of the latest Fujifilm cameras. On the X-Pro3, there are 9 different custom buttons/commands, each with 8 different options from which to choose. You can truly set your camera up to your shooting style and make it “yours.”
Personally, I find myself changing between my 7 different user profiles quite often. So I changed the “AE-L/AF-L” button to quickly bring up my menu to toggle between them with each one showing the name I assigned to it and a preview of the result in the EVF or LCD. Another button I change almost immediately when using a Fuji camera for the first time is the “Playback” button; I’ve set mine to the function button on the front of the camera. This way I can operate the camera one-handed and almost just squeeze the body to playback my photo without even having to move a finger.
This proves very useful when using the X-T bodies as the “Playback” button is located on the other side of the camera and therefore makes one-handed shooting a struggle.
![]()
The other way a lot of people (including myself) customize their Fuji cameras is by adding physical extensions and accessories. These range from simple items like straps, to soft shutter release buttons, to thumbs supports and hand grips. I’ve even seen some people give their cameras custom paint jobs with more drastic alterations such as stickers and new paint jobs to really give the camera a personal and unique feel.
As mentioned in my Leica SL2 Review, I purchase and use cameras based off a lot more than just a spec sheet. The camera has to inspire me to shoot. I have to want to pick it up and use it. This is why Fuji as a company and brand, alongside Leica, are a no brainier for me.
Truth be told, when analyzing my own technical requirements for a camera, the likes of Sony and Canon etc. tick a lot of boxes for me. However, when I pick up these cameras and actually use them for my style of photography, my list of “requirements” are totally different. Things like ergonomics, menu interface, colour science, lens choice, aesthetics and overall feel are worth so much more to me than low-light performance at 25,600 ISO and eye-autofocus from 100 feet away.
Speaking only for myself, this is why I love Fuji: for the way they build their cameras and for their company virtues. The battle between full-frame and APS-C ended long ago, and while I can definitely see the disadvantages and advances of both options, I think the gap is so minimal nowadays that it doesn’t matter which one you go for or shoot with, you’re going to great fantastic results.
![]()
To conclude, the X-Pro3 is my favorite camera from Fujifilm, full stop. I consider it the flagship for APS-C photography, and not only within Fuji but across all the brands offering APS-C rivals. While the GFX range obviously resolves much higher image quality, I still prefer using the X-Pro3. The user experience is second to none and the form-factor is something everyone should try at least once.
If you’re a hybrid shooter or exclusively shoot video then I’d look more towards the X-T3 and X-T4. While the X-Pro3 does offer very good video performance, the likes of the X-Ts offer features such as a full-sized HDMI and 4K/60p with 10-bit 4.2.0 and 4.2.2 external output. Plus, if you’re going for the X-T4 you gain IBIS, up to 180fps slow mo, and the new “Eterna Bleach Bypass” film simulation.
I think Fuji has a solid option for everyone, with a complete and stunning lens line up designed and properly suited for each and every APS-C sensor they make. For me, that camera is the X-Pro3… even if there are a couple of quirks along the way.

About the author: Ben Webster is a street and travel photographer based in the south of England, where he also works as a sales assistant at Park Cameras. He regularly shoots with a variety of Leica cameras—ranging from the old M3 and M6 TTL, to the digital M-P typ 240—as well as the Fuji X-Pro3.
You can find more of his work on his website or by following him on Instagram. This post was also published here.