How to Do Top-Down Light Painting in a Room
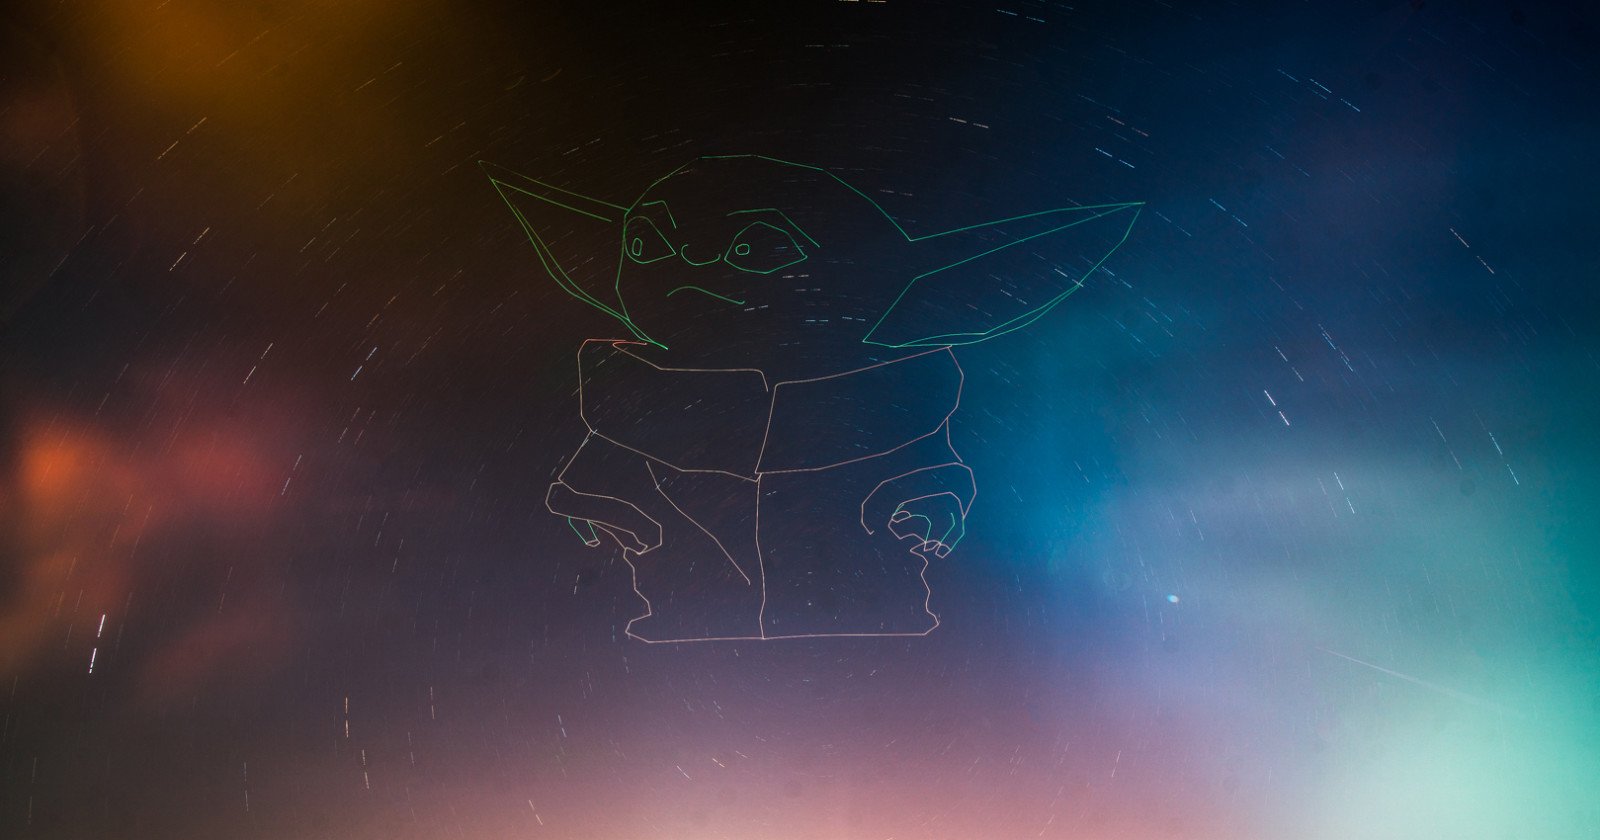
I’m light-painting photographer Russell Klimas, and in this article I’ll share how I do top-down light painting in a room. I was originally inspired to do this technique because when I had done it with a drone I had a troll complain that the images weren’t clear enough.
Now full disclosure: I have the blessing of being in a space with 14-foot ceilings that allow me to get this much room with a 24mm lens. However, I have successfully also done this with a couple of C-stands and a long piece of somewhat thin wood as well. Forgive me for not remembering the measurements — it’s been over a year. I used this video as a basis for the idea with the C-stands.
If you are going to go the C-stand route and want to capture people then I recommend using a 12mm or 14mm lens as you won’t be able to get 14 feet high with C-stands. Of course, the base of the C-stands will show up so you’ll need to be cautious of those when light painting and edit them out later. You can use a simple wood to screw attachment or a Platypod for this setup.
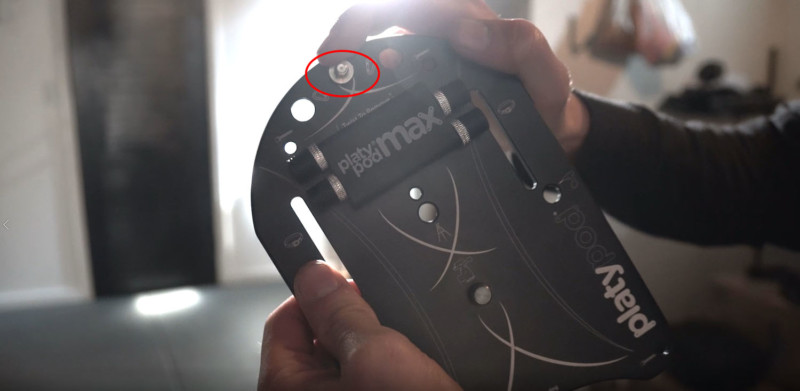
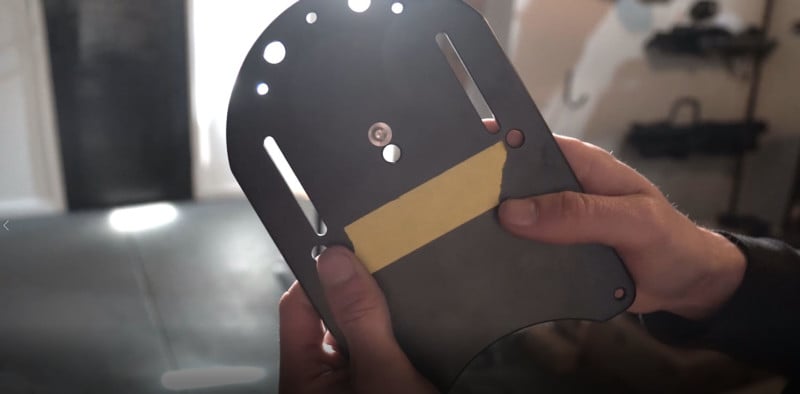
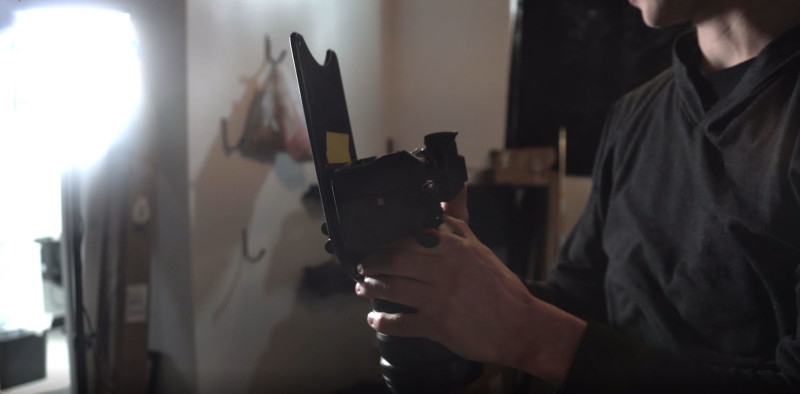
Back to 14 feet up, one of the most important pieces to this setup is a Platypod. They run around $100 dollars and have been invaluable to me. There is a little screw portion at the top of the Platypod (circled in red) that you will flip onto the back and then attach your camera to. Here are pictures to help understand that process:
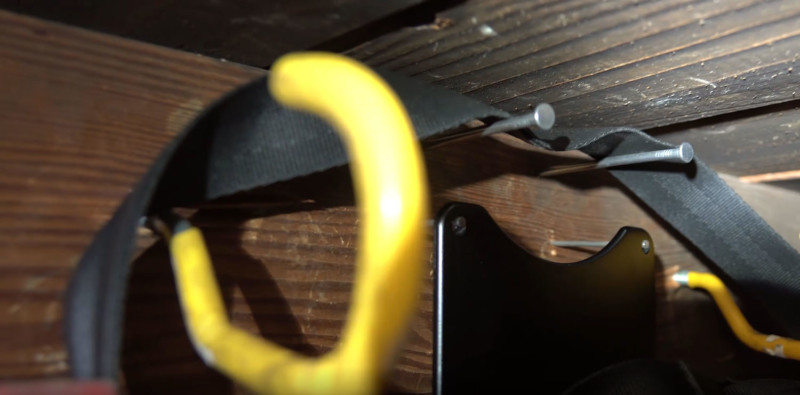
Once you have the Platypod attached it’s more than likely not going to be a tight fit, and that’s okay. As you’ll see in the picture below, I have a couple of small nails that I’ve hammered into wood as well as some bike hooks. I make sure to have a strap or some other kind of solid material to latch onto the camera and hang onto the bike hooks for safety. Since the camera, in order to be straight down, hangs on the ends of the nails, I want to be sure that it won’t fall and hurt my model or the camera. As always, use proper ladder safety when climbing this high and up.
Now the second important piece to this is how I’m going to trigger the camera while it’s 14 feet above me. Thankfully, most major camera companies have apps that allow you to connect your phone to your camera and let it become the wireless trigger.
I personally use a Sony and use their Imaging Edge Mobile app. You’ll open the app to scan the QR code with your phone on your cameras LCD screen. To get there you’ll go to Network -> Control with Smartphone -> Connection. I recommend that you connect to your camera’s Wi-Fi if it doesn’t already and let it stay connected.
Once you have it connected, then I suggest hanging the camera from the ceiling and using the phone as a reference to then focus your model on the correct plane. When connected with your phone, you will be able to change your shutter speed, F-stop, and ISO as well as being able to see the picture you’ve taken once you end your exposure.
Once you’re done focusing, you’re good to go! Next, I’ll be going over the specific tools I used to create the images in the video. For all images, I use a flashlight as my light source and the Light Painting Brushes Portrait Light to light the people.
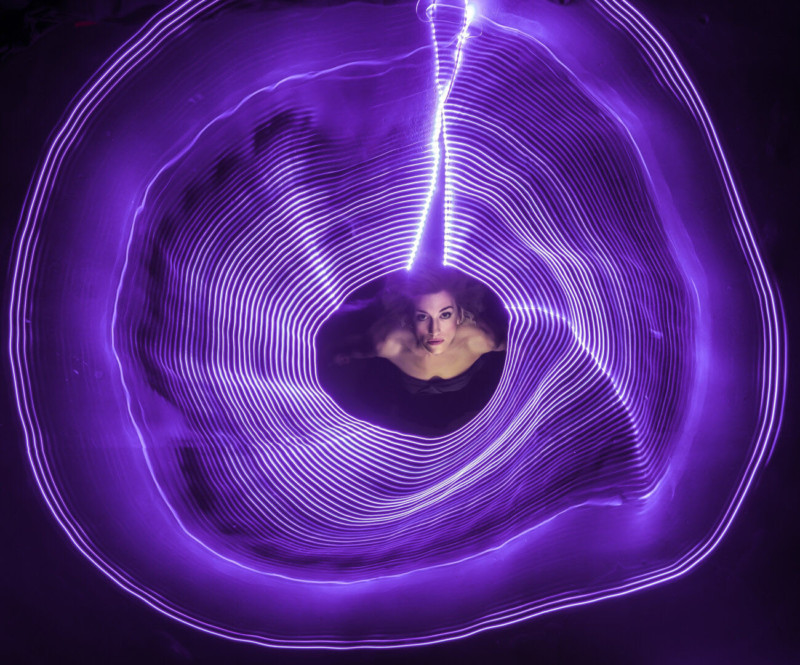
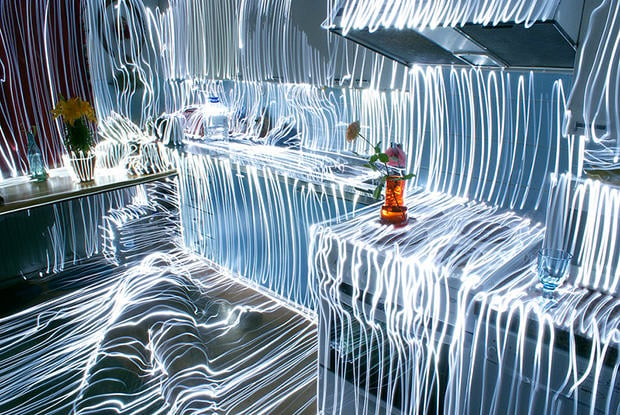
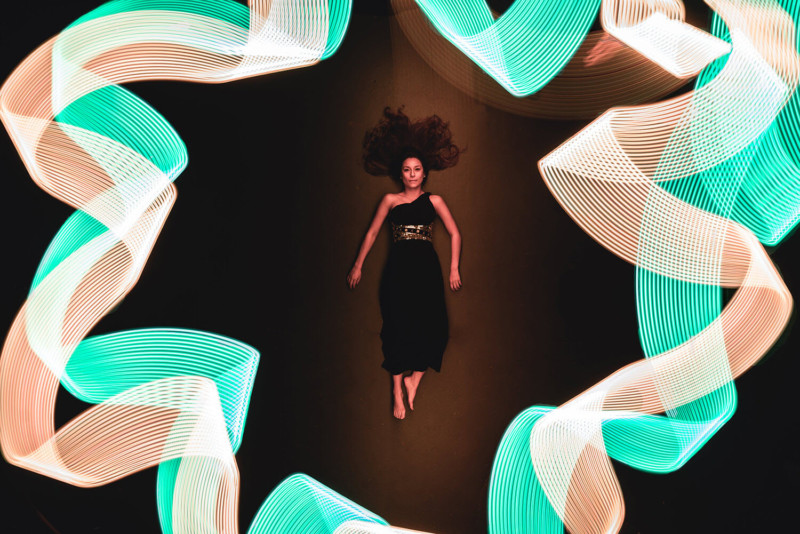
For this first image, I used a simple USB LED strip that people normally use for computers or TVs and a small USB battery. Then we determined the center area of the room where I wanted to make the light dress/vortex. I had Sammy start the exposure for me while I waited to plug in the battery.
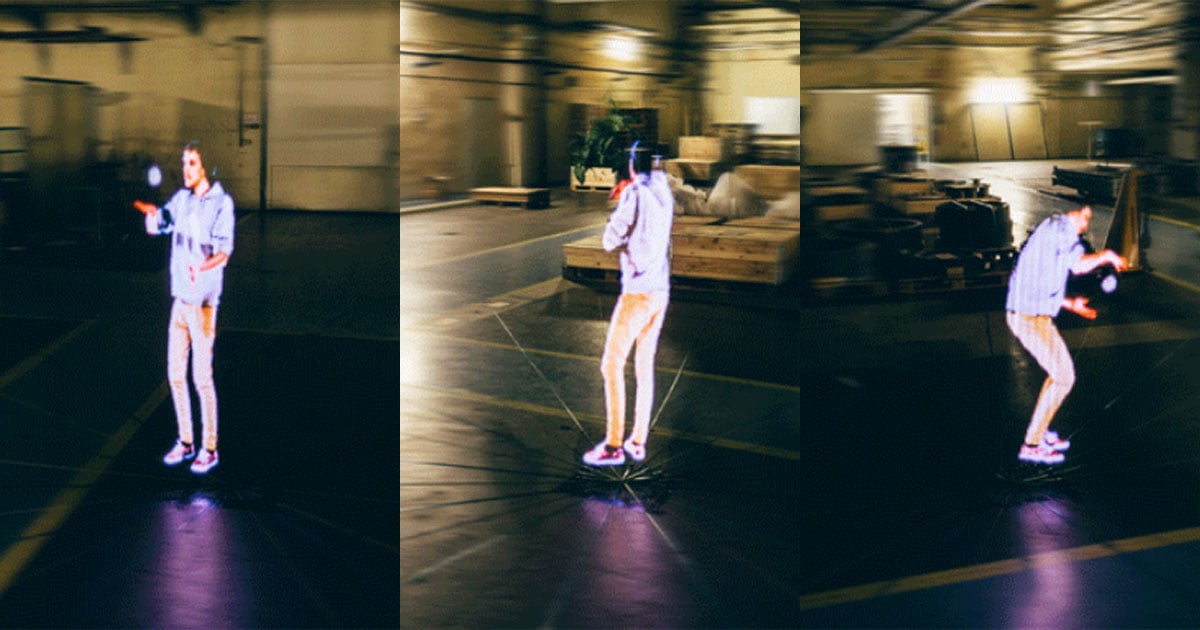
When the exposure started, I turned the lights on walked around the room holding the strip up as much as I could, then turned it off with a remote. Then Sammy found me in the center in the dark and I took the portrait light and lit her. Here is a reenactment in GIF form.
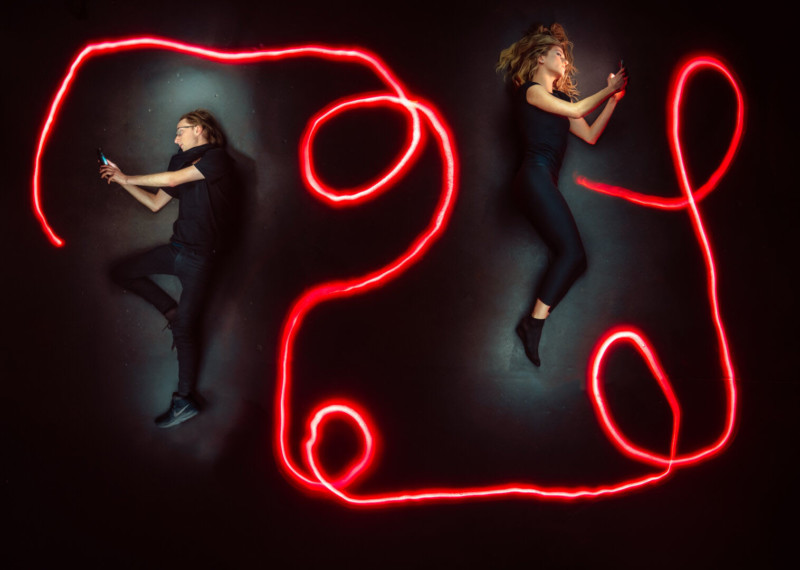
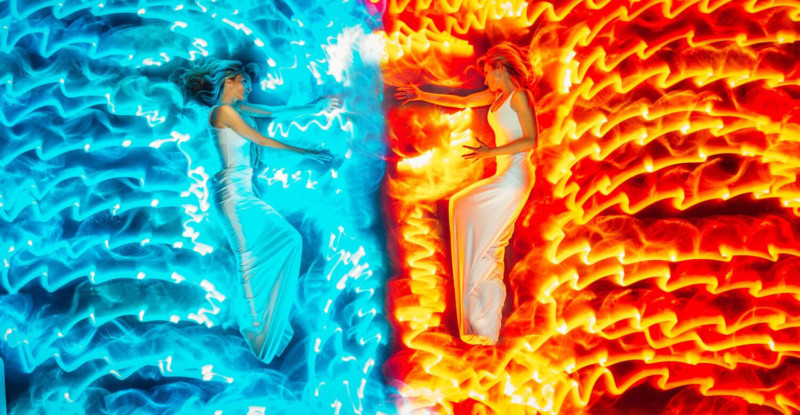
For the second image, I used tools from Light Painting Brushes. These tools are the Screw On Color Filters, Portrait Light, and Universal Connectors.
I first determined the space we needed to use for both of us and where I would end starting on the side of my friend Sammy. As soon as we started the exposure Sammy turned on her screen to get a nice glow and I lit her with the portrait light. Then I took the Screw On Filter and put it with the flashlight close to the ground to create the trail.
Once I had guesstimated in the dark where I wanted the trail to end and where I would lie, I turned on my screen and Sammy lit me to finish the image. Here it is in GIF form:
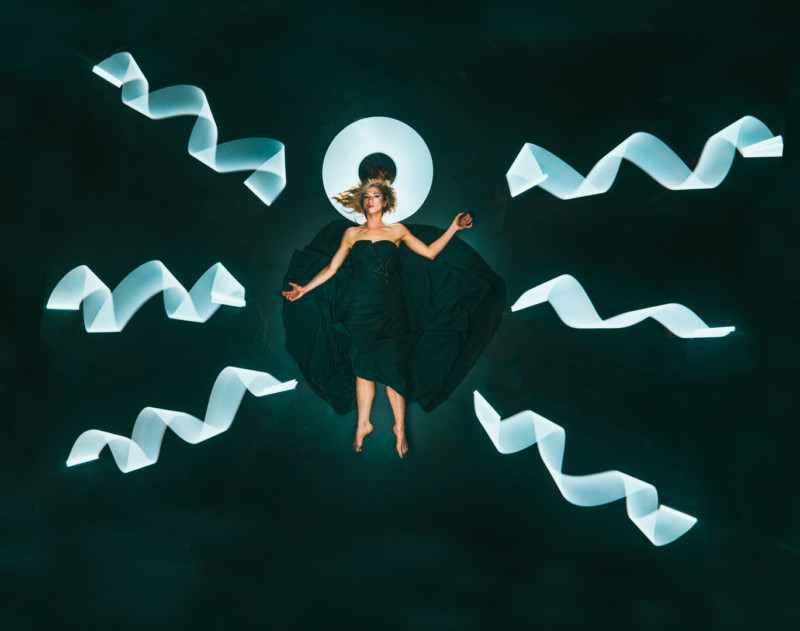
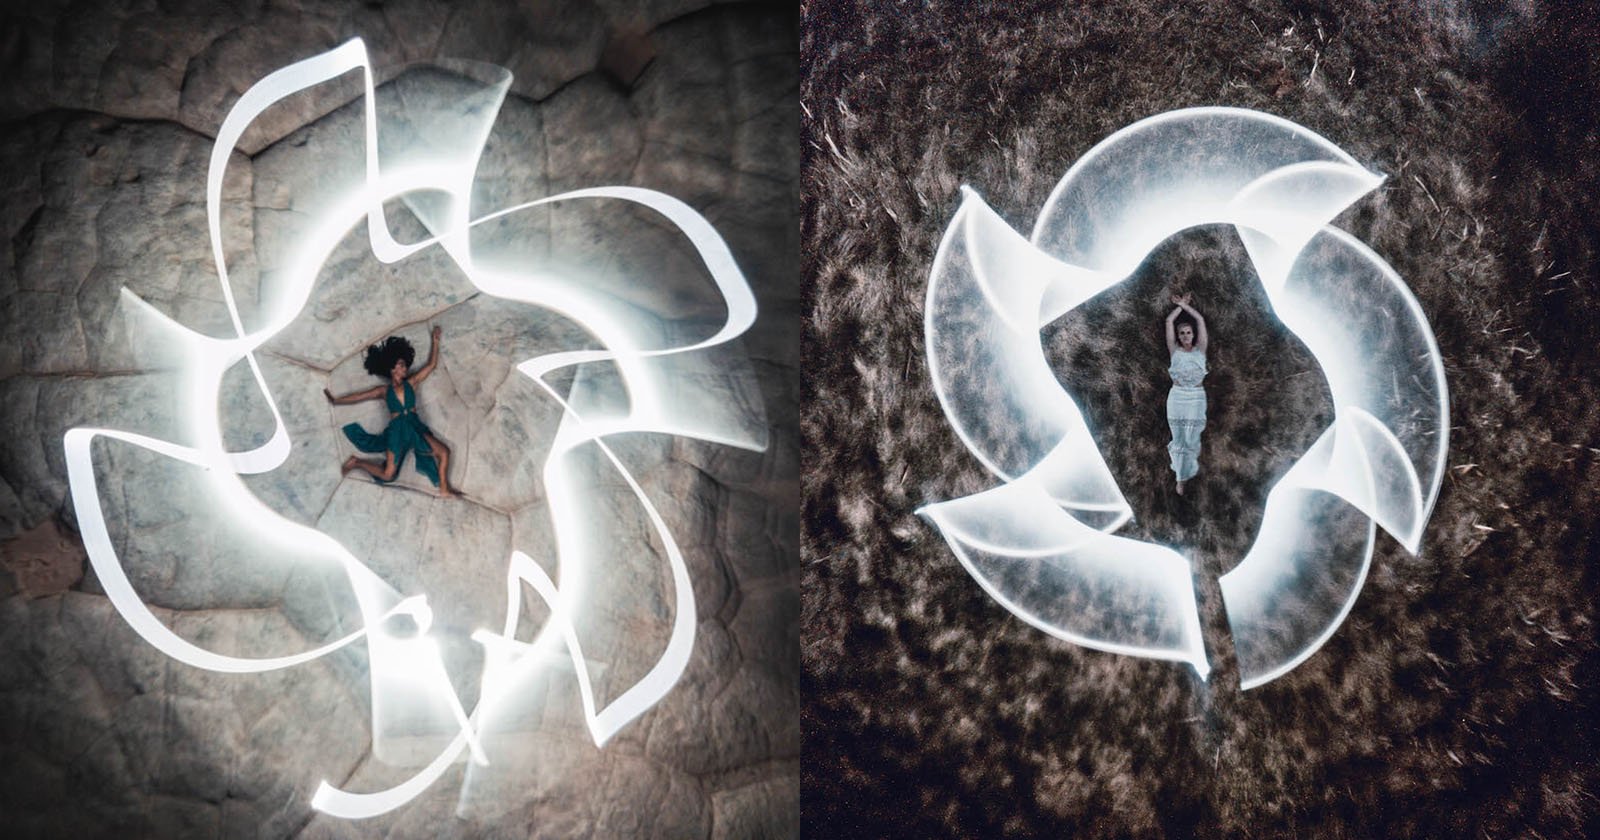
In our last picture, we only used the Light Painting Brushes Portrait Light and it was my favorite image! The most difficult portion was doing the headdress halo behind Sammy’s head. I had to be sure not to let my arm block the light when doing the circle. Sammy had to lift her head during the portion so I could make the circle more easily. Then I simply lit her with the portrait light and created the white waves emanating from her by going to each section around Sammy.
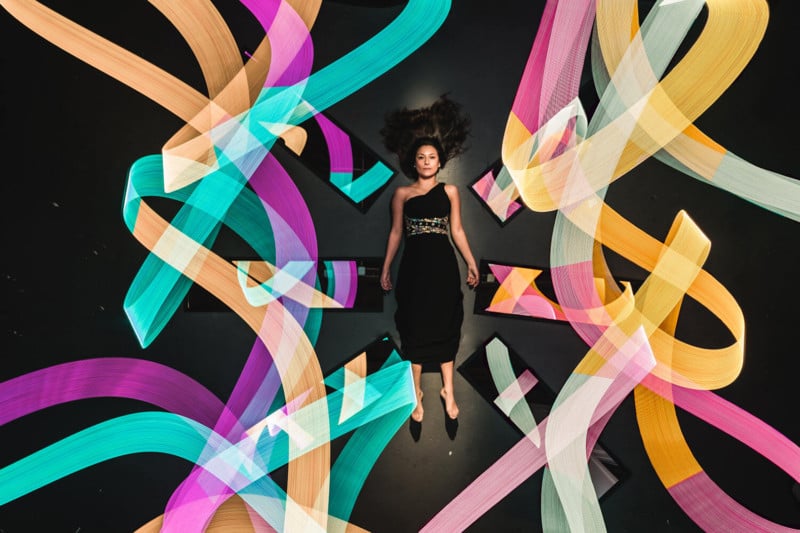
These are of course only some examples of ideas that you can do using a top-down system and gives us a new perspective when creating with light painting. I’m not the first to do this concept, but there are not many light painters out there using a top-down system and I wanted to share my process. Below are a couple more images that I’ve created using this system. Thanks for reading!

About the author: Russell Klimas is a light-painting photographer based in Colorado. The opinions expressed in this article are solely those of the author. You can find more of Klimas’ work on his website, Facebook, Twitter, and Instagram. This article was also published here.