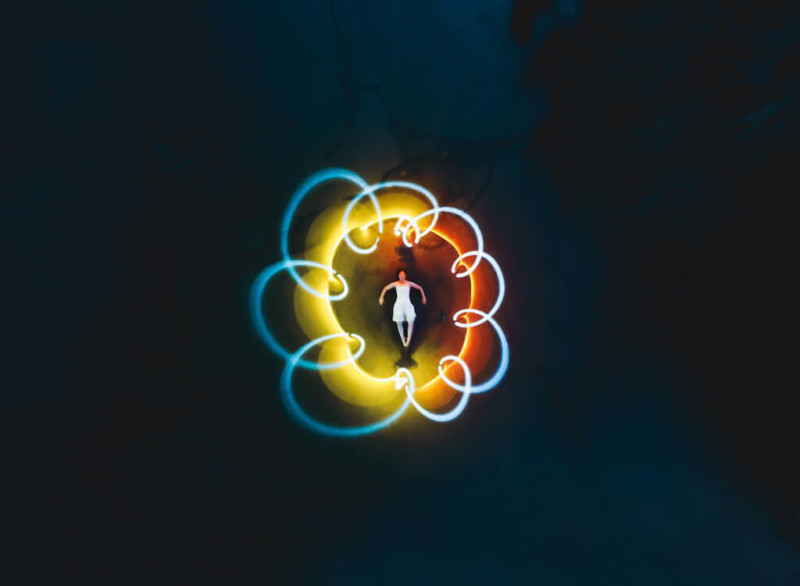
Shooting Top-Down Light-Painting Photos Using a Drone
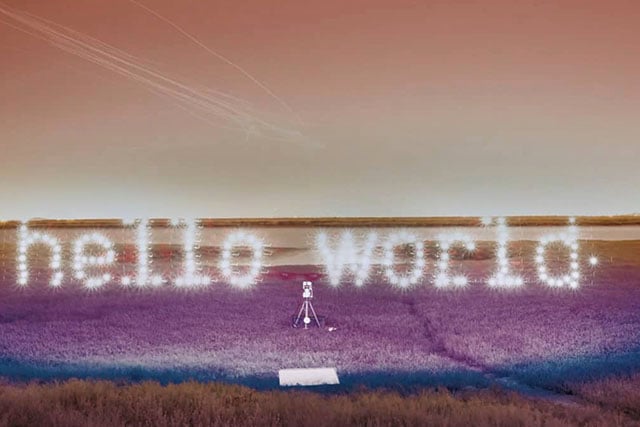
There are a couple of different ways to use drones for light-painting. Some people will attach LumeCubes to their drone and paint an environment with them or will fly a drone around the sky or an object and have the drones lights creating images in the sky. However, there is another way to use them that isn’t widely used yet: using the drone’s camera to capture light-painting from above.
Note: Always be aware of your surroundings when flying a drone and make sure that the area you are in allows drones in it. This includes following FAA regulations and noting the current airspace you are in. With top-down drone light-painting, this generally shouldn’t be an issue but you should be aware.
In order to do top-down drone light-painting, I recommend having an assistant to get the drone in the right spot and monitor your position to make sure you are centered and focused as well as you can be. Or you can focus it yourself and just have them press the shutter if you’re more comfortable.

Let’s talk about the pros and cons of shooting with the DJI Mavic Pro:
Pros
- Tripod mode (this helps keeps the drone as steady as it can be) it also helps to make minute corrections to better align your picture
- Unique Perspective
- Creates new shapes and possibilities
Cons
- Need an assistant
- Most drones don’t have a controllable aperture
- Shutter can only stay open for 8 seconds max
- Pictures aren’t as clear as they could be because of drone movement
- If there is any wind at all it will affect your picture so you will only get it so clear
So how do you do this type of photography? I’ll do my best to break it down.
- Find a spot that it’s ok to fly drones [Editor’s note: You need a Part 107 waiver from the FAA to fly at night]. Fly this drone up to 30-50 ft.
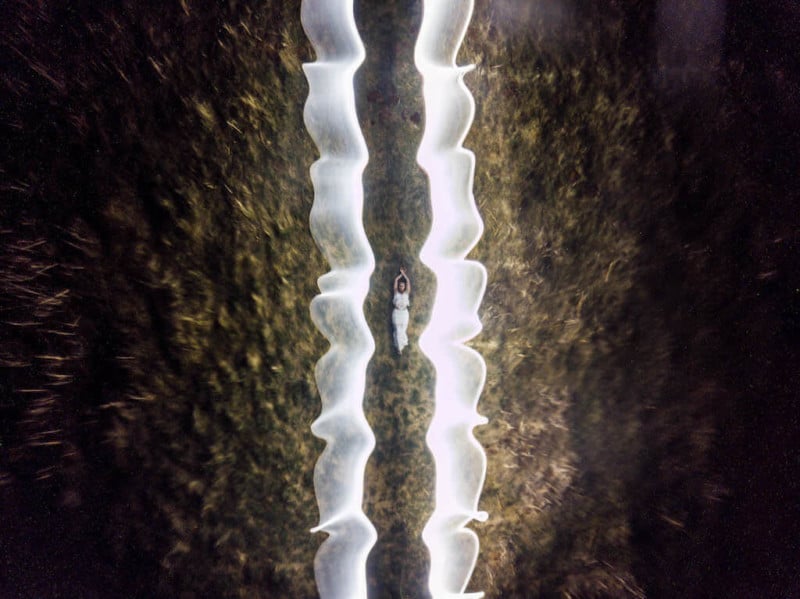
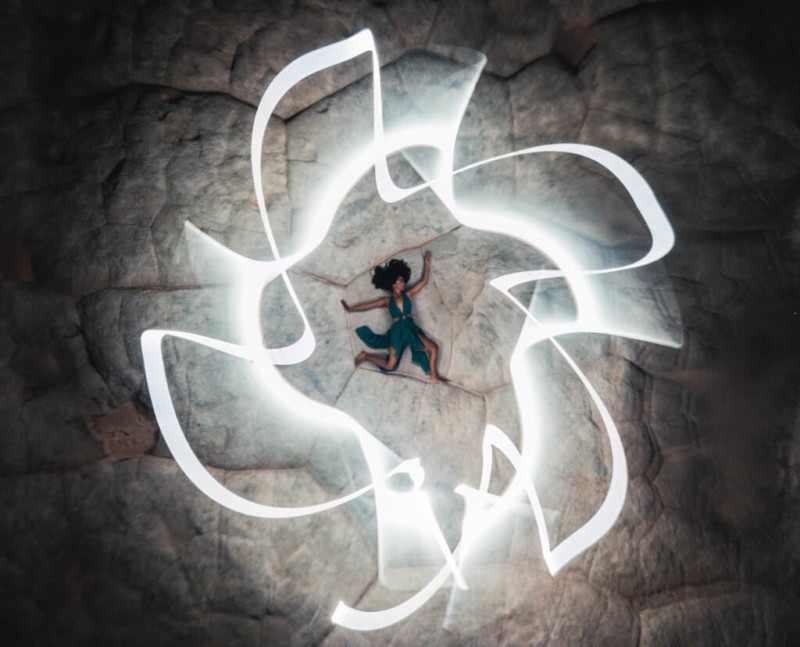
- Have your model (if you want to use one) lie on the ground and center the drone on top of him or her about 30-50 feet up in the air.
- Focus on your subject or the ground by zooming in with your drone and doing your best to get a clear shot.
- Now take your tube or blades or whatever you want to use and get ready to light-paint. Your drone operator will have to count down for you when you need to start painting as you only have 8 seconds, if not less!
I personally like to use models for this type of light painting but you totally don’t have to if you just want fun shapes. I find models just enhance the picture and provide interest.
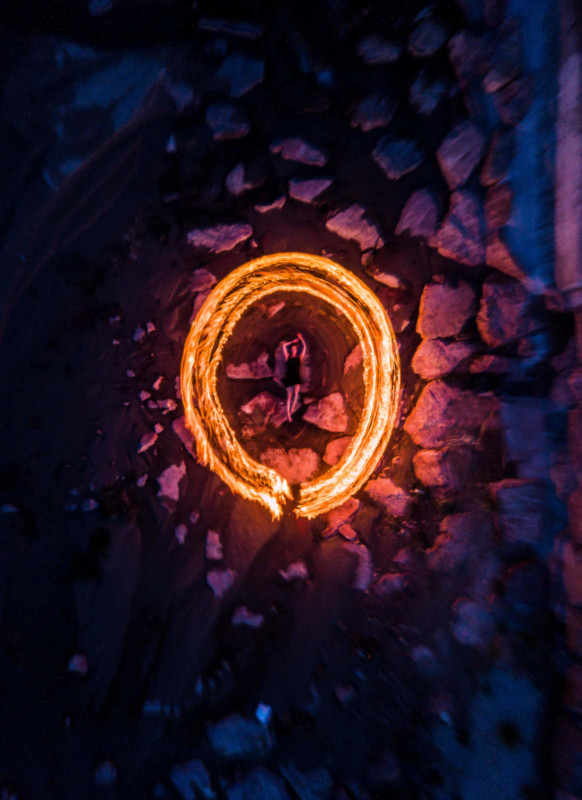
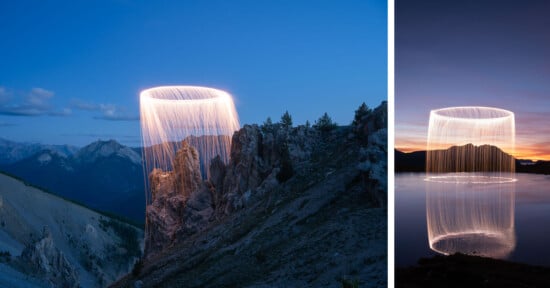
When making shapes you have to think a little differently about how they are created as you are using a different plane of perspective. Don’t be afraid to use your space! Go up and down and all around and see what you can do. I find tubes or tube-like objects work best (at least so far) so that’s what I would recommend.
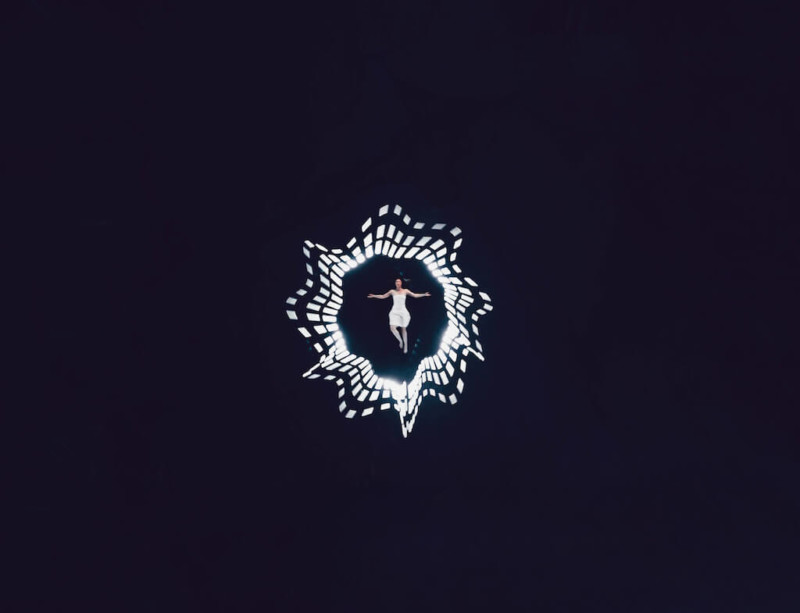
The most important thing with this style is that the sky is (literally?) the limit! Or maybe your battery life. There is so much you can do with perspective it’s bonkers, so go wild!
About the author: Russell Klimas is a photographer working on the art of aerial drone light-painting. The opinions expressed in this article are solely those of the author. You can find more of Klimas’ work on his website and Instagram. This article was also published here.