Three Ways to Use RGB Lights in Your Portrait Work
RGB LEDs are a relatively new piece of technology, and a wonderful addition that photographers should be taking advantage of. Before this technology existed, we were forced to resort to adding gels to our strobes in order to add a pop of color into our images. This worked well (and still does) but having the ability to change the hue and saturation of your lights with the flip of a switch or turn of a dial is incredibly useful.
Below, I’ve outlined three different ways photographers can use these lights in their portrait work.
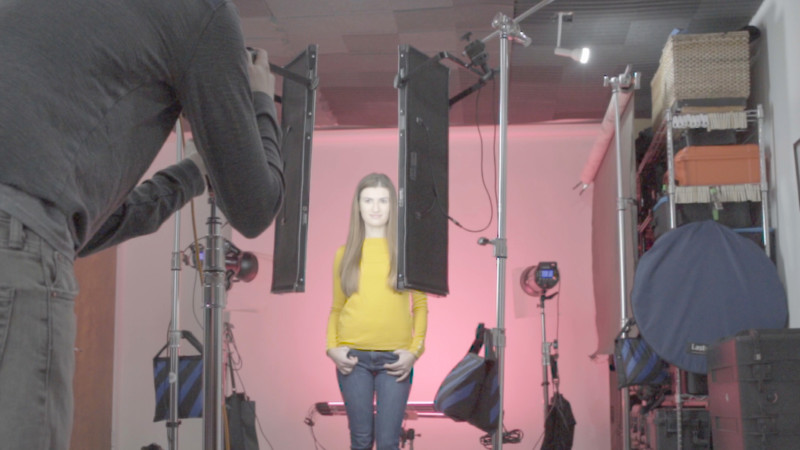
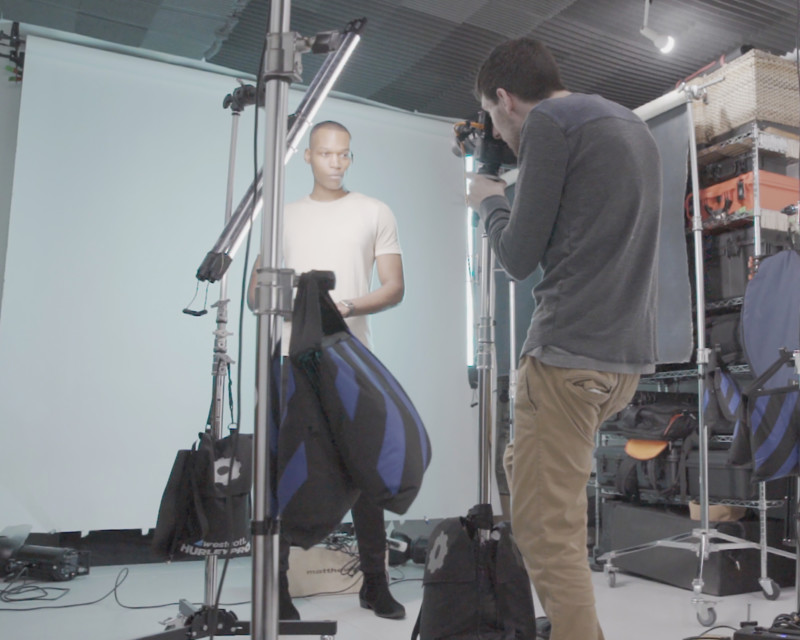
Background Color Changes
Building up stock of different color backgrounds can be tedious and requires extra room for storage. A nice way to cheat this is to setup some RGB LED lights in front of a white background. Simply choose the color you would like, and boom, you’ve got a different color background!
Depending on the size and spread of the lights you use, you may end up with some patchy lighting on the background, but this is nothing to worry about as you can begin to experiment with the positioning and modifiers you use to even the light out.

Another cool feature that a lot of the RGB lights have is the ability to slowly (or at whatever speed you would like) cycle through different colors. This is a simple way to offer your clients more variety in their photo backgrounds.
Again, all you need to do is press a few button and you’re on your way. No more interrupting the shoot to take down a certain color background and put a new one up, only to find that you don’t actually like how that color is working for the photo. Using this method, you can easily see, within a few minutes of shooting, all of the different solid color background options you could think to use and how they impact your portrait.
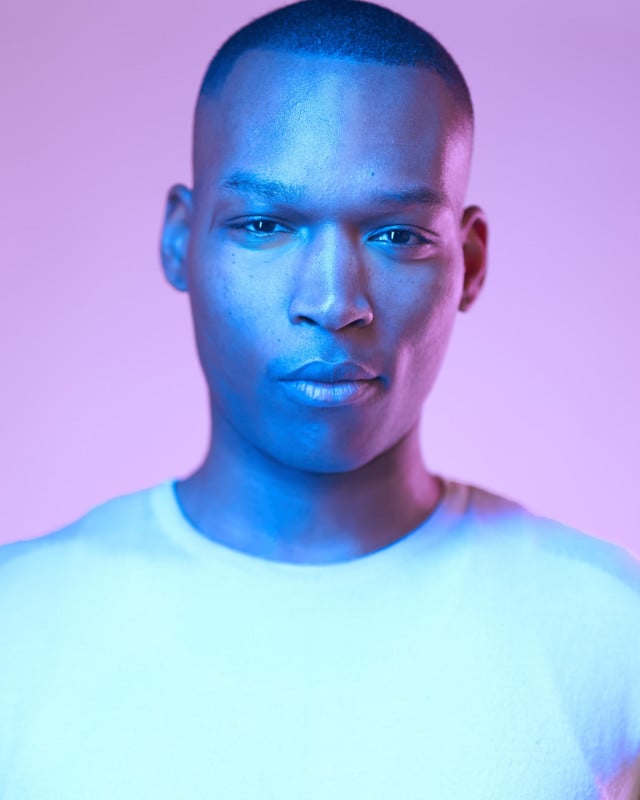
Using Color Directly on Your Subject
Another way to create a unique look in your work is to add some color directly onto your subject. This look is far from your standard lighting that 95% of portrait photographers use, and the possibilities are endless. I have found that some color tones look better on the face as opposed to others, but that doesn’t mean anything is particularly wrong.
Mix and match colors as needed. Experiment. There is no “wrong” way.


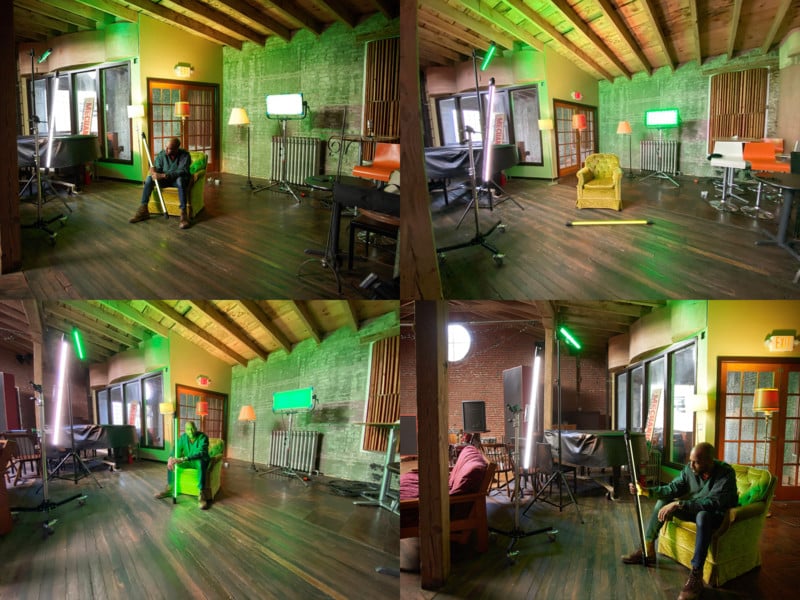
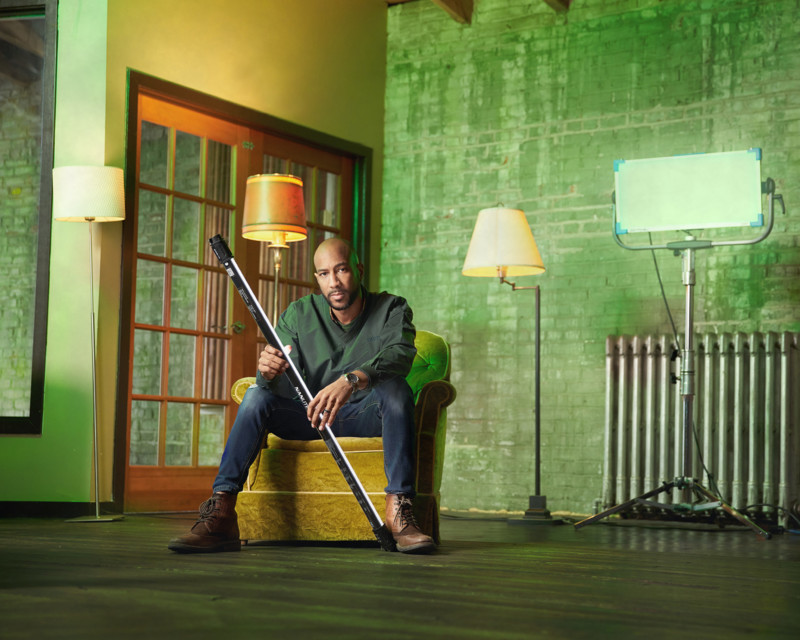
Add the Lights Into Your Scene as Practicals
A great way to add something new to your images is to use the actual lights in the frame. This can also transport the viewer into your scene, giving them a peak into what a photo shoot is like by showing a little bit of the behind the scenes studio space.
If you are integrating a certain color pallet into your photo, and you leave the light in the frame, it gives the viewer context to the overall look of the image. Without the practical light in the shot, the viewer may become confused as to why the image consists of these tones.
Conclusion
Using these lights in your work is all about experimenting and getting away from using the same old setups everyday. Throw a splash of pink on the right side of your frame and see what that does to your photo; add some blue onto the face of your subject, or mix white and color light into your frame; then keep experimenting to keep everything fresh.
I think this type of lighting helps add that little bit of flare many people are missing when they use the same old lighting setups over and over again.
If you have any questions about using these lights in your work, feel free to leave a comment as I would love to start a conversation. Have you ever experimented with RGB lights? What is your favorite way to add color to your photos?