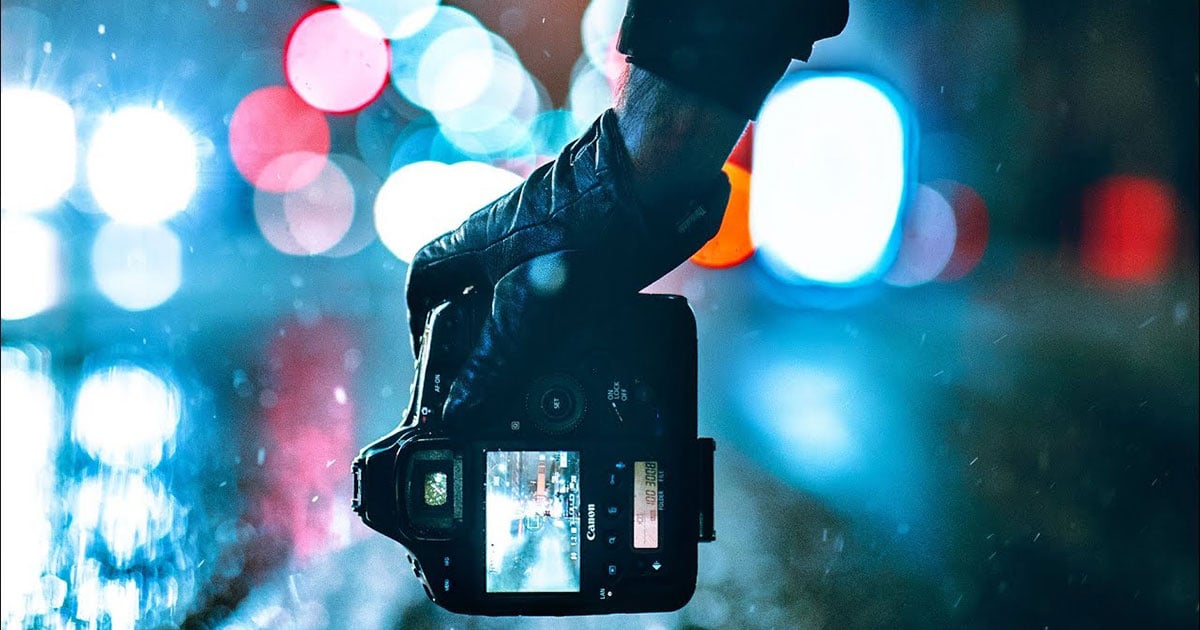
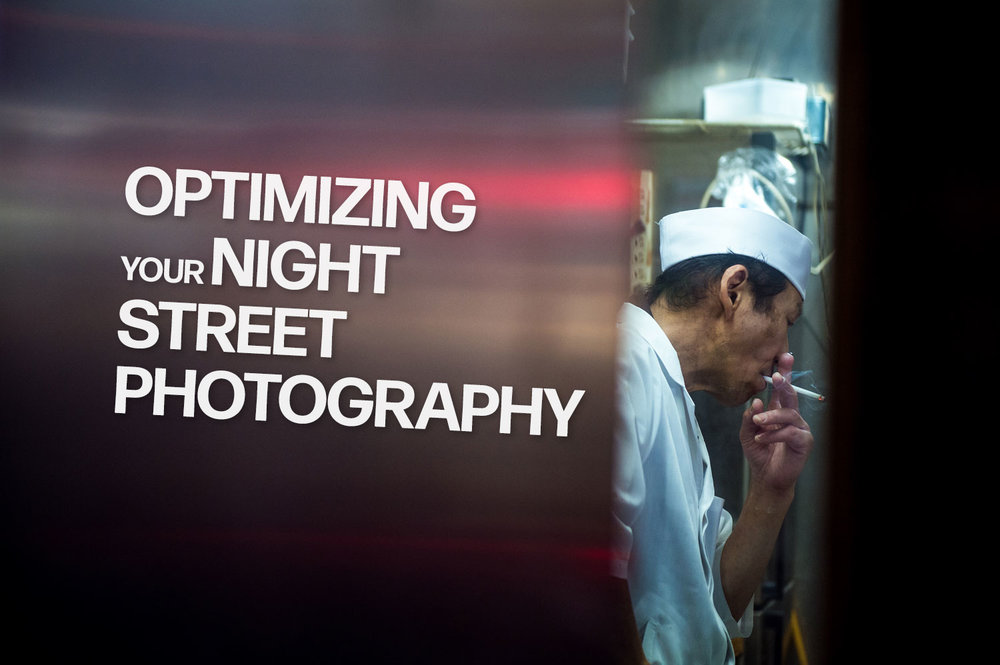
How to Shoot Great Nighttime Street Photography
Ah, the night, what a wonderful time to go out and do some street photography! As a photographer who got his start in the streets of Tokyo, it was inevitable that I would end up photographing mostly at night.
To me, the city becomes its ‘true self’ when the sun sets, and the artificial lights come on and illuminate the metropolis. But let’s save my romanticism for another time. In this article, I hope to share with you my methodology, some tips and tricks, for night street photography.
Please don’t expect any magic tips or secrets. I keep my photographic approach pretty simple, but fundamentals used well lead to great photography!
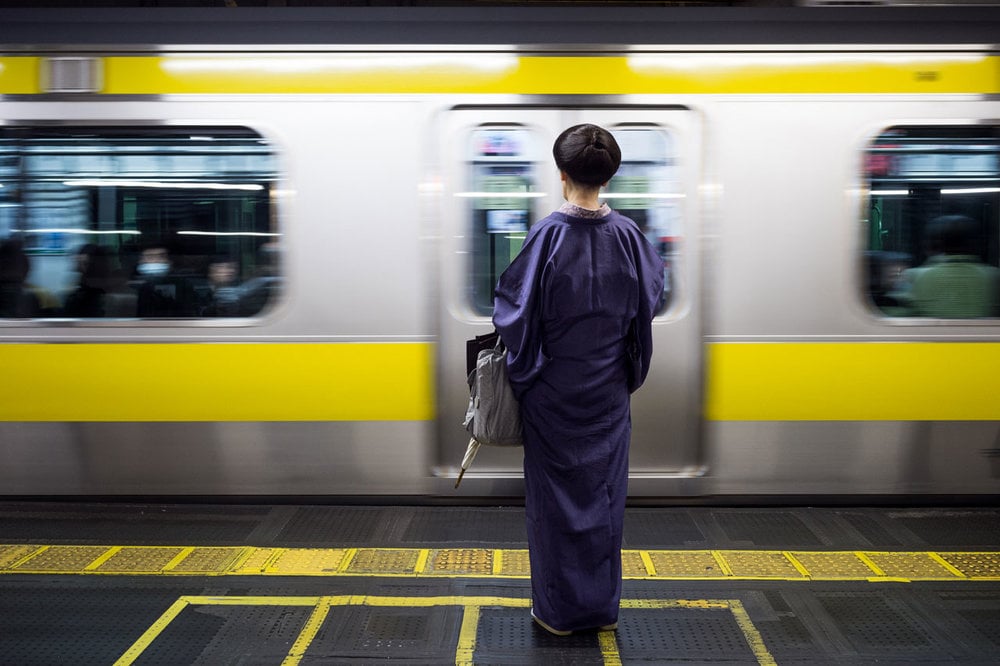
Nikon D4 – 40mm, f/5.6, 1/60, ISO-1800 (manual mode with auto ISO)
Exposure, Noise, and Other Technical Mumbo Jumbo
First, let’s get into camera settings. Though I feel that photography is 90% about perception, 9% about where you stand, and 1% about camera settings, the settings are the first thing we do before moving on to the other 99% of the act. So, how do we set the camera optimally for night street photography?
Well, it’s not much different from daytime (at least the way I do it) but the night leaves a bit less room for error. First, I generally always shoot in Aperture Priority (if you prefer Manual, that can work too, but that’s a discussion for another day). The reason is that it leaves the metering, that is, the selection of exposure, up to the camera but allows me control of the aperture, which is very important for two reasons: 1) it affects depth of field, and I want to be in charge of that, and 2) it allows me to let in more or less light depending in the situation.
First, a bit about metering modes.
Generally, all cameras let you choose between an average metering, spot metering, and some options in between. At night, I highly recommend avoiding spot metering; in my experience the wide/average/matrix (every camera calls it something else) metering modes are much more reliable. The reason for this is that at night in the city there are many extreme changes in the brightness of subjects, such as spotlights, car headlights, deep shadows, etc. If you’re not careful, it’s easy to land the spot on one of these things and get an exposure that’s way off from what you intended.
Having said that, even on the average metering mode, the camera can be thrown for a loop by those aforementioned bright or dark spots in a given scene. It’s important to learn how your camera “thinks.”
Well, actually, the first thing to realize is that it doesn’t think at all, it’s actually quite dumb. There is no fancy AI predicting how to expose a scene. The camera just wants to end up with an average brightness that equals a certain preset value. So you can try to predict how it will behave. If you point it at a scene that’s mostly very dark, the camera is likely to overexpose (and vice versa for very bright subjects).
Nikon D4 – 28mm, f/1.4, 1/80, ISO-6400 (aperture priority mode with auto ISO)
To deal with this, we use Exposure Compensation, which is a setting often denoted by a little +/- icon. If we set the exposure to say +1, then the camera will set the exposure one stop brighter (one stop being always a factor of 2). Same goes if we set it to -1, but in the other direction. The camera will use any settings that have been left on auto to achieve this, and in the case of Aperture Priority, this means it will use the shutter speed (and ISO, if it is also on Auto).
So, the gist of it is if you are photographing in a place that’s extra dark, it might be good to set the compensation to a negative value, such as -.7 or even -1 to ensure the camera does not erroneously overexpose the scene. This is good to do pre-emptively since second chances are rare in street photography.
To recap: we are in Aperture Priority, with an average metering, and using exposure compensation when needed.
Next, of course we need to set the aperture. I would choose a pretty wide aperture to let in plenty of light, but this does not mean we are constantly shooting at f/1.4. This is an option, but I regularly adjust my aperture between the max and as small as f/4 in situation when there is plenty of light and not much motion. It also depends on how much Depth of Field I need, as aperture is one of the things that affects how much will be in focus (the other two being focus distance, and focal length).
Nikon D4 – 70mm, f/5.6, 1/30, ISO-800 (fully manual exposure)
Speaking of motion, once we’ve set our aperture, the camera will choose a shutter speed to match (based on how it meters the scene). Generally, if we want to “freeze the action” when photographing moving people (that is, getting little to no motion blur) I would recommend a shutter speed of at the very least 1/125 but more often 1/250 and as high as 1/500 in some cases.
But since I recommended Aperture Priority, how can we control our shutter speed?
Well, now we have to also talk about ISO. In addition to Aperture Priority, I also recommend using Auto ISO. This is because most cameras these days allow you to set a minimum shutter speed along with a max ISO. This is the crucial piece of the puzzle that will let us keep our shutter as fast as we want. I don’t want to get too much into the particulars of the settings on each and every camera, but the setting has the following names on the four most common maker’s cameras (and the Ricoh GR because it’s a great street photography camera which I often use):
- Nikon: ISO Sensitivity Settings
- Canon: ISO Speed Settings
- Sony: ISO Auto Min. SS
- Fuji: ISO Auto Setting
- Ricoh GR: ISO Auto-Hi Setting
To sum it all up, here are my specific recommendations (settings that I use 99% of the time): Aperture Priority mode, wide/area/matrix metering, max ISO set to 6400, min shutter speed set to 1/250. And that’s it.
Now, one last thing before leaving the topic of technical settings: I just want to mention noise reduction. I always have it turned off in the camera. Noise reduction reduces noise, but it also reduces details/sharpness, and this is something I don’t want. I also always shoot in my camera’s Raw format, so I can edit my photos easily in post. If necessary, I might add some noise reduction at this point. But even this is very rare for me. Noise is okay—embrace the noise.

Nikon D3 – 40mm, f/2, 1/250, ISO-2800 (aperture priority with auto ISO)
Follow the Light
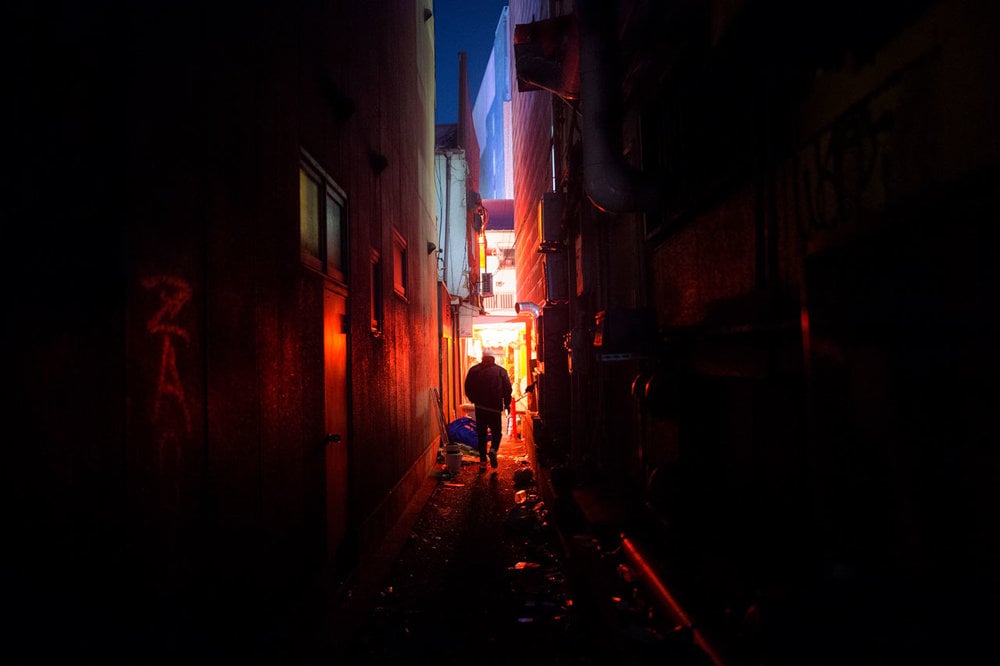
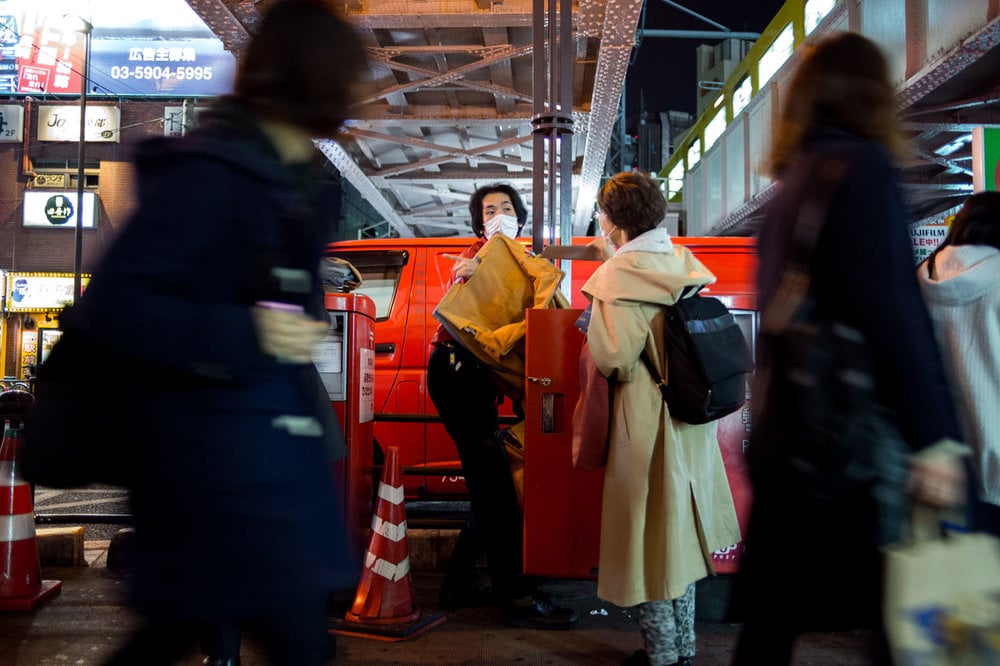
The single most important tip when shooting street photography at night is being very aware of light sources, their direction, intensity, and general “quality.” Honestly, as I write this, I think this holds true in the daytime as well. But the difference is that at night the quality of the light might change dramatically multiple times over the course of a short walk down a busy urban street.
There is certainly “bad” light at night, although I try to avoid making excuses like “the light is no good” because I do feel that a good photo can be wrestled out of any kind of light. But why make it hard for yourself? Stick to places that have “good” light.
So, what is good light? I try to look for light sources that give depth to my image. I want contrast, that is gradations from light to dark. In painting this is called “chiaroscuro.” The dictionary defines it as “the treatment of light and shade in drawing and painting.” Wikipedia describes it as “the use of strong contrasts between light and dark, usually bold contrasts affecting a whole composition.”
Essentially, I want my subject to be illuminated unevenly—I want light here, and shadow there. This gives the photo depth, a 3D “pop” that helps draw the eye into the frame.
If you want to avoid overly harsh shadow and stark contrasts, soft light sources are better. To this end, I seek out directional light sources that are large, and therefore soft. Shop windows with lit up displays are great for this. On the other hand, if I want very strong contrast, I might shoot a “backlit” subject, where the light source is behind them, resulting in a silhouette in the most extreme cases. This can also have dramatic results in regard to the distribution of lights and darks, giving the image a more compressed or “flat” look while still being visually engaging.

Nikon D850 – 35mm, f/2.8, 1/125, ISO-2200 (manual mode with auto ISO)
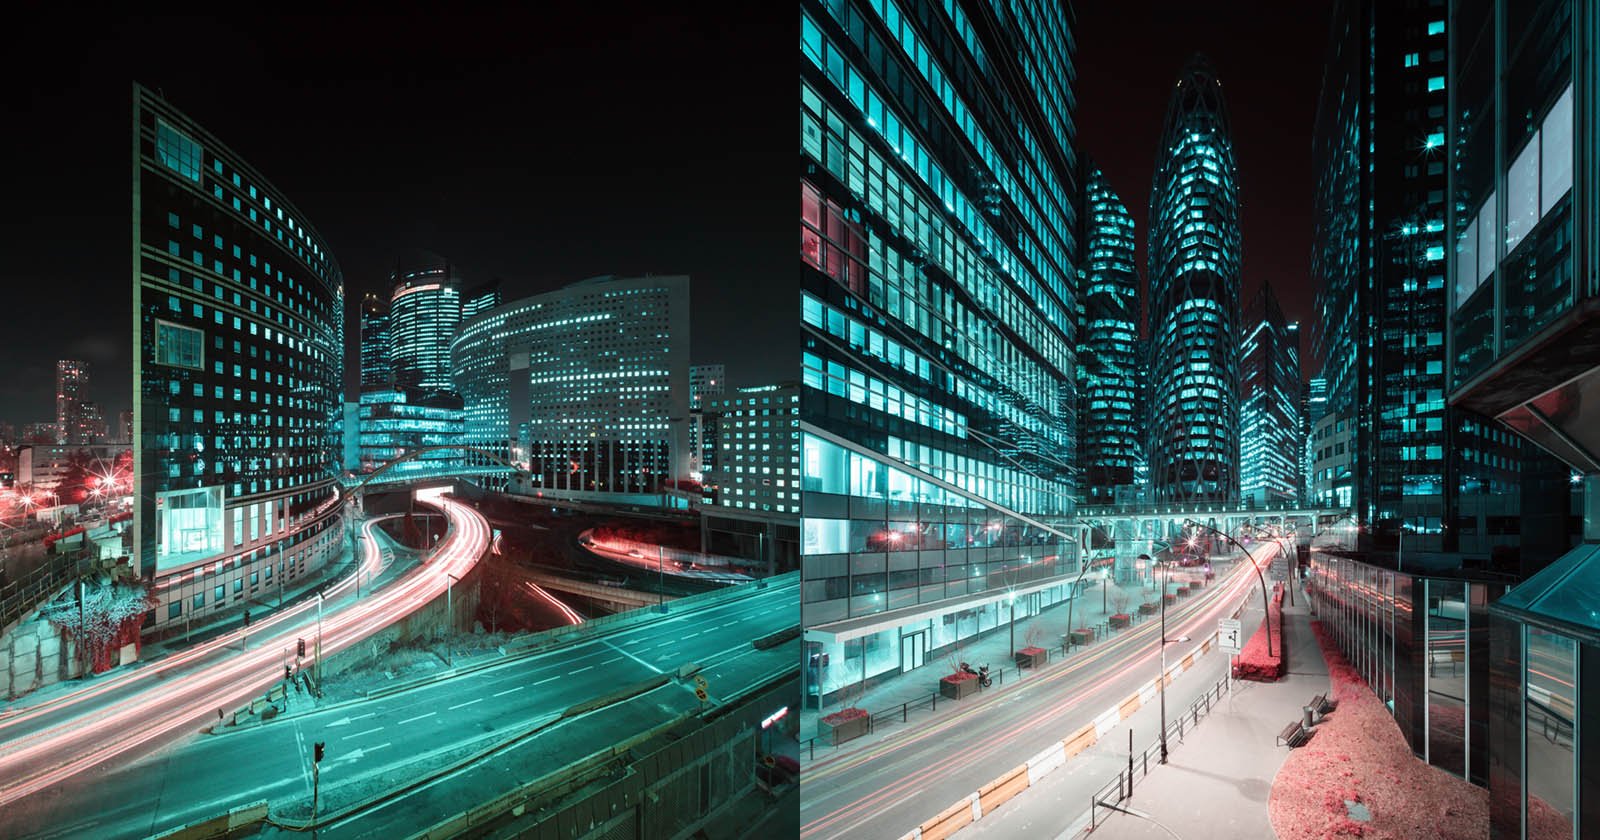
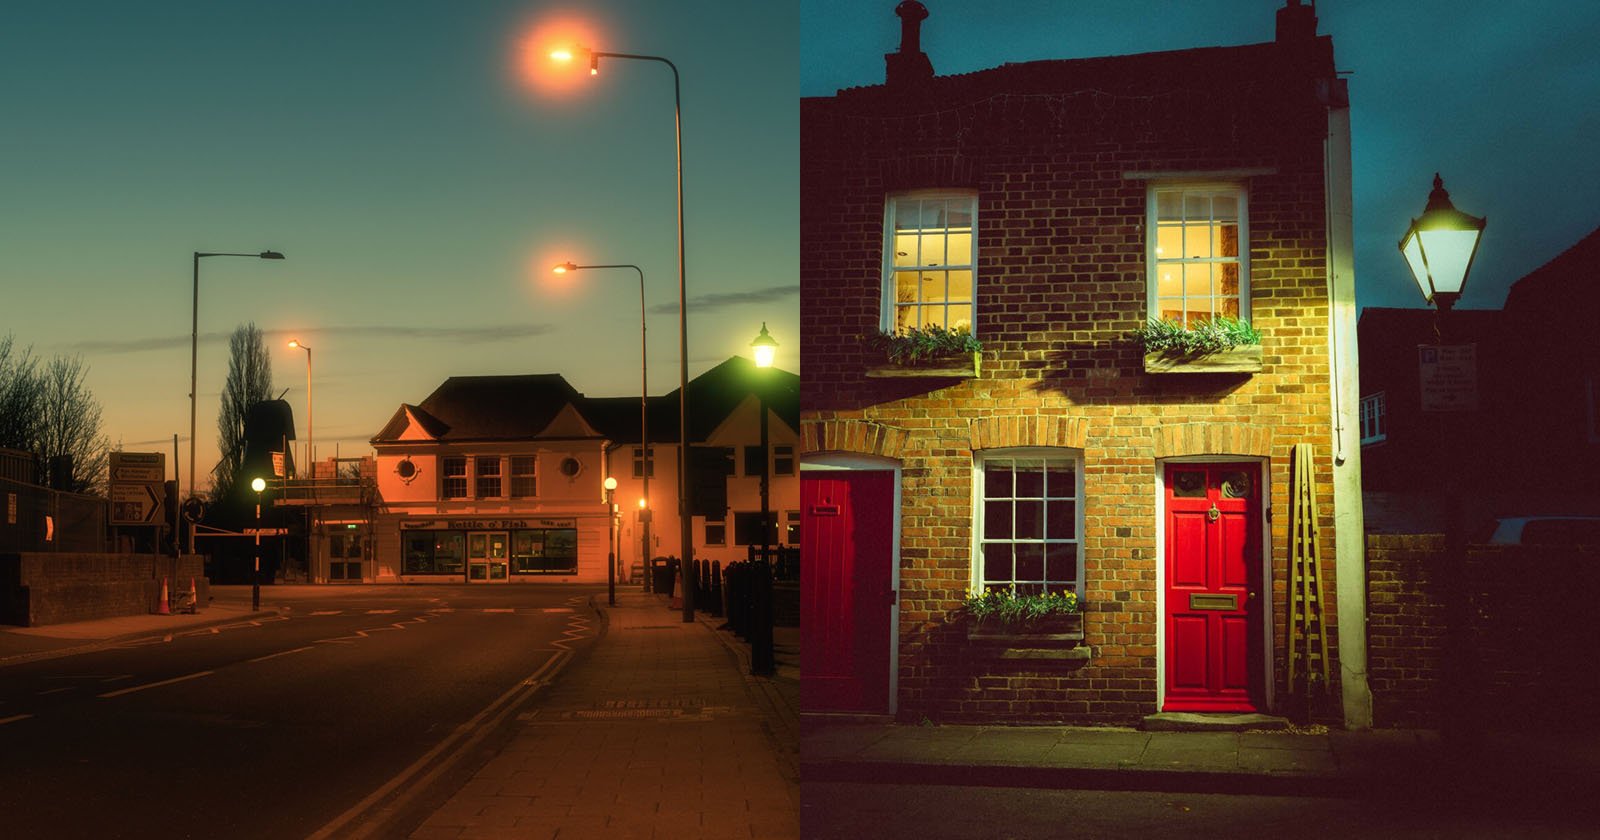
Colors and White Balance
Still on the topic of light sources, it’s important to know that artificial lights often add a bit (or a lot) of color to your image. This is because most artificial lights are not pure white. Incandescent lights cast a warm color. While fluorescent lights cast green tones. You should use these different colors to your advantage, emphasizing them to create visually interesting scenes.
Which brings us to White Balance. First, I should say that I typically don’t mess with White Balance while I’m out shooting, because as mentioned before, I shoot in Raw and I can simply change the while balance in post. I always feel that the less I’m messing with camera settings the better so I can focus on perceiving the street. I just leave it on Auto.
Having said that, when I was learning the basics, I experimented with White Balance all the time! This let me get an intuition for the (sometimes subtle) colors of nighttime in a city.
It’s definitely fun to try out different settings at night (and it’s a must if you’re shooting in JPG). I recommend trying out Incandescent/Tungsten (some cameras use one name, some use the other, but it’s same thing) for a cooling effect on most colors in the photos, while leaving reds mostly untouched, allowing them to “pop” more. I also recommend trying out the Fluorescent White Balance setting (many cameras have a few of these) to give images a slight magenta tint, while also turning some lights a bit greener.
In any case, colors are certainly your friend when doing street photography at night!

Nikon D3 – 40mm, f/2.8, 1/15, ISO-3200 (aperture priority with auto ISO)
One More Thing Regarding Light: Focusing
Though cameras as getting better and better these days, something that is still a common problem is autofocus in low-light conditions. Cameras generally use one of two methods to find focus: “phase detection” or “contrast detection.” Some use a combination of both systems. I won’t go into the nitty gritty details of these autofocus systems, but some basic awareness of them is important, so you can better strategize what to focus on.
Really, really basically, in both cases the camera will be able to focus more quickly and more accurately if there are some “contrast-y” details for it to examine. So, try to be selective about where you focus. For example, if your subject is wearing a striped shirt, that’s an easy target for the autofocus system. Faces, of course, are a common target but not always, in which case you can look for other objects that have plenty of contrast.
Briefly touching on focus modes, I much prefer to use a single point focus set to the center so that I always know where the camera will focus. I don’t like to let it choose for me (this goes for daytime and nighttime) but I do like to use tracking if it’s available. I shoot with a Ricoh GR II, which does not have any good tracking features, and a Nikon D4, which has an excellent tracking function called 3D Tracking.
Finally, manual focus is a very viable option for street photography but that’s a separate topic (which I have covered before).
Nikon D4 – 28mm, f/2.8, 1/25, ISO-3200 (aperture priority mode with auto ISO)
Nighttime Street Photography Motifs
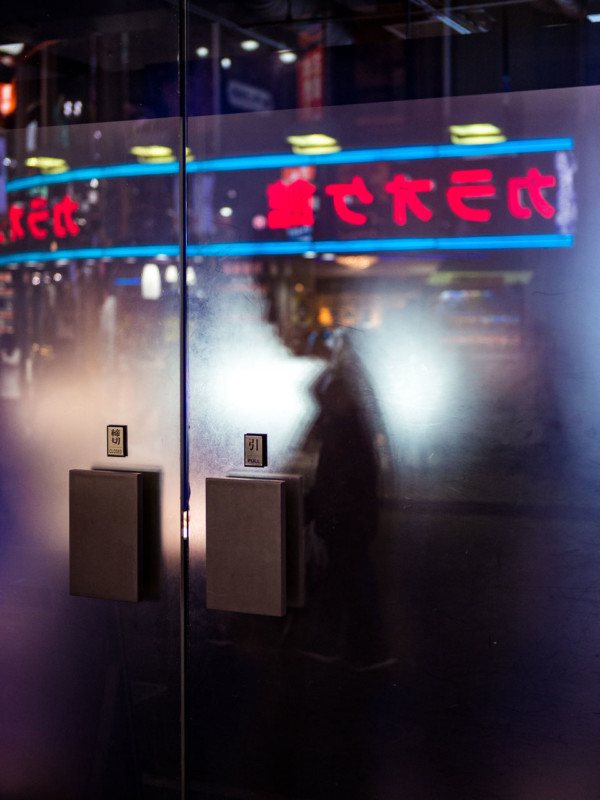
We’ve already covered a few useful motifs (silhouettes, directional light sources, creative use of color) for night street photography. Another one that I find really compelling at night is the use of reflections to create layered images.
Of course, this idea is not limited to nighttime, but it works very well at night since reflections don’t get “washed out” as easily night as they do by ambient daylight.
Try to search for glass surfaces that do not have much light directly on them. This will help them act more like a mirror. By also finding places where there is something interesting behind the glass, you can use this to create multilayered photos that have a dreamlike quality. Similarly, metal surfaces can reflect and distort light source in surprising and unusual ways, so keep an eye out for such surfaces as well.

Nikon D4 – 28mm, f/4, 1/100, ISO-3200 (aperture mode with auto ISO)
Nikon D4 – 50mm, f/2.8, 1/250, ISO-1600 (fully manual exposure)
Speaking of reflections, rain also makes for a great way to enhance the city’s lights and colors. Not only will all of the wet surfaces “catch” the colors of the ambient artificial lights, but puddles can also be used as mirrors. Rain in general is great, as it brings out different behaviors in people, the most popular one being umbrellas, which look great at night in the rain (especially the clear plastic ones that are so common in Tokyo).
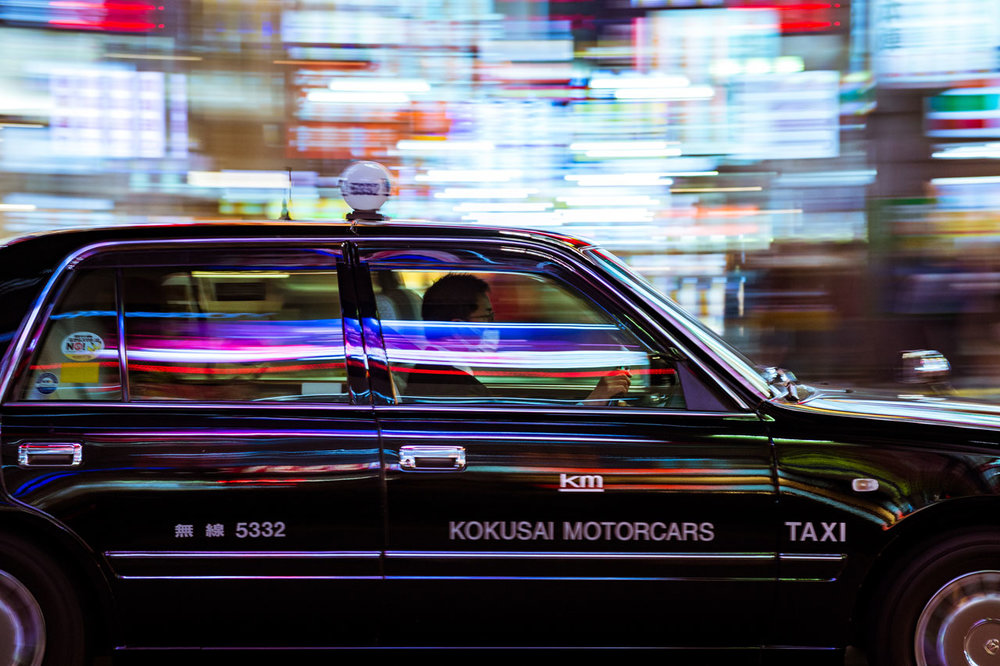
Finally, we already talked about freezing motion with a fast shutter speed, but how about blurring it with a slow one? One way to do this is “panning.” In this case, we could switch to Shutter Priority mode (or Manual mode) and select a shutter speed between say 1/30 and 1/60, and then follow moving subjects with the camera while shooting. This works very well with fast-moving subjects like cars and bicycles. Of course, this effect can also be done in the daytime, but when combined with all of the lights and colors of the urban night, it can make for some stunning photos!
And that about sums it up! I really hope that all of this information gives you confidence and inspires you to go out and shoot some night street photos. Get out there!
About the author: Lukasz Palka is a freelancing Tokyo photographer who is the co-founder of EYExplore photography workshops. You can find more of his work on his website or by following him on Instagram, YouTube and Facebook. This article was also published here.