Why You Don’t Put a Cheap Filter on an Expensive Lens
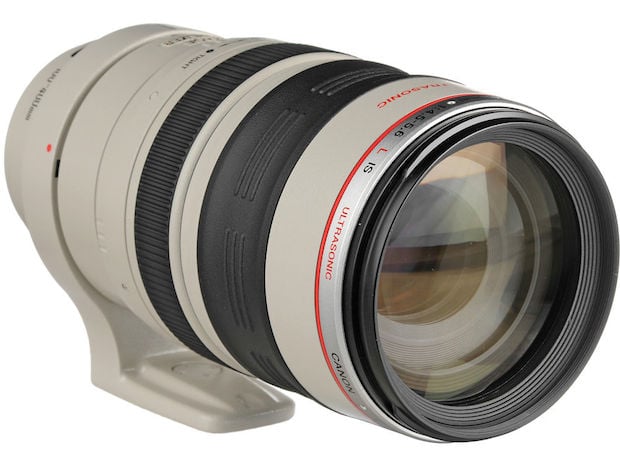
I recently took my Sony A7 III and a rented $2,500 Sony FE 100-400mm f/4.5-5.6 GM OSS lens to the 2018 Montreal GP. A friend of mine had recommended that I use a polarizer. I remembered that I had a pack of 77mm Vivitar Series 1 filters that came with my 24-105mm, so I threw that onto the 100-400mm and started shooting, completely zoomed at 400mm.
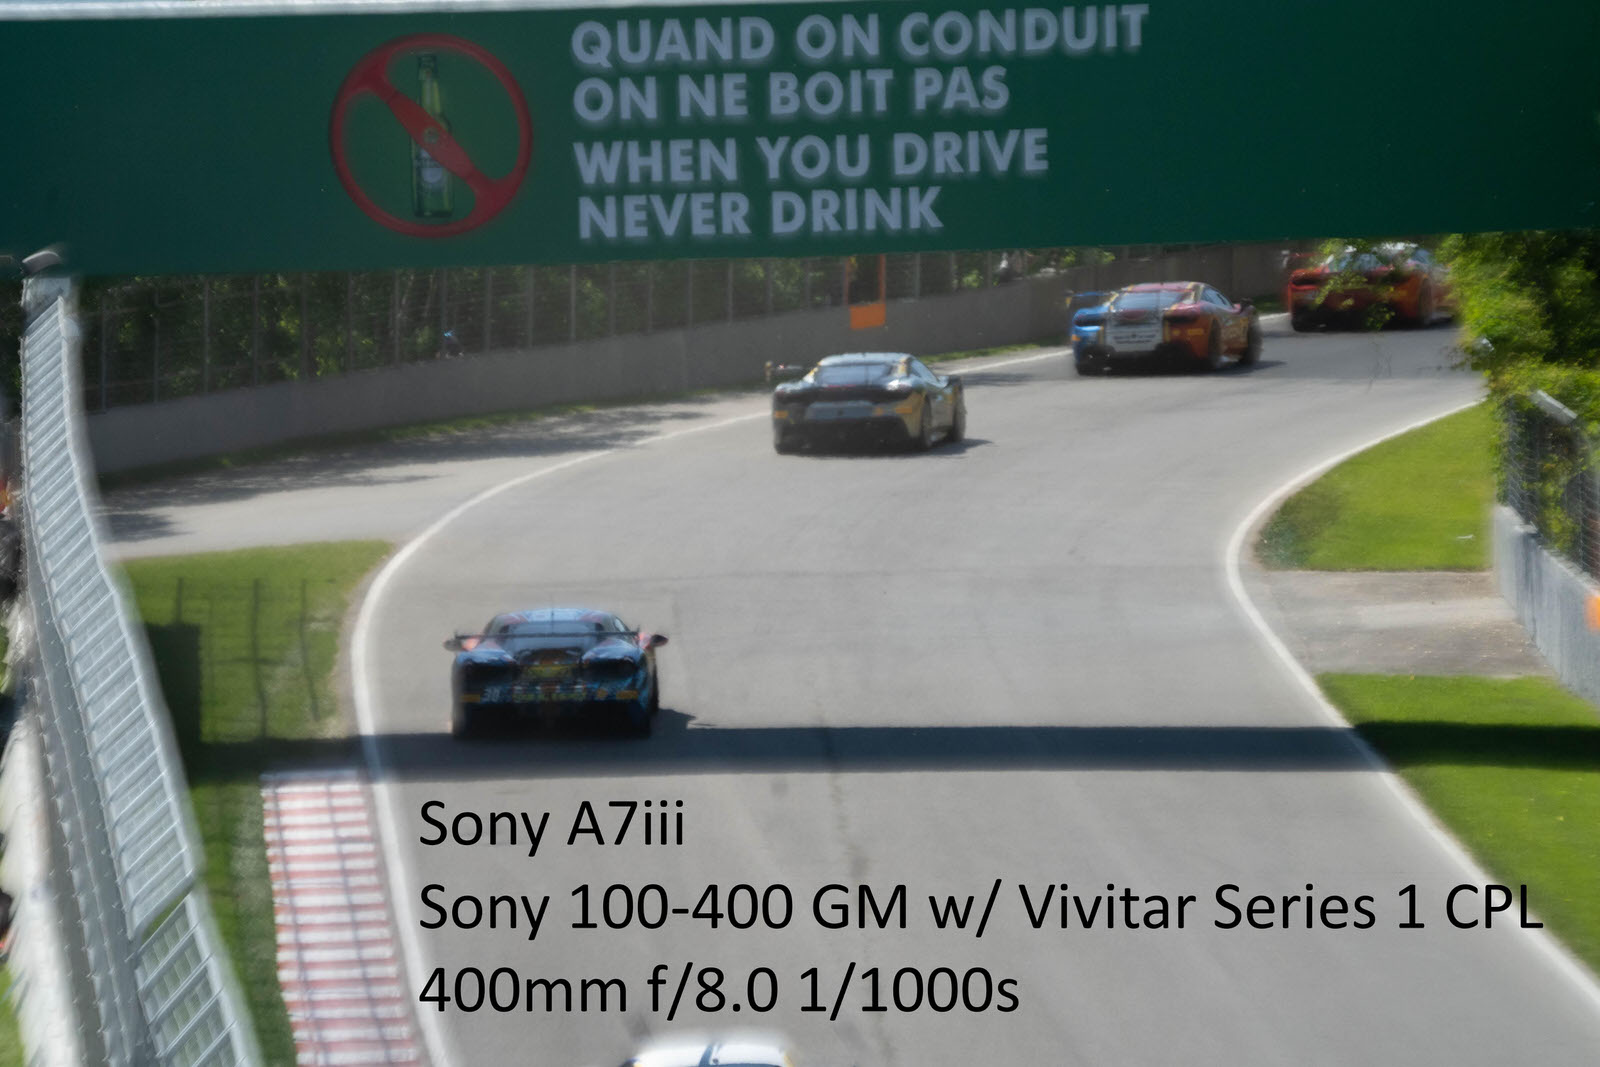
It was bright out, so it took me a while to notice that the images on the back of the camera didn’t look right: I was puzzled why they were coming out with a strange refractive blur that was not like the kind of blur that you get with camera shake/motion, but something different.
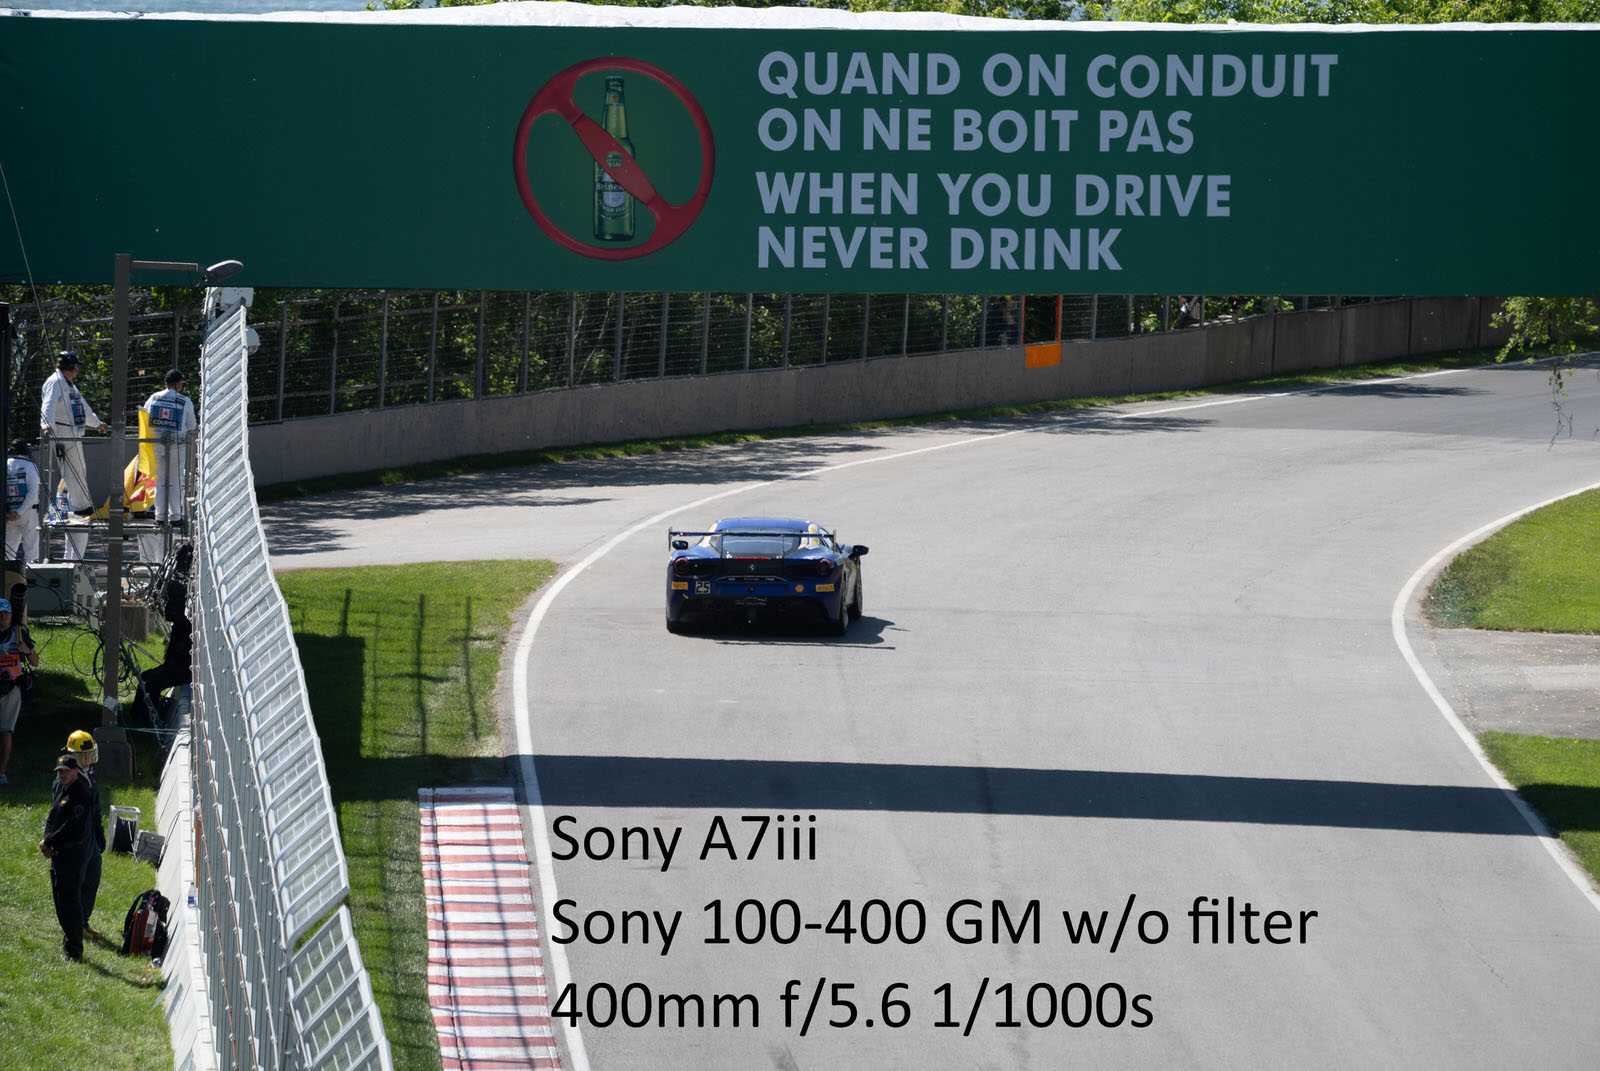
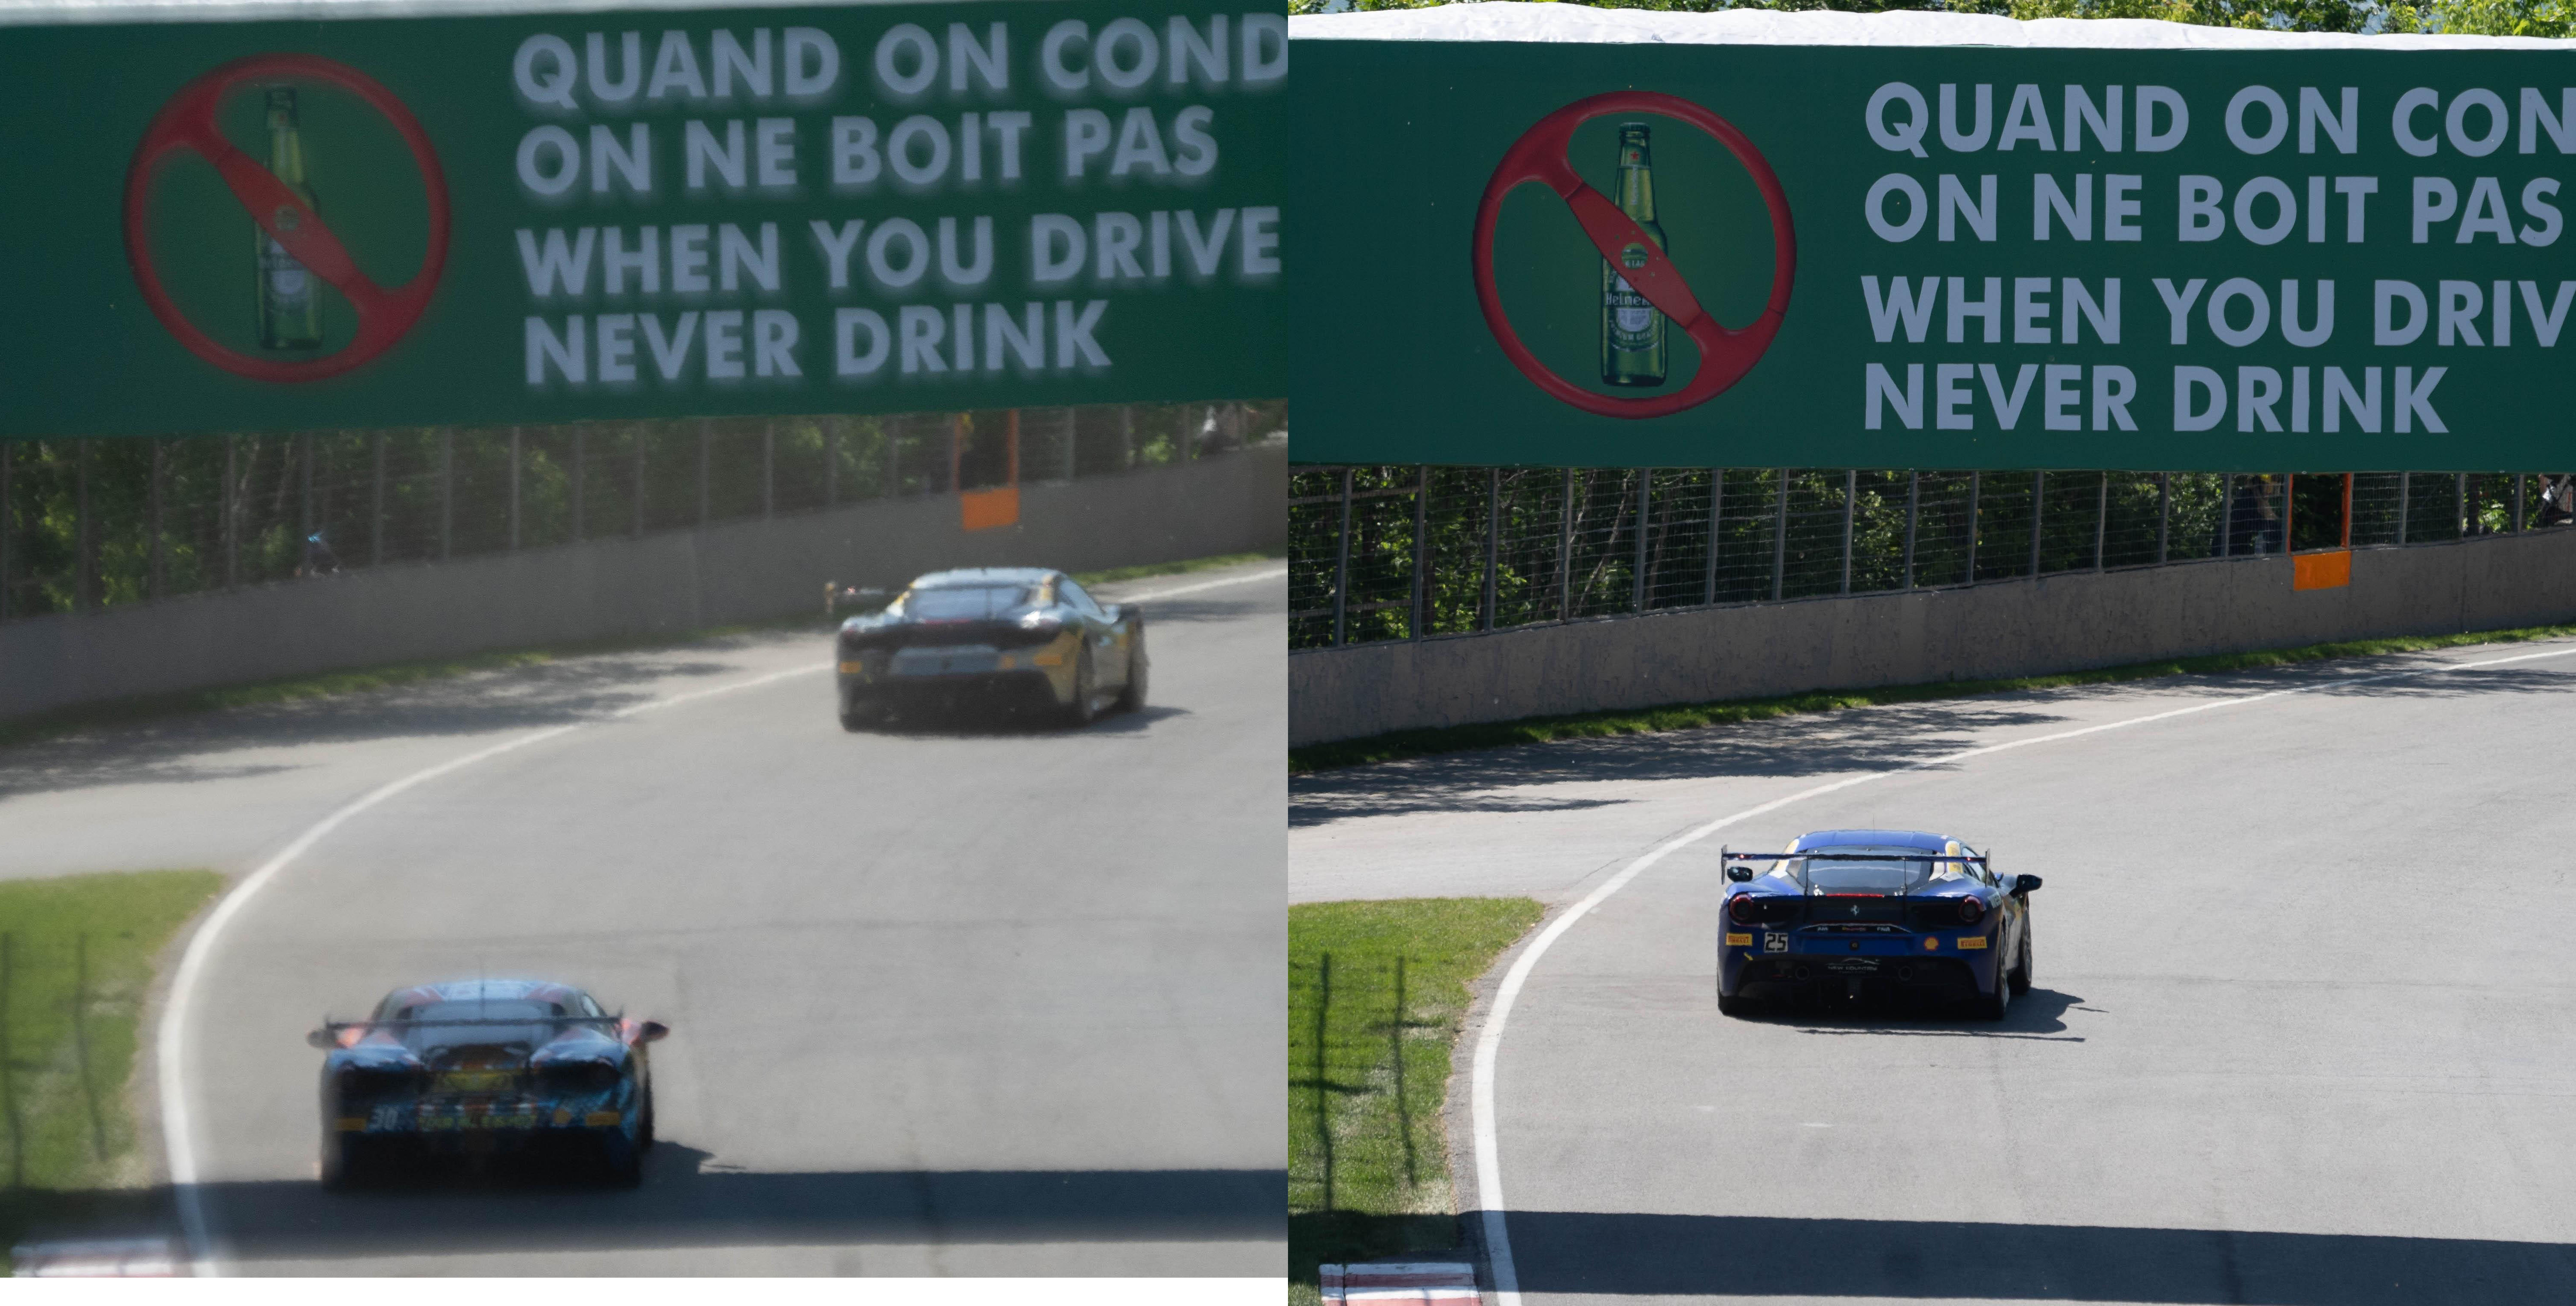
The previous day I had taken a lot of razor-sharp 400mm shots, completely handheld, and they looked great. Then it dawned on me: it was the filter that I had just put on. I took it off and was shocked at the difference.
It doesn’t take pixel peeping to see why this filter is worthy only of a life in a landfill. I have roughly 2,000 shots (bursts) that are completely ruined because of this filter. I am not a smart man.
After sharing my findings online, a few people argued that it wasn’t a scientific test (I agreed) and that user error was likely (I disagreed). The shutter was static, but the f-stop was different due to my attempting to debug the issue, and I let the ISO float. That said, I argued that the findings were still valid given:
1. The f-stop was different, but it was more stopped-down in the filtered (blurry, CPL case) and wide open (sharp, unfiltered case). These conditions were more favorable to the CPL, yet it was still blurry.
2. Some claimed that the blur was motion blur. I took roughly 4,000 shots that day, half with filter, half without. 0 filtered shots are clean. Roughly 50-60% of the unfiltered are usable. It’s safe to say that I didn’t suddenly learn how to hold the camera steady after I removed the filter.
3. The ISO was different, which more than one person pointed at, but both images were unprocessed and still noiseless.
So I said I’d try to reproduce the results in a more controlled way, shooting manual, with a tripod, static shutter and aperture, while letting ISO float (to maintain exposure). I had to return the 100-400mm GM, but I had my 24-105mm G with the same filter threads to try to recreate the problem.
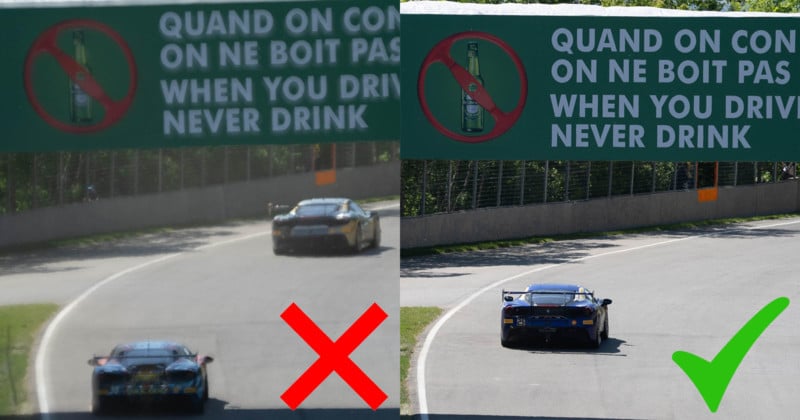
At first, I couldn’t! My A/B testing yielded almost exactly the same level of detail. However, I observed that it was overcast. So I waited for a bright and sunny day, and below is what I saw:
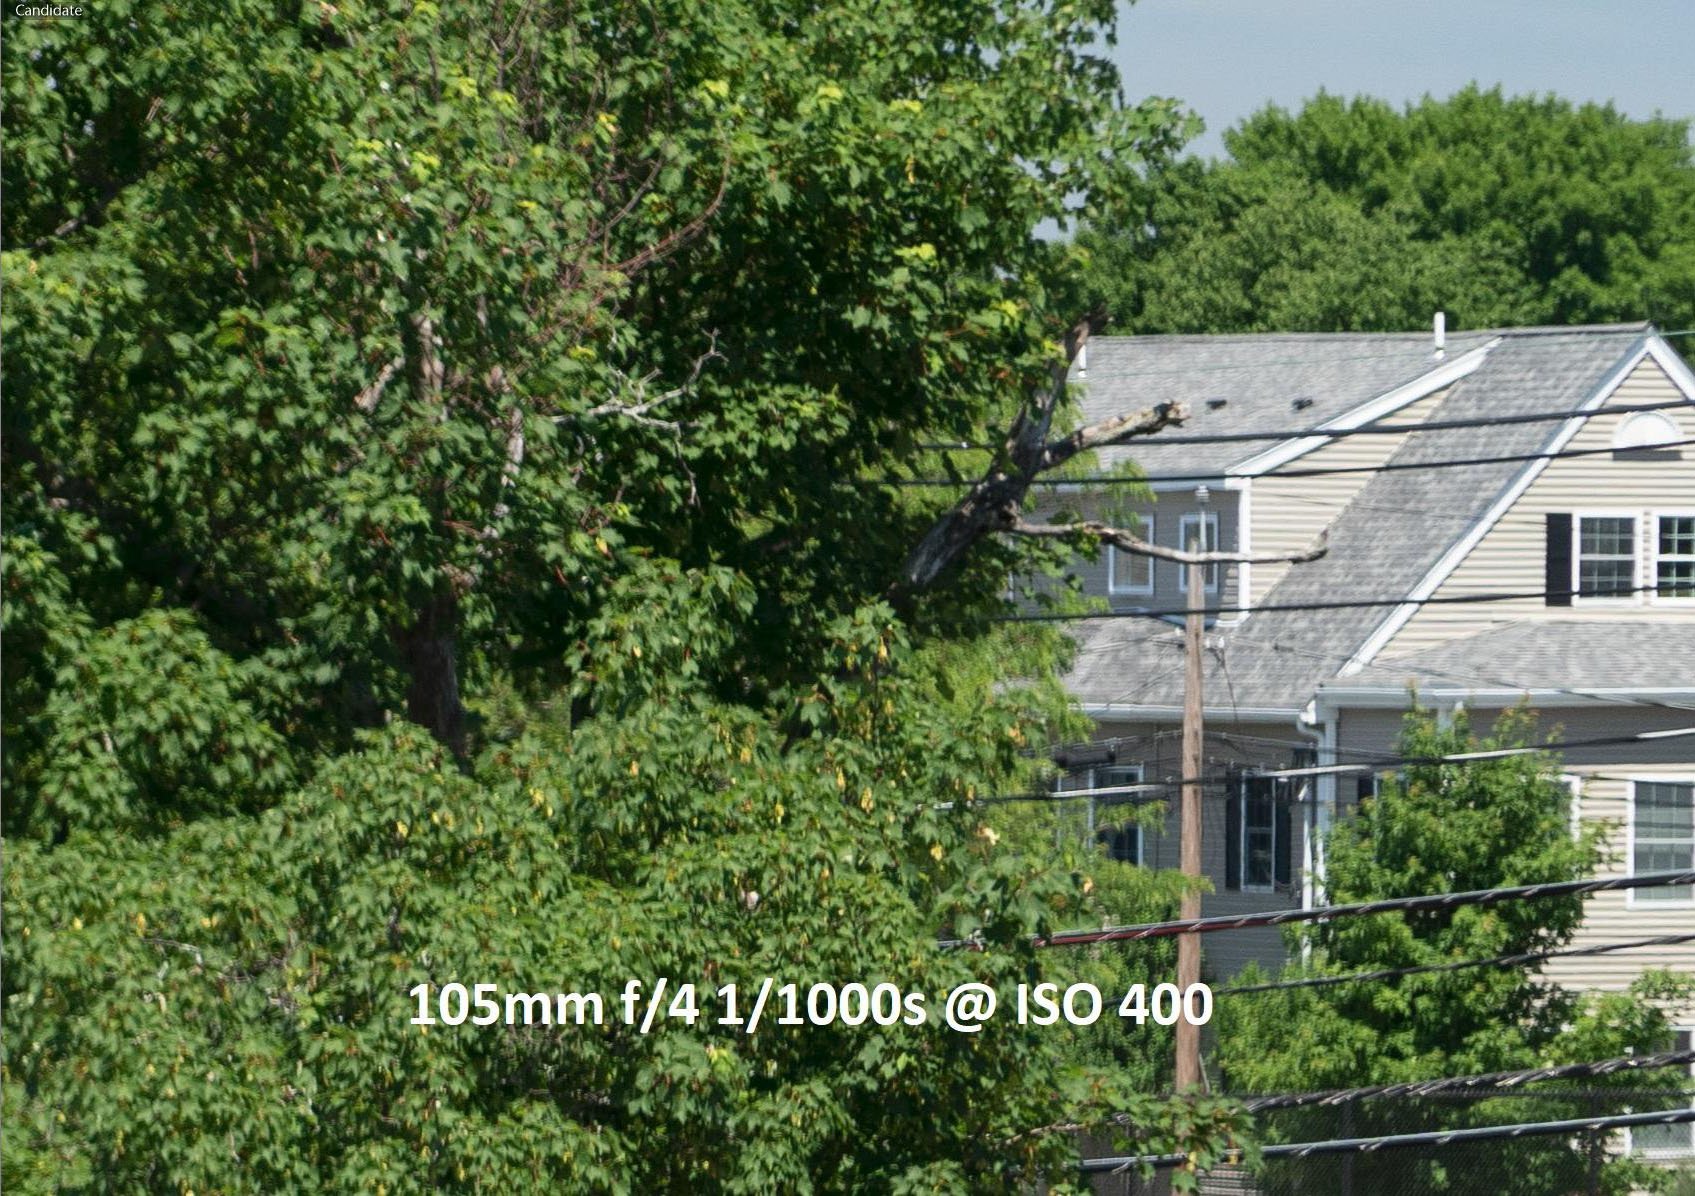

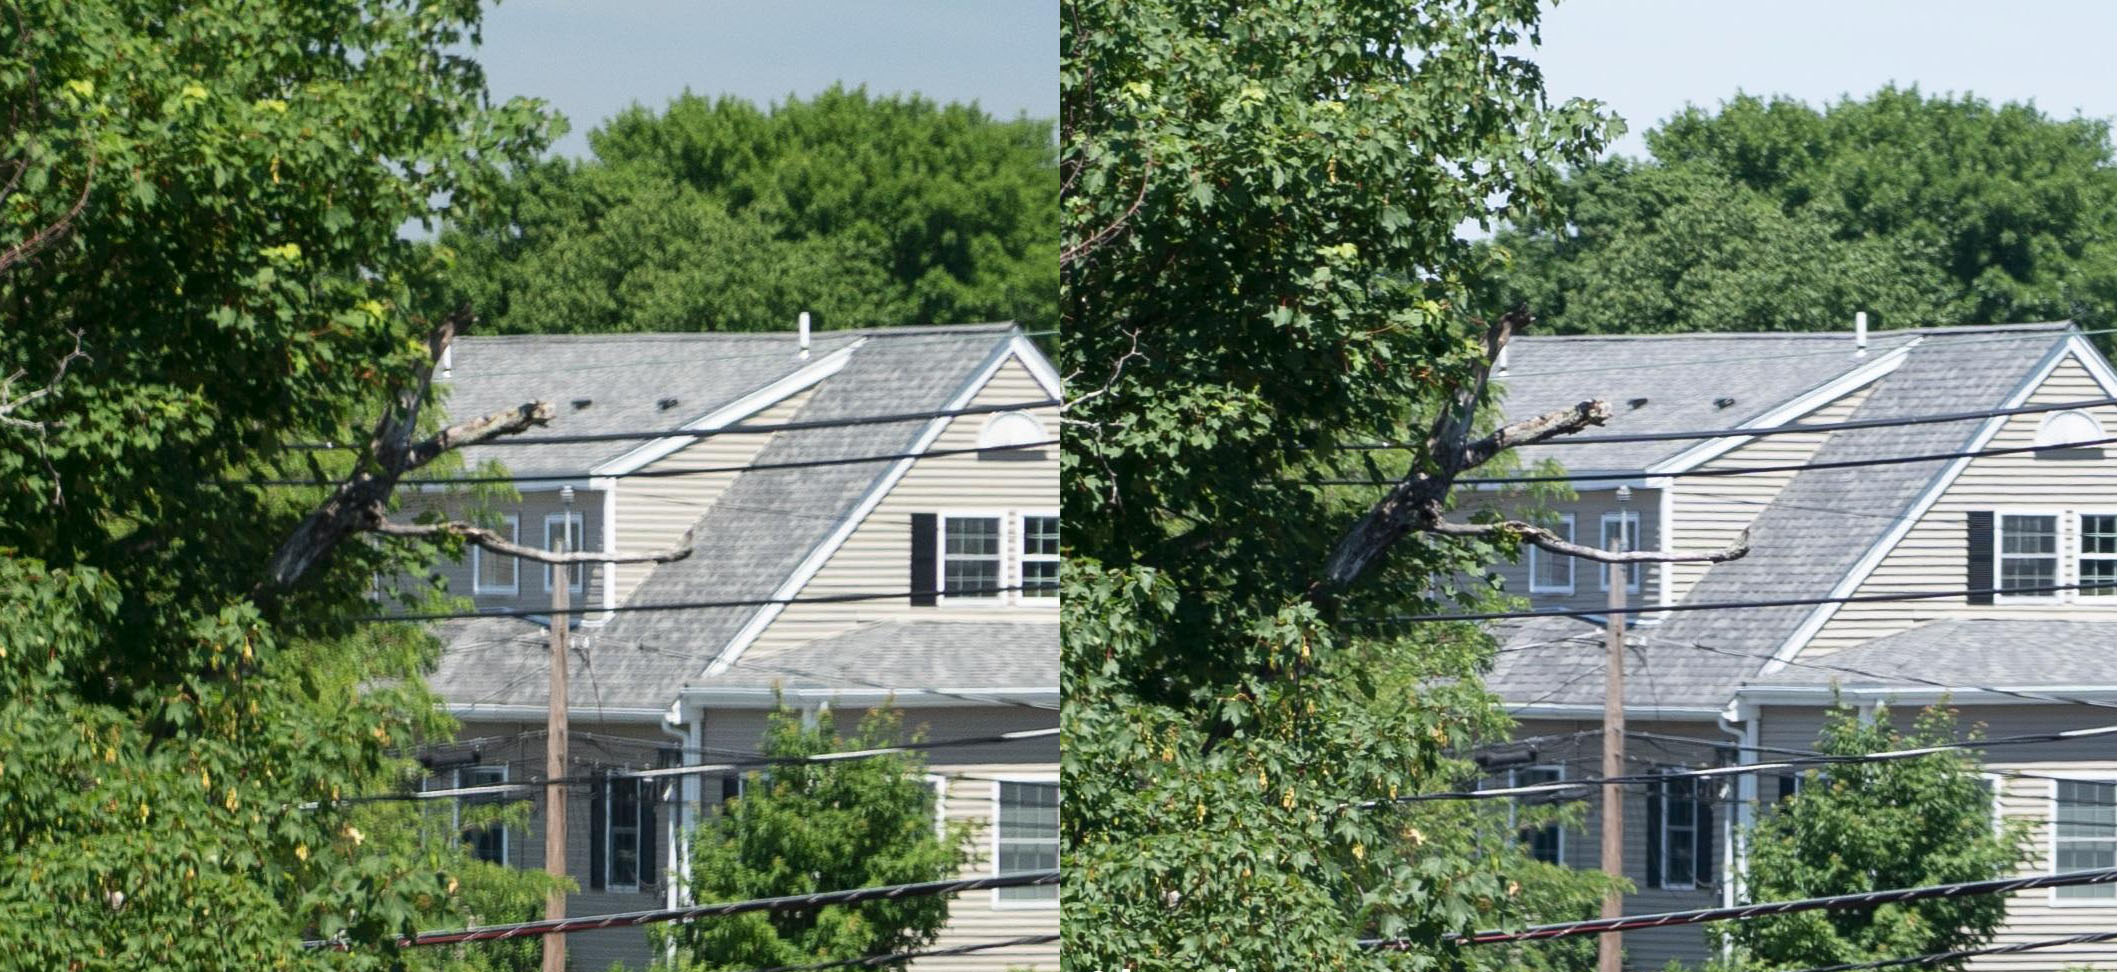
Even minimized, it’s easy to see in this comparison that the filtered case is far blurrier. When maximized (click the images above), it’s far more pronounced. Again, this was a tripod shot, static settings except for ISO.
So with that, I think we can make the following conclusions:
1. The original assessment was correct, even if not exactly empirical.
2. Overall light intensity is critical towards exposing the problems with this particular filter.
Anyway, that’s it. Lesson learned. That filter is no better than a lens cap.
TL;DR: You shouldn’t put a cheap filter on expensive glass. Just don’t.
About the author: Mike Evans is a photography enthusiast and GPU logic designer and micro-architect at Radeon Technology Group (a part of AMD). The opinions expressed in this article are solely those of the author. You can connect with him and find more of his work on Twitter and Medium.