5 Tips for Pro Bottle Photos in Just 5 Minutes
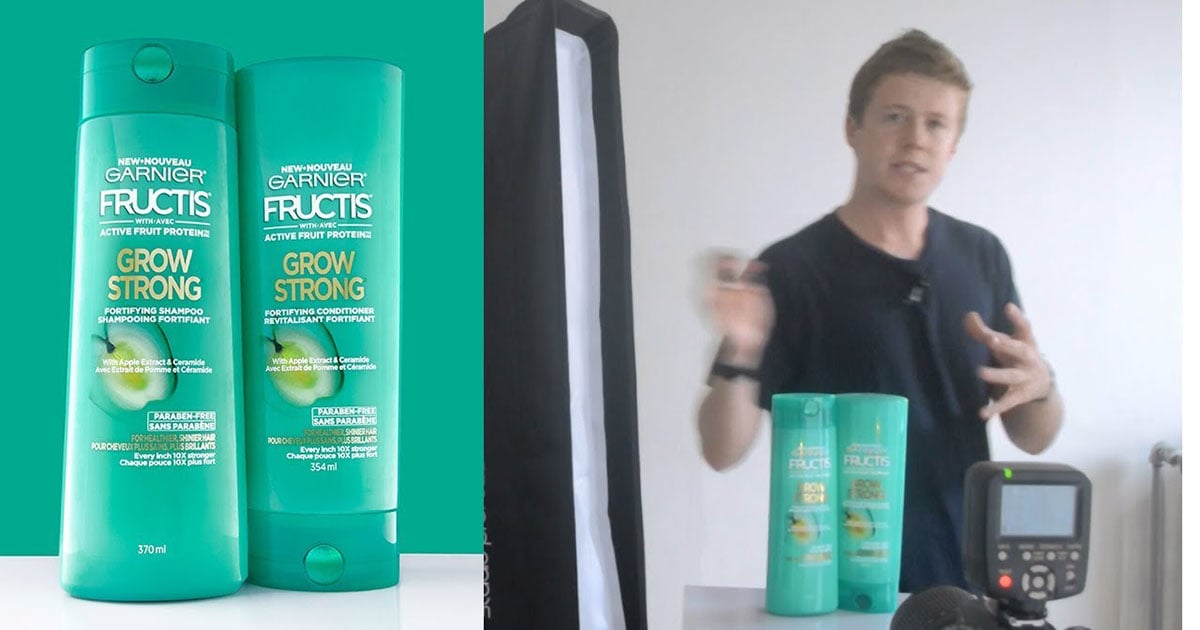
If you ever need to shoot a product photo of a beverage bottle, the concept might not seem too complicated, but seasoned product photographers actually have a number of tricks they use to take their images to the next level. Here’s a helpful video in which photographer Max Bridge of Square Mountain shares 5 pro tips in 5 minutes.
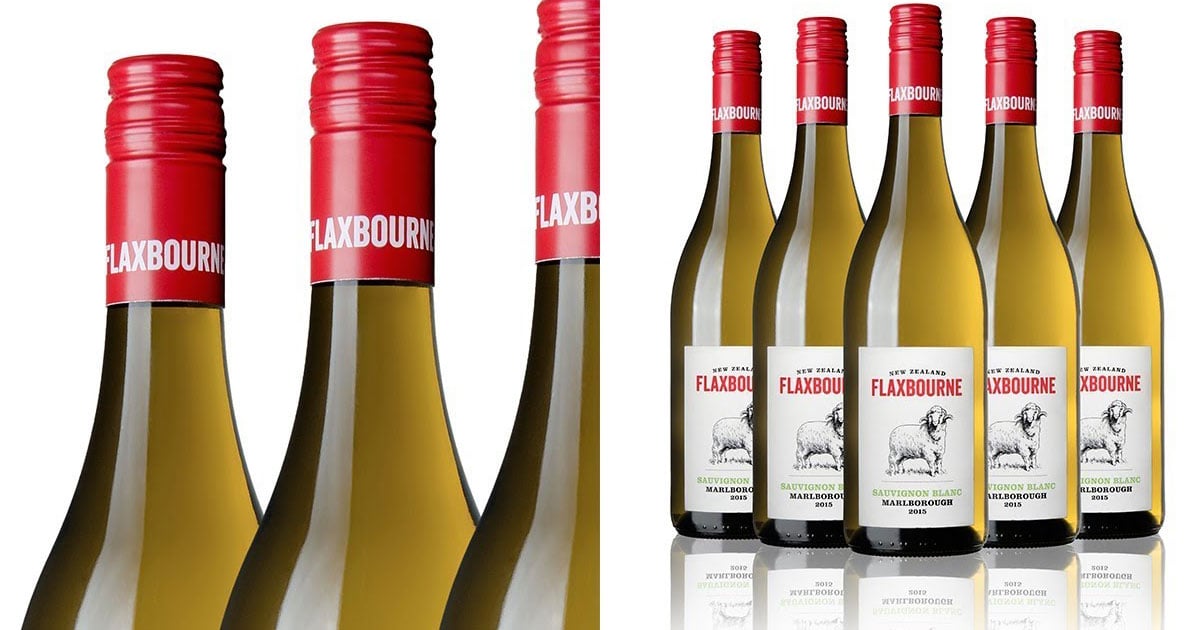
Tip #1. Prepare Your Bottle. There are downsides to shooting a standard bottle, so there are things you can do, such as removing the rear label and coating the glass, that both make your shoot easier and improve your results.
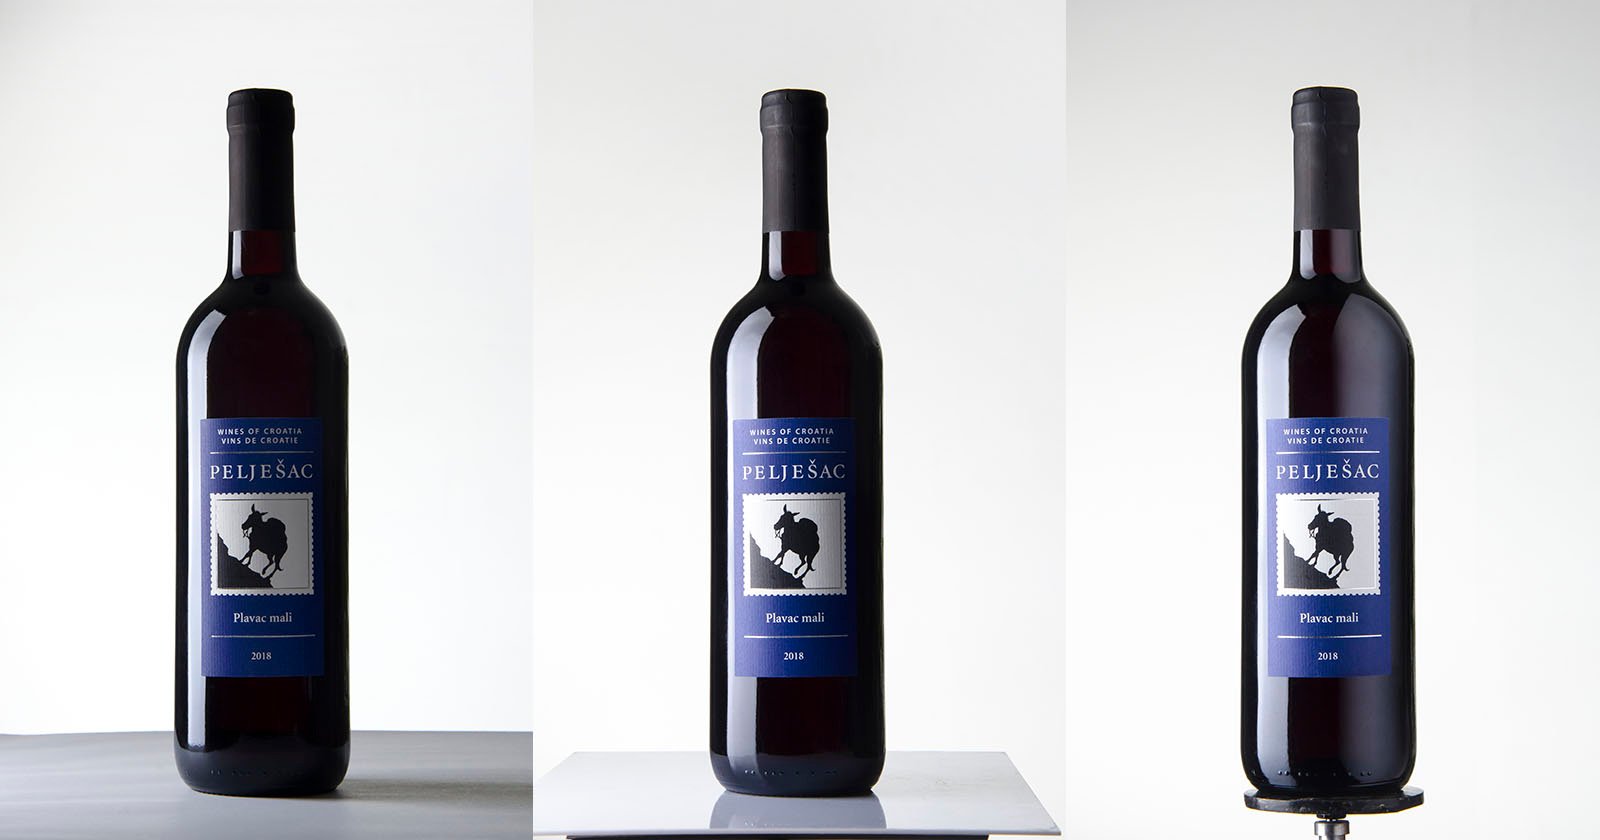
Tip #2. Position Things Well. How you position your camera and bottle in the studio makes a huge difference. Things like aligning the camera with the bottom edge of the bottle and raising the bottle up off the table can take things from plain to pro.
Tip #3. Backlighting the Bottle. Correctly backlighting your subject is what produces that beautiful interior glow in the bottle. You’ll need to pay attention to both your modifiers and your positioning.
Tip #4. Black Card for Edges. Using carefully positioned black card can help you bring back blown out edges and keep them clean and crisp.
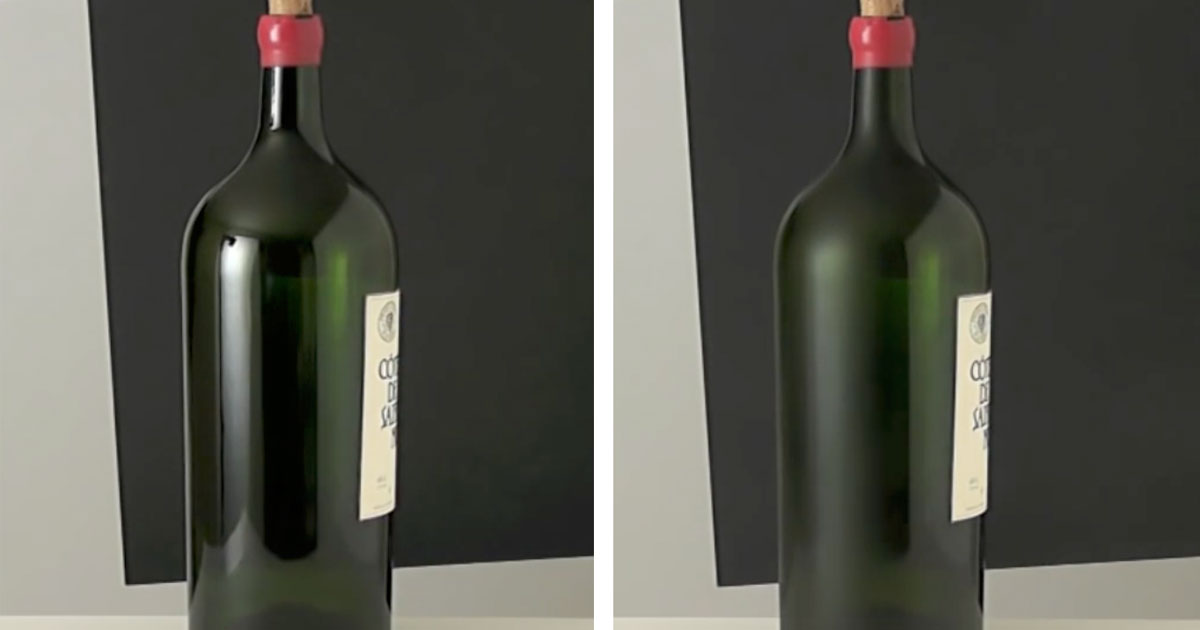
Tip #5. Cross Polarization Magic. Using both a circular polarizer on your lens and a polarizing gel on your light can magically remove harsh highlights from the bottle.
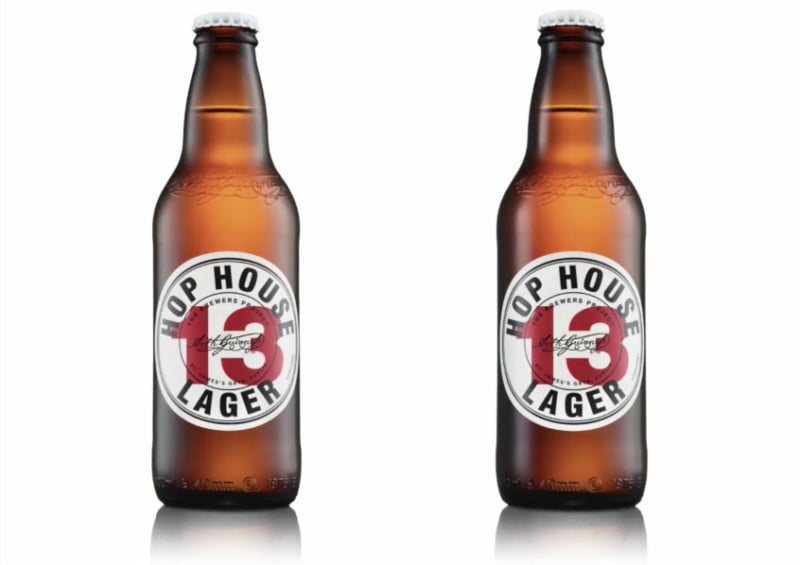
Here are two of the resulting looks Bridge captured using the setup and techniques in the video:
If you’d like to watch a much more detailed walkthrough of the lighting setup used, here’s Bridge’s 20-minute video on that:
You can find more of Bridge’s videos by subscribing to his YouTube channel, Square Mountain.