How to Dodge and Burn Your Photos Using Gaussian Blur
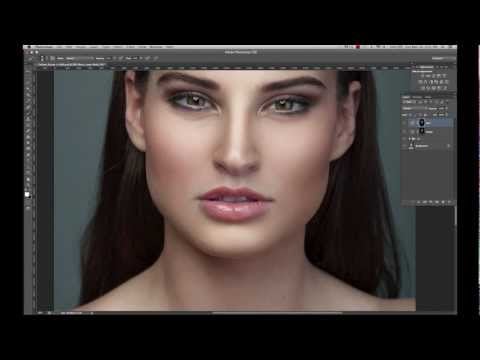
Here’s a 5-minute tutorial by photography artist Antti Karppinen that shares a technique for effectively dodging and burning your photo using the Gaussian Blur adjustment in Photoshop.
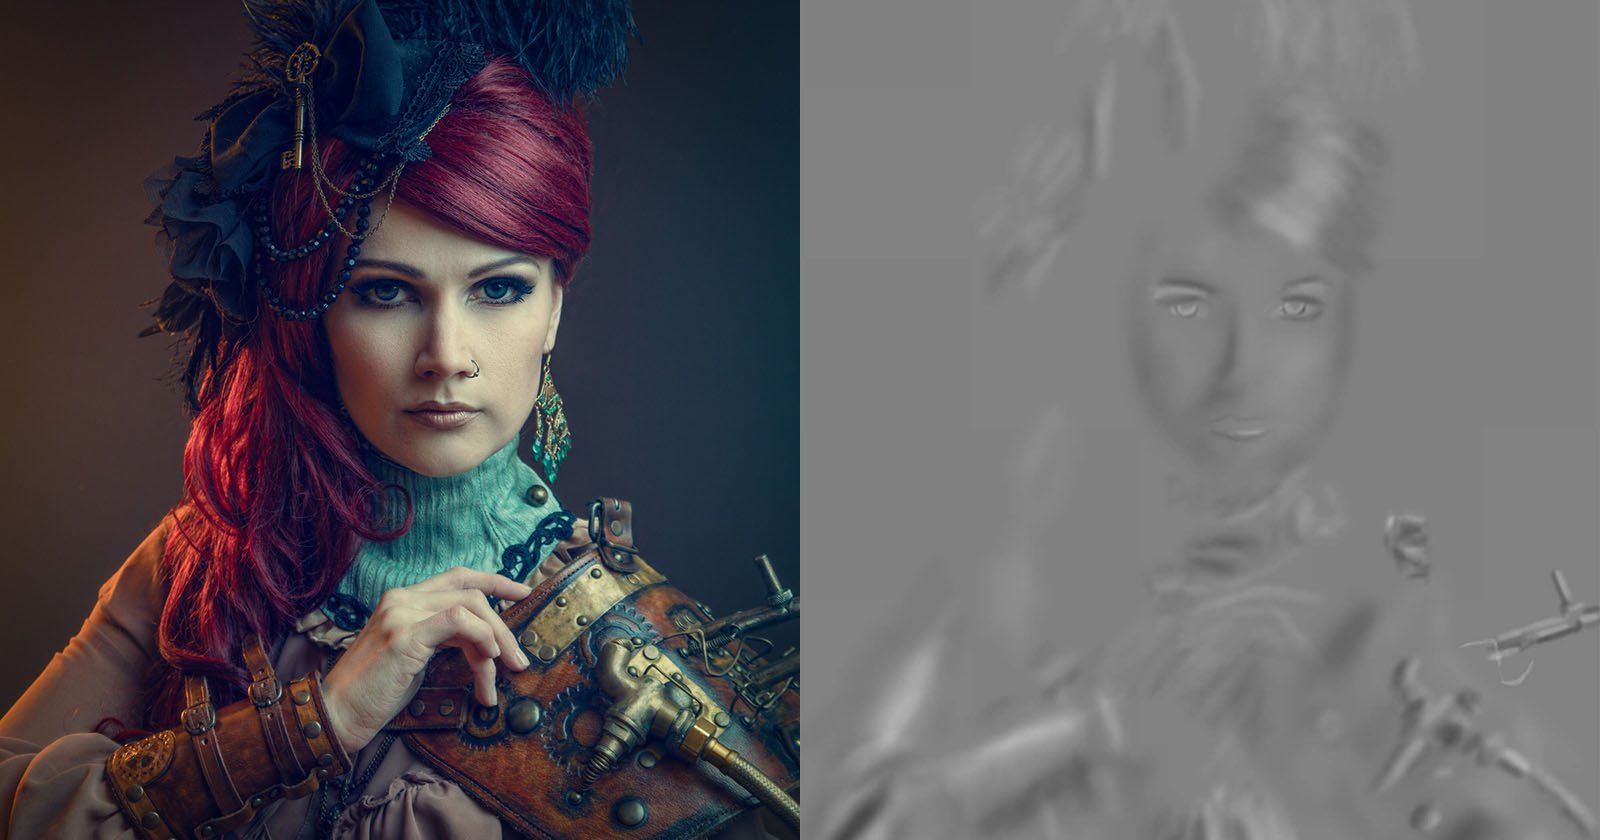
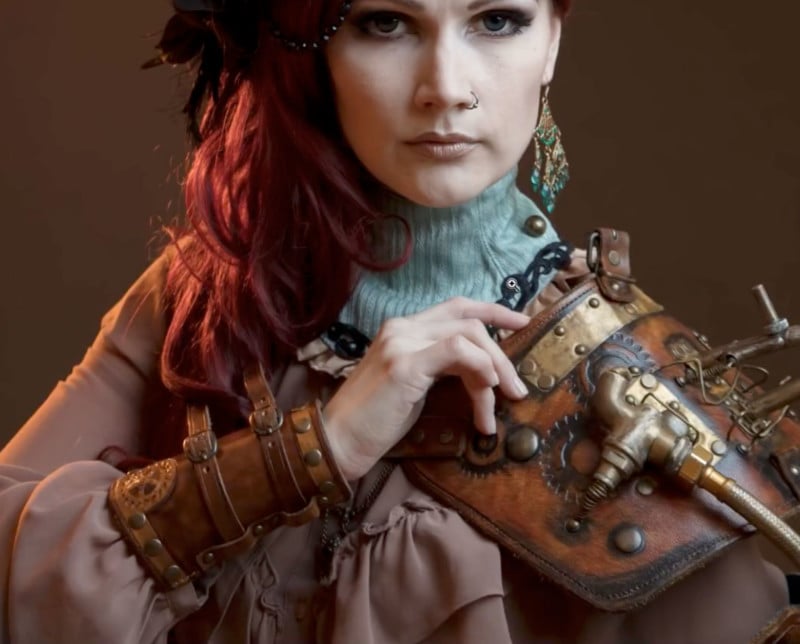
In an image like this, for example, the intricacies of the shoulder pad can be made more evident.
To do this Karppinen first inverts a layer to produce a negative color-scape, then applies the “Vivid Light” blend mode. After that, he uses the “Gaussian Blur” filter to show the emphasized details.
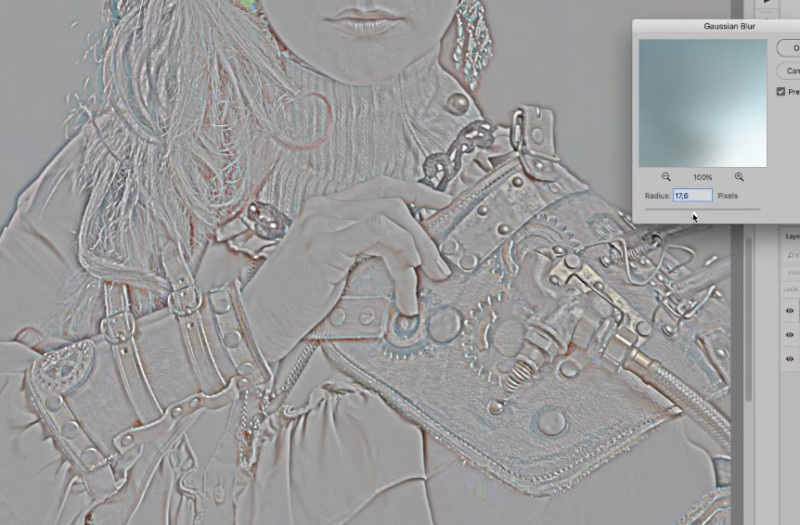
After some layer merging and further tweaks with the Gaussian Blur filter, the effects of the areas that have been “dodged and burned” can be painted into the shoulder pad using a layer mask.
Check out the full video above to see how exactly this technique is done, and subscribe to Antti Karppinen‘s channel for more tutorials like this.