2 Tricks for Working Better and Faster with Photoshop’s Clone Stamp Tool
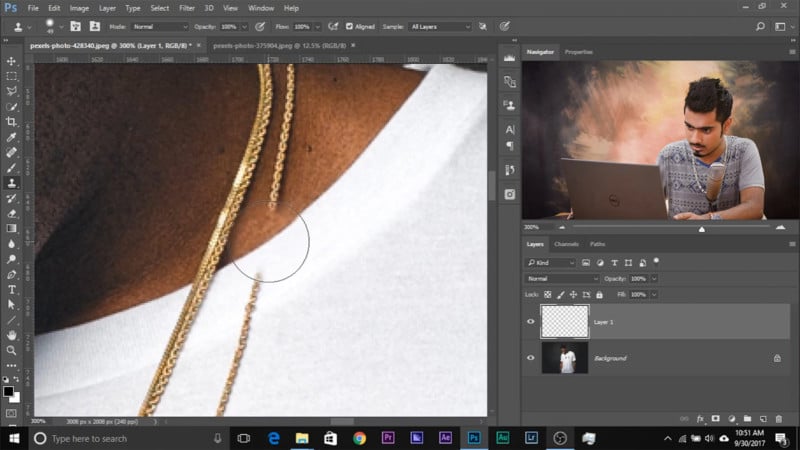
The Clone Stamp tool is a powerful option in Photoshop for removing or duplicating parts of an image. There are some tricks and shortcuts that will increase your productivity with the tool, and this 5-minute video from Unmesh Dinda of PiXimperfect demonstrates how you can use them.

To rotate your sample, you can open the Clone Source dialog under Window>Clone Source, but a quicker way would be to use a keyboard shortcut. By holding Alt (Option on Mac) + Shift + > or <, you can rotate the sample clockwise and counter-clockwise respectively. A single tap will rotate by 1 degree, so hold down the angled bracket key to more quickly change the angle.
Unmesh points out that as with other brush-type tools, you can hold Alt (Option on Mac), the right mouse button, and drag up and down to increase or decrease the hardness of your stamp.

The second handy shortcut is useful when you want to increase or decrease the size of your stamp — in Unmesh’s example, he wants to clone a rose petal and increase the size to fit in an empty part of his image. To do this, you can hold Alt (Option on Mac) + Shift + [ or ] to decrease or increase the stamp size. Just be careful when you’re increasing the size of an object, as it can result in a blurry/pixelated stamp.