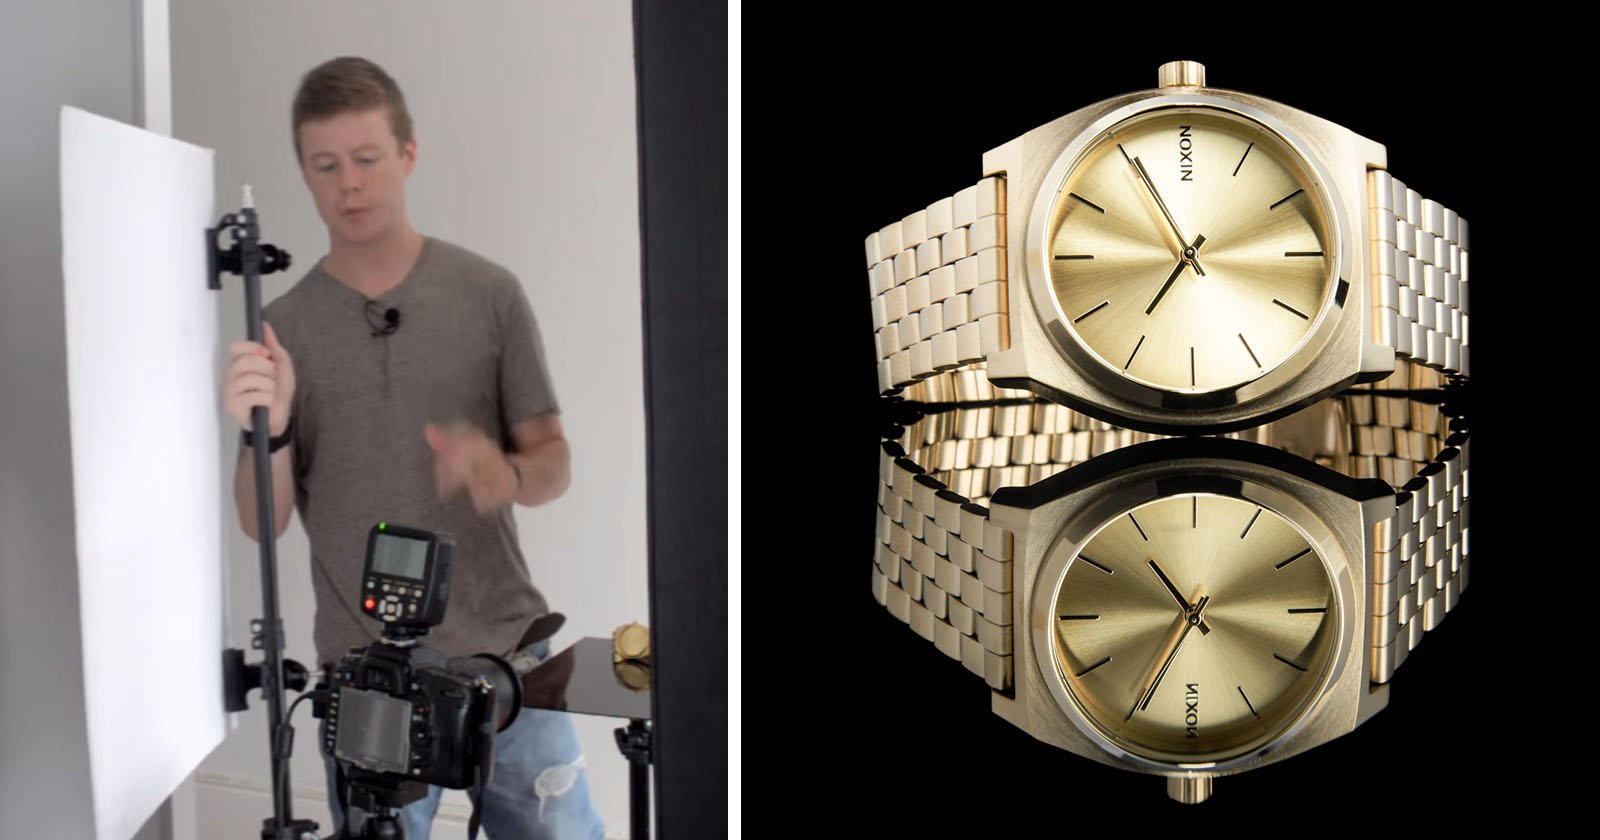
How to Do Splashes in Product Photos Using Speedlights
Adding a splash can add impact to product photos that involve liquid. Here’s a 9-minute video in which photographer Dustin Dolby of workphlo shows how you can capture splashes with speedlights.

This will remove the harsh edges around the glass you may be experiencing. Here’s the difference it makes:

With a second speedlight set up from the side, on the lowest power possible, it highlights the edges of the garnish on the glass. The low power means a shorter flash duration, which is essential for freezing the water later on.
By capturing initial exposures like this, and perfecting the light before adding the splashes, you’re able to create compositions between a splash and your “blank canvas” frame. For example, should you accidentally cast a shadow over the frame, you can mask this out of the background easily.
Another great benefit of this is that you can comp out the dirty plexiglass, which will inevitably be covered in splashes from dropping an ice cube into the glass again and again.

The dramatic background is created by using curves later, bringing in the attractive gradient instead of leaving the high-key background. Check out the full video above to see exactly how to do this for yourself.