How I Plan My Landscape Photos for the Highest Chances of Success
My name is Albert Dros, and I am a professional landscape photographer from the Netherlands. People often tell me that I am “in the right place at the right time.” But I obviously don’t post “failed” shoots. And not only that, I also spend a great deal of time planning my shots in order to make my chances of success as high as possible.
I use a bunch of tools for planning my shots. Here they are:
WeatherPro Smartphone App
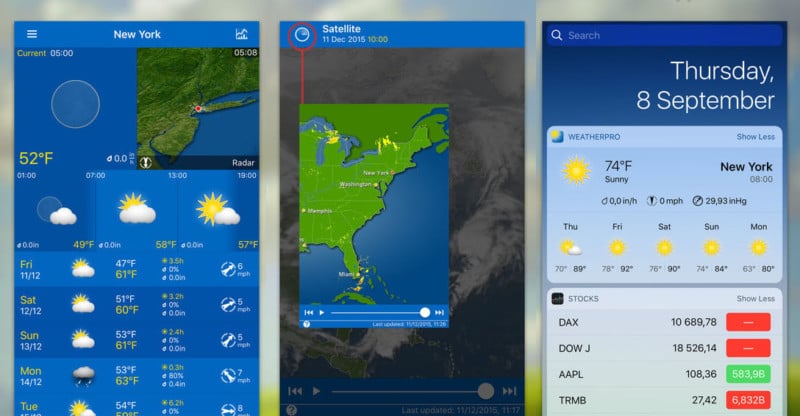
When planning perfect conditions for your landscape shots, a lot of it depends on the weather. To accurately monitor the weather, I use the WeatherPro app. Keep in mind that the basic version predicts the weather every 4 hours. The Premium version predicts it for every hour and costs $9 per year. Knowing the weather every hour is important, especially during mornings and evenings as you want to see what kind of sunrise or sunset you will get. The WeatherPro app is often accurate in its predictions.
Here are some things to look for in the app:
Cloud Cover: If you want an epic burning sunset you will need clouds. It’s best to have a kind of thick cloud layer with a big opening on the horizon where the sun will come underneath to cast its light on the clouds during sunset.
Fog and Mist: The app often predicts fog and mist (which mostly happens during mornings). Also look for high humidity.
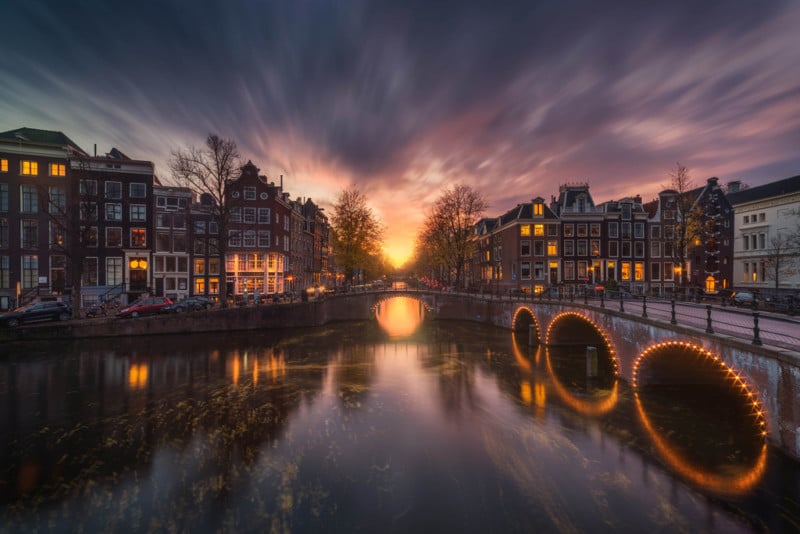
Wind Direction and Wind Speed: If I want to shoot at a lake or canals (in the Netherlands we have lots of canals) I want to see some reflections. It’s important for me to have a wind speed of lower than 20 km/h (~12.5mph) to get decent reflections with a long exposure shot. Wind direction is also important for long exposure shots, as the wind coming towards or from behind gives a vortex effect in your shot, while wind from the side gives you a completely different effect as your clouds will move sideways in your shot.
Here’s an example of ‘the vortex effect’:
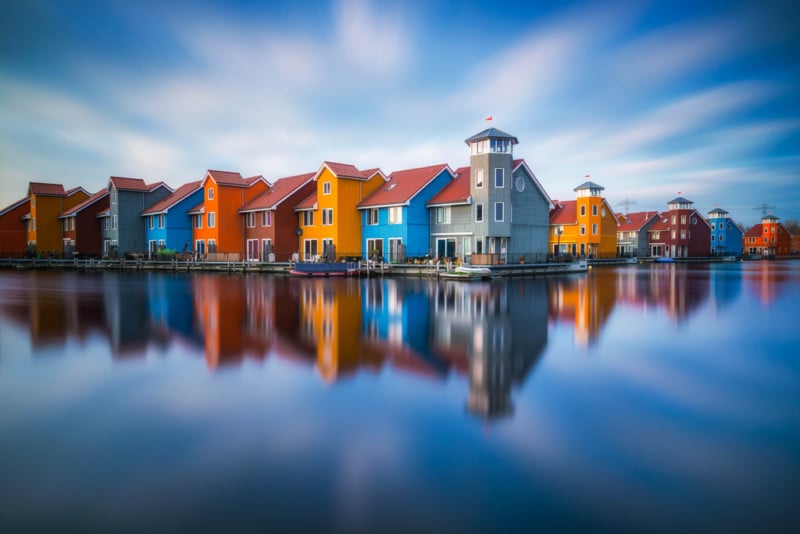
And here’s an example of the sideways effect:
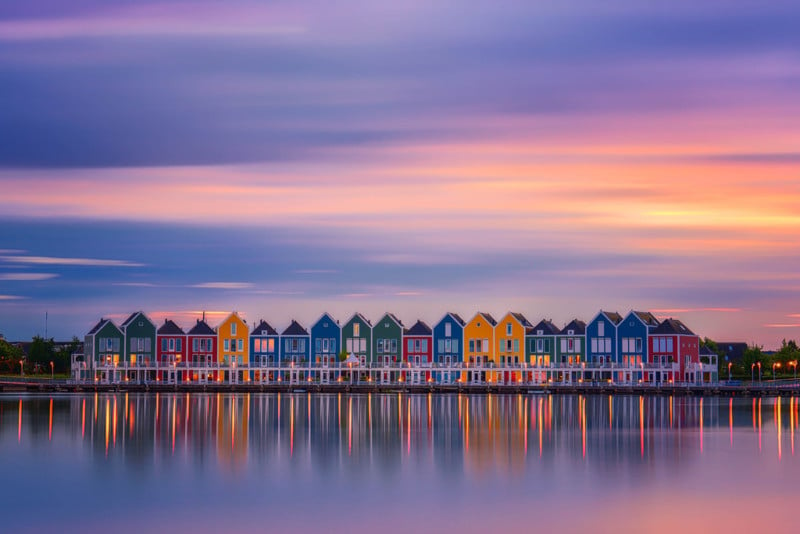
These shots were both planned beforehand, knowing wind speed, wind direction, and cloud cover.
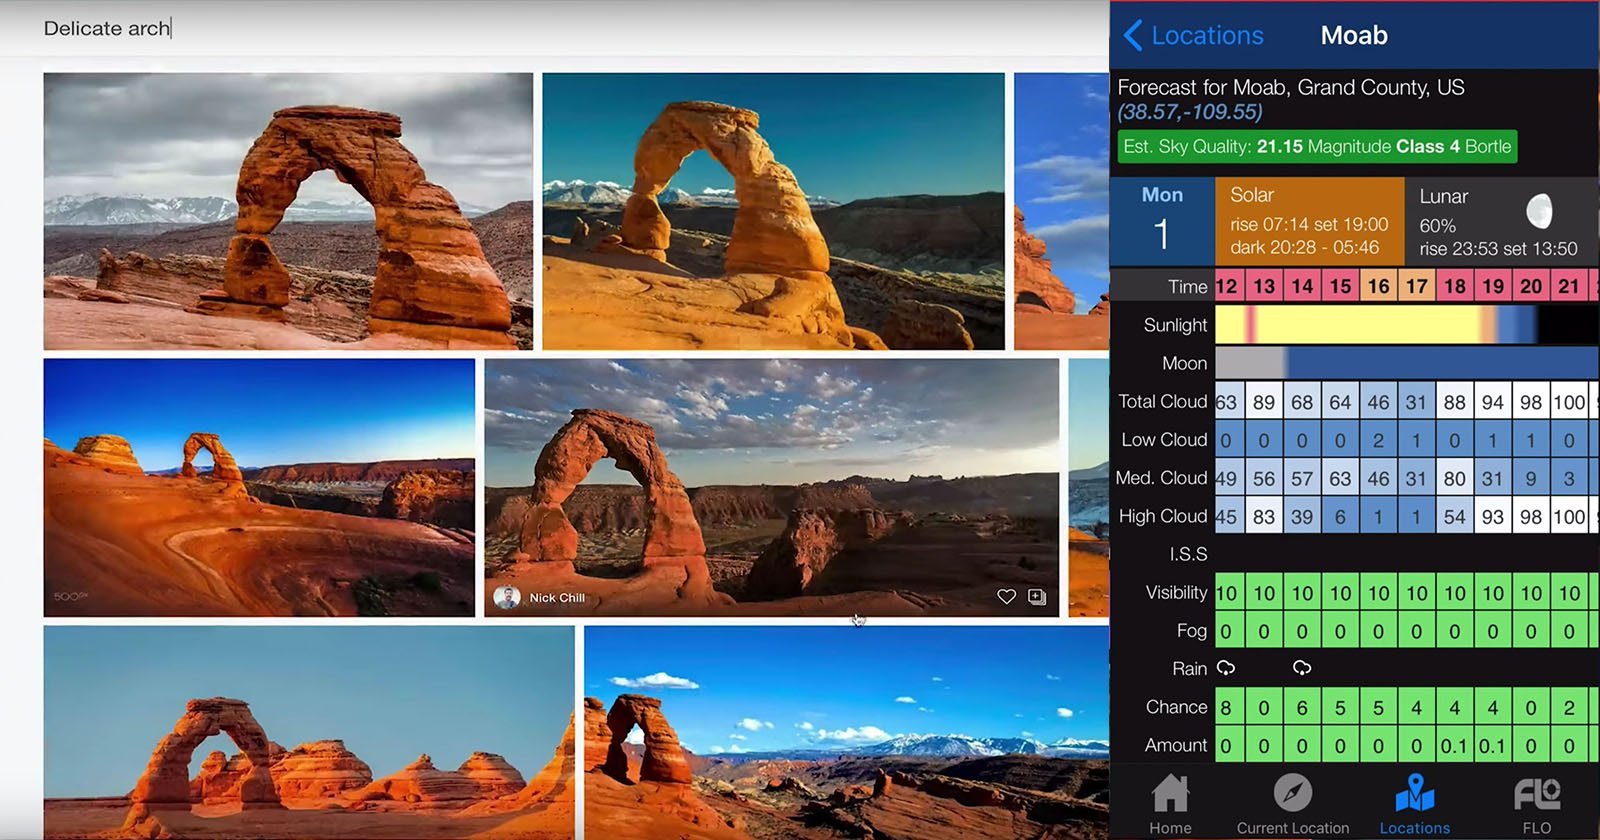
Cloud/Rain/Fog Radars
Depending on what country you are in, some countries have very detailed real-time radars. Fog and visibility radars are super useful. When I am going to shoot a sunrise and fog is predicted, you want to be sure that there is actually fog when you wake up (so that you don’t get up at 4 AM for nothing). What I then do is check the visibility radar in my country (we have one in the Netherlands). I can see the actual live visibility on this radar for every place in the country. If the visibility is low (lower than like 3 km) I know that there is fog and that it’s time to get moving. You’ll need to find radar data for whatever country and location you’re in.
Photopills
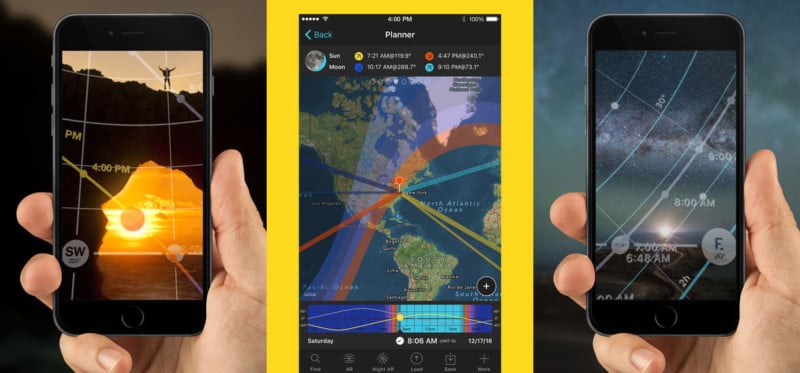
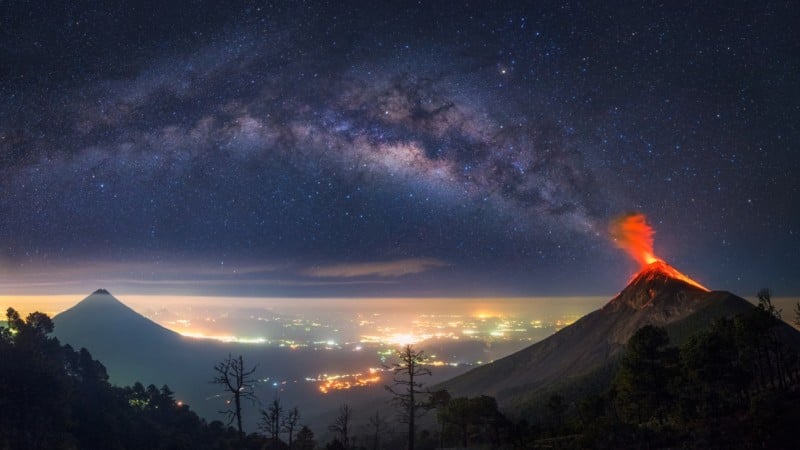
You can basically use PhotoPills for everything else you need. The Photopills website also offers countless of reading and video material to occupy you for weeks. You can plan the position of the sun, moon, Milky Way, stars, star trails, moon phase, sunset times, moonset times, everything.
The augmented reality function is the one I use most. With this, you can hold your smartphone in front of you and use the camera of the phone and see all kinds of info in real time. This way you can plan a sunset/sunrise or moonset/moon rise at a certain scene by holding your camera and checking what date/time the sun or moon will be at an exact location.
You can also plan Milky Way shots with this. By going to a location during the day, you can see how the stars align at different times during the night. These are all tricks to carefully plan aligned sun/moon/Milky Way shots.
Here are some handy functions to be aware of:
- See exact daily times of sunset, sunrise, blue hour, twilight etc
- See exact locations and elevations from the sun/moon/Milky Way
- Moon calendar for moon phases. A new moon is important for Milky Way shots
- Augmented reality function to see things in real time
- Star trails calculator for different exposure times
- Much more. I honestly don’t even know all of the functions myself.
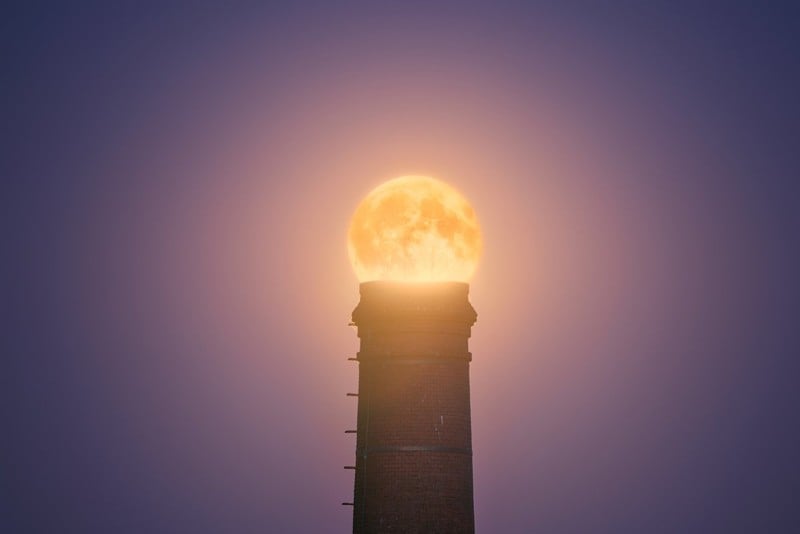
Sun and Moon Calculators
I use suncalc.org and mooncalc.org. Similar to Photopills and free. These are just websites that quickly let you check the sun/moon position on certain dates. Quite helpful if you don’t have the app and just quickly want to plan a moon/sun shot.
Webcams
What a lot of people do not realize is that tons of places have live webcams. Webcams are extremely useful to check the weather on location. Even traffic cams can be used. When you want to visit a location in your own country, check the weather on a webcam and see how the weather looks right there and then. You’ll be amazed how many places actually have webcams. Just type ‘THE PLACE NAME + webcam’ into Google!
Common Sense
When you’re doing landscape photography, you’ll start to know the weather (especially in your own country) after a while. For example, great colorful sunsets usually appear when there are lots of clouds in the sky with a big opening at the horizon right before sunset.
Another thing when planning shots of certain buildings is to just call them and verify that there’s no construction. I often hear people wanting to take that iconic shot of a beautiful church or cathedral, only to find out that the whole thing is under construction when they arrive. It only takes a phone call to quickly ask, especially if you have to drive a bunch of hours to get to the location.
I plan most of my shots with a combination of the things mentioned in this article. These are the tools I personally use. Regarding smartphone apps and websites: there are obviously alternatives to the things I use, and everyone has their own preferences.
Tons of shots in my personal portfolio were simply planned with the above tools. Of course, when you go out to shoot a lot you occasionally get some ‘luck’ and find some epic conditions. But more often than not, a shoot still fails.
I hope you found this information and inspiration useful. Good luck!
P.S. If you’re wondering how I planned the volcano photo at the top of this post, here’s a behind-the-scenes article I wrote about it. Last year, I also shared 10 tips on how to improve your landscape photos.
About the author: Albert Dros is a 31-year-old award-winning Dutch photographer. His work has been published by some of the world’s biggest media channels, including TIME, The Huffington Post, The Daily Mail, and National Geographic. You can find more of his work on his website, or by following him on Facebook and Instagram. This article was also published here.