A Beginner’s Guide to Creating Black & White Photos in Lightroom
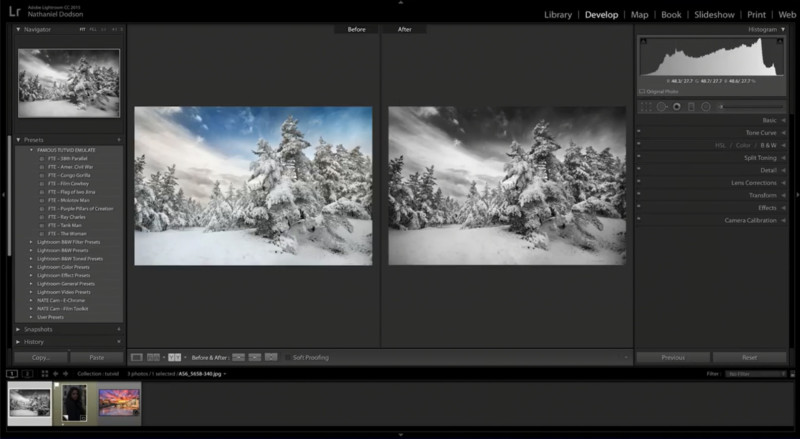
Here’s a 15-minute video tutorial from photographer Nathaniel Dodson that’ll help you learn how to create the perfect black and white image using only Lightroom.
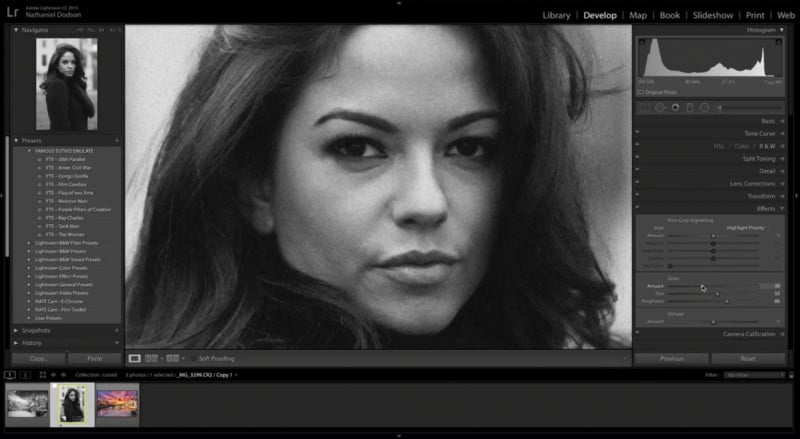
At 1:35, Dodson begins with the first method: using the HSL panel. This panel has a B&W tab, which converts the image to black and white when selected. Because the color detail still exists in the image, you can then use the color sliders to make targeted adjustments to the luminance of the image. This section also discusses using the Tone Curve to make global adjustments to the tones of the image, which is a more natural effect.
At the 6:00 mark, Dodson shows how the exposure of an underexposed RAW image can be adjusted to bring back detail, before converting it to B&W using the Black & White Treatment option in the Basic panel. He then shows how the temp and tint can be adjusted to change the tone of the image. To add to the “old school” film effect, Dodson adds film grain and bumps up the black levels of the image using the Tone Curve.
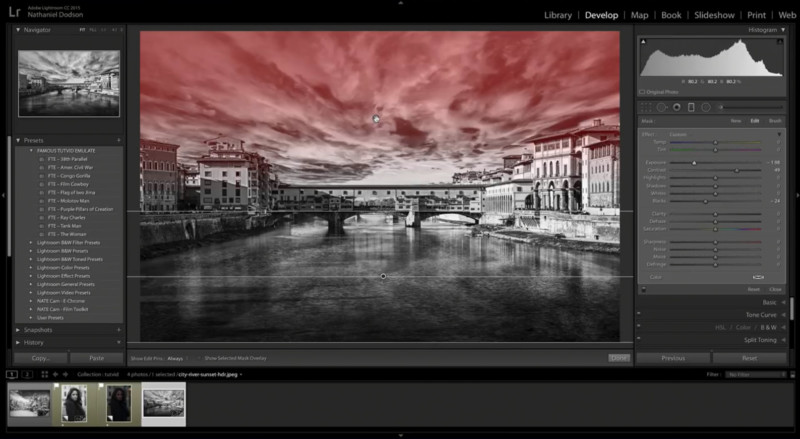
Finally, at 11:07, Dodson shows how an HDR image can be converted to black and white to produce an epic contrasty look. He also demonstrates how the Graduated Filter Tool can be used to increase or decrease the exposure in just one side of the frame.
Check out the video at the top to follow along with Dodson as he covers every aspect of how he likes to create black and white images using Lightroom. If you like what you see, check out Dodson’s YouTube channel tutvid, which has a tonne of tutorials on both photo and video editing.