Turn a Pelican Case Into a Tether Station with a $2 Bicycle Quick Release Bolt

I like to keep the amount of kit I have to carry with me to a minimum. Every single pound counts when you’re scrambling up the side of a snowy mountain, and if you’ve ever had to pay excess baggage charges at the airport you will probably appreciate my ‘less is more’ mentality!
Yes, there are some cool options already out there but some of them are not cheap and they all involve additional kit/weight, which is what I’m trying to avoid.
One piece of kit I always have on a shoot is my hard camera case. It keeps everything safe, makes a handy seat or table and generally makes my life easier.
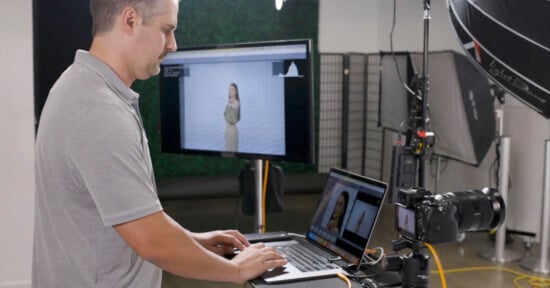
If there isn’t a team of people looking at the screen while I’m shooting, then I will happily just put my Pelican case on the floor and have the laptop inside. This works great but there is always the risk of someone clumsily tripping over the thing (usually me!) and you can’t expect clients to sit crossed legs on the floor or mimic Gollum’s posture to see whats happening on screen!
So this was when I decided that my existing case would be a good starting point to build on. I still wanted the original case to keep its full functionality so I didn’t want to add any brackets or folding legs to the underside. I thought these options would spoil the appearance and also the cases ability to be stacked or lay flat on the ground. My case also has an extendable handle and wheels built into the base so when trying to come up with a solution I wanted to make sure these features would still be functional when it wasn’t being used as a tether station.
Those who are a little squeamish might wanna look away now! The option I came up with which avoids all the issues above was to just drill a hole right through the bottom of the case!
Yes I know this might give some of you palpitations but I am totally ok with it. Although I shoot outdoors a lot, the waterproof nature of these cases is not why I use them and since I made this adjustment I haven’t had any issues. Even if I did I could easily come up with a solution to combat leaks.
So without further ado here is the in depth tutorial of how I drilled a hole into a case and built my tethering station:
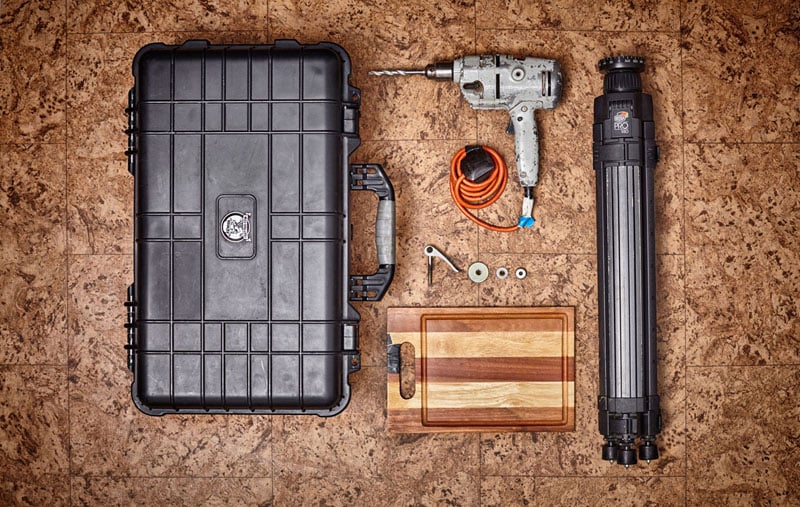
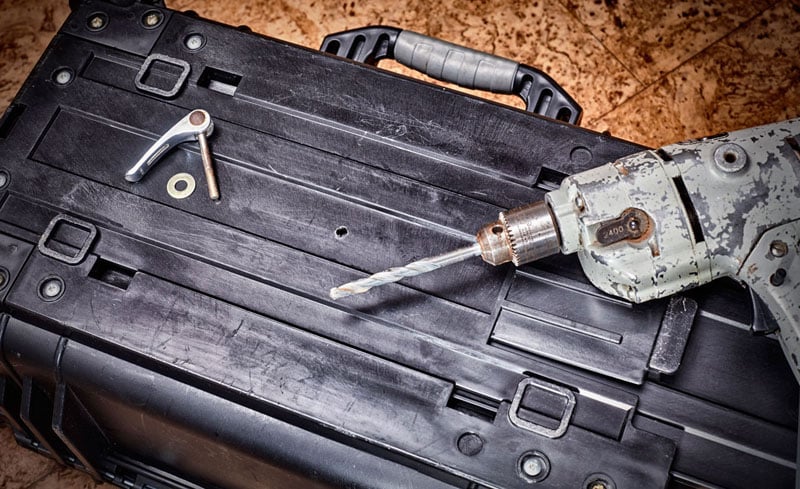
Obviously you’re going to need a case. The other items in this picture are a tripod (you might have seen one of those before), a chopping board or something equally flat and rigid, some washers and a quick release bolt from a bicycle.
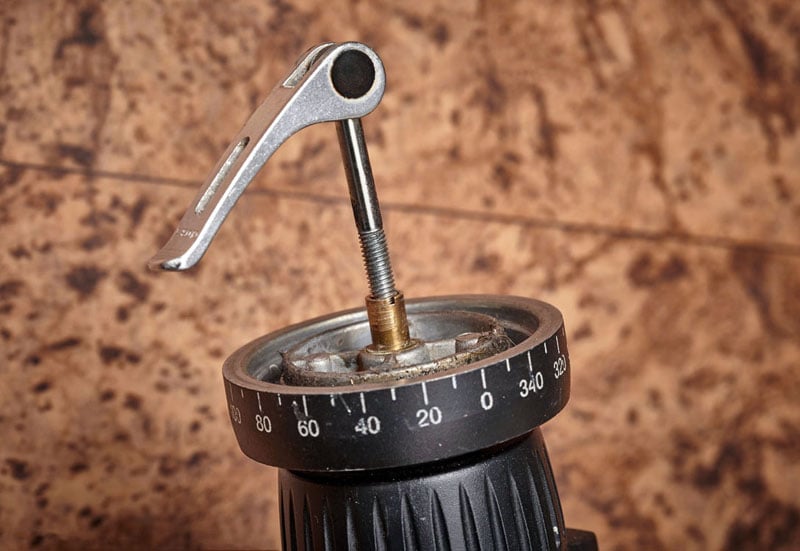
So once I removed the head off my tripod I was greeted with a small brass housing which was threaded inside. This was what kept the old tripod head in place. Luckily for me the size of the bolt I needed was the same size as my quick release bolt.
Now, everyone’s tripods are going to be different so I recommend you take the head off your tripod first and measure what you find before you buy anything.
For those who don’t find a ‘female’ housing like me you will probably be greeted with something which looks more like a regular bolt head. This isn’t a problem as you can easily turn male bolts into female housings with a ‘bolt coupler‘. A coupler is like a long nut which will then give you something to attached a bolt to.
If you can’t/don’t want to remove the head off your tripod I think you could possibly use the tripod’s footplate attached to the case somehow but you’ll have to experiment with that yourself.
Next comes the fun part of drilling your case! For those who have cases like the Peli 1510 that have an extendible handle hidden inside I suggest you put the handle in the fully up position while you’re drilling your hole. There is no need to have a hole on that part of the plastic, its super hard to drill anyway!
The other reason to avoid the extendable handle is the slight protection it gives. When the handle is back in the down position it acts as a barrier between the inside hole and the outside hole. I don’t recommend throwing your case into water though but it might help some of you sleep at night.
The other cool reason to avoid drilling the extendible handle is the way this piece of plastic can double up as a shelf for your mouse. (see first the pic above for an example of this).
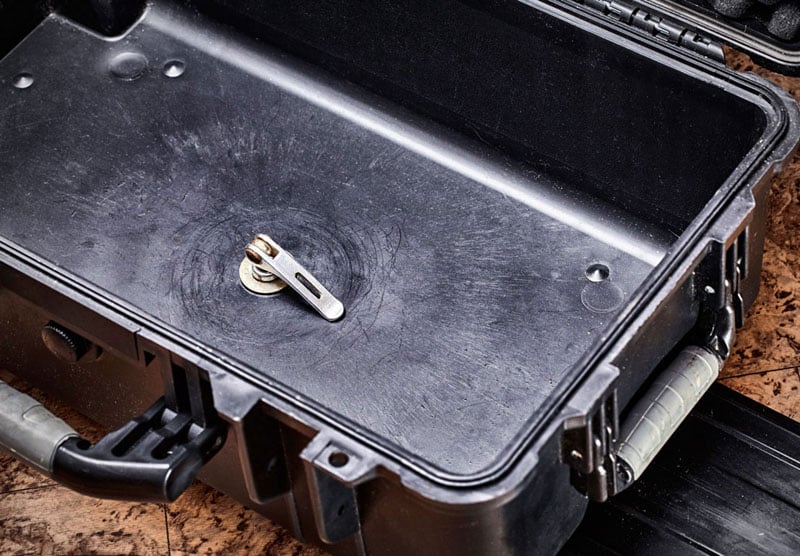
This is what my quick release bolt looks like in place. I added a couple of washers in between to help spread the pressure when tightening up. Depending on the size of things you might not be able to find a quick release bolt which will work for you. I think even a regular bolt would still be fine or you could possibly think about using a threaded bolt and a wing nut which would be easy to tighten by hand.
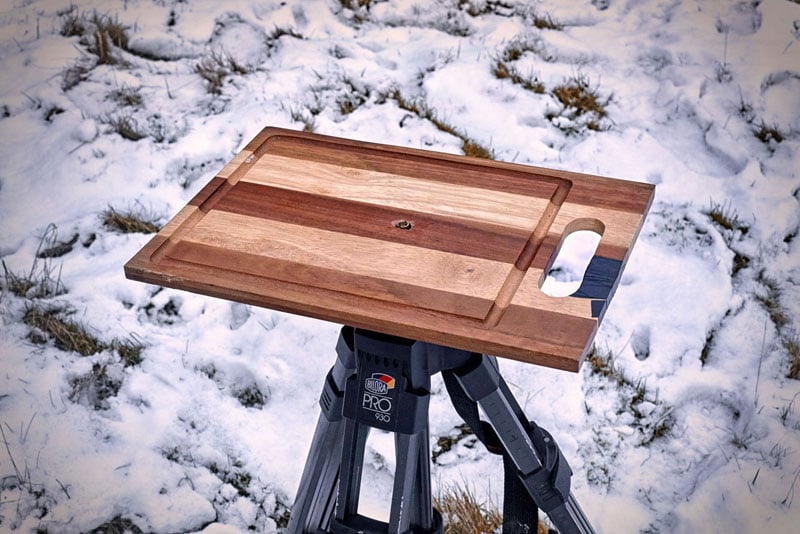
Last but not least I wanted to explain the chopping board. The board acts like a giant washer and gives me a flush surface to balance the case on. The additional surface area also gives more stability once everything is in position.
I chose a chopping board as it was the perfect thickness and size. It conveniently fits inside the case when not in use and once painted black will blend in perfectly. There is some movement when the case is on top but that is to be expected when it is only fixed by one anchor point. Even with the slight movement once the case is bolted into position it does feel like one solid piece of kit.
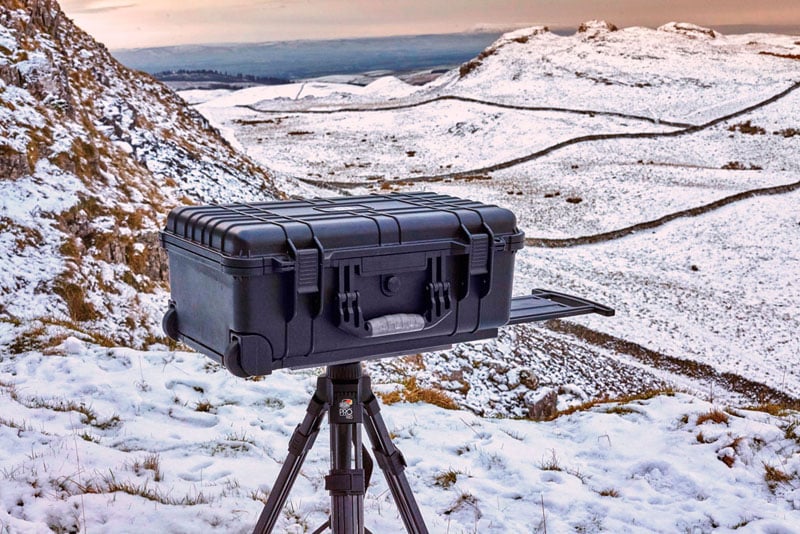
So there you have it. One old chopping board, a used bicycle bolt and a small hole later and you’ll go from having just a case and no tether station to having something which will improve your shooting experience. I also think it looks pretty cool too!
I’m really pleased with how this particular modification came out. It cost me very little time and money to make and as mentioned it hasn’t increased the amount of weight I have to carry on shoots. The use of a quick release bolt means it is super easy to set up and no tools are ever required to assemble/dissemble the thing which is a huge bonus.
Lastly the case can still be used exactly how it was intended to be used. So when I’m not on the side of a mountain it can go back to being wheeled around. The fact there is no weird home made brackets stuck to the side also means I can still take it on a plane without security giving me weird looks either…