How To Create a Photo Book in Lightroom and Send it to Print
Capturing a collection of photographs and assembling them into a physical photo book can sometimes seem like more trouble than it is worth. Different sites present interfaces with varying levels of efficiency and generally force you to alter your workflow for print optimization. However, did you know that you can create an book directly in Lightroom? Today, we are taking a look at the built-in option available within Adobe’s Creative Suite.
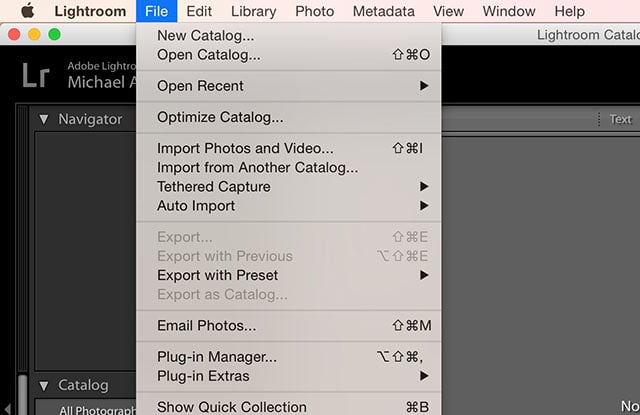
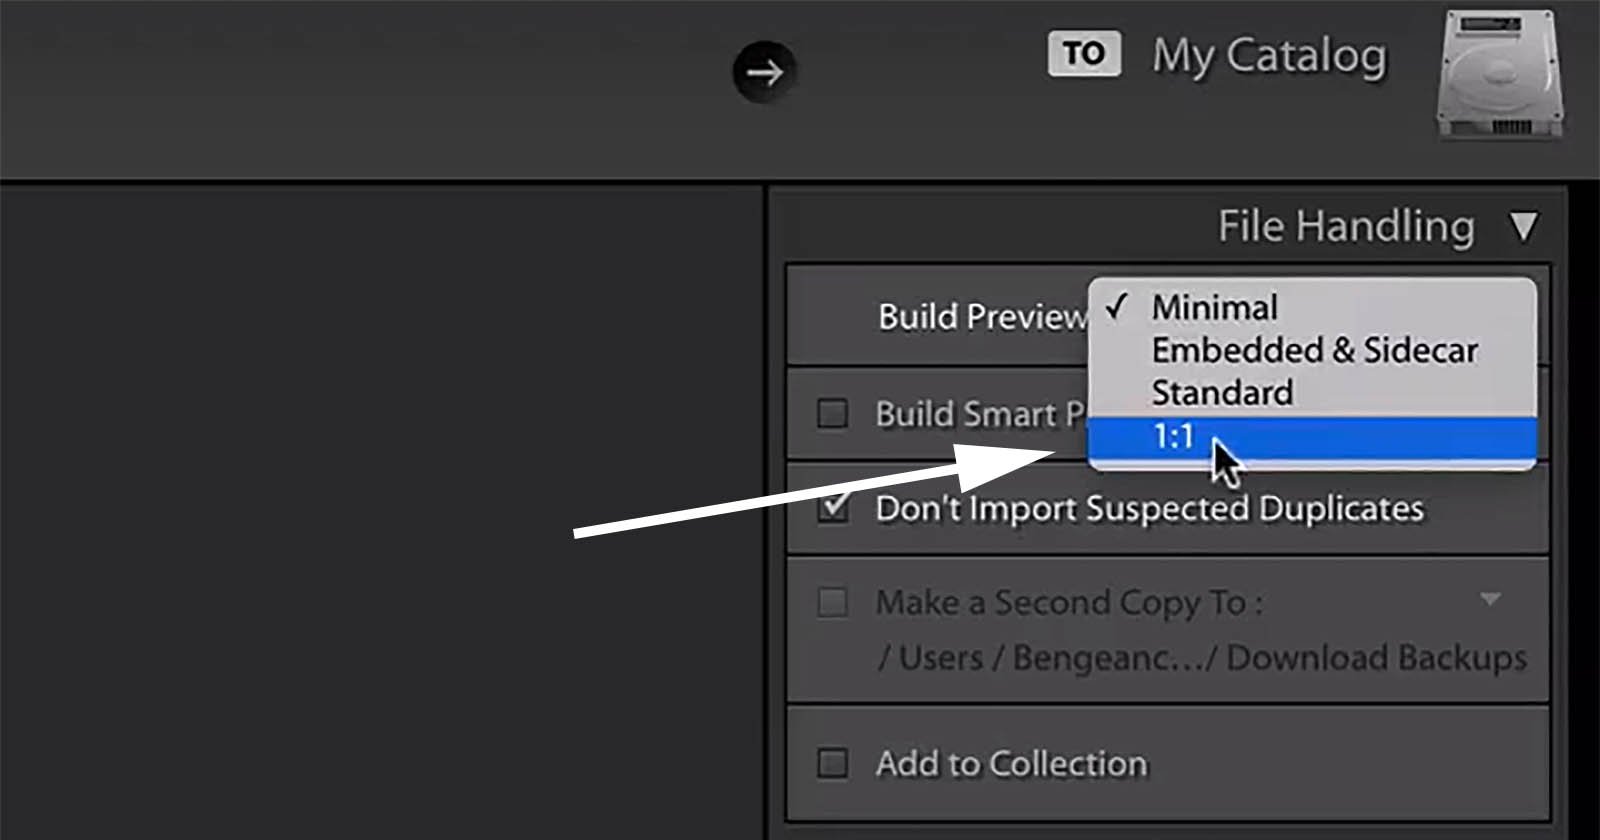
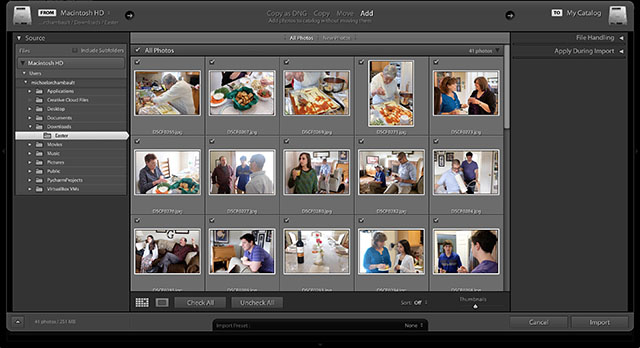
Begin by launching Lightroom and selecting the option to ‘Import Photos and Video’ from the file menu. Navigate to the desired folder, select your images, and press the ‘Import’ button when you are finished.
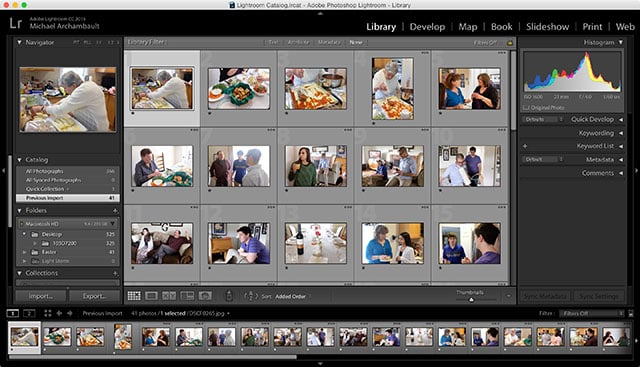
You should now be able to view all of your images in Lightroom. Feel free to apply any edits at this time. When you are finished and ready to continue, click on the ‘Book’ tab selection in the upper right-hand corner.
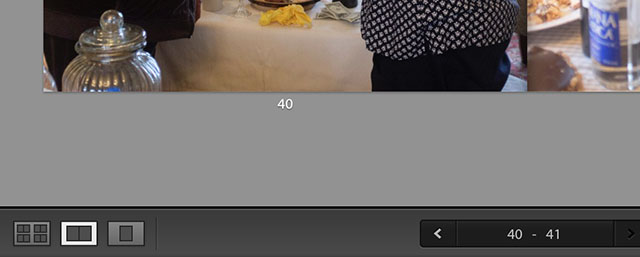
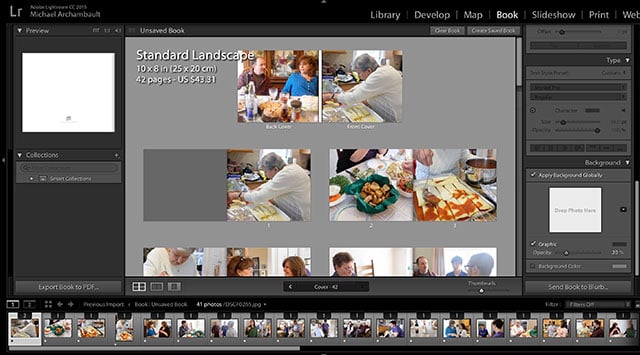
The default view for creating a book showcases all of the pages within your project. If you want a closeup view, switch the viewing mode to a two-page spread with the button in the lower left-hand corner of the viewfinder.
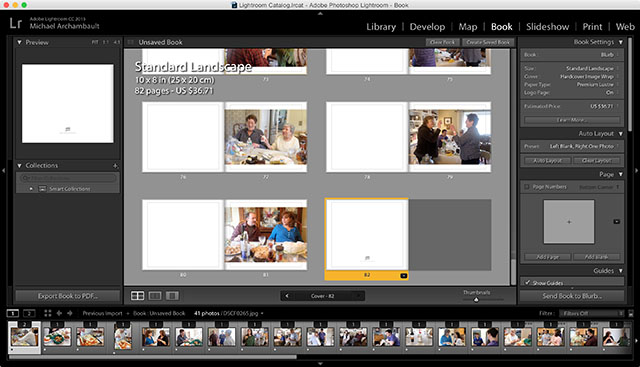
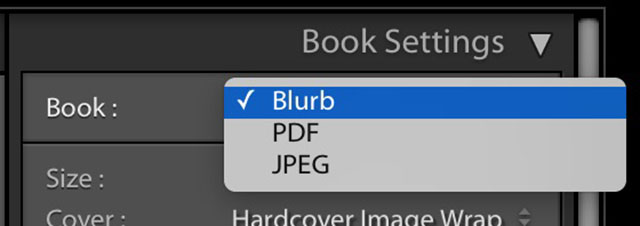
On the right-hand side are your book settings from which you can adjust the properties of your project. Let’s begin by selecting what type of project we want to work on. For this instance, I have chosen to work on a ‘Blurb’. Adobe partnered with Blurb to allow users to create fast and easy photo books.
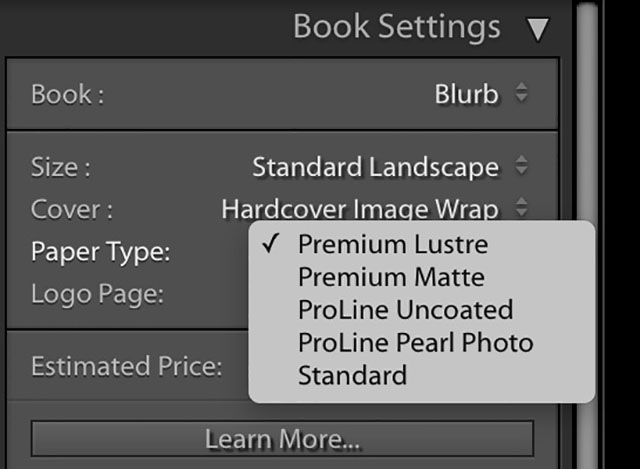
Using the next section, we can specify what type of cover we would like the photo book to have and the kind of paper used. Be sure to keep an eye on the estimated price being shown as you make your adjustments.
Scrolling down allows you to access Lightroom’s ‘Auto Layout’ feature. If you don’t care for laying out the images yourself, you can tell Lightroom the style you desire. Otherwise, you can manually drag and drop your images into the box.
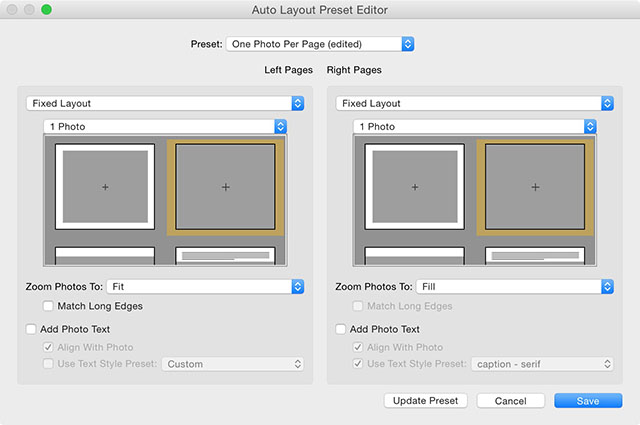
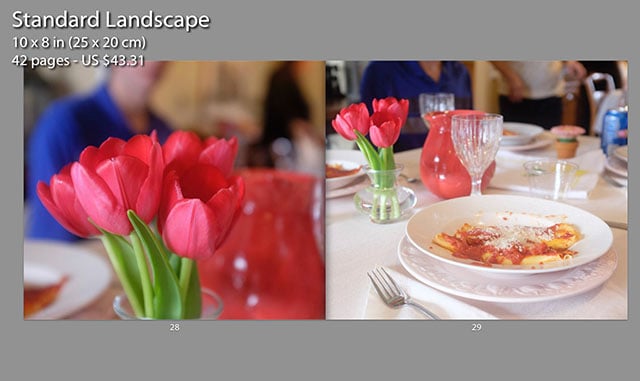
We decided to hit the ‘Clear Layout’ button then have Lightroom generate our book using the ‘One Photo per Page’ preset. If you opt to design your own custom preset, select the ‘Edit Auto Layout Preset’.
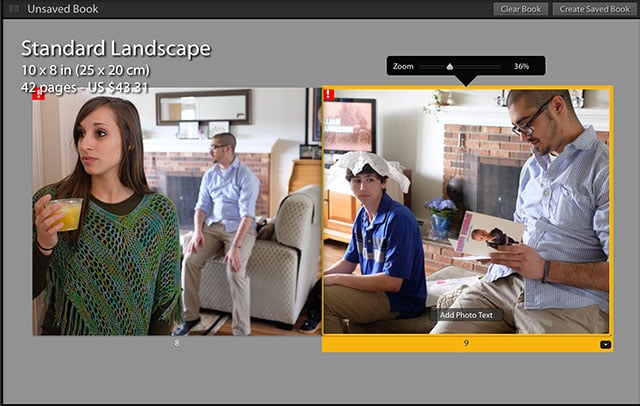
Once you have assembled your photographs within the book, you can make small adjustments to cropping by dragging the image. Note the grid lines that show where images may become cut off in the printing process.
If we double click on the spine, we can add text to our book and adjust the settings via the right-hand menu. When you have a page selected, you can also click to quickly add text and caption your creation.
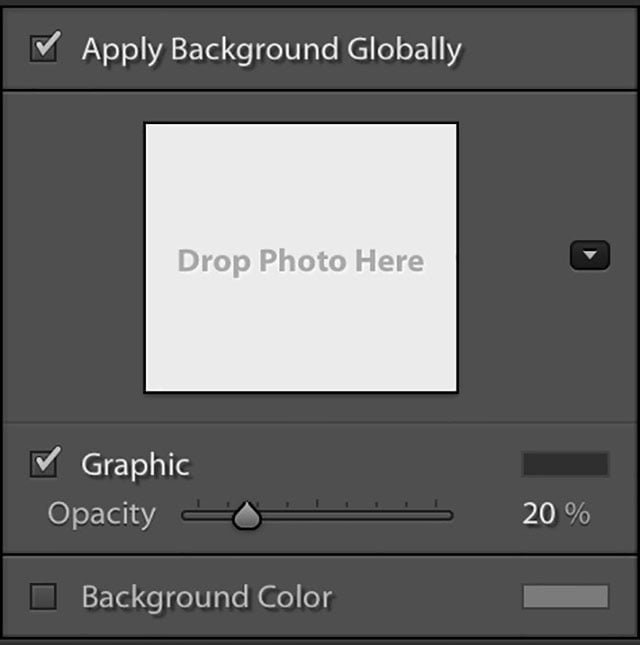
Last in the list is the ability to adjust the background of your book. If there isn’t a photo over a portion of your book, then this is the color or picture that will be shown. We have selected white for our project to keep everything simple.
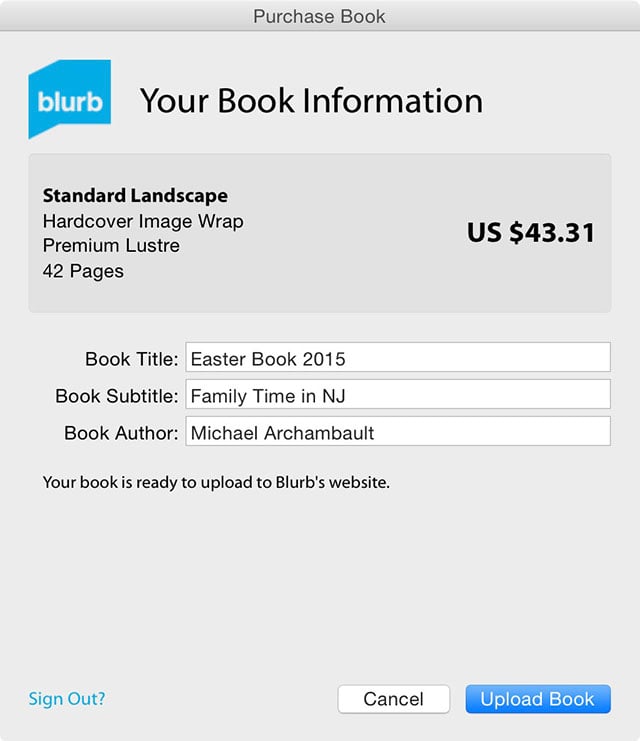
When you are finished, you can hit the ‘Send Book to Blurb’ option. You will be prompted to sign into an account and review your book before uploading it. If you don’t have an account, the process only asks for your email and a password.
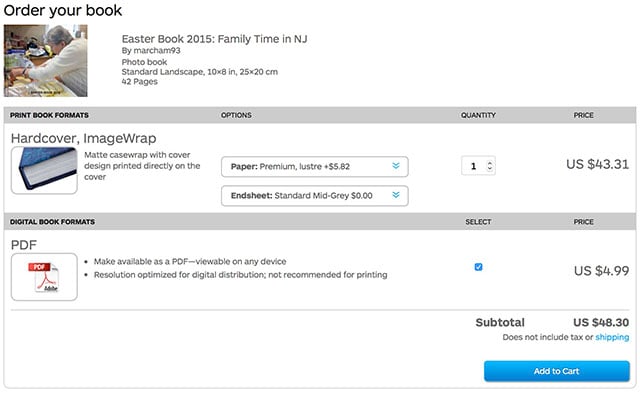
Once everything is uploaded, you can review the project and tack on additional options if desired. From there, hit the purchase button and you are finished!
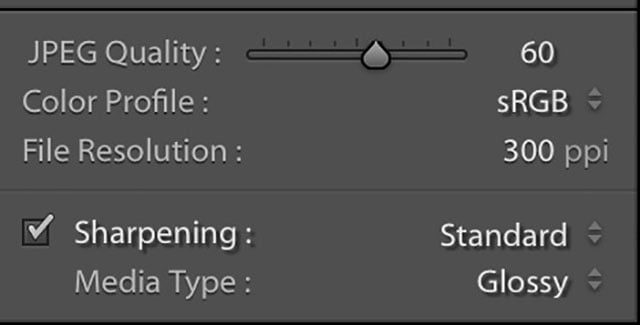
If you opt to export the book in another format, such as PDF, head to the first setting in the ‘Book Settings’ and change it to your desired. You will be prompted with a few extra controls for print sharpening and image quality for your project.
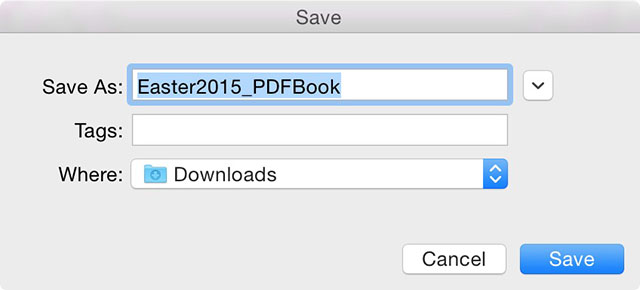
When we saved as a PDF, two files were made. The first file showcases the front and back of the book while the second PDF contains all of the individual pages for printing. You can use these to create your book using the printer or service of your choice.