5 Steps to Creating Long Shadows in Photoshop
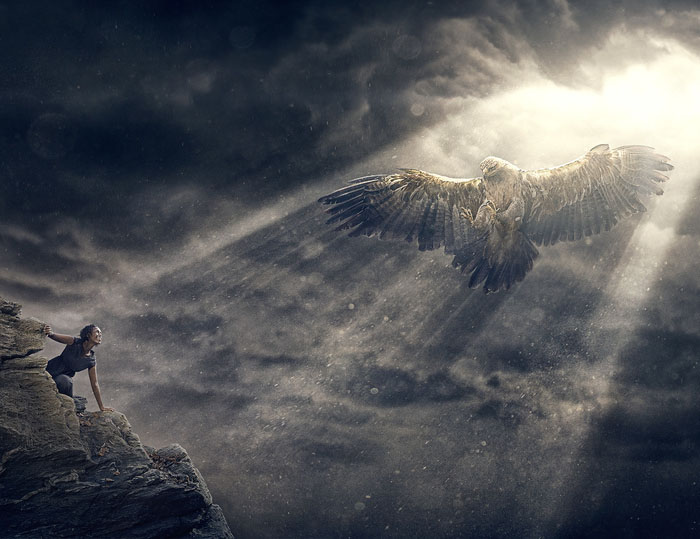
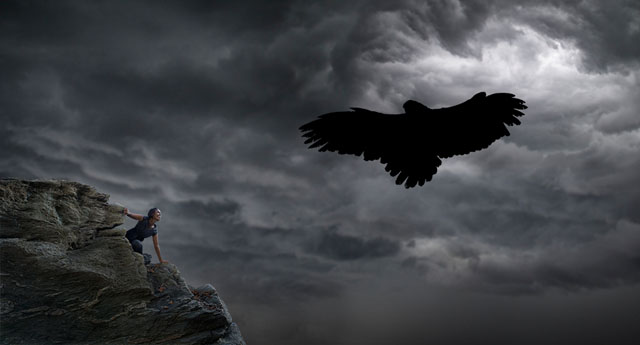
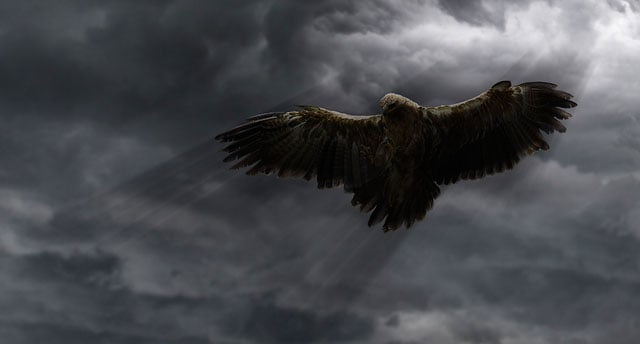
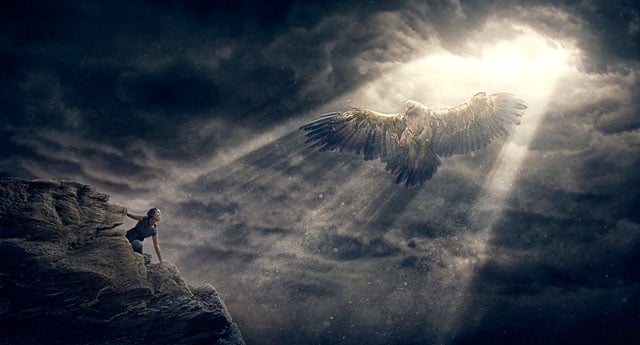
I had kind of a hard time coming up with an appropriate title for this post… I’m still not totally sure if it conveys what I’m trying to show you today. As you may hopefully have guessed by looking at my new image, I’m going to be talking about how I made the shadow that the eagle is casting. The problem was I couldn’t really call this post, “How to Create Long Shadows Cast By A Subject That Is Suspended In An Epic Beam Of Light.” It’s just a bit too wordy… So anyway this is how I did it!
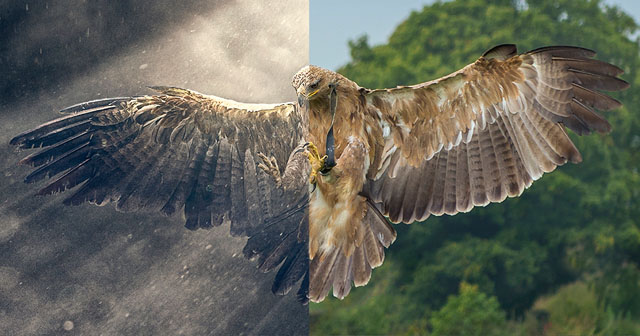
And thanks a million to Kath Harper for lending me this exquisitely captured eagle image!
Step #1: Cut It Out
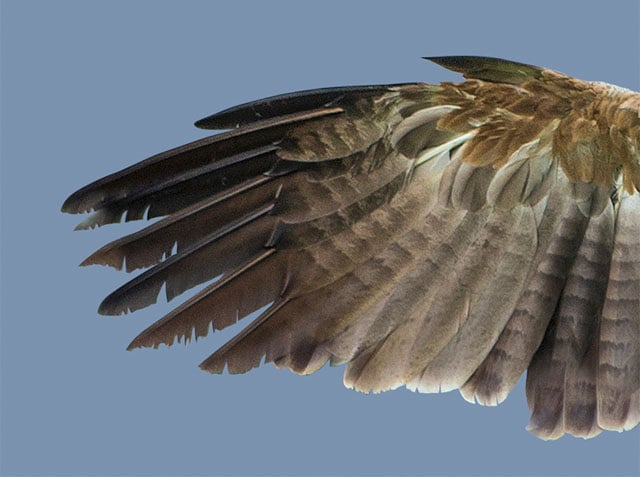
This step is pretty self explanatory. It applies to basically all of my works of art, even when I shoot a person on location and intend to leave them on that background. I always take some time to carefully trace out my subject with the pen tool so I can affect them separately from their surroundings.
So, whether or not you’re plopping your subject onto a new background, be sure to get a nice selection on them so this technique can work! (Note in the image above how I took the extra time to go around the individual little separations in the feathers; it might be tedious, but it’s all the tiny details like these that add up to a truly fantastical image.)
Step #2: Create an Evil Twin
What? Create an evil twin, what ever do I mean by that!? Well, let me tell you. Since you already have your subject cut out and residing on its own layer (because step one says so), you can hold command (on a Mac, or Ctrl on a PC) and click on the little thumbnail image of that layer in the layer palette; this will load the selection of that layer. Now make a new layer above your subject and just fill that selection with black.
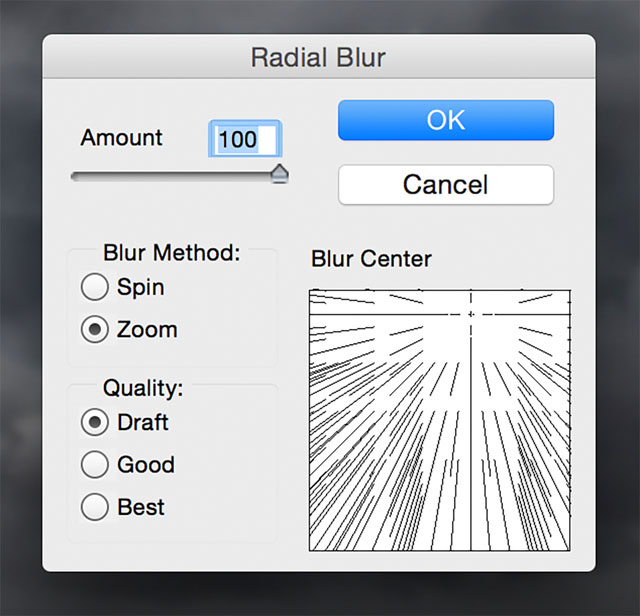
Step #3: Radial Blur
Next you’re going to take your evil-twin-copy and essentially blur the living crap out of it in a specific manner. Go to filter/blur/radial blur, set your blur strength to 100, the blur method to “zoom”, and set the quality to “draft.” Unfortunately there is still no “preview” for this filter (get on it, Adobe!) so for now this step is a bit of a guessing game. You can grab the “Blur Center” from the little thumbnail thinger on the right side of the filter window and move it around; try your best to put the center where the light is coming from in the image.
Hit “OK” and let it do its thing. If you’re lucky, you’ll line it up on the first try and all will look fantastic, but I usually have to redo it a few times to get my shadows going in exactly the right direction. As I mentioned earlier, I initially have the quality set to “draft.” This way I don’t waste a lot of time letting Photoshop do too much heavy thinking to churn out the high quality versions. I’m more than likely just going to undo it so I can move my center slightly. Once you are satisfied with the shadows in relationship to your light source, undo it one more time, go back into the filter, change your quality to “Best,” and let it render one last time.
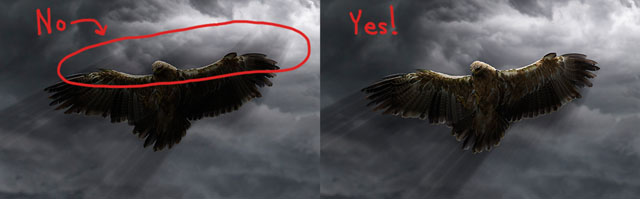
Step #4: Masking the Nonsense
You may have noticed by now that this blur method makes it so there’s just as much streaky blackness going above your subject as there is below. Easy fix. Add a layer mask to your shadow layer and paint it away from the top of your character with a big soft brush. (Or if your light source is not from above, just remove it from whatever side the light is coming from.) Now the smudge-y streaky blackness is only on the correct side and should look like shadows cast in the ray of light. Hooray!
Step #5: Finishing Touches
Usually at this point in the technique it’s looking pretty good, but there are a few more tweaks that can be made so it looks a bit more convincing. I duplicated the shadow layer and ran the filter again (maybe even twice if you think it looks nice — that rhymed); this will thicken up the darkness of the shadows where it overlaps the original shadow layer and make the streaks longer and more tapered off. I also did some shadow/highlight/dodge/burn painting (because I always do) to accentuate some details and get the lighting more believable.
Lastly, on a new layer, using the “polygonal lasso tool,” I added some extra shadows here and there where I thought they should be a bit darker, particularly under the wing on the right. Essentially I was just following the angle of the shadows and tracing out a shape in which I painted with black. Watch the speed edit below and you should see what I mean. It takes some logical thinking and at least somewhat of a grasp of how light works, but with some time and effort I think you can really sell this effect!
About the author: Robert Cornelius is a photographer and an award-winning Photoshop guru based in Lebanon, Pennsylvania. You can find more of his work on his website and read more of his writing on his blog. This article was also published here.