Short Tutorial Teaches You a Great Way to Recover Shadow Detail in Photoshop
There are many options for recovering shadow detail in post, but if you still haven’t settled on one or you want a technique that will give you more control, then we have a great tutorial for you.
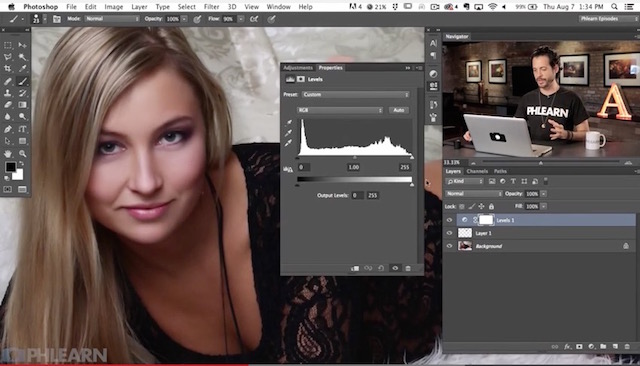
Put together by Aaron Nace over at Phlearn, the tutorial shows you how to recover shadow detail using Photoshop’s Shadows/Highlights adjustment on a copy of your background.
And if you want more control, he’ll also show you how to apply a layer mask overtop so you can paint the final effect in just like you would on an adjustment layer, since there’s no adjustment layer for Shadows/Highlights.
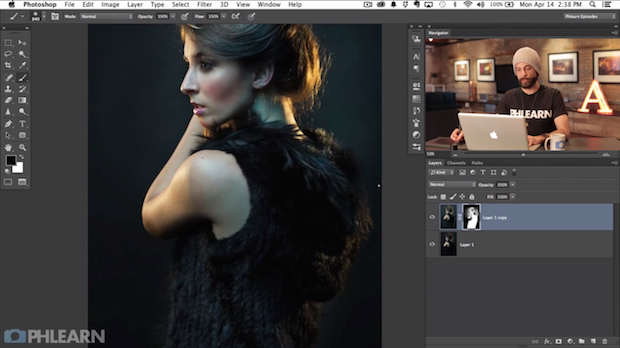
Here are the before and after screenshots:

Watch the video to see exactly how he gets these results and then add this trick to your post-processing toolbox if you find it useful.
But wait, there’s more! Nace doesn’t stop there. He also shows you how to add in a creative lighting effect so that it intelligently blends in with the background layer. Lighting effects fall much closer to the “digital art” side of the scale, so the trolls might get on him for this one, but we could see many a photographer using this effect sparingly when they want to add in the occasional lens flare.
Amazing Trick to Recover Shadow Detail in Photoshop [Phlearn]