Tutorial: A Much More Effective Way to Correct for Distortion in a Fisheye Photograph
When it comes to correcting the distortion on fisheye lenses, most of us use the fairly standard rectilinear methods built into Lightroom and Adobe Camera Raw. And while that gets the job done decently well, there’s a way to go about it that will leave you with a lot less noticeable distortion and more of your image still intact.


In the first three minutes of the twelve-minute video, Norman goes about the standard process, walking us through how most of us go about fixing fisheye distortion. From there, he explains where that method falls short, and introduces you to his preferred method of correcting the image(s).
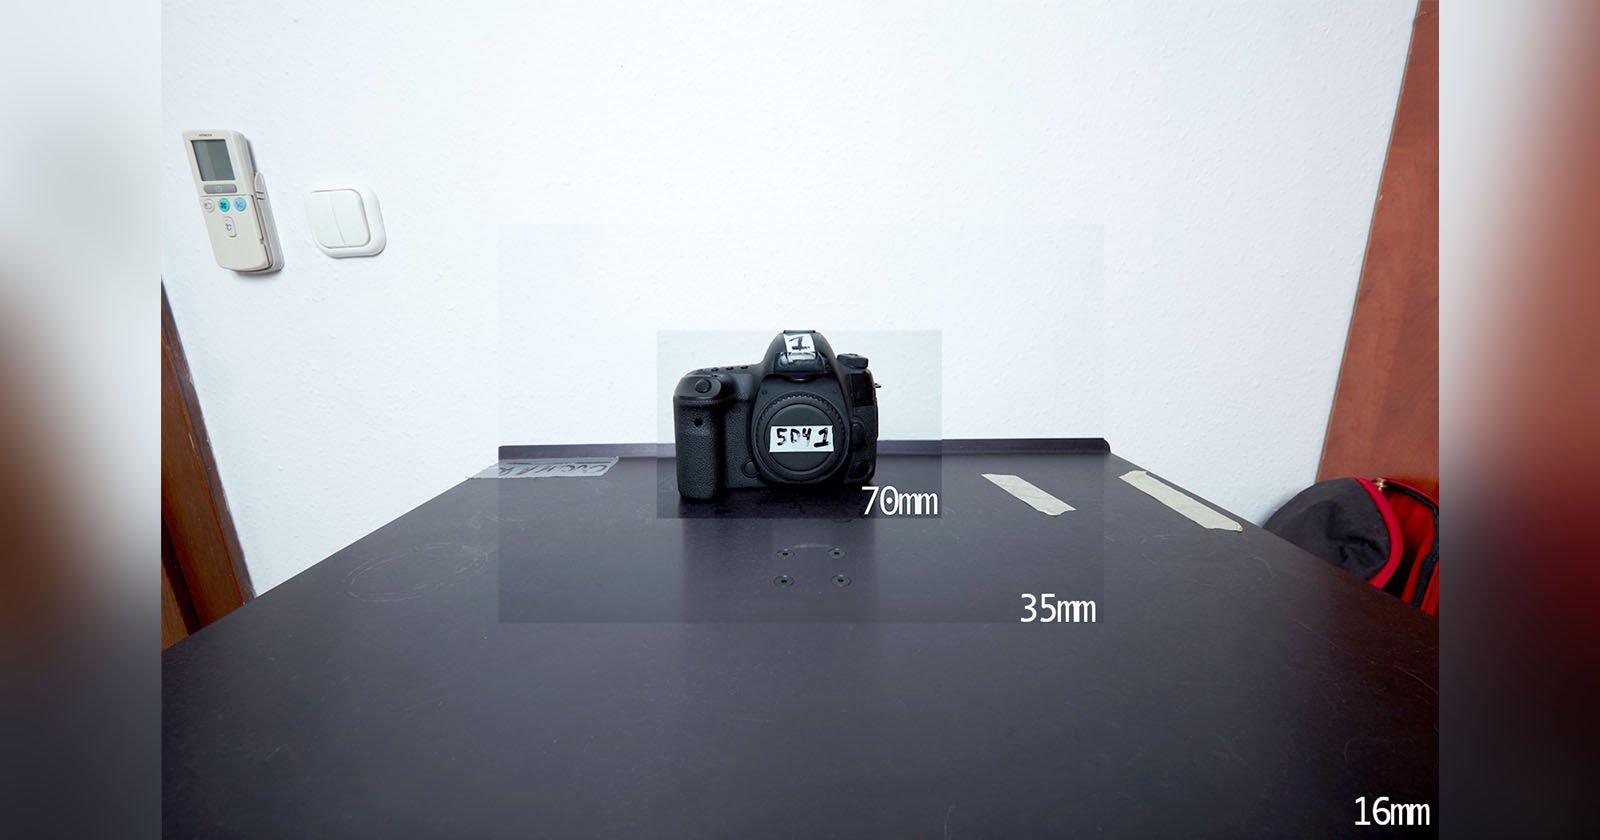
As you can see from the above comparison, the difference is rather dramatic. Of course, this option isn’t nearly as simple as using built-in options, but trading a little bit of time for quality may be worth it for many of us.