18-Year-Old Retrofits an Old Konica Rangefinder with a Sony NEX APS-C Sensor, and It Works

There are only a small number of cameras on the market these days that allow you to shoot digital photos while manually focusing with a working rangefinder. These cameras also cost quite a bit, so they’re not exactly the type of thing most enthusiasts can pick up on a whim and play with.
Ollie Baker wanted one, but instead of paying the big bucks for one, he decided to convert an old film rangefinder into a working digital rangefinder.
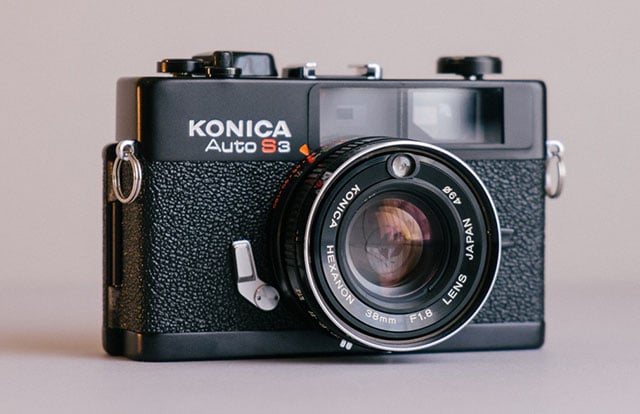
He started off with an analog Konica Auto S3 rangefinder, a camera you can pick up for less than a hundred bucks on eBay. Rangefinder cameras are well-suited for this type of project because there isn’t a bulky mirror mechanism hogging up space between the camera’s shutter and the back, and Baker liked the 38mm f/1.8 fixed lens and the simple internal leaf shutter.
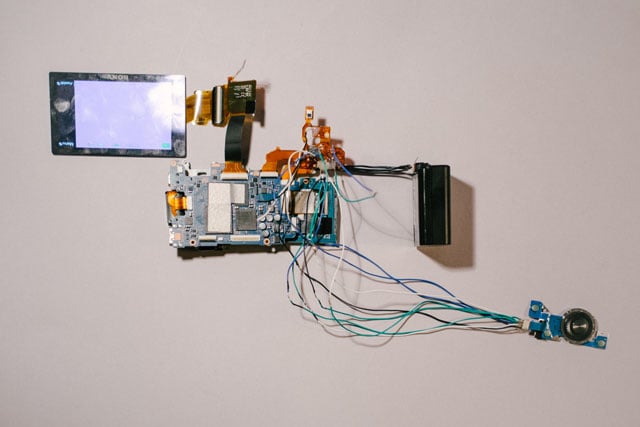
For the digital components, he disassembled a Sony NEX-5 mirrorless camera. After taking it apart, he identified and removed all the parts that would be necessary for his new camera to function. This included the circuit board, sensor, SD card slot, and the battery connector.
Baker then created a completely custom back to house the digital pieces — a back that would fit perfectly with the original Konica front. The 3D printer at his school wasn’t detailed enough for this piece, so he had it custom made in nylon at a 3D printing company in London.
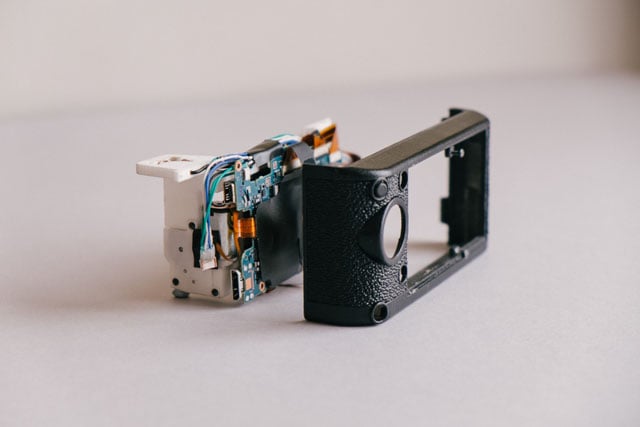
Once he had all the pieces he needed, he assembled the camera (definitely not an easy task), calibrated the lens to focus on infinity, and then calibrated the viewfinder to focus accurately on the sensor plane.

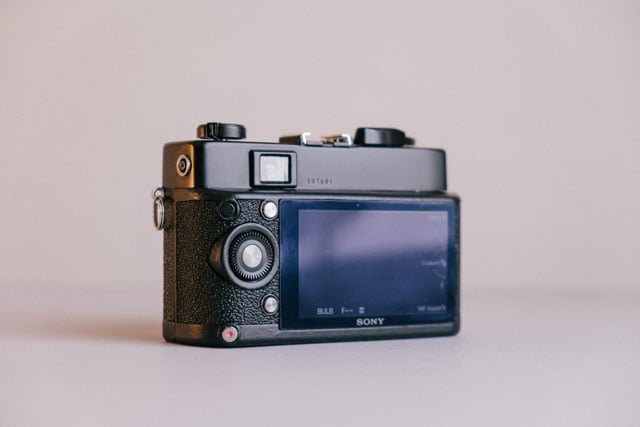
The final product is a “FrankenCamera” with digital guts and a analog shell. The rangefinder mechanism works just like it originally did, and the camera’s digital sensor works with the analog controls to properly expose shots. Baker writes,
You set the shutter speed on the lens (which affects the leaf shutter within the lens) the camera then automatically sets the correct aperture using it’s inbuilt light meter. The only difference is that the ISO can be changed on the Sony camera from shot to shot, and you then need to set the correct ISO on the Konica.
Here are a couple videos showing the camera in action:
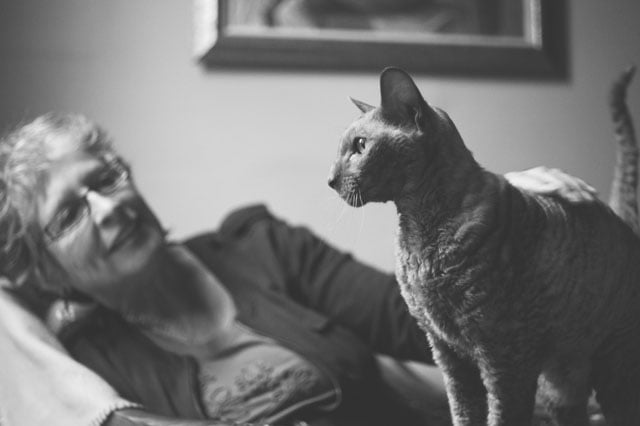
Here are a couple sample shots captured with the camera:

You can find a more detailed walkthrough of how this DIY project was done over on Baker’s Frankencamera blog.
FrankenCamera (via Hackaday)
Image creditsPhotographs by Ollie Baker/FrankenCamera