$5 DIY Hack Gives Almost Any GorillaPod Magnetic Capabilities
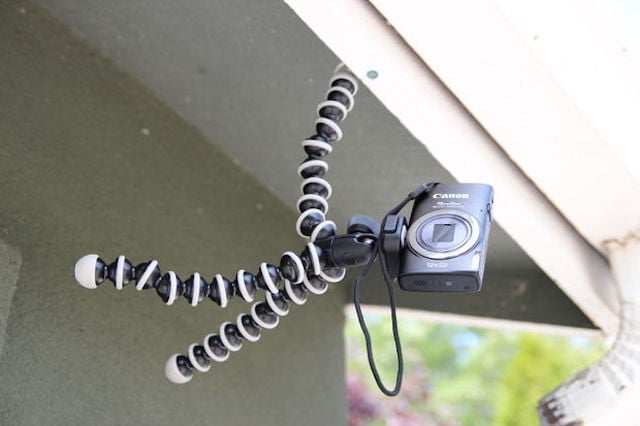
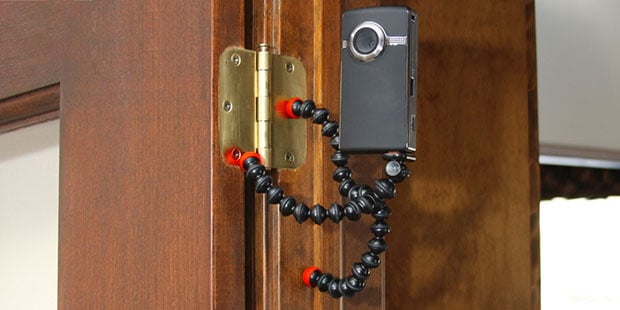
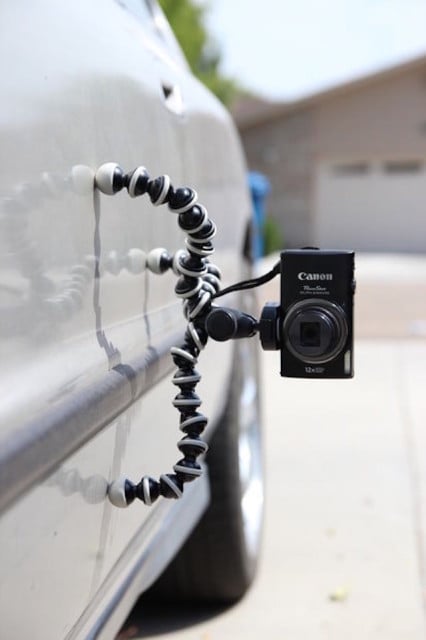
GorillaPods are an incredible little photography accessory to have in your arsenal. You can pick up a model for cameras as small as a GoPro and as large as a DSLR with a 70–200mm lens attached. Heck, some even come with unique features such as magnets in the feet that allow you to more easily position them onto magnetic surfaces.
As cool as the magnetic ones are though, Instructables user tinstructable realized that Joby’s magnetic options are limited to only the smallest offerings in the GorillaPod lineup. And so, naturally, he came up with a DIY method to turn the larger model into a stronger, more capable magnetic version of his own.
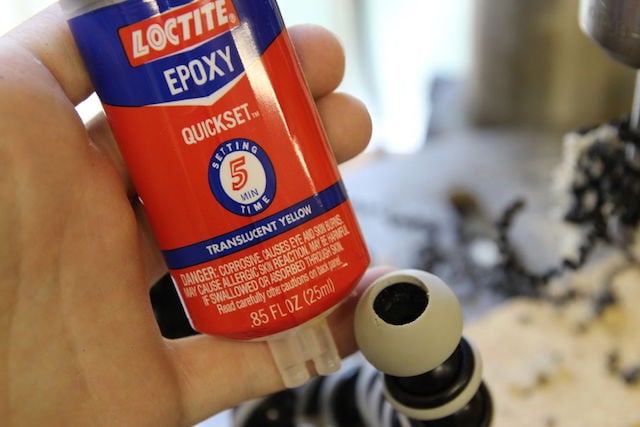
The process for creating this DIY hack is fairly straightforward. All that’s needed is a trifecta of neodymium magnets, a drill, some epoxy and some Sugru.
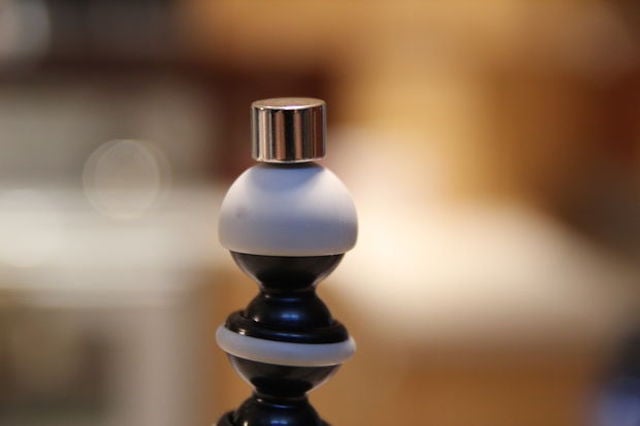
First, ensure the magnets you get will fit inside the feet of your GorillaPod. Then, once that’s taken care of, head over to the drilling stage and drill three appropriately-sized holes in the three legs of your GorillaPod:

Once the drilling is over, you’re halfway there. The next step is to grab your epoxy, mix it as required, and secure the powerful magnet inside of the hollowed-out feet. Let the epoxy set as per its suggested dry time before moving on to the final step.
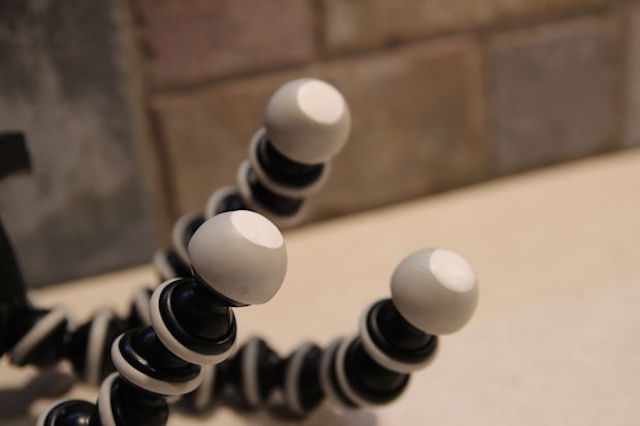
While optional, really, tinstructable decided that a Sugru covering over the magnets would help to diminish the magnets abilities to scratch anything they’re placed on.
So, with a small amount of the versatile material, tinstructable filled in the holes to create small, flattened feet so the magnets have as much surface area as possible when placing the modified GorillaPod onto a compatible surface.
As you might expect, this little hack will void you of your GorillaPod’s warranty, but it might just be worth it if you intend to hand the versatile little tripod from any metal structures.
This particular setup used the GorillaPod Hybrid, which can support larger point-and-shoots and maybe a small DSLR, but with a larger GorillaPod and magnets, you might be able to get even the largest of GorillaPod models to be magnetic — just be careful that you test it out before you put your expensive gear on the line.
The total cost of the project (excluding the unused materials and the price of the GorillaPod itself) was less than $5 — an absolute steal. To give it a shot yourself, head on over to the Instructables post below where you can dive into a more thorough step-by-step run through complete with detailed pictures from each step.
Magnetic GorillaPod [Instructables]