Photoshop Tutorial: Retouching Shiny Skin
Without a makeup artist at your disposal, even a great portrait can be ruined by shiny skin. So if you’re looking through the results of your most recent portrait shoot and there’s a lot of shine there, here’s a fantastic tutorial that shows you how to get rid of it without making the photo look like it’s been doctored.
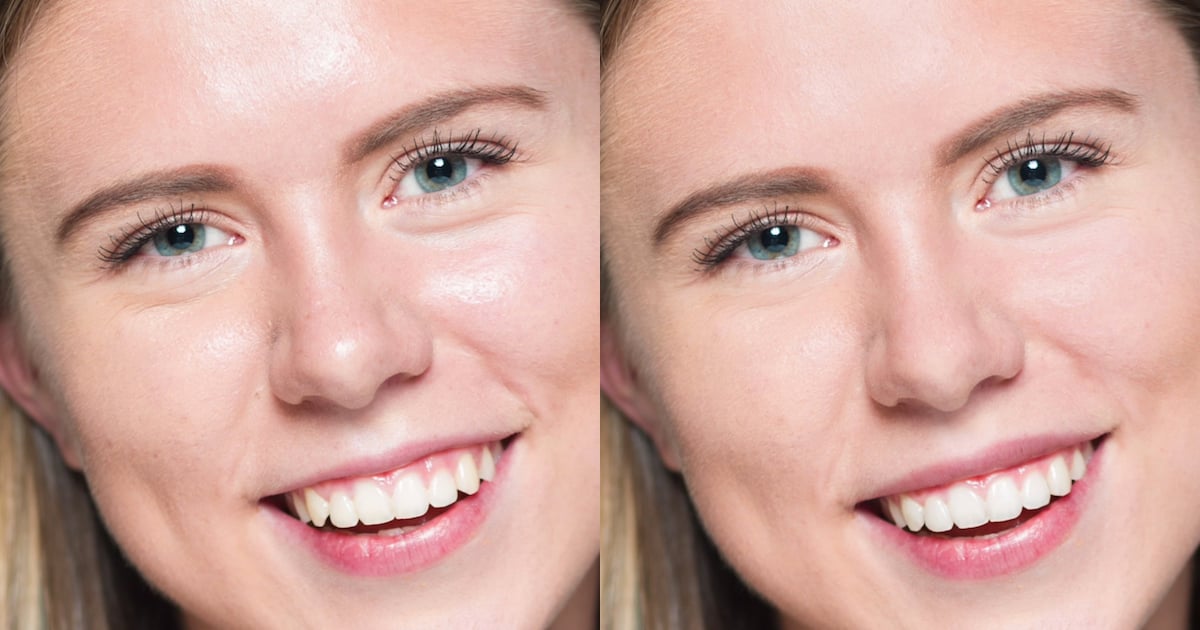
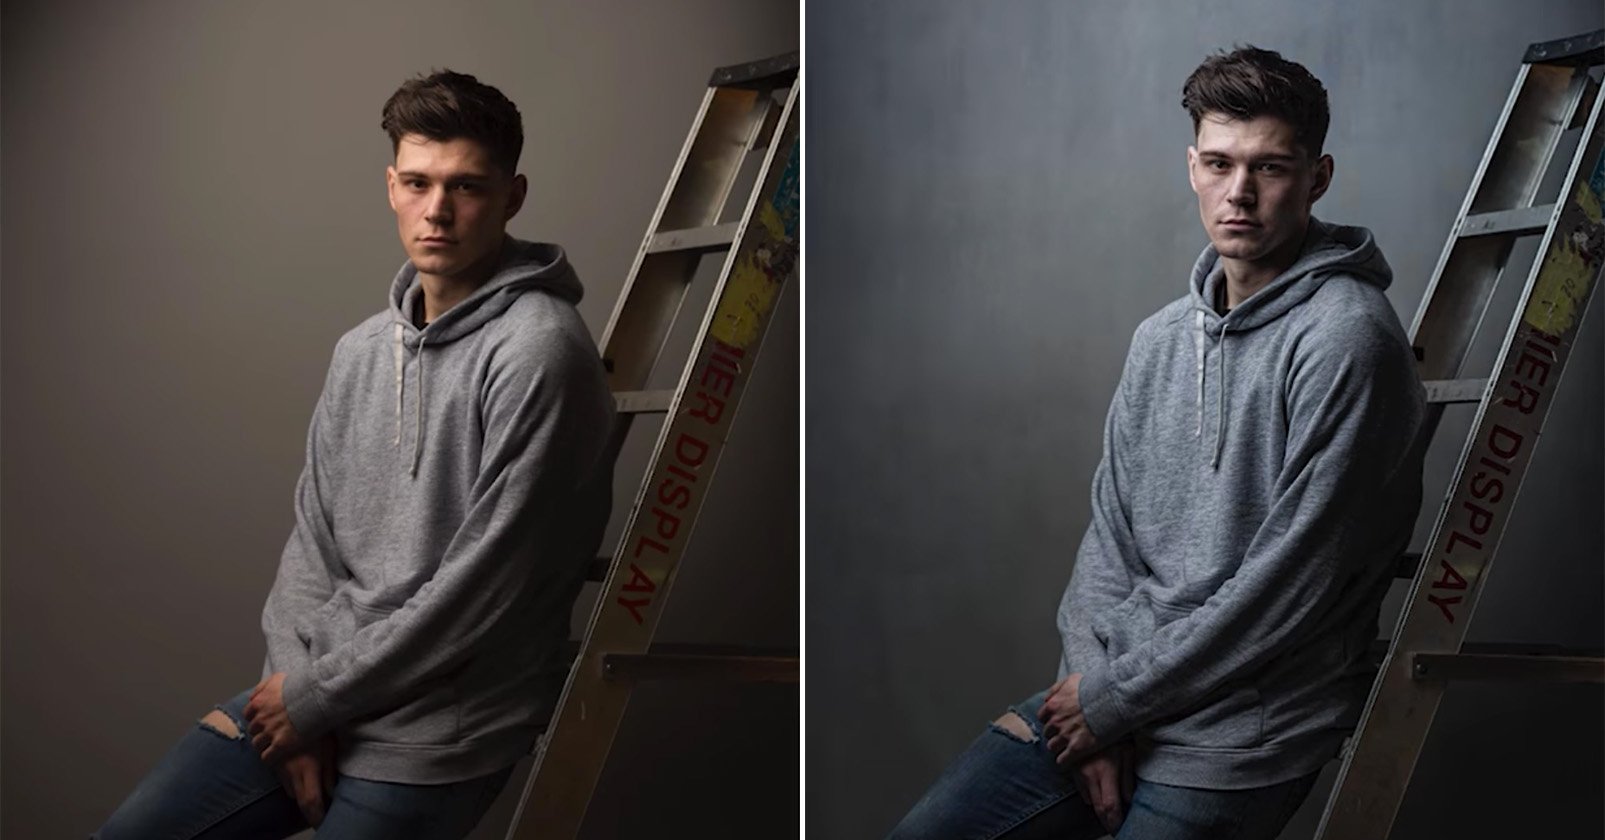
Here’s a look at the before and after:
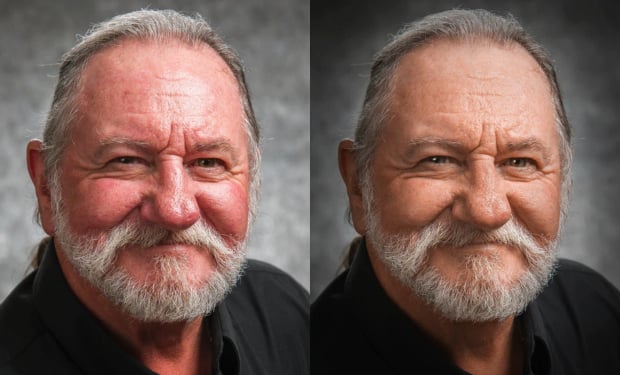
As you can see, he’s improved the portrait a lot, but the main technique he put the tutorial together to show was fixing shiny skin using Frequency Separation. Basically, he’s placing texture and color/tone in two separate layers, which allows him to re-shade the photo while leaving the texture intact.
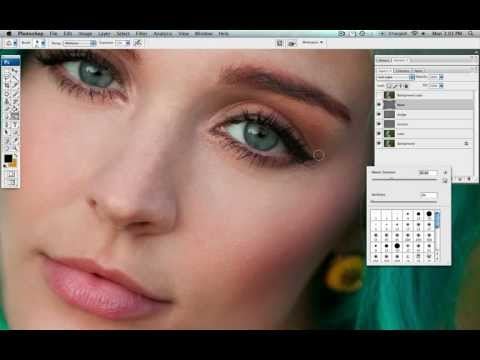
He does a much better job explaining the technique in the video than we could do in words, so be sure to check out the tutorial at the top to see it for yourself. And if you want to see more great post-processing tutorials by Varis, head over to his website by clicking here.