Use “Focus Peaking” in Photoshop to Select In-Focus Areas of a Photo

Last week, we wrote about an emerging digital camera feature called “focus peaking”, which lets users easily focus lenses through live view by using colorful pixels to highlight in-focus areas. Photographer Karel Donk wanted the same feature in Photoshop, which doesn’t currently offer it, so he decided to create it himself.
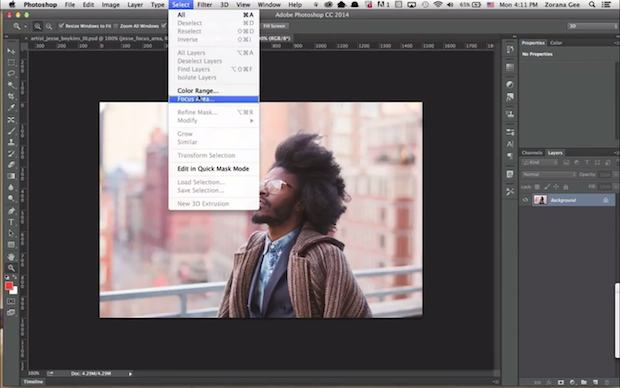
Wouldn’t it be awesome if we had a selection feature in Adobe Photoshop or Lightroom where we could easily select only the areas of an image that are in focus? The way this would work is exactly like the “Color Range” selection process in Photoshop, but only instead of a range of colors, it would select a range of focus. It would start by selecting the areas that are sharply in focus, and you could then increase the range/radius to include more of the picture in your selection extending more to the out of focus areas.
To my knowledge there’s no such feature in Photoshop or in any plugins that I know of. So I decided to try and see if I could use the functionality that is currently in Photoshop to build a selection in an image of only the areas that are in focus. It turns out that it’s possible to do this, although it’s not quite perfect, and you can even create an action to automate the process.
Donk’s Photoshop version of focus peaking is based on Photoshop’s High Pass filter, and is available as a free Photoshop Action (there’s actually three separate actions in the file). The in-focus areas of the photo are conveniently extracted for you in a single click, and are overlaid with colored pixels that serve as a visual guide.
Focus peaking on digital cameras is useful for achieving a desired focus, but focus peaking in Photoshop is useful for entirely different reasons.
For example, lets say you want to only apply a certain filter or edit to out-of-focus portions of a photo, while avoiding the sharp portions lest you lose any detail. Donk’s action allows you to easily make a selection of the out-of-focus areas instead of having to manually mask your image.
Check out this blog post he wrote up for a step-by-step guide into what the action does.