The Care and Feeding of Your Tripod

Being a good photographer, you have a tripod. Maybe two tripods. Maybe even a big, heavy duty one for your big lenses, a standard one for everyday use, and one of those small, cool ones that folds up like a roadmap and you can carry it in your back pocket.
You see, children, once upon a time, maps came on a sheet of paper bigger than the windshield of your car but folded neatly into a little square the size of a Kindle. Maps couldn’t even say things like “Turn right in 200 yards”; you had to actually look at it and figure out where you wanted to go. But if you opened it up to look at it while driving, the map would cover the windshield and you’d have a wreck. On the other hand, if you weren’t driving, your rarely needed a map.
This presented quite a dilemma. Amateur travelers would steer the car with a knee while wadding the huge sheet of paper so they could see the area they were interested in. (This is what we did before we had texting-while-driving to distract us.) Real professional travelers had the skills of a one-armed Origami artist and could fold the map so the small part they were interested in was on top, while never taking their left hand off of the steering wheel. This was back when men were iron and ships were wood, though. Such skills do not exist today – except in certain little tripods that can be folded up to be about a foot long. But, I digress. A lot.
What was I talking about? Oh, yeah. Anyway, over time our nice, shiny, smoothly moving tripods tend to get jacked up a bit. Sand or salt-water gets in the legs and they don’t move smoothly anymore. Lever-lock latches don’t hold the legs quite as firmly as they used to and we find our carefully positioned tripod slllloooooowwwwly sliding to one side if we put a bit too much weight on it. Sometimes the internal locks and shims on the legs get knocked around and we have one leg that won’t slide all the way back into our tripod, or one section falls out entirely.
Luckily, tripods are probably the easiest things in a photographer’s kit to disassemble, clean internally, troubleshoot, and fix. So I thought I’d put together a little how-to-fix-it-up guide for those of you who have a gritty, sticky, loose, or just plain dirty tripod. We’ll start at the bottom and work our way up.
Changing Feet
Almost everyone knows it, but just in case you don’t, the feet most tripods simply unscrew and can be replaced. Most manufacturers sell, or include, alternative feet so that you can use spikes in dirt or grass and rubber feet on concrete or rocks. But you can also simply buy some replacement feet when yours get worn out.

Cleaning and Repairing Twist Lock Legs
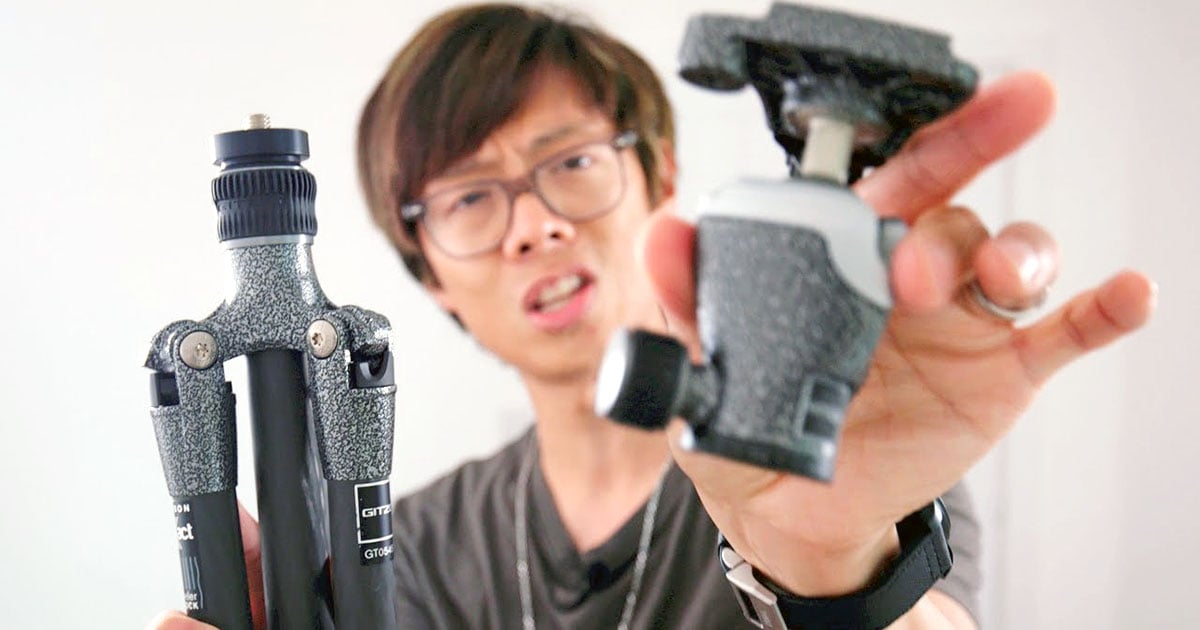
Most Giottos, Fiesol, Induro, Gitzo, and many other tripods use twist-lock legs. The designs differ very little and they generally function the same way. When a section of leg becomes stiff, gritty, or jams simply unscrew the lock all the way until it comes off of it’s threads and slides down onto the section of leg below it. There is usually some thick lubricant on the threads, as you can see in the picture below. Leave that alone if you can, but if there is a lot of sand or grit in it you may need to wipe it off and replace it when you reassemble.

As you slide the leg section out, there will be a plastic lock bushing (in the center of the image above) that will come out along with the leg. As you pull the leg section further, you’ll feel a bit of resistance just as it’s about to come loose and will notice two half-circle nylon shims or bushings at the top of the leg (in the image below one is still on the leg, the other sitting on the desk).

Your tripod may vary a bit in shim appearance (they might be black, or a single shim that nearly goes around the entire leg, etc.) but the basic design is always the same. If your tripod leg was jammed and you don’t see shims come out with it, they probably came off and are inside the leg section above this. You may need to remove that section to find them because they’re often jammed up near the top of it.
At this point we can wipe all of the grit off of the shims and leg and clean them up nicely. You might also put a soft rag up into the leg section above to wipe any remaining grit left in it. You can probably just barely make out some dirt and grit on the upper part of the carbon fiber leg and the white nylon shims in the image above. That was what caused the leg to be gritty when sliding it in and out.
Before reassembling it’s a good idea to put just a little bit of dry lubricant, like powdered graphite, on the nylon shims and / or on the inside of the upper leg section. If you need to replace the lubricant on the threads, check your manufacturer’s website to see if they recommend a certain lubricant. If they don’t we’ve found a waterproof, silicone-based lubricant like Novagard or Versilube seem to work fine. You can get any of the lubricants at Amazon, and, now that I think of it, it’s probably a good idea to get them before you disassemble the tripod. As with most lubricants, a little bit is enough; rub a bit of graphite on the shim with a fingertip, dab a bit of lubricant on the thread with a toothpick.


Reassembly is pretty straightforward. There is usually a hole in the side of the tripod leg that fits a plug in the nylon shim as shown below.
![]()
Hold the shims in place on the leg and insert. NOTE: with some tripods there is a guide in the upper leg that slides between the two shims as you insert (you can look or feel in the upper leg with your finger to see if there is). If that’s the case, line the space between the shims up properly or the leg won’t slide in easily.

After you slide the leg section a few inches into the section above, then slide the plastic lock bushing along the lower leg until it’s seated inside the upper leg (it’s halfway there in the picture below). Finally, you slide the twist-lock up, screw it back in place, and test that it locks the leg properly and the leg slides smoothly when it’s loosened. I say test it just because it sounds like a good idea. We’ve done this hundreds of times and never had one that wasn’t working just fine after reassembly.

Of course, you’ll have to repeat this for as many sections of the leg as have problems and on as many legs as have problems. I suggest, at least at first, you do one section at a time starting at the bottom section. The shims and bushings are specific sizes for each leg section and getting them confused means a lot of trial and error during reassembly.
Cleaning and Repairing Lever Lock Legs
A lot of Benro, Cullman, Manfrotto, and Oben tripods use lever lock legs. Most use two different fasteners for each section: one that holds the section on the leg, the other that adjusts tension of the lever lock. Depending on brand you may need a nut driver, hex key, or both (like the one in the picture below) to disassemble these. Some smaller Bogen and Manfrotto tripods use a different type of lever lock that has a center pin that must be driven out with a hammer and awl. If you want to remove the lever lock on this type of tripod, they have a video of how to do it here.

By far the most common thing you’ll want to do with your lever-lock tripod is adjust the lock tension. It may be stiffer than you like early on, or may get too loose and not grip the legs tightly over time. It’s simple to do: simply put the right tool (hex key or nut driver) on the bolt with the lever in open position, and slowly tighten it while flipping the lever open and closed until it has just the tension you want.

It seems a little less common for lever-lock tripod legs to get grit and sand inside, but they can. Disassembly is pretty similar to that for twist-lock legs, except for needing tools to remove the lever locks. Remove both of the clamping screws / nuts. There is a spring in the lever-lock side of the assembly but for the vast majority of tripods it will not come out when you remove the lever and nut (even if it does, it’s easy to put back).

You may need to twist or rock the locking assembly just a bit and then slide it down over the lower leg. In the picture below you can see some salt residue had gotten under the lock from the tripod being used in or near salt water.

There will be two semicircular shims (or a single nearly circular shim) as shown below, but no lock bushing when you remove the lower leg section.
![]()
You can clean things off now, just as you did for the twist-lock leg. You won’t need any silicone grease since there is no twist lock, but a bit of powdered graphite rubbed inside the upper tube or over the outside of the shims before reinserting the lower section helps keeping things sliding smoothly.

Next it’s a simple matter to replace the lever locks and bolts where they camer from. One “learn from my mistakes” hint: make sure you line the lever up with the ones above it so the latches are all in a nice straight line when the tripod is collapsed. Otherwise you get to loosen and tighten them again.

Removing the Legs
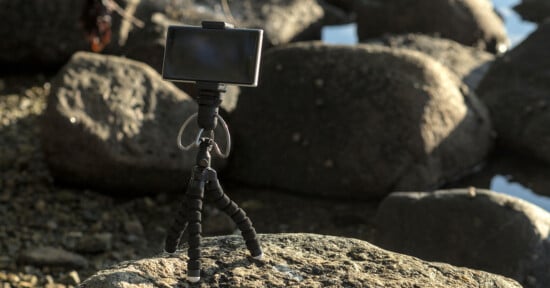
It’s actually pretty rare to have to remove the legs or work at the center of the tripod where the legs come together. Every tripod is a bit different in this area, but simply looking around a bit makes it pretty apparent how the legs can be removed. In smaller tripods, like the one below, it’s often as simple as a couple of hex keys or bolts holding each leg in place.

With larger tripods it’s often more complex, though. One common arrangement is a clamshell of two plates that can be taken apart…

…to give access to the leg mounts.

If there’s a center post tension knob like the tripod above, there will be a spring inside, but as long as you don’t drop it reassembly is pretty straightforward. Probably because there’s a lot less movement up at the leg mounts, there seems to be little that ever goes wrong here and it’s rarely necessary to remove them except to replace a broken leg.
Center Posts
Center posts are rather simple things and rarely require any maintenance: if sand or dirt gets on them, you wipe it off, run the post up and down a couple of times, and wipe it off again. Very occasionally something will get into the friction lock of the center post. While removing them is usually straightforward, almost every single one is different. If you look around, though, you’ll almost always see a way to remove the base plate (usually a set screw or hex screw is removed, then the plate either pulls off or unscrews). Once the end plate is off you can remove the center post.

Other times, there is an obvious twist-lock around the center post that will unscrew just like on a twist-lock leg. Generally there is just a one-piece shim in this kind of arrangement.

Replacement Parts
There is a great deal of variation between the different brands regarding ordering replacement parts. Bogen-Manfrotto not only sell parts directly and easily from BogenTripodParts.com, they offer photos of the various parts for each tripod so you can easily get the part number you need. If you’re a do-it-yourselfer, that website alone may steer you to a Bogen or Manfrotto tripod. Gitzo also has a really great parts supply website. You just type in your product number and it takes you to a schematic that provides all of the part numbers, which you can order online.
I haven’t found simple online parts ordering for any of the other brands. In many cases, though, if you email customer support at the manufacturer of your tripod, they will try to get a part for you. It’s often helpful to have a picture of the part you can send them. You can occasionally find parts on eBay. You may also find broken tripods for sale there at very low cost. Here’s a hint: if you buy a tripod with one bad leg you can use one good leg to fix your tripod, and sell the other good leg for almost what you payed for the broken tripod. Or keep it, just in case.
About the author: Roger Cicala is the founder of LensRentals. This article was originally published here.