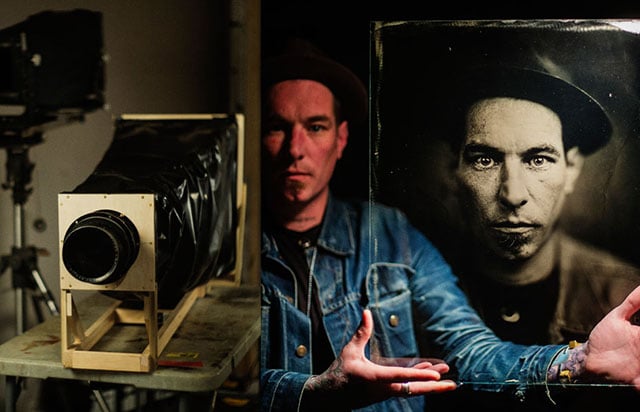
I Built Myself a 16×20-Inch Camera in 10 Hours
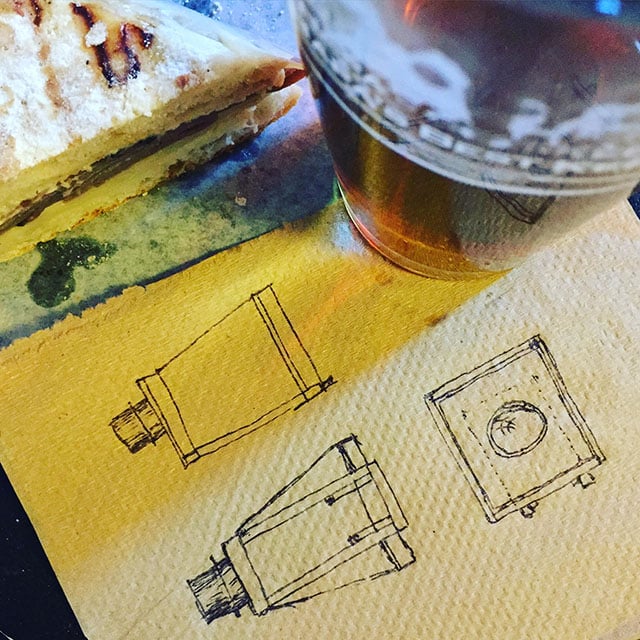
While sitting in a coffee shop last Friday, I really didn’t want to answer any more emails so I went to a bar instead, ordered a pint and sketched out a bit of a doodle for a big camera. I then called my buddy Zach who shares my open schedule and vague ability with power tools, and he stopped by my studio an hour later.
I explained what I wanted to do and showed him my napkin doodle. I think his reaction was something along the lines of “I have no idea what you’re talking about… but sure”. So we went to Home Depot and bought a bunch of wood and some screws.
Ingredients
My napkin drawing wasn’t exactly a plan and the camera kind of built itself by what materials we found walking around the aisles: 1/2×3” poplar for the back standard, 3/4×1” pine for the main rail and front standard, some in-floor heating tube and dowels for the bellows supports and really poor quality 1/4” plywood for the lens board. The most expensive thing was the bellows plastic, 6 mil black, which I’d used before for making a darkroom in my old studio. They only sell it in 100’ rolls and that was $70.
Total cost for materials was $168.
Building the Camera
Back in the studio we turned on a playlist of James Bond theme music, cracked several beers and began cutting stuff. The back standard came first since which would more or less decide the rest of the design. The standard was just a simple 16×20 frame with 1/4” stickers nailed around the inside to hold the ground glass and actual ambrotype. This was then fixed to a couple of 12” rails on the bottom which would fit snuggly to the bottom main rail with thumb screws to lock the focusing and a couple of lips on the bottom to prevent rocking.
I’d roughly calculated how long the camera would have to be to make a portrait, around five feet total, so I made the bottom rail that length. It’s just a couple of 1×3/4” boards with four spacers glued and screwed evenly along the length.
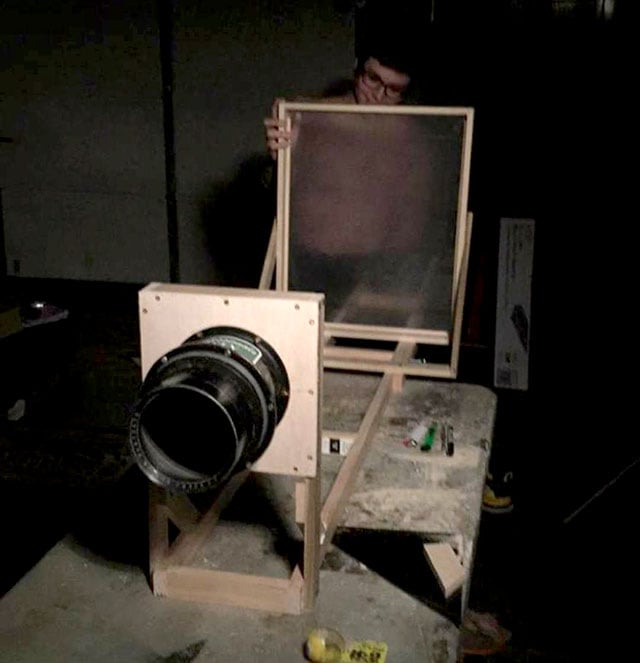
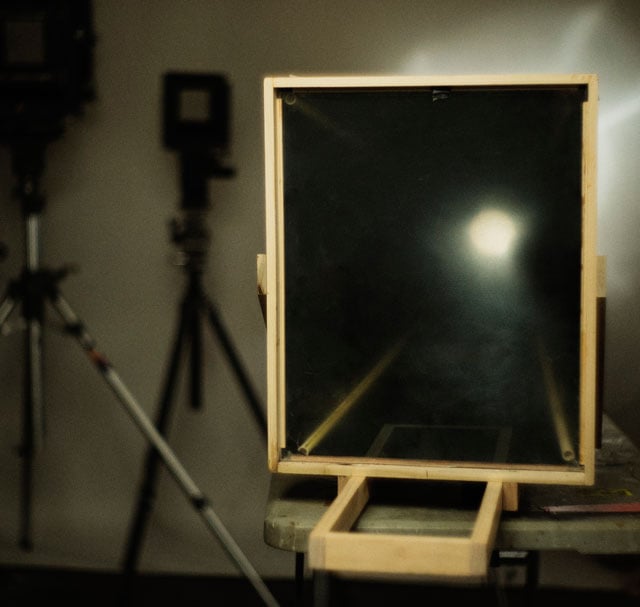
We needed a ground glass and while I’d read a bit about making them awhile ago, the process of using grinding compound sounded time consuming so I just used an orbital sander and some 100 grit paper to grind the glass. At some point I’ll work on a better one since this isn’t super easy to view but it is functional.
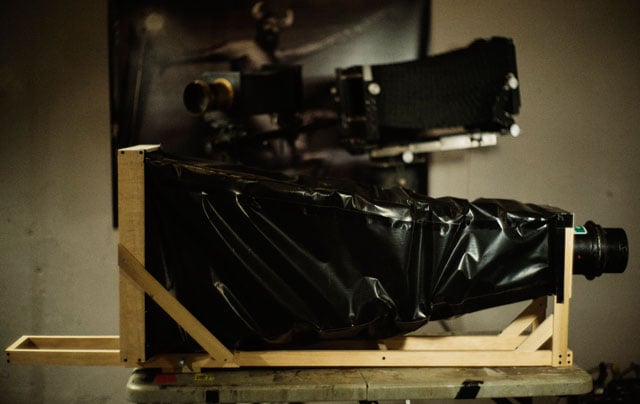
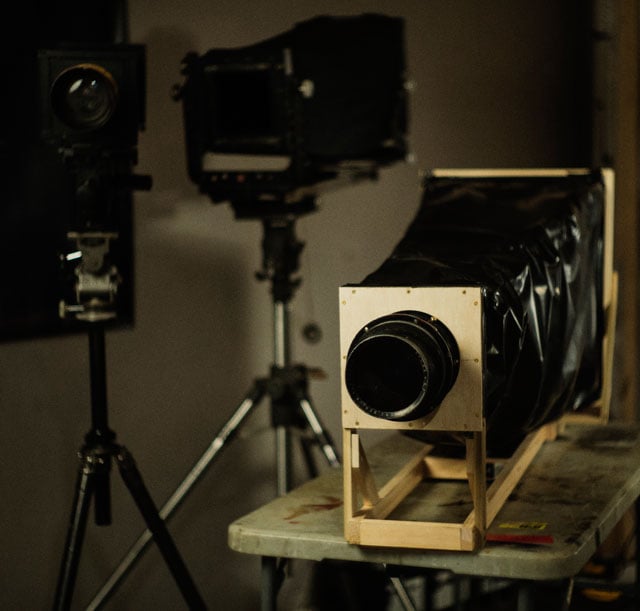
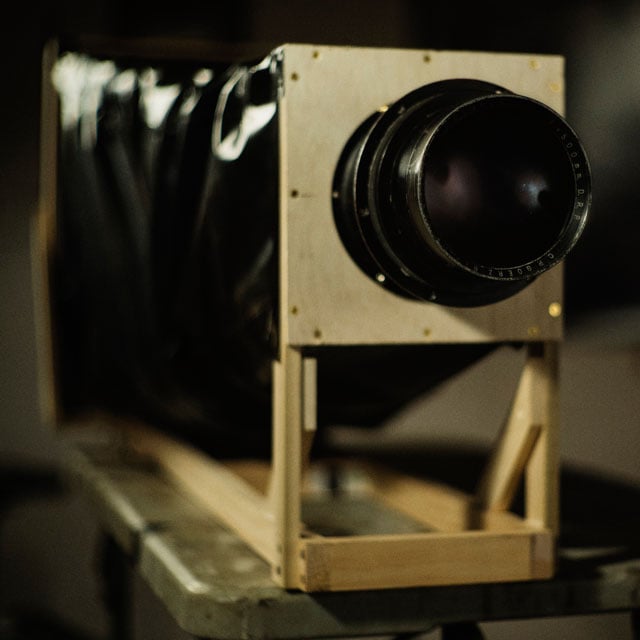
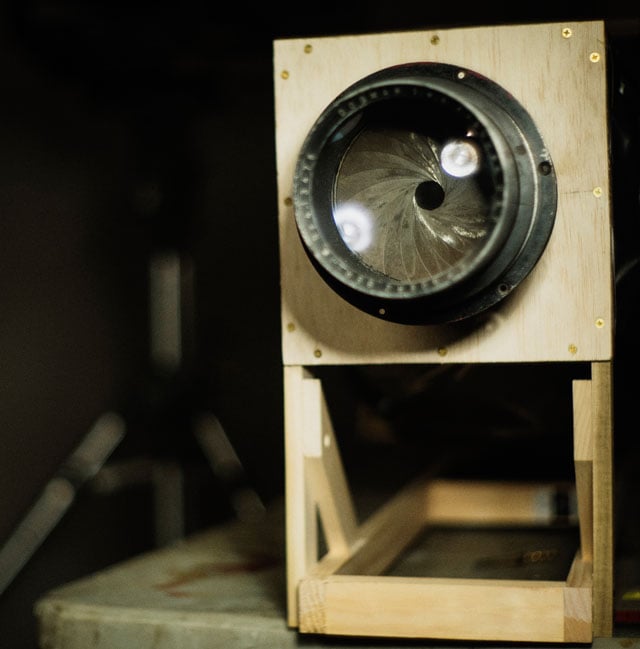
Next was the front standard, just a couple of pine sticks framed out with a 1/4” piece of plywood with a hole for the lens. So far so good. My main worry with building a camera of this size were the bellows, I’d seen people spend hundreds or thousands of dollars either making or ordering bellows and I wanted nothing to do with that. I’d also told my friends that I was going to build the camera in three hours, so I didn’t have the time.
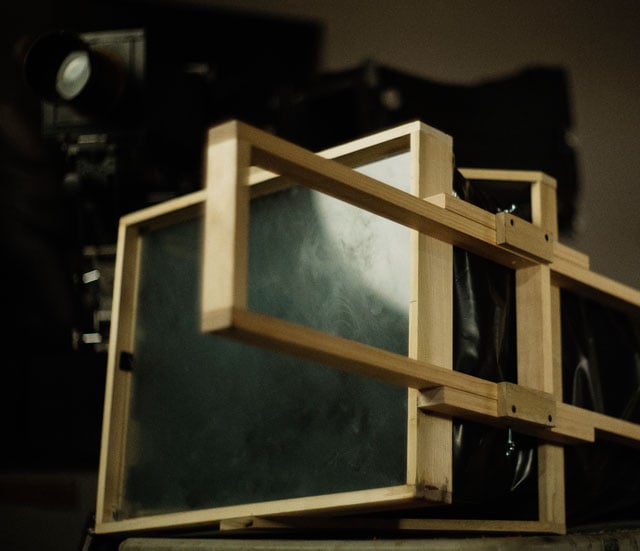
My solution was to put a telescoping support on all four corners between the front and rear standard. It’s just a piece of 1/2” plastic tube on one end and a 1/4” wood dowel on the other end. This allows the whole camera to slide back and forth for focusing while retaining the traditional shape of a large format camera.
This brought us to the bellows. My friend Tristin had been helping out and cut four panels to size, then taped the bottom and side panels together. This was then fitted to the camera and we realized that we had two staple guns which didn’t work. Both guns were tinkered with, cursed at and hit several times, all to no avail. So we taped the bellows to the camera. Not ideal but functional. The top bellows panel was fitted and the lens was bolted to the front which pretty much made a camera.
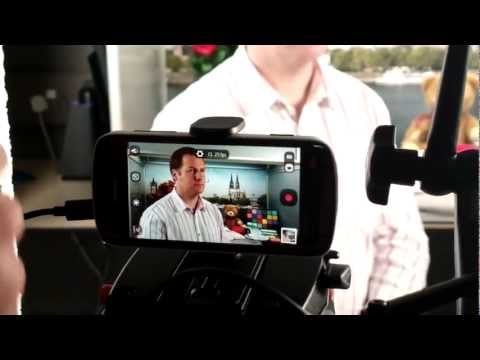
Here’s a compilation of Snapchat clips recorded during the build process:
Shooting the First Photos
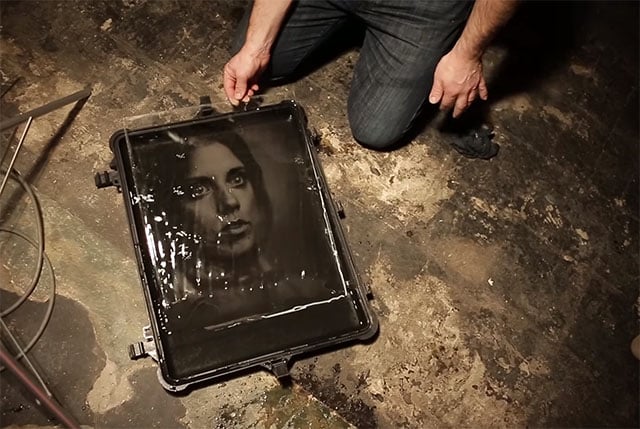
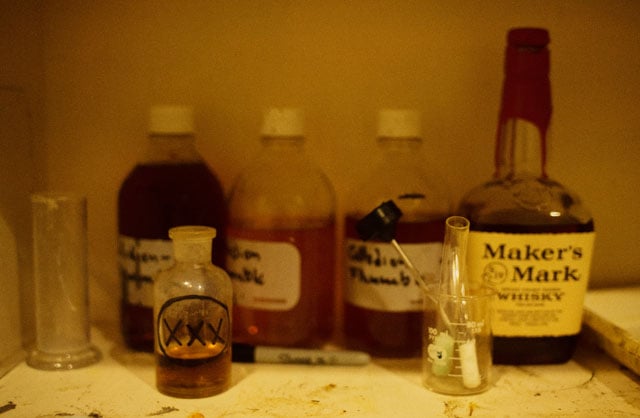
It was 2am and we were pretty tired but I didn’t want to wait for the morning so we cleaned off a piece of glass and poured a plate. I should probably mention, if it hasn’t already become clear, that I wasn’t exactly prepared for this whole thing. I had managed to run by my local camera shop to get some 16×20 trays but they only had one and we’d need three: one for the silver nitrate, one for the rinse, and one for the fixer. So I scoured the studio and came up with a huge tupperware storage bin and one of my pelican cases to use instead.
I had been a little nervous about pouring a plate this large. If you’ve ever tried the ball maze game, pouring a plate is a bit like that. You pour collodion on the plate and then move the plate around till the liquid flows evenly and completely across the surface without losing any over the edge and then pour the rest back into your collodion bottle.
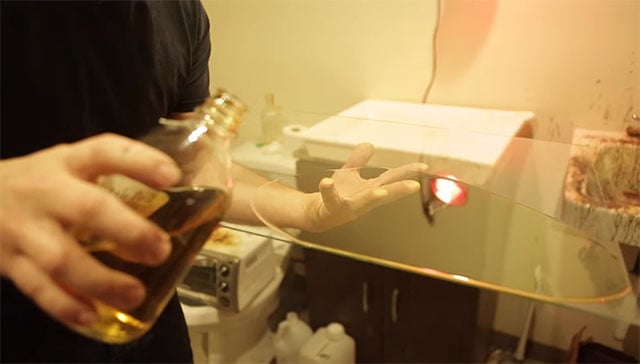
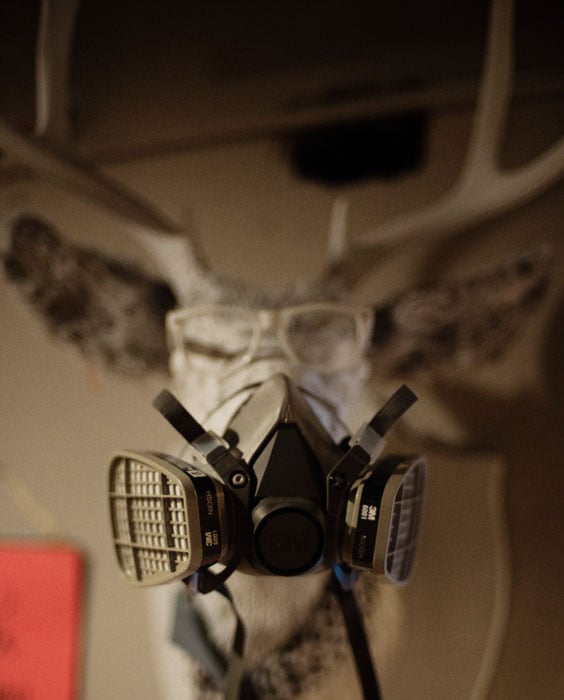
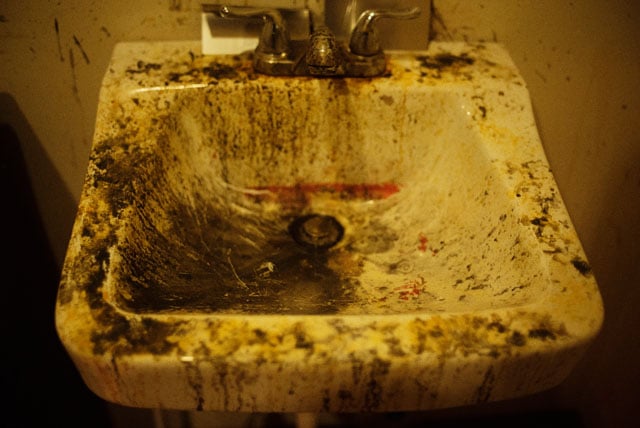
I definitely lost some collodion to the ground on this one and will definitely install a larger vent fan in my darkroom but it wasn’t nearly as bad as I’d thought. The glass plate was then submerged in the silver tray to sensitize and we went back in the studio to adjust the lights and get focus.
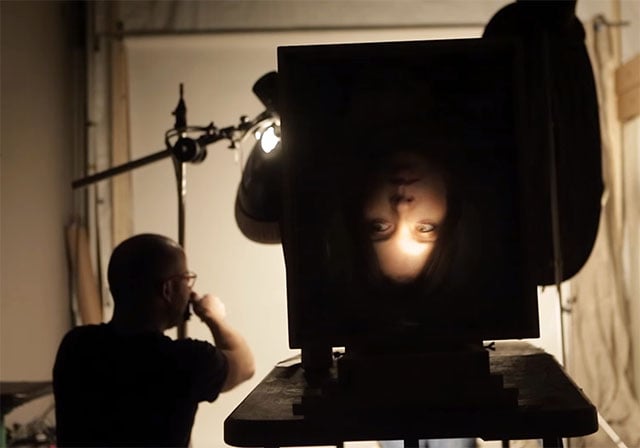
Most large format cameras use a film holder which is light tight and allows the transport of the film to the camera. I hadn’t had time to build a holder so the plan was just to turn out all the lights and walk the sensitized plate to the camera, fire the strobes, and pray. Which we did.
If you’ve ever sat in front of a studio strobe you know they’re bright. Now try turning out the lights for two minutes and then setting off one of the bigger commercially available strobes four feet from your face. Tristin’s exact words right after exposure were “F*****k that was bright”. Trooper.
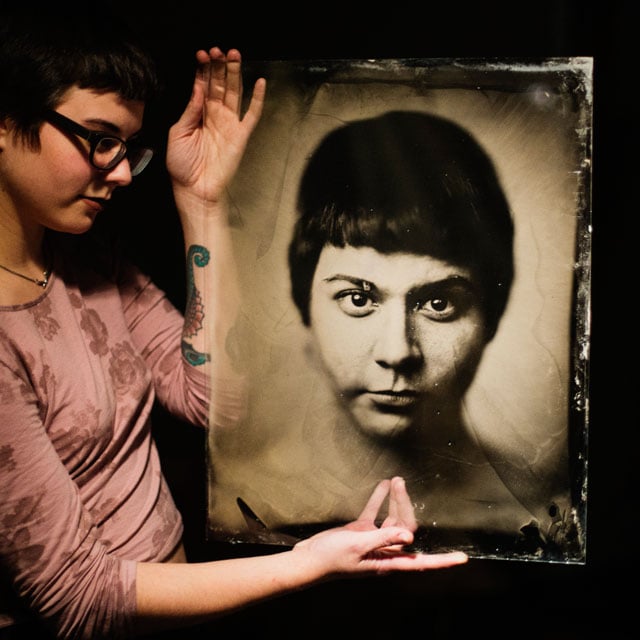
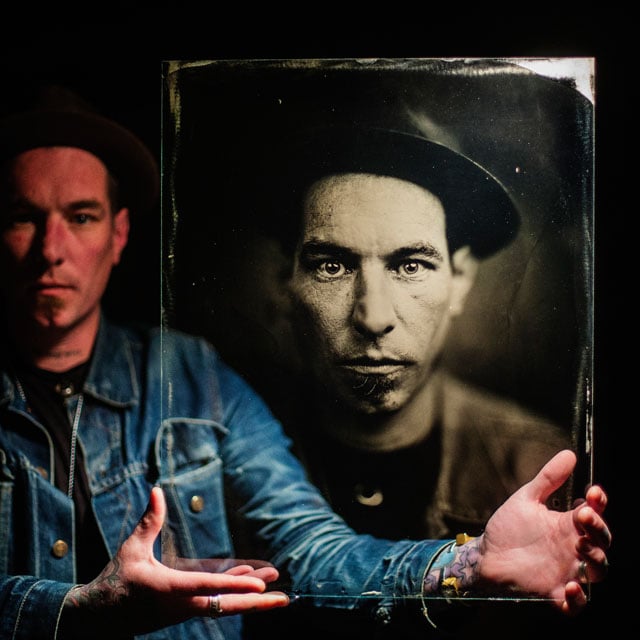
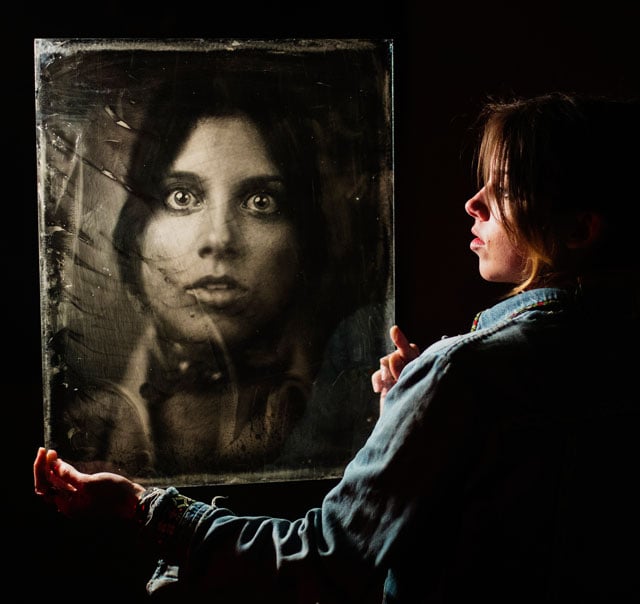
The rest of the process was the same as smaller plates, pouring an iron sulfate developer over the surface, waiting for an image to appear, rinsing and then fixing. I wasn’t really that optimistic that we’d get an exposure due to bellows factor and the generally haphazard approach to this camera but sure enough, a negative appeared and it looked great. A little overexposed due to the extended time it took to rinse of the developer on such a big plate but way better than I had expected.
I’ve made a couple of plates since then and they’re getting better. They’re still not perfect but that’s why I’m in the wetplate game in the first place.
Here’s the photo-making process, from start to finish:
My next step is to make a proper film holder so we don’t have to subject people to such a massive change in light when taking photos and I’ll probably get a staple gun and attach the bellows properly. And if I can find a bigger lens I’ll probably drink a few more beers and try to make a 20×24 camera. Because I still hate answering emails.