We Found a Fly Inside a Weather-Sealed Lens
I’ve been blogging about testing and taking apart camera equipment for almost a decade. My company, LensRentals, has many thousand of lenses these days, and they all get used frequently. When you have lots of lenses and they get used frequently, stuff gets inside them.
Sometimes the stuff that gets inside them is interesting and we get to blog about it. We found a spider, complete with web, inside a lens once and yesterday we got to add a new item to our ‘found inside lenses’ collection; a nice, fat, fly. And not just a fly inside a lens, but one way down deep inside a weather-sealed lens. So deep that it took 4 hours of work to get it out.
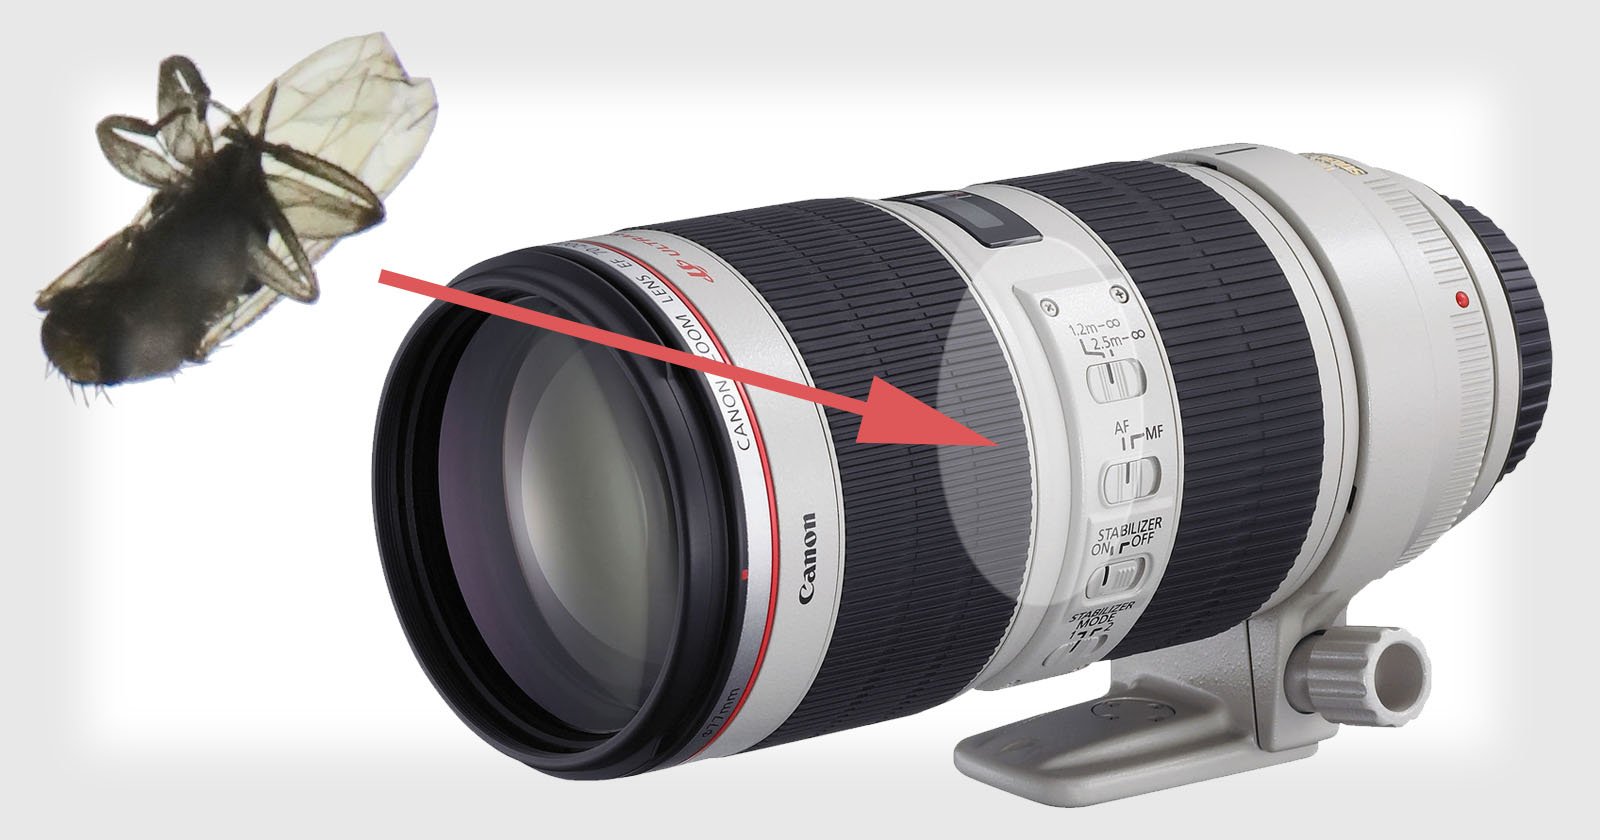
The lens in question was a Canon 24-105mm f/4 IS that returned from rental looking quite normal with the renter taking equally normal photos.
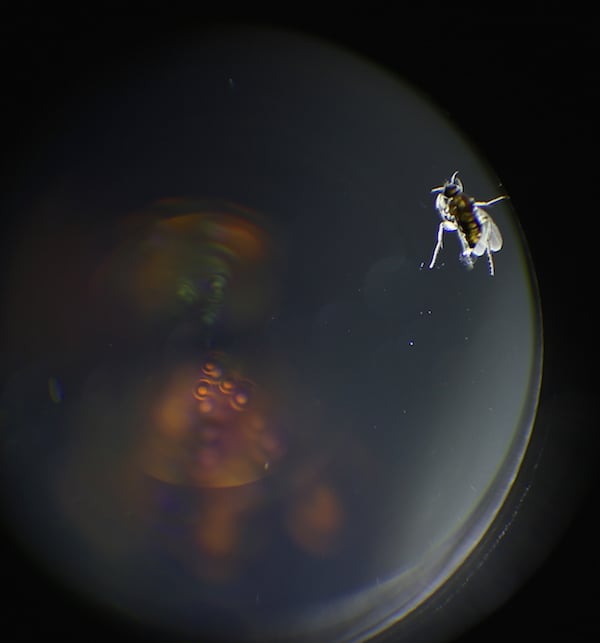
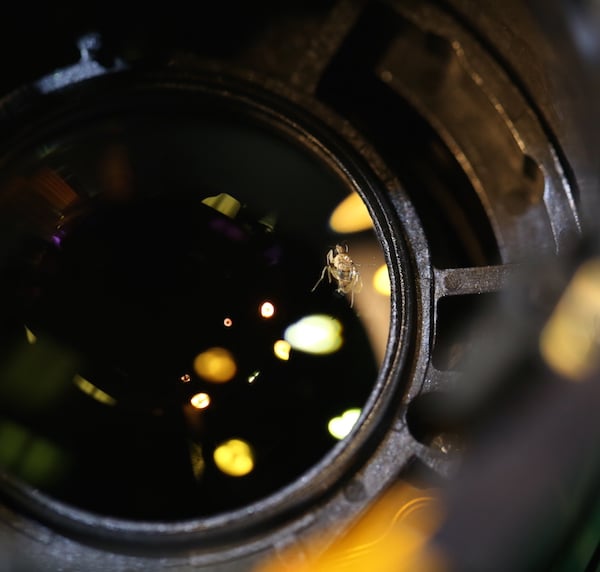
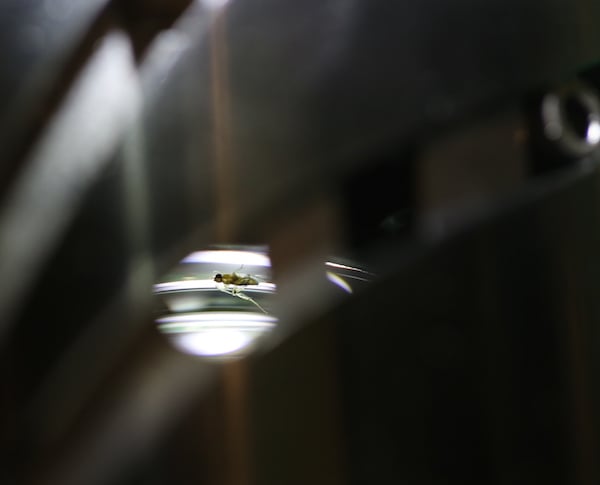
But a quick look through the glass reveals a fairly significant problem a fly deep inside the lens. Being in the middle of the lens with lots of glass elements on either side, it was much more difficult to photograph than it was to see visually. Our lens repair technician Darryl finally came up with an arrangement that worked decently.
After a little trial and error, he got some decent images of the fly.

If you just dropped by to see a fly picture, you may go now. But getting the fly out of the lens turned into a 4-hour ordeal for Darryl. The pictures he took along the way do a great job of demonstrating exactly why dust will always find its way into a lens, so if you’d like to see that process, read on.
Darryl’s first thought was that removing the front element would let him used some compressed air to blow the fly out of the lens. We didn’t have a lot of hope that would work, but it’s quick and easy to do so it was worth a try.
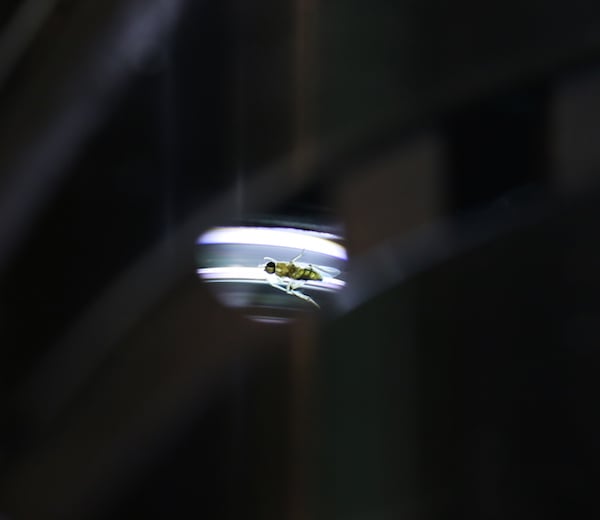
Next Darryl took the back off of the lens and took out the rear element, hoping that would work. It got another nice picture of the fly, still a few pieces of glass away from freedom, but otherwise didn’t accomplish anything.
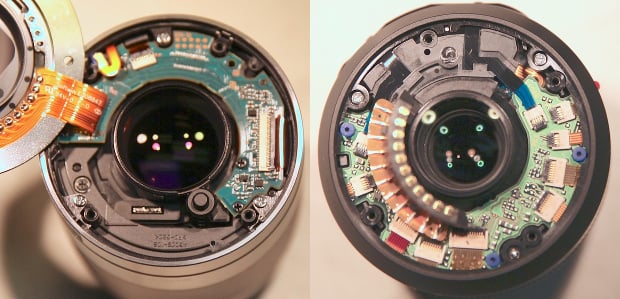
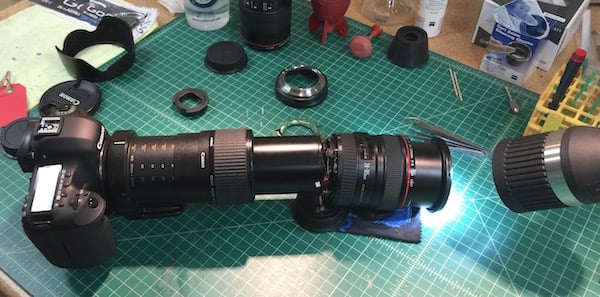
Finally, bowing to the inevitable, Darryl did a complete disassembly of the autofocus and mechanical system, leaving the inner optical elements in the helicoid barrels.
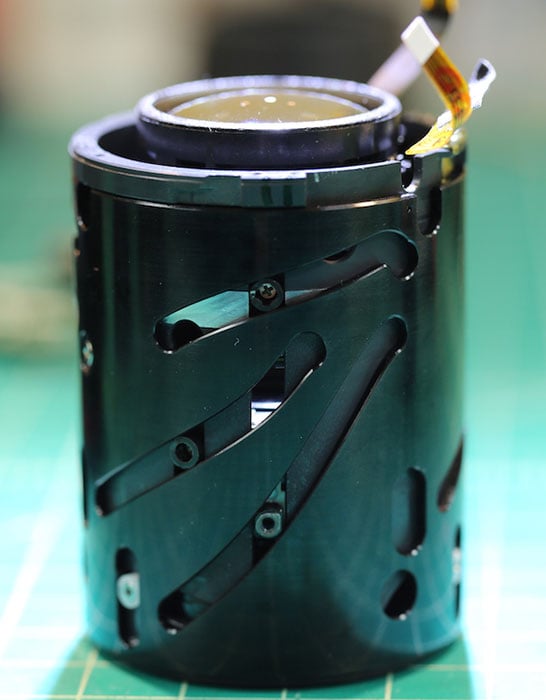
The point to be made here is that there are huge openings into the inner lens through the helicoid slots. Obviously anything that gets inside the lens is free to move about to the inner elements. Dust particles, spiders, or in this case a fly, are all going to find their way down inside the lens. And weather sealing isn’t ever true sealing. There is no lens made for cameras that doesn’t have openings that air, dust, and other things can flow through. In the case of the Canon 24-105mm there’s an obvious opening through the rear of the lens.
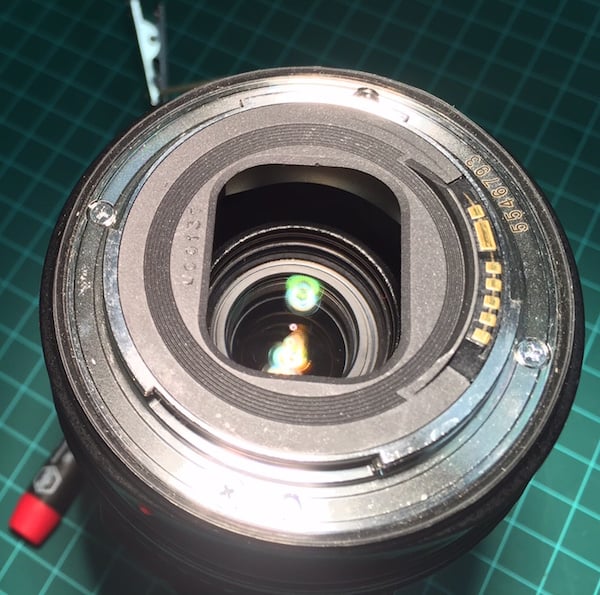
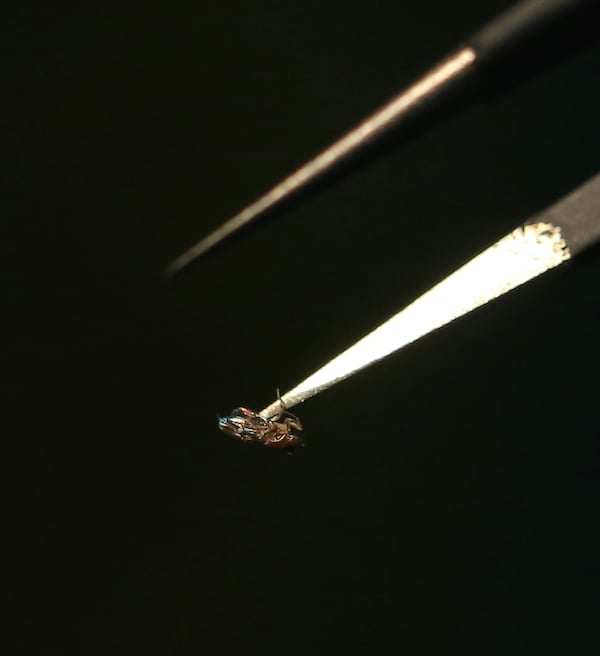
Let’s get back to our fly. Now with the inner barrel removed, Darryl could peak through the helicoid openings and locate the fly between elements.
After a little trial and error, he was able to get some needle-nose forceps through a slot and remove the fly. (It wouldn’t blow out; apparently some fly sticky-stuff had it pretty adhered to the lens.)
The element could be cleaned through the slots too, and then the lens was reassembled. Because of the amount of disassembly involved, the lens had to be recentered and optically adjusted. Total repair time to get the fly out was just over 4 hours.
The takeaway message, though, is in the picture you can’t see here. We took dozens of images with the lens before taking the fly out. We shot stopped down, we shot at all parts of the zoom range. We focused close, we focused far. And in no image could we find the slightest hint that there was a fly in the lens. And you guys worry about a dust particle or two!
About the author: Roger Cicala is the founder of LensRentals. This article originally appeared here.