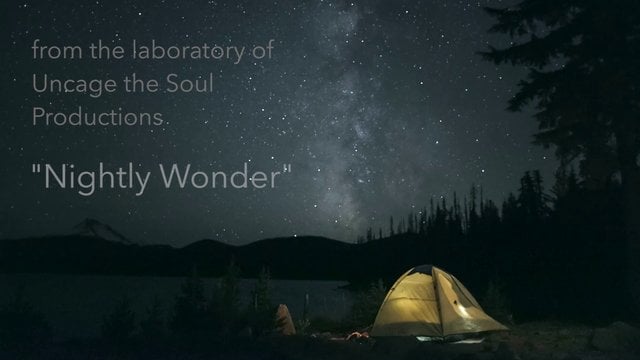
Tutorial: How to Capture a Motion Time-Lapse of the Milky Way from Start to Finish
Ian Norman, the astrophotographer behind Lonely Speck, is a good friend of the blog and an incredibly generous photographers when it comes to sharing his years worth of expertise with the world.
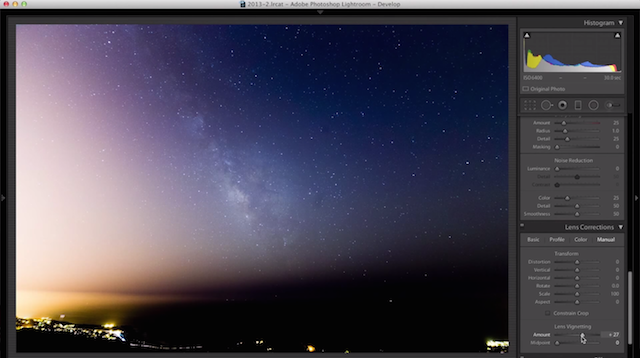
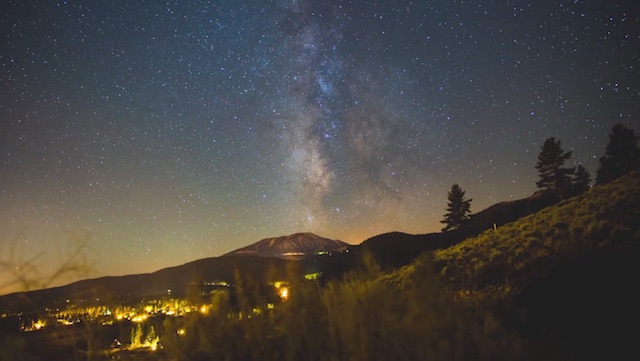
His latest video tutorial is no exception, as Norman shows you, step-by-step, how to create a beautiful motion time-lapse sequence of the Milky Way inching its way across the night sky.
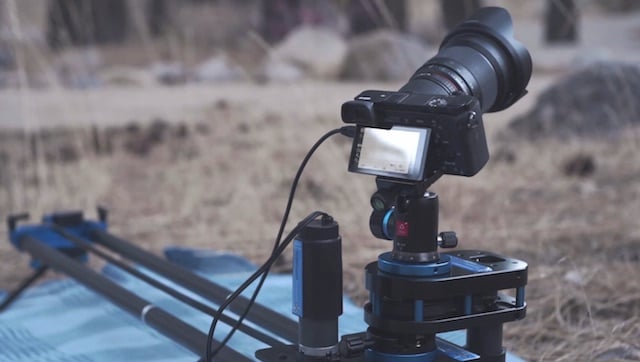
Gear-wise, the final product — the motion time-lapse — involved using a Sony a7S to capture the photos (one of Ian’s favorite astrophotography cameras ever), and Dynamic Perception Stage One slider and Stage R rotary axis rigs to generate the smooth motion.
Lenses used include the Rokinon 24mm f/1.4, Rokinon 14mm f/2.8, and Voigtlander 40mm f/1.4 Nokton with a Voigtlander VM-E Adapter (you can find more of Ian’s suggestions for the best lenses for Milky Way photography here).
There’s really no point in going into more detail than that, since Ian does it for us in the video above, so check that out and get a pen and a pad out to take notes. Once you’re done, you can learn a lot more from Ian by heading over to his website or following his YouTube channel.