Tutorial: A Quick and Simple Technique for Adding Textures to Images

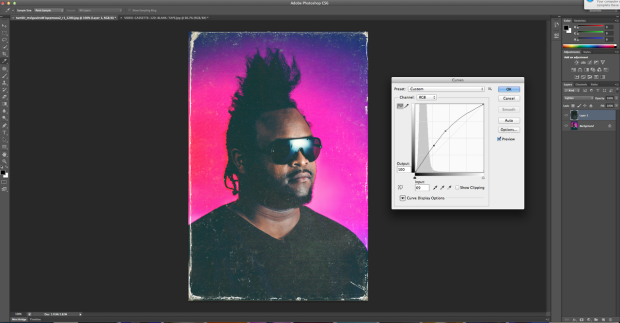
When Nick Fancher created his series of 80’s Cyber images, he made use of some textures to add that extra bit of character to the photos. The textures turned out so well that, upon publishing the series, he received multiple inquiries about where he got those textures.
Well, it turns out he created them himself, and he’s decided to share the step-by-step how-to in case you want to duplicate his results.

Using nothing more than Google Image Search and some specific perimeters, Fancher found exactly what he was looking for — an old VHS box picture. Using that image, he imported the texture into Photoshop where he cloned out the text, cropped it and resized it to match the height and width of his images.
From there, he simply applied the texture as a new layer on top of his images, and then used the “lighten” overlay property to get the desired look. The final tweak was a curves adjustment to perfect the tones he was looking for.
It’s a simple solution and nothing out-of-the-box necessarily, but it goes to show just how much a simple texture can add to an image, and how readily available a texture like this is if you’re willing to do some digging.
If you’d like to read his full post and give it a shot yourself, you can check out his original article over on his Tumblr. And be sure to give his eBook a gander if you’d like to learn more from Mr. Fancher.
Image credits: Photographs by Nick Fancher and used with permission