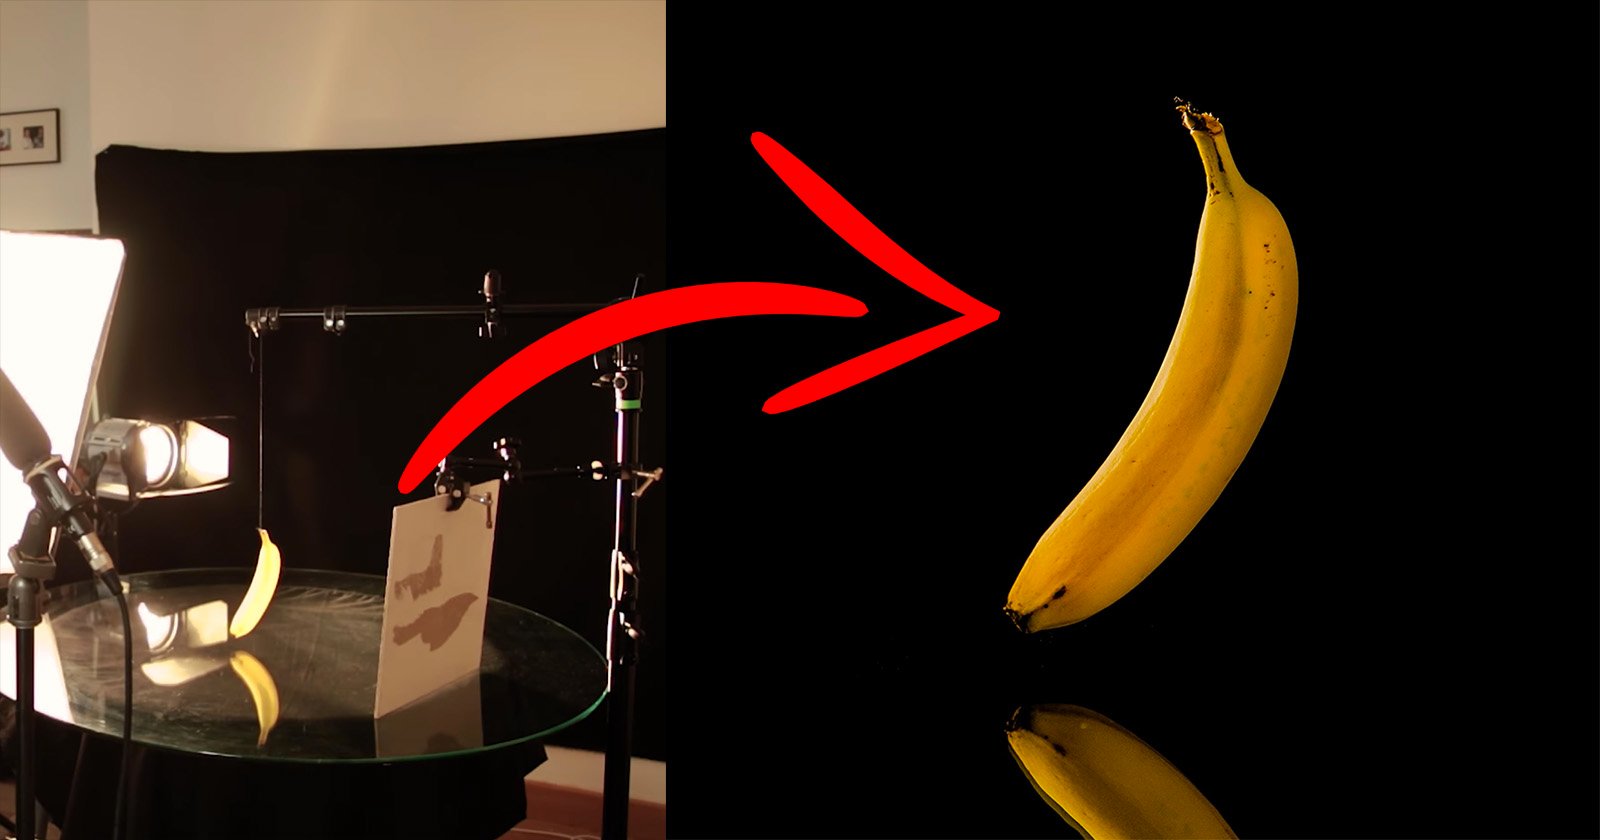
Recipe for a Photograph: Reflected Ant on Black

One of my favorite recent projects was a deceptively simple image of an ant on black. Black is easy enough to arrange for the upper portions of a photo. Just make sure foreground lighting is powerful enough to overwhelm the ambient light. Black all around is a challenge, however.
A second feature of the project was backlighting. My purpose was to illustrate the ant’s hairs- especially the psammophore under the head- so I needed illumination that would give the outline of the animal extra zing. Thus, the technique involves arranging light sources in the right places around an elevated glass stage.
Here is the recipe:
Ingredients
1 live ant, preferably pleasingly hairy
1 8 x 10″ pane of glass
1 small petri dish
2 black coffee mugs
1 piece of black cloth
3 strobes with remote triggers
3 small softbox flash diffusers
1 dSLR with a macro lens capable of 1:2 magnification
glass cleaner & paper towels
1 air blower
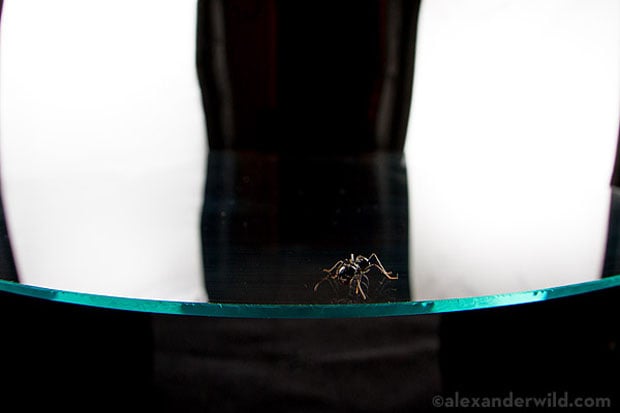
Clean the glass thoroughly to remove all smears and fingerprints, and use the blower to remove any dust. Lay down a black cloth, set the coffee mugs on the cloth about 6-8 inches apart, and balance the glass on top. Corral the live ant to the middle-front of the glass and confine under the petri dish.
Place a softbox diffuser on each of the remote-controlled strobes. Set two of these on stands behind the glass and facing the back corners. These rear strobes will provide the crucial backlighting for making the ant’s outline and hairs pop.
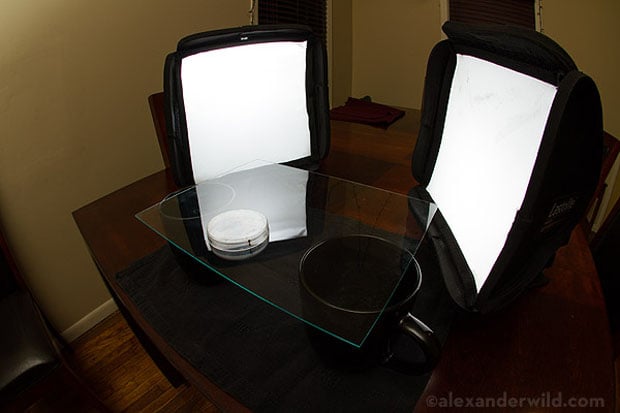
Make sure the strobes are separated from each other by several inches, leaving an open space with nothing behind them for at least several feet. Set the strobes to a moderate power level, 1/16 to 1/4th. When the back strobes are fired and the camera is facing forward towards the center, this arrangement should leave a central area on the glass with little direct reflection. This dark area is your stage.
Set the camera and the focus mode to manual. At the macro scale, focusing is easier if you physically rock back and forth rather than attempting to use the focus ring, or worse, the auto-focus. Set the aperture for appropriate depth-of-field, at least f/11 but probably not more than f/18. The ideal setting will depend on your lens. ISO should be at a low noise setting, 400 or below. Shutter speed should not exceed maximum flash sync speed, yet should be fast enough to prevent ambient exposure.
Position yourself just above the level of the glass. Hand-holding the camera is preferable to using a tripod, as a moving ant is unpredictable and difficult to track from an anchored position.
When the ant has calmed down and is resting under the petri dish, the dish can be removed and, if you are lucky, you may have a few seconds to fire off a shot or two before the ant is off and running. Confine the subject under the dish, return it to center stage, and wait as needed. If your subject is extra frisky, you may be able to convince her to sit still with a droplet of sugar water.
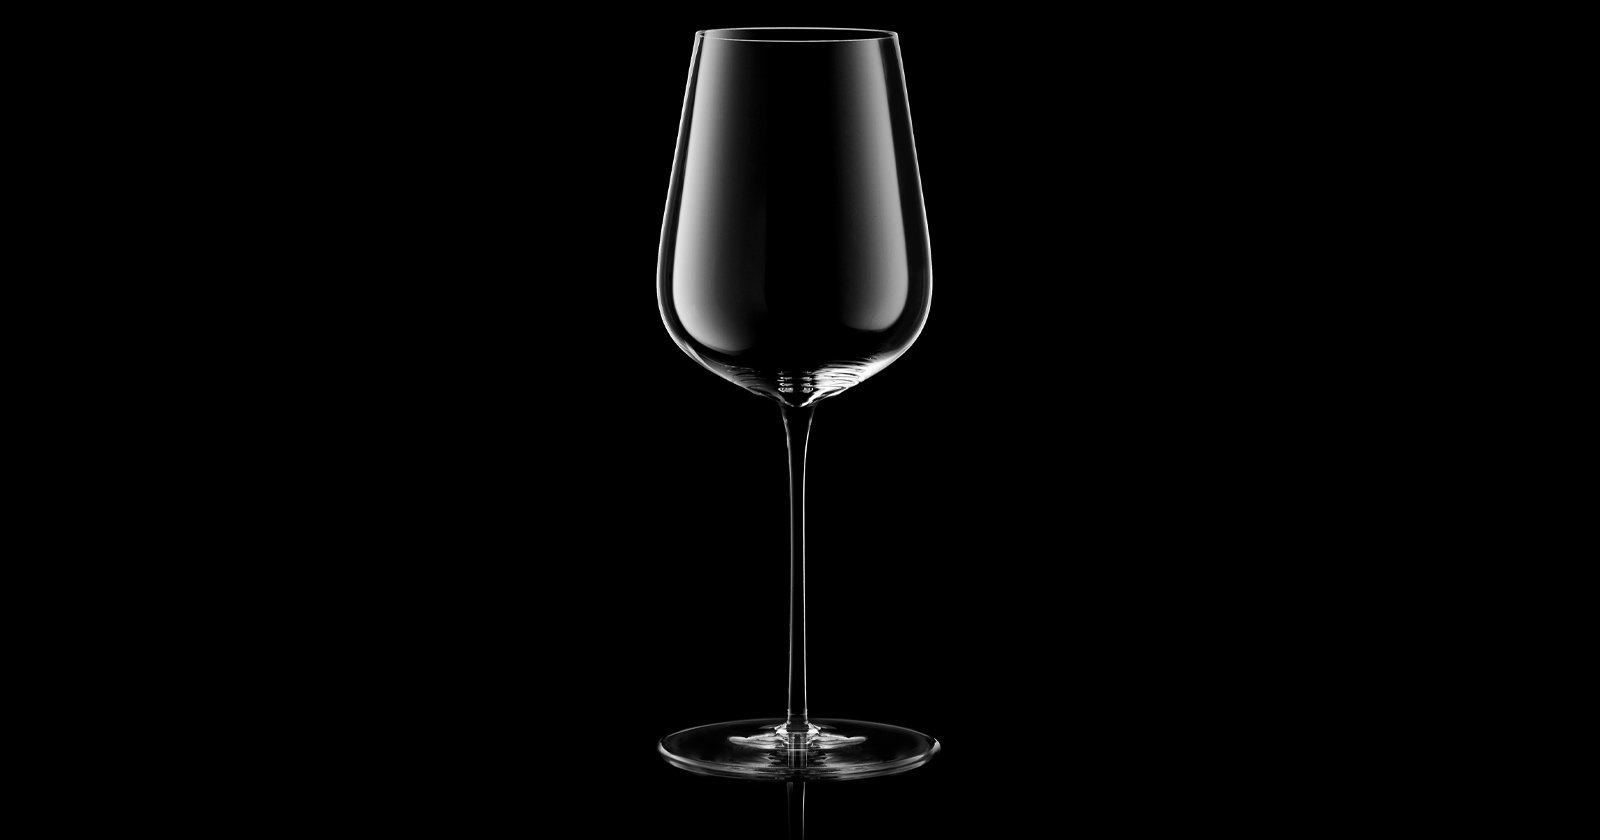
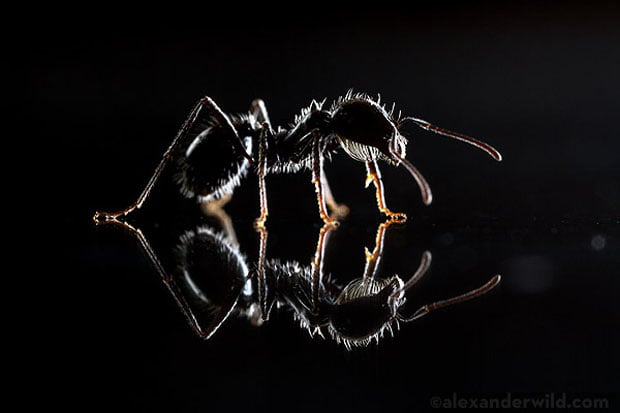
Using just backlighting from the two rear strobes you should produce an image like this:
Backlighting alone is a dramatic effect, but if we want to expose the textures of the ant’s body we’ll need foreground light. Position or hand-hold the third soft-boxed strobe just over the ant and out of frame. The closer the softbox is to the subject, the better the diffusion. This strobe should be more powerful than the background strobes. If the background strobes are set to 1/8th power, try a setting of 1/4 or 1/2 for the foreground strobe. Use ISO, aperture, and strobe power to fine tune the exposure.
With all three strobes firing, the subject should be illuminated like so:
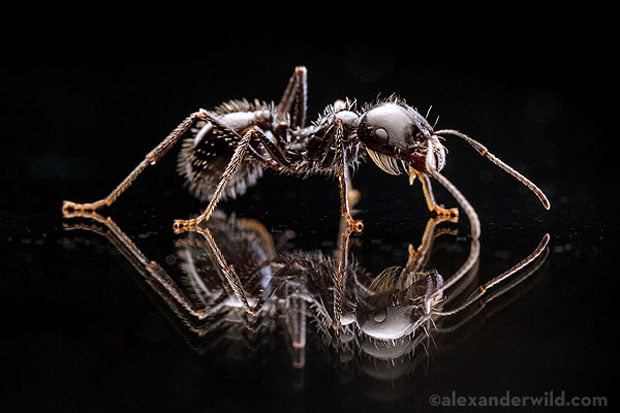
Because light bounces off both top and bottom sides of the pane, the character of the reflection is a function of viewing angle. To minimize secondary reflections, shoot from a lower angle or use a wider piece of glass. This final image is taken at an angle scarcely above zero:

Post-process to taste.
About the author: Alex Wild is an Illinois-based entomologist who studies the evolutionary history of ants. In 2003 he founded a photography business as an aesthetic complement to his scientific work, and his natural history photographs appear in numerous museums, books, and media outlets. Follow on Twitter @myrmecos. This post was originally published here.