How to Make Your Own Redscale Film

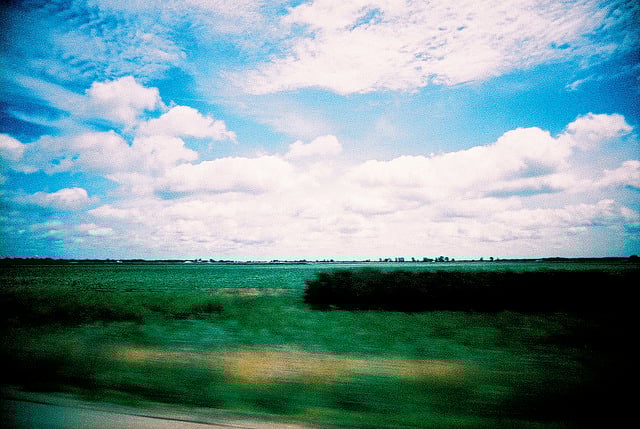
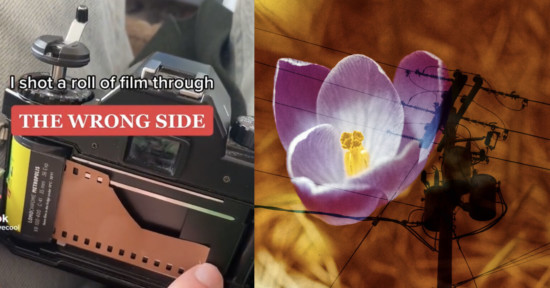
Redscale is a technique where film is exposed on the wrong side — rather than having the light hit the emulsion directly, you expose the film through the non-sensitive side.
The name “redscale” comes because there is a strong color shift to red due to the red-sensitive layer of the film being exposed first, rather than last (the red layer is normally the bottom layer in C-41 (color print) film). All layers are sensitive to blue light, so normally the blue layer is on top, followed by a filter. In this technique, blue light exposes the layers containing red and green dyes, but the layer containing blue dye is left unexposed due to the filter. [#]
The two main ways for doing this are loading the film upside down (if your camera allows it), or by purchasing film that has been “converted” already. A third way is to make DIY redscale film by going into a darkroom, pulling out the film, cutting it, flipping it, taping it back together, and then winding it back into the canister. Messy, but it works!


To see more examples, do a search for ‘redscale’ on Flickr. Keep in mind that if you do experiment with redscale, you’ll need to overexpose by one or two stops to compensate for the less sensitive film.
Easy Redscale DIY [Lomography]
Image credit: Redscale by victor|bonomi, Redscale | Lomo LC-A+ by en-shahdi, and RedScale_01 by Latente 囧 www.latente.it