How to Update Your Camera’s Firmware
If you are a digital photographer, it is a good idea to make sure your camera’s firmware is up to date to ensure you have a reliable device with the latest features and fixes. In this article, we will guide you step-by-step through updating your camera firmware.
Table of Contents
What is Digital Camera Firmware?
The introduction of modern cameras near the end of the last century brought along another consideration for photographers to contend with, whether they be hobbyists or professionals: the requirement for updates to the digital technology that these new cameras would bring, and the maintenance of that technology.
Firmware is the software installed internally in your camera, whether it be a DSLR, mirrorless, point-and-shoot, or any other type of digital camera, that controls the hardware itself; it is essentially the “operating system” of the device. And just like the operating systems on your computer, they occasionally need to be updated to work properly.
Often, however, updates to digital cameras are not critical, and sometimes are just minor bug fixes and interface improvements. Still, it is always recommended to keep your camera updated anyway.
Unlike other electronic devices that are connected to the Internet, digital cameras need a little more interaction from us to stay updated. Some electronic devices such as computers can be set up to perform software updates automatically “over-the-air”, often without us even knowing they’ve been applied until after the operation is complete.
Standalone cameras, on the other hand, generally require extra steps and a more manual process. In most cases, updating these devices involves manually downloading software, connecting your camera to a computer, and performing the update via a removable memory card.
Although different camera manufacturers have slightly different processes used to update their devices’ firmware, the general procedure is mostly the same across brands. Let’s go over the basic process first, and then delve into any brand-specific differences.
What You Will Need to Update Firmware
Here are the things you will need to have on hand before beginning the process of updating camera firmware.
- Your digital camera (with a fully-charged battery)
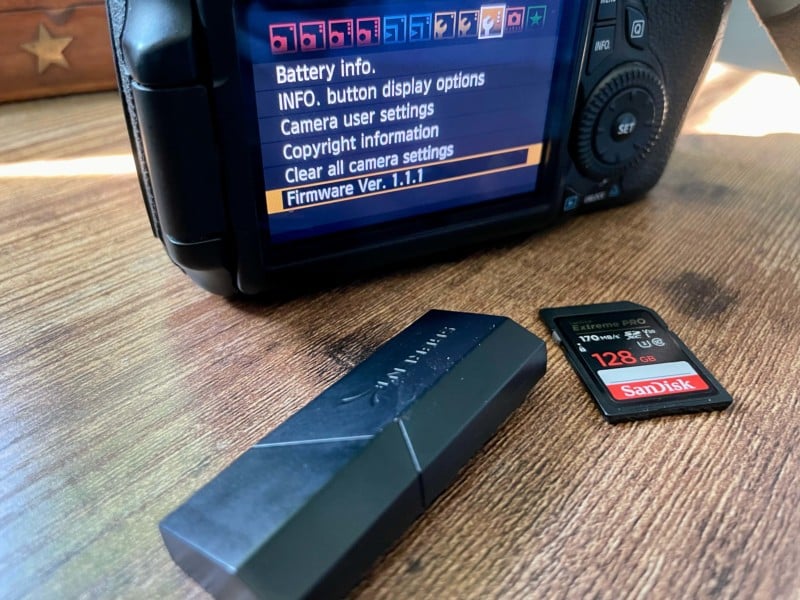
- A compatible memory card
- A computer
- An memory card reader (if your computer doesn’t have an card slot)
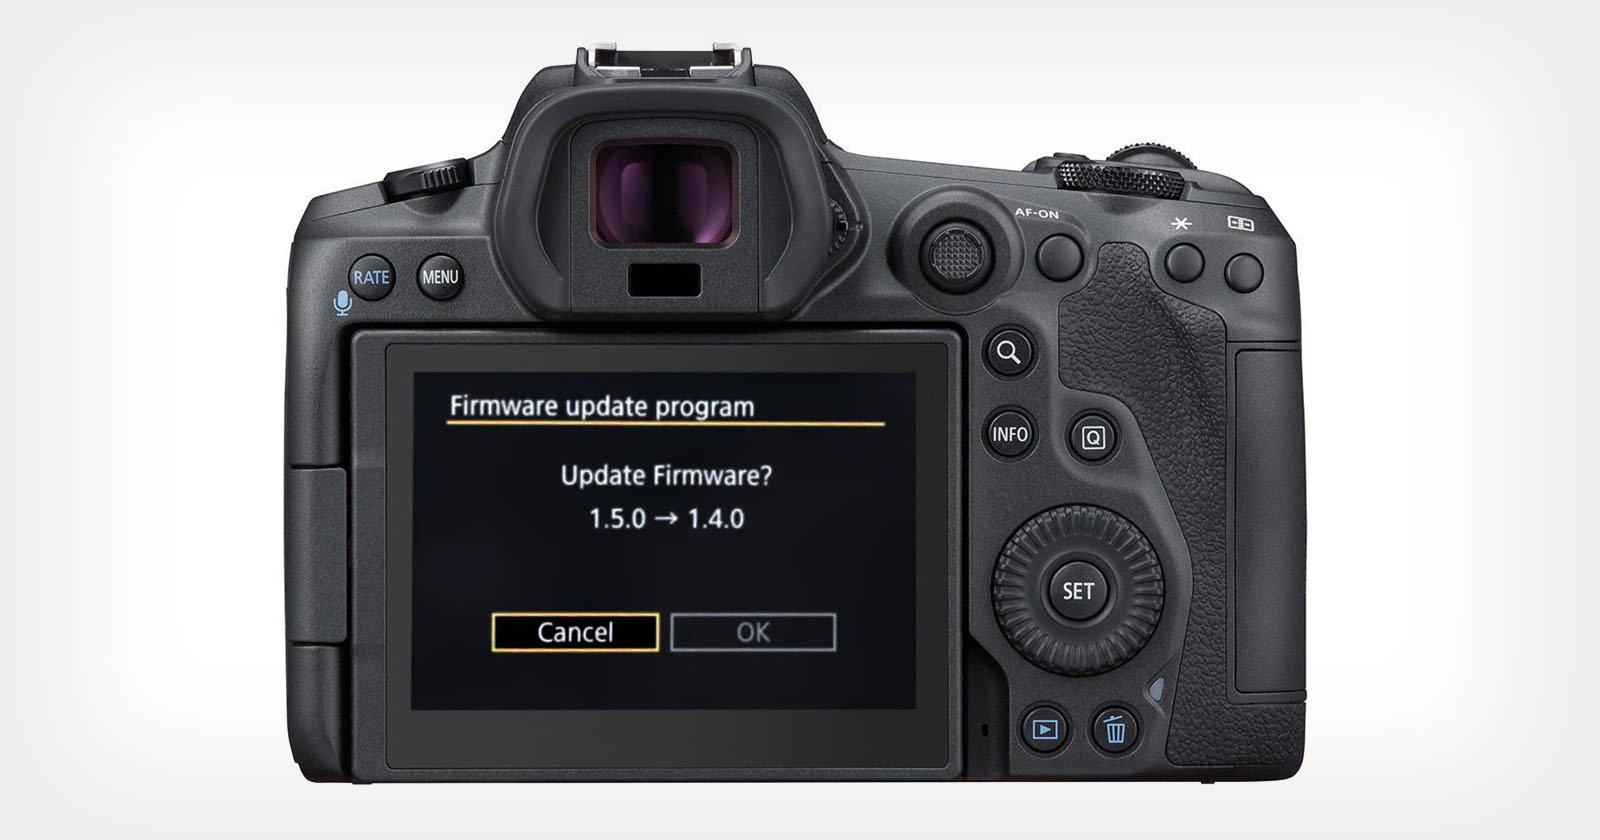
Step 1. Identify the Camera’s Current Firmware Version
Before you can begin updating your camera, you’ll need to find out if an update is even necessary. To do this, we need to compare the firmware version currently on your camera with the latest version available from the camera manufacturer.
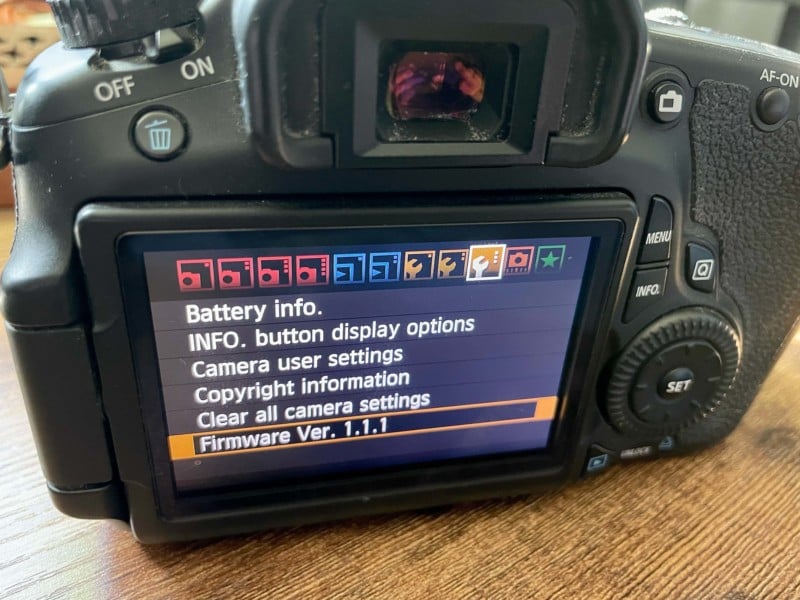
To find this information, navigate to your camera’s settings and look for “firmware version” or something similar. Take note of the number indicated so you can compare it to the latest version available.
Step 2. Compare Your Firmware Version to the Latest Firmware
Each camera manufacturer has a support section on their website that provides information about the latest software updates available for each model of camera they produce. In addition to the actual software download, these sections also usually offer step-by-step instructions on how to apply the updates safely.

If you determine that your camera does not have the latest update, you can proceed to the next step of downloading the update to your computer.
You can find the support pages for many popular camera manufacturers below.
Step 3. Download the Firmware Update to Your Computer
After you’ve determined you need an update, the next step for most camera systems is to download the install file so that you can put it on your camera. The firmware support page for your camera will have a download link for this file, and it will usually be an .exe (if you’re on a Windows/PC system) or .dmg (if you’re on a Mac system).

Download the file to your computer, whether your default download directory or an easily accessible location such as your desktop. If you’re on a Windows system, you’ll likely need to extract the file’s contents to move them in a later step.
Step 4. Charge Your Camera Battery
Before going into the update process, it is critical that your camera battery is fully charged. The update process can sometimes take quite a while, and if your battery dies before the update is complete, it could cause major issues with your camera and require a lot of work to get things back to the way they were.
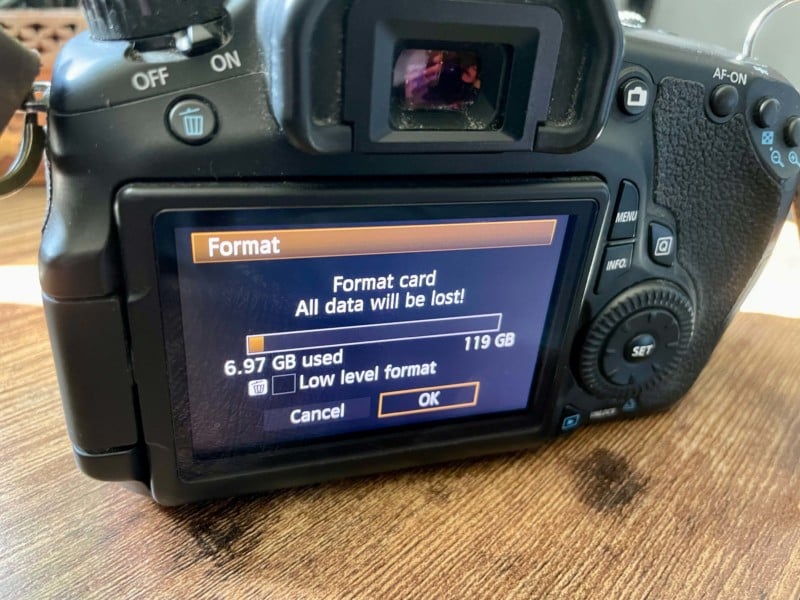
Step 5. Format Your Memory Card
Before you can update your camera, you’ll also want to prepare a memory card (whether SD, CF, XQD, or any other format) by formatting the card, or erasing its contents and preparing it for use on your camera system. You’ll want to make sure it’s a card that you don’t mind having erased, of course. A small-capacity card used specifically for this purpose is ideal.
To format the memory card, insert it into your camera, and find the format option in your menu system. You’ll see Format or something similar — if you cannot locate it, refer to your camera’s instruction manual to find out how to do this. Select OK and give the camera a few minutes to complete the formatting.
Step 6. Transfer the Firmware to the Card
Next, we’ll need to put the firmware update onto the memory card. Take the freshly formatted card from the camera and put it into the memory card reader on or attached to your computer. Once your computer detects the memory card as a storage device, move the firmware update file you downloaded in the last step over to the root (top-level) folder of the memory card by either dragging the file to your memory card or opening up the memory card as a directory and copying the file into the window.
After the file has been copied to the card, eject it from your computer and we are ready for the final step.
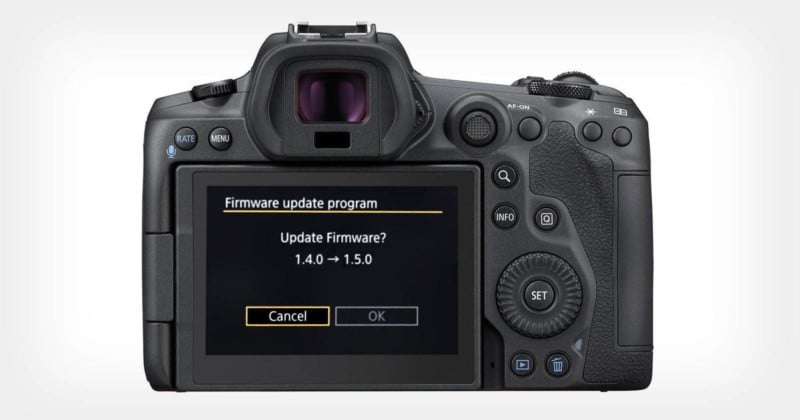
Step 7. Install the Firmware Update on Your Camera
Turn your camera back on, and insert the memory card. Go back into the menu again where you viewed the firmware version. After you access this, you should now see an option to Update or Install Update. Select this to get the install process started.
NOTE: It is important to remember to leave the camera alone while the update is completed. You’ll likely see a message telling you to not turn the camera off during the process. Doing so can cause you fairly big headaches, so make sure to just let the camera do what it needs to do.
Once the update is completely finished, you’ll see a message informing you that the process is complete. You’ll need to turn the camera off and restart it, at which point the new firmware will have taken effect. You can return to the firmware settings in the setup menu to verify that your camera is on the latest version.
What if Something Goes Wrong?
Generally, updating the firmware on your camera is straightforward. If the camera is left alone during the actual install, you’ll usually run into no issues. However, things can always happen, and if the camera turns off during the update, or won’t function properly after the install and restart, don’t panic. Consult your camera manufacturer’s support page for instructions and advice on how to remedy the problem.
A quick search online might also provide you with insight from other users who have had the same issue.
If worse comes to worst, you may need to contact the manufacturer and have your camera looked at by a repair technician.
A Special Note for Nikon Photographers
These instructions are generally applicable to most camera brands. Some cameras offer a little more assistance during the process, such as the ability to download a proprietary application that can connect directly to your camera to update the firmware. When you visit the support page for your camera (links are posted above), you can view specific instructions for that camera brand.
Nikon cameras, in particular, are a special case, due to the fact that some models offer several separate pieces of firmware. Depending on our camera model, when you visit the firmware update page, you may see installs for A, B, C, or L versions. You’ll need to check all of these that are applicable to your model on both your camera and the support page to determine which pieces of firmware will need to be updated.
The A, B, and C versions of firmware are operational and processing updates while the L version refers to updates specific to the camera lens.
The process for updating each piece of software is similar to the steps outlined above; you’ll just need to repeat the process for each piece of firmware that needs to be updated.
Not all models offer multiple versions of firmware, and several models will require just one, similar to many other camera manufacturers.
Voila! Your Firmware is Now Up to Date
Updating your camera firmware is a fairly easy and uncomplicated process. It can provide vital functional improvements and address known bugs and issues, giving you a better camera that is more reliable and enjoyable to use.