No Laptop? No Problem: How to Back Up Photos in the Field With Your Smartphone

I’ve been searching for a better way to back up my photos on the road for over two decades — basically since I made the jump from film to digital.
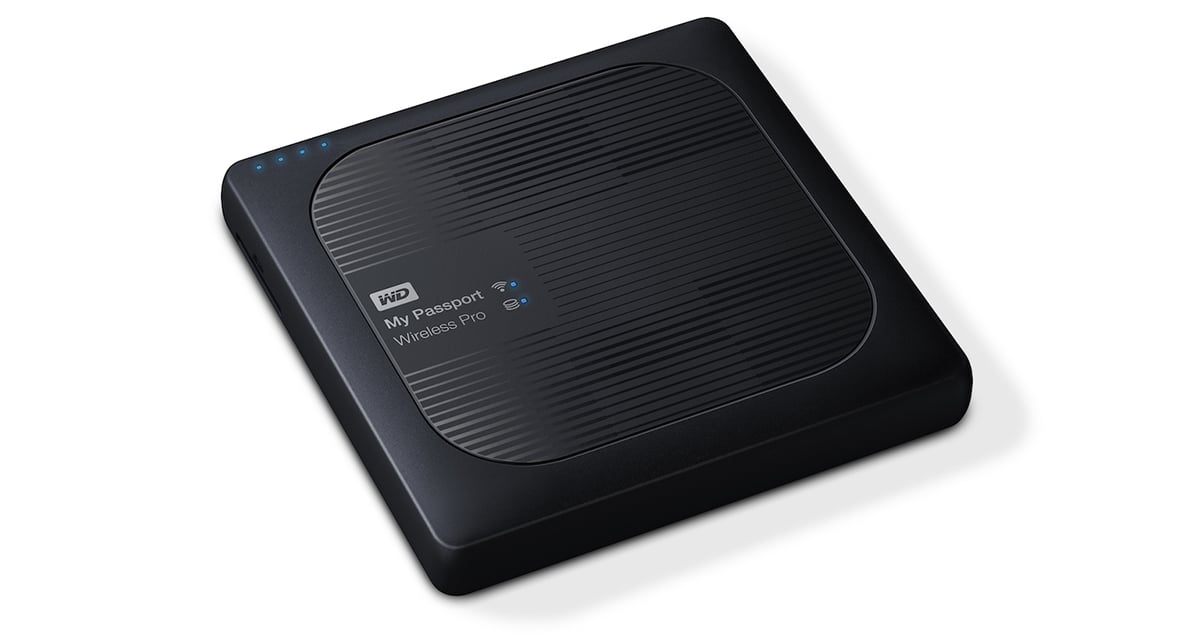
Back then, I tried everything. I remember using an Archos jukebox-style device with a compact flash slot—slow, buggy, and terrifyingly fragile. Later came expensive solutions like Western Digital’s wireless hard drives with built-in SD slots. Those were bulky, battery-hungry, and still not what I’d call reliable.
All I ever wanted was a workflow that was light, robust, and didn’t cost an arm and a leg. Today, that workflow finally exists and it’s built around something most of us already carry: a smartphone.
Whether I’m working on assignment or traveling for personal projects, I now back up my photos safely and efficiently using just a smartphone (or tablet), a USB hub, a card reader, and an SSD drive. No laptop, no cloud, no sketchy wireless drives.
Why This Setup Works
This approach lets me copy full-resolution RAW or JPEG files directly from my memory card (SD or CFexpress) to a solid-state drive using a USB hub connected to my phone.
It works with any modern camera brand — Canon, Nikon, Sony, Fuji, Panasonic — as long as your phone can access the files on the card. The result? A flexible, hardware-based backup workflow that’s fast, secure, and 100% offline.
I’ve used this in remote areas with no electricity, on fast-paced photojournalism jobs, and even on vacation when I didn’t want to babysit my gear. It hasn’t let me down.
Redundant From the Start
My Nikon Z cameras have dual card slots. I always shoot with redundant recording turned on—RAW files saved to both the SD and CFexpress cards. It’s my first layer of backup, right in the camera.

On travel days, I carry the SD card in my wallet, the CFexpress in the camera. That separation is intentional: if one bag goes missing, I’ve still got a full set of files.
But I add one more layer: I make a third backup to a portable SSD drive, which goes in my checked luggage. The more physical separation, the better.
What You Need
- A smartphone (iOS or Android, Lightning or USB-C)
- A USB-C or Lightning hub with ports for SD, USB-A, and power input
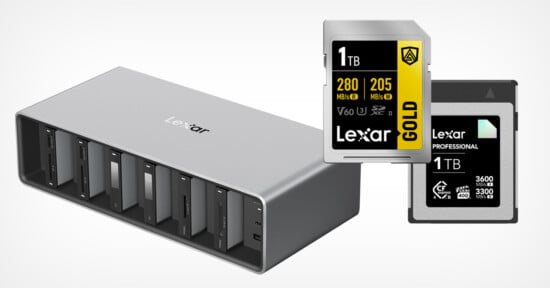
- A portable SSD (Samsung T7, Crucial X6, etc.) formatted in ExFAT
- A power bank or wall charger to power the hub
- A card reader (CFexpress if needed)
- Optionally: a universal USB cable if your battery doesn’t have one built in
The Process (iPhone or Android)
- Connect the hub to your phone.
- Power the hub using a charger or battery bank.
- Insert the SD or CFexpress card.
- Plug in the SSD.
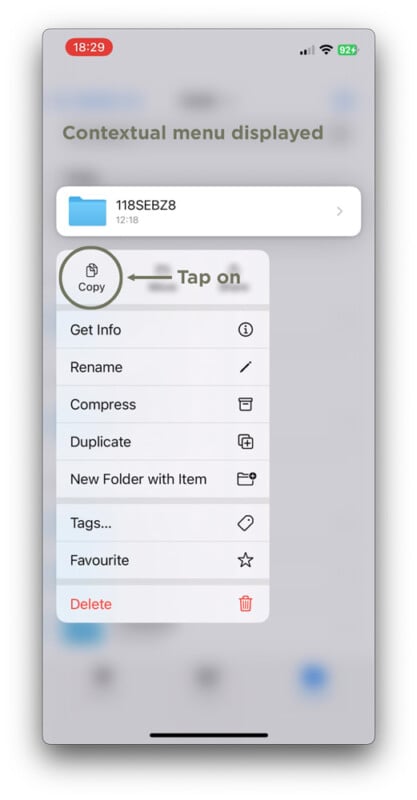
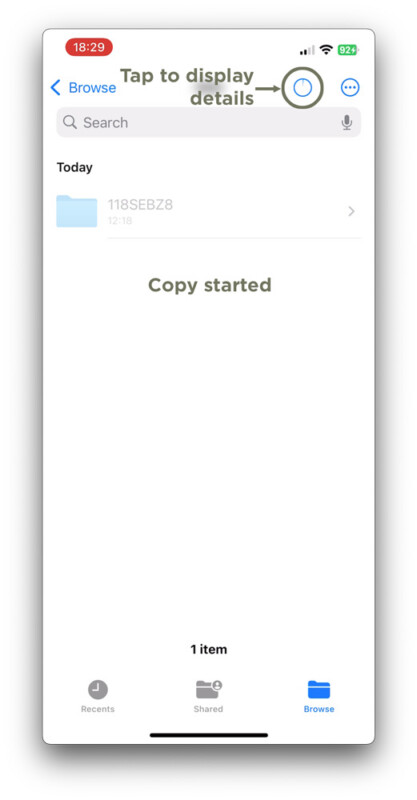
- Use your phone’s file manager to copy files from the card to the SSD.
- Safely eject everything once done.
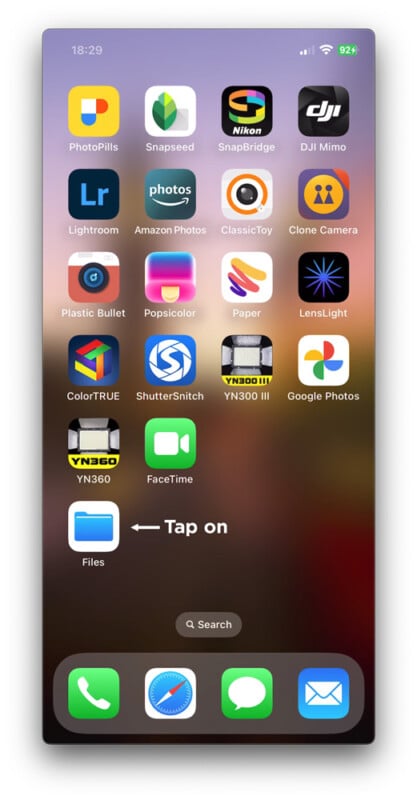
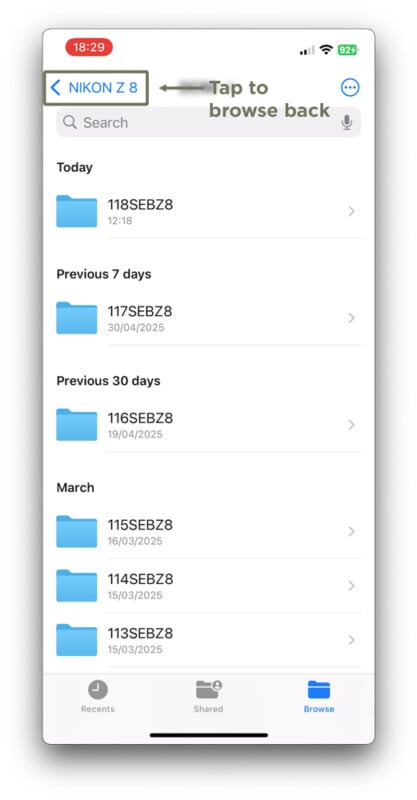
The interface varies slightly between iOS and Android but the method is essentially the same. It’s fast, intuitive, and doesn’t require any special software. Below are images that will show you the step-by-step process on your phone (iOS):


Organizing Files in the Field
After each shoot, I create a new folder directly on my Nikon camera’s card. That way, when I’m backing up, I know exactly what to copy. It also prevents overwriting older files or grabbing the wrong set of images.
By the end of each trip, I always have:
- One card in the camera
- One card on me
- One SSD in the checked bag
That’s three separate physical copies, all created without ever opening a laptop.
Why It Works for Me
As a former photojournalist in a motorsports press agency and current digital workflow strategist managing image pipelines for large organizations, I’ve seen all kinds of backup systems—from pro-grade servers to total chaos. This method strikes the perfect balance between simplicity, portability, and peace of mind.
I don’t need the cloud. I don’t need fragile proprietary drives. I just need to know my images are safe and this setup delivers.
Traveling without a laptop doesn’t mean compromising on your backup strategy. With a few inexpensive accessories and a bit of prep, you can protect your images like a pro. It’s not magic: just a lean, smart workflow that actually works.
About the author: Trained as a photographer, Sebastien Desnoulez later expanded his expertise into digital, web, marketing, and communication fields. Today, he combines a business, technical, and creative mindset to design innovative solutions in digital asset management and data workflow optimization. This story was also published here.