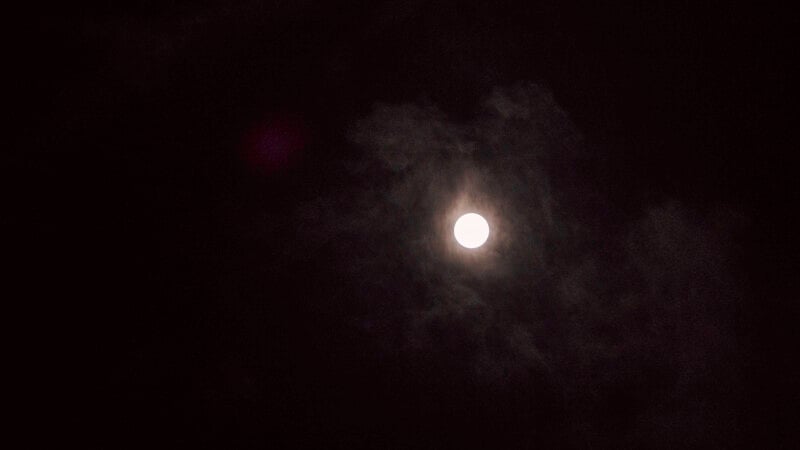
How to Photograph the Solar Eclipse
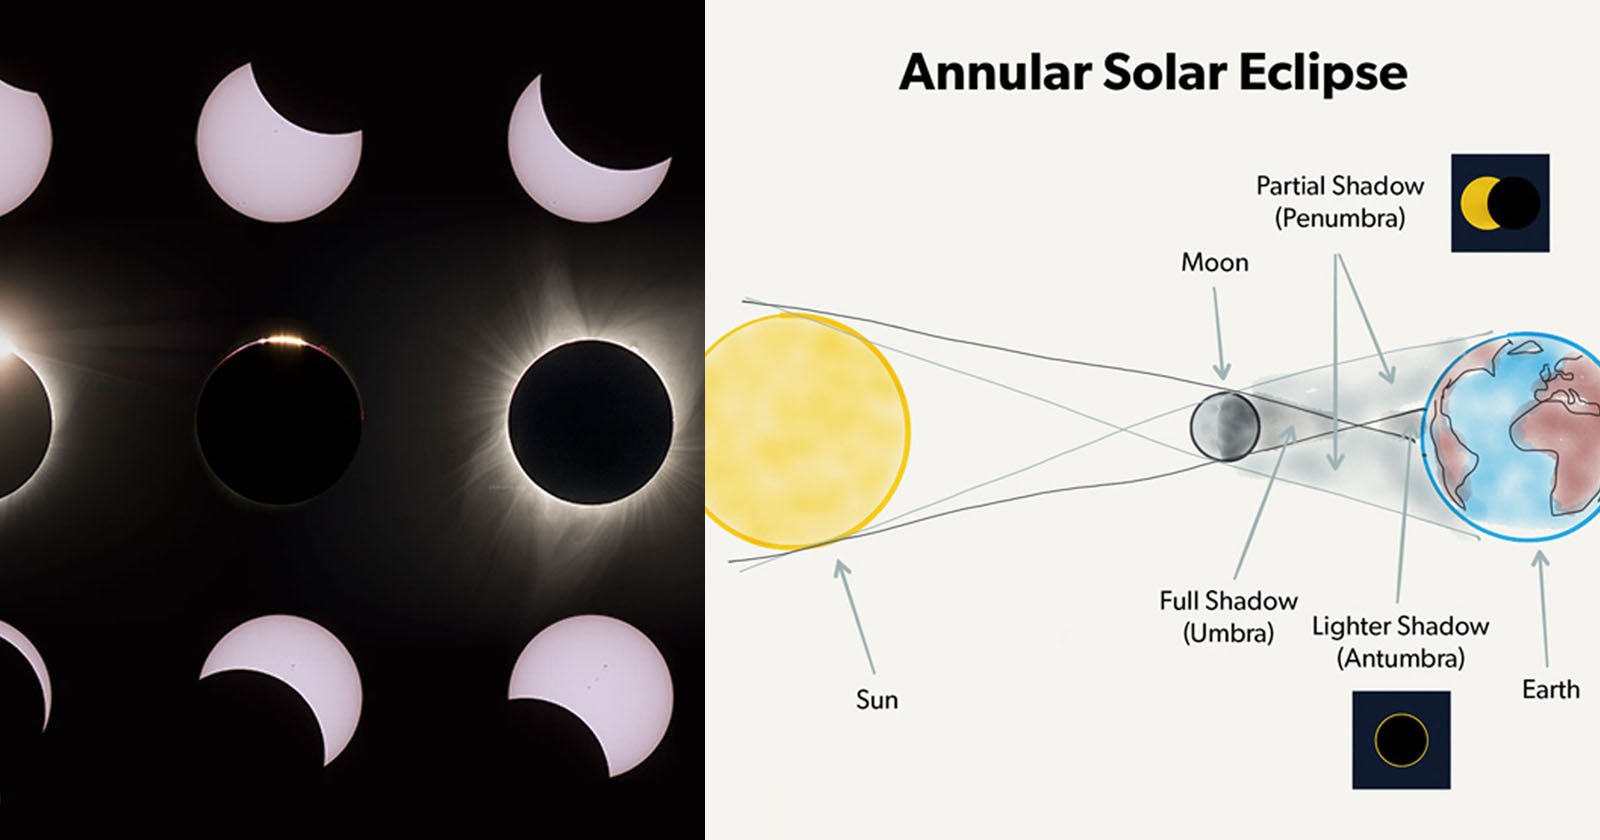
The upcoming solar eclipse on April 8 is a highly anticipated event, in large part because it will be the last to cross over North America for 20 years. It is a special event to witness and photograph, though it does require planning and preparation.
Disclosure: This sponsored article is brought to you by K&F CONCEPT.
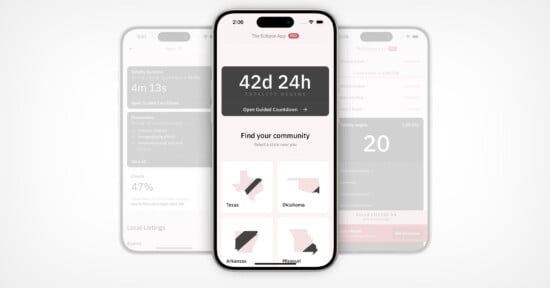
The first step in planning for the solar eclipse is to determine where you are relative to the projected path. There are apps and interactive maps available, so you can decide if you need or want to travel to enjoy the show. If you are traveling, keep in mind that places are booking up quickly (if they have any openings left), so make a decision now. Once you decide where you’ll be enjoying this phenomenon, you can begin the logistics of figuring out how to go about photographing the solar eclipse.
Keep Safety in Mind
First and foremost, it’s important to keep safety at the top of your mind. There are risks associated with looking at and photographing the sun in general, including a solar eclipse. These risks can be avoided with proper gear and awareness. For your sake and your cameras, exercise caution and ensure you have the appropriate gear.
Looking directly at the sun for even just a minute can cause permanent eye damage. That damage is even possible when the sun seems darker during a solar eclipse. If you intend to look directly at the eclipse, be sure to keep your eyes safe by picking up a pair of solar glasses. These come in cheap paper varieties (much like the 3D glasses you’d get at a movie theater) that are meant to be used once and tossed. Or you can spend a bit more on ones that are essentially heavily tinted sunglasses.
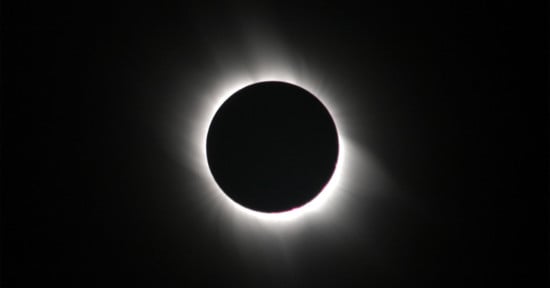
Be sure to keep the solar glasses on for the entirety of the eclipse. The one exception is during totality if you happen to be in the path of totality. It’s safe to remove the glasses for that brief moment. Otherwise, the sun is bright enough that it can still cause damage when it’s near totality, so keep those glasses on. Also, it’s important to note that looking through binoculars, telescopes, or cameras does not provide any protection unless those devices are fitted with a solar filter.
How and When to Use Solar Filters
Just like your eyes, your camera sensor can take damage from the sun, specifically when the sun is at its brightest during the middle of the day. While it’s generally safe to point your camera in the general direction of the sun (you can keep photographing your sunrises and sunsets, don’t worry), solar-specific photos can put your sensor at risk. That’s because the front element of your lens essentially acts as a magnifying glass, intensifying the energy from the sun onto your sensor, potentially causing permanent damage and sensor overload.
To keep your camera safe, use a solar filter when photographing the solar eclipse or for solar photography in general. As with glasses, keep that solar filter on your lens until the eclipse is at totality. During that brief moment, it is safe to remove the filter, but be ready to pop it back on once the eclipse passes onto the next phase. If you’re interested in solar photography outside of eclipse time, a solar filter is a must at all times.
Beyond keeping your camera safe, solar filters also allow you to get images of the sun that aren’t overexposed. Obviously, the sun is a bit bright (to put it mildly), so even with your fastest shutter speed, lowest ISO, and smallest aperture, it’s likely that the image would still be overexposed. You also lose the ability to use aperture and shutter speed for creative control as a result of the extreme brightness. By reducing the amount of light entering your camera, solar filters allow you to have much more control over your exposure settings while obtaining a properly exposed image.
Camera Settings for the Solar Eclipse
Solar filters are specialized, extra strong neutral density (ND) filters, meaning a significant amount of light is blocked from entering your camera. While this keeps your sensor safe, it necessitates exposure adjustments, or you’ll end up with nothing but darkness. Keep in mind that depending on where you are located relative to the path of the solar eclipse, exact lighting conditions will vary, so settings will depend on the conditions in your specific location.
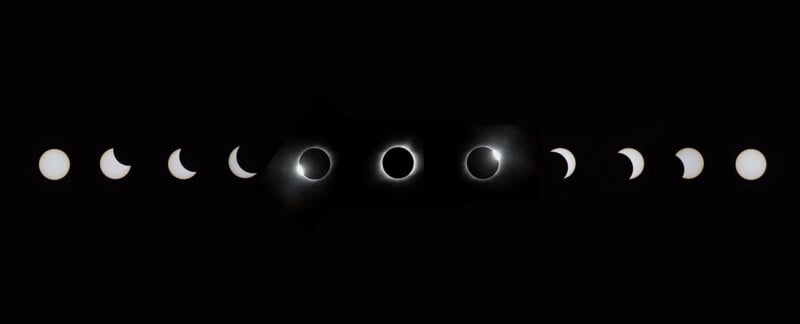
No matter where you are, the eclipse is a dynamic shooting situation with constantly changing light. As the eclipse progresses, the light from the sun will decrease, so you will need to continue to adjust your exposure. Then, after totality, it will get bright again, requiring further settings tweaks. To aid with this, you can set your camera to aperture priority mode. However, even if you use aperture priority, keep an eye on the shutter speed and adjust the ISO as needed to keep that from getting too slow. It’s not a set-it-and-forget-it type of situation. You may want to consider bracketing your shots to help ensure you get a proper exposure.
Depending on your lens and the stage of the eclipse, an aperture between f/5.6 and f/8 is best for photographing the solar eclipse. This will help reduce chromatic aberrations and ensure the sharpest possible image.
For shutter speed, aim for something faster than 1/100s, or maybe even 1/500s if you’re using a long lens. Too slow of a shutter speed may result in you missing key moments of the eclipse as you wait for an exposure to end or even produce blur. Finally, you’ll want to keep your ISO low enough to prevent noise but high enough to avoid an overly slow shutter speed.
Choosing a Solar Filter
As mentioned, a solar filter is a strong neutral density filter that reduces the light entering your lens to a safe amount. Without one, your sensor could get burned by the intensity of the sun. Also, if you are looking at the sun through your camera without a filter, you could damage your eyes.
For context, most standard ND filters range between one to 10 stops, while solar ND filters are, at a minimum, 16 stops and go up to 24 stops. A standard neutral density filter won’t cut it, as it will let in too much light, putting your sensor at risk. So, be sure to look for a solar-specific filter with at least 16 stops of protection.
While it may seem that any solar filter should be good enough, not all filters are created equal. As with all filters (and optics in general), glass quality plays an important role in image quality. A low-quality filter with cheap glass can reduce sharpness or introduce unwanted artifacts like aberration, impacting your final image. Some solar filters are not glass at all, instead using Baader film, which is a thin and fragile material similar to aluminum foil. While it is affordable, Baader film isn’t durable, and if it gets dirty, you’ll need to throw it away and get a new one. Instead, investing in a high-end filter will pay dividends.
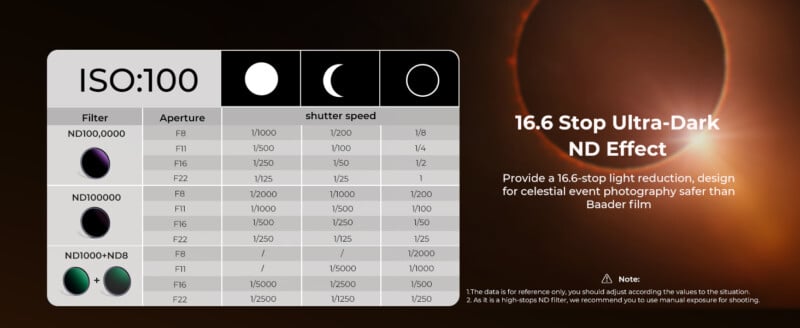
K&F CONCEPT is one such company that produces high-quality solar filters worthy of the solar eclipse. It makes ND1000000 (20-stop) and ND100000 (16.6-stop) solar filters in a variety of filter thread sizes, so you can choose the option that’s best for your needs. Both filters are only $49.99, so very reasonably priced for the quality you get. You can also find more solar eclipse must-haves on the company’s Amazon store page.
The K&F CONCEPT filters are manufactured with optical glass, which offers much better durability to Baader film, saving you money in the long run if you plan to photograph the sun on more than this one occasion. The optical glass, along with the 28 multi-layer coatings, suppresses ghosting, flare, and reflections, resulting in superb image quality for sharp, clear images of the solar eclipse.
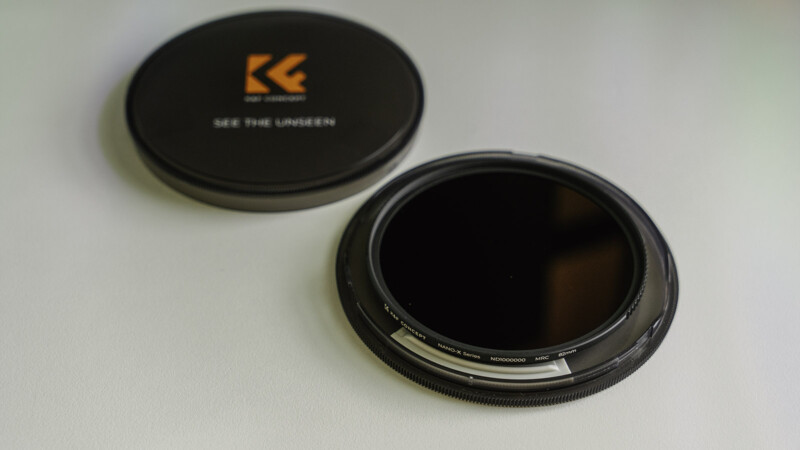
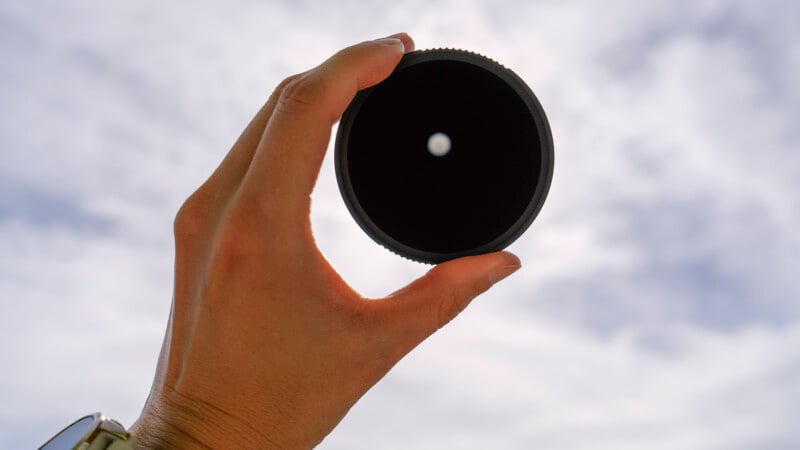
In use, we found the K&F CONCEPT solar filters to be very well-made with a solid yet very lightweight feel. Both ND solar filters are strong, but the ND1000000 is extremely dark, so you’ll need to adjust your exposure significantly. The strong effect easily allows you to get images of the sun that aren’t overexposed while protecting your sensor. Also, although it doesn’t impact filter quality at all, the case these come in is much more protective than most filter cases, with silicone grooves inside for different sizes to keep the filter from sliding around.
Other Gear You’ll Need
Of course, a solar filter isn’t the only piece of gear you’ll need to photograph the solar eclipse on April 8. First, you’ll need a camera (DSLR or mirrorless will work) with manual control. You’ll also need a lens to attach the filter to. A super-telephoto lens will be your best bet, but the ideal focal length depends on the type of composition that you want for the eclipse. Broadly speaking, for a closeup of the sun, you’ll want at least 200mm, with 400 to 800mm being ideal for tighter compositions that fill the frame with the sun while leaving room for the corona during totality.
Beyond the camera and lens, you’ll also want a sturdy tripod. Long focal lengths exaggerate even the slightest vibration or hint of motion, so you need a solid surface for your camera for sharp, clear images. A tripod will also make it easier to track the sun as the position changes in the sky. To help cut down on movement even more, consider picking up a shutter release cable. These come in the form of tethered remotes that plug into the camera or wireless ones, but both varieties allow you to trigger the shutter without touching your camera and possibly introducing camera shake. Many cameras also allow you to remotely control the shutter with a connected smartphone app.
Be prepared with a freshly charged battery plus a backup, as well as an empty memory card or two. This is a special occasion, so you don’t want to get all set up only to realize your battery will only last for a few minutes, or your memory card runs out of space right before totality. Finally, pick up a pair of solar glasses, as well. You’ll want to look at the eclipse directly instead of only on the back of your small camera screen and will need to protect your eyes while doing so.
Be Prepared and Enjoy the Solar Eclipse
Whether you are photographing the eclipse or only interested in observing the special occasion, preparation is key. This is a highly popular event, with people traveling from all over to witness the phenomenon, especially in areas that are in the path of totality. That also means that equipment necessary for photographing and viewing the eclipse will be in high demand. As a result, be sure to plan ahead and order the gear you need now so that you aren’t left without come the big day. And if you are photographing the special event, be sure to also take a moment to (safely) look up and enjoy the moment.
If you aren’t in a location to see the solar eclipse in person, K&F CONCEPT will be hosting a live stream of the total solar eclipse on its YouTube channel and website. This is also accompanied by an astrophotography contest, where participants will have an opportunity to win prizes and gift packages. Be sure to follow the @kfconcept Instagram account for more details.
Full disclosure: This sponsored article is brought to you by K&F CONCEPT.