6 Tips for Better Event Photography

My name is Simon Wiffen, and I’m a Leeds, UK-based photographer specializing in family, lifestyle, portrait, commercial, and event photography. In this article, I’ll share my 6 best tips for better event photography to help you achieve the best results.
Table of Contents
1. Understand Your Equipment
This first tip should go without saying and is really true of any commercial photography work but for events photography especially, I can’t stress enough how important it is to fully understand your equipment.
You’ll need to work fast and respond to situations as they happen (often in the dark), so it’s important you understand how to get the best results with the equipment you have, and to be comfortable enough with your camera to be able to quickly adjust the settings on the fly.
Shooting photography for any kind of event is a big responsibility. The organiser is relying on you to deliver results and there are no second chances. If you’re familiar enough with your equipment then you can concentrate on the job you’re there to do – capture the event!
2. Learn to Shoot in Low Light
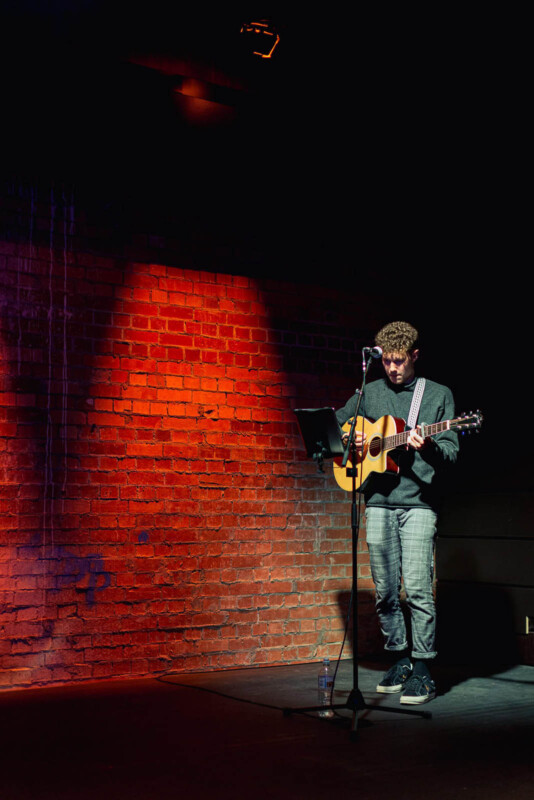
Let’s get this out of the way straight away – with event photography you’ll often be working in challenging conditions and low light. It does depend on the type of event of course but in general, everything that makes a venue look fantastic, moody, and cool can often make it a challenging situation to photograph well.
The word photography literally means ‘drawing with light’ so when you don’t have enough to work with it’ll always be difficult. I could write a whole article on working in low light, but I’ll just touch on the main points here.
Aperture
As photographers, we often refer to fast lenses. That’s to say lenses that have a nice wide aperture. The wider the aperture on your lens, the more light goes in and hits your sensor and the easier it is to get great results.
Shooting an event with an f/4-5.6 kit lens isn’t impossible but it’ll make your life much, much harder. Generally speaking, you want to shoot as wide as you can. An aperture of f/2.8 or faster is a great place to start.
ISO
Modern cameras are really effective in low light. It wasn’t all that long ago that pushing your ISO above around 1600 would start to introduce a lot of noise but you can push modern cameras much further to 3200, 6400, or even higher and still get acceptable results.
When it’s critical you get the shot I’d always prefer to shoot at a higher ISO and make sure I’m capturing sharp images then introduce the risk of camera shake. You can always remove noise in post if you need to but generally, today’s cameras will handle things pretty well.
Shutter
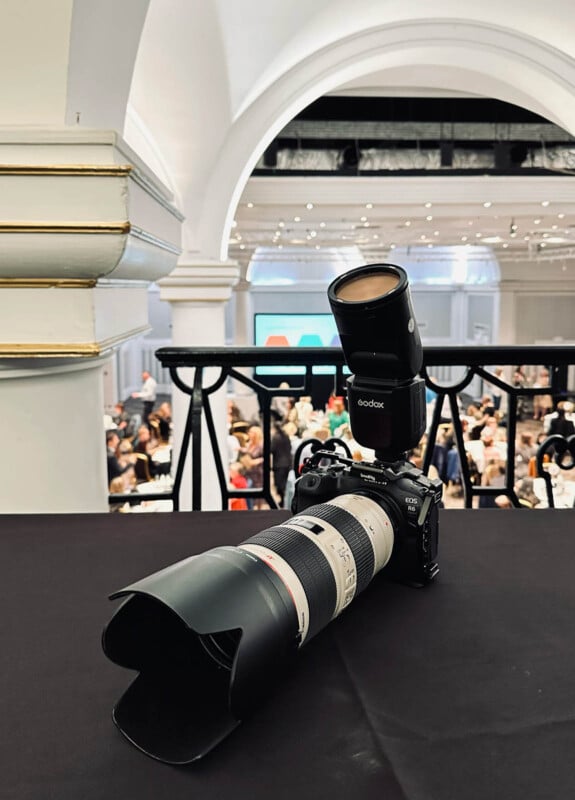
As a general rule, to avoid camera shake you want to use a shutter speed roughly equivalent to your focal length. For example, if you’re shooting on a 50mm lens you’d be aiming for a shutter speed of around 1/50 or faster. Similarly, if you’re shooting at 200mm you’d be wanting to be at 1/200 or faster. The longer the lens, the less forgiving it is because every movement is effectively magnified.
Some cameras, and lenses, include stabilization which can really help reduce camera shake, especially if you have a good hand-holding technique. With that said, I usually find when working quickly and reviewing images it’s often quite hard to spot minor camera shake on a camera monitor so I like to try and stay safe by keeping the shutter as high as I possibly can.
Flash
Using a combination of aperture, ISO and shutter can allow you to work with natural light, in fact, you might find yourself in a situation where flash isn’t allowed so you’re going to have to manage as best you can. However in reality, if you’re going to shoot event photography you’re going to have to learn to master flash eventually.
Again, I’m not going to go into detail on the use of camera flash in this post. If you’re coming in cold I’d strongly recommend you head over to Strobist for a wealth of information on how to use flash effectively.
Whereas in a studio setting, you might work with strobes, softboxes, etc, at an event you’re going to be on the move so you’ll usually have to manage with on-camera flash.
Now the problem with on-camera flash is it’s just not all that flattering. It’s a small, harsh light that produces harsh results so the trick is to make it bigger. The normal strategy here would be to bounce the flash off the ceiling or a nearby wall. This will give you a much bigger effective light source and more flattering results that’ll improve your event photography instantly.
It’s not a magic wand though. If the walls in your venue aren’t white then any colour will be introduced into your reflected light which can bring a really unpleasant colour cast into your photographs. If the walls are dark, they’ll just suck in all the light you throw at it and you’re back to square one.
Similarly, depending on the venue, you may find the ceilings are so high they don’t really allow you to bounce the light which can limit your options. In these instances, it’s a case of getting the best you can with the conditions you have. If you can’t bounce your light there are other ways to soften it – you can fit diffusers or bounce cards to your flash to help spread the light in a more flattering way. It’s not as effective but anything you can do to spread the light will help, even if it’s just a little bit.
Finally, be aware that if you’re working with flash for event photography, you’ll almost certainly be competing with the existing practical lighting in the room. Unless you want the contrast for creative effect, you may want to gel your flash to match the ambient lighting for more natural results.
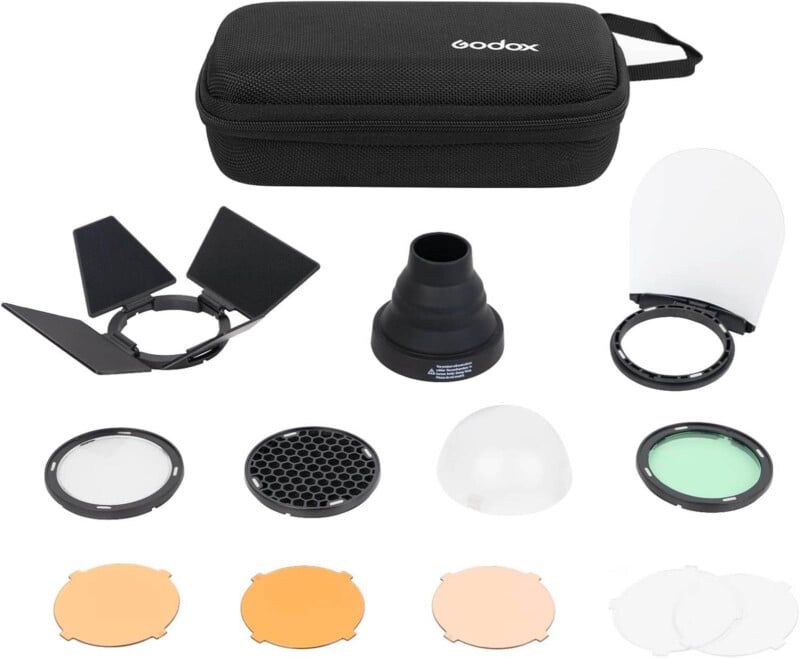
Where I have to match flash to ambient light I find the magnetic Godox AK-R1 round head accessory kit perfect to use with my Godox V1 on-camera flash. It contains a number of color correction filters plus the dome head or bounce card (which can be attached in combination with the filters) are really handy to help soften the harsh light where you can’t bounce the flash effectively.
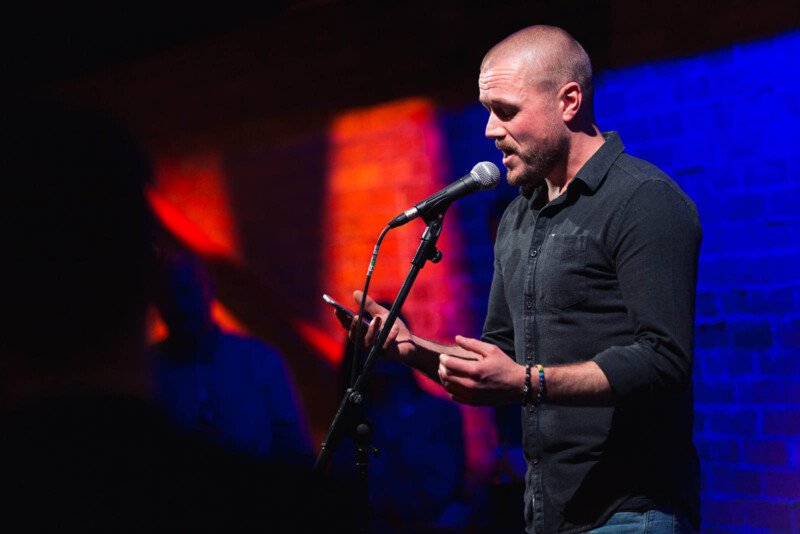
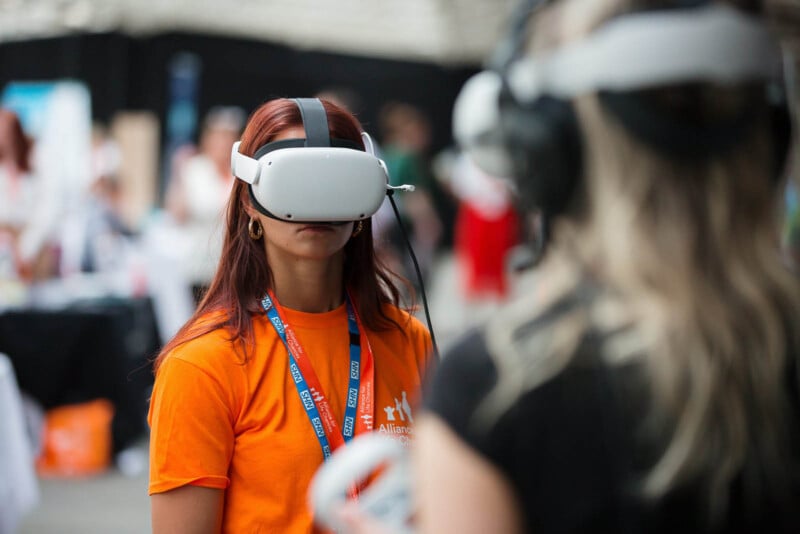
3. Get Involved (But Don’t Get in the Way)
OK, now we know our equipment like the back of our hand and we understand how to get good results in low light we’re ready to start concentrating on actually capturing our event!
I always think the ultimate aim of good event photography is to make the viewer feel like they’re part of the event. If you’re new to event photography you might feel a bit self-conscious but you won’t get engaging images by standing on the edge of the event, you need to get involved and put yourself in the heart of the action.
That’s not to say you should put your needs ahead of the guests. Your job as an event photographer is to blend in as much as possible. It’s not easy. Sometimes the room is busy and it can be hard to move around, especially with camera in hand.
It gets easier the more events you shoot. People will realize you’re there to do a job, but you have to balance it with allowing guests to enjoy their event.
Event Photography Etiquette
A few quick tips to help things go smoothly:
- Spaces can be tight in busy rooms. If you need to squeeze past, ask politely. Never barge through.
- Be careful when moving around not to knock any of the guests, especially when carrying your camera. Accidents happen – If you knock someone, apologize!
- Be courteous to staff and let them do their job. If you’re in the way, move, let them pass, and then carry on.
- If you have to position yourself where you’re blocking someone’s view then be mindful of that. Sometimes it’s unavoidable but shoot what you need and move on as soon as you’re able. Guests will understand you have a job to do but they’re not there to look at the back of your head.
- Sometimes you might find yourself shooting where you might be preventing someone else from doing their job. For example, if there’s a sound or lighting desk or if you’re working alongside a videographer. If you feel there’s a chance you might be in the way then ask. If you’re asked to move, then do it. I often find myself shooting alongside videographers and it’s always good to chat with them and understand their needs. For example, they might want to capture you at work as part of their shot. Other times they’ll be trying to keep you out of the frame. If you understand what they need and work together you can make sure neither of you prevents the other from doing their job.
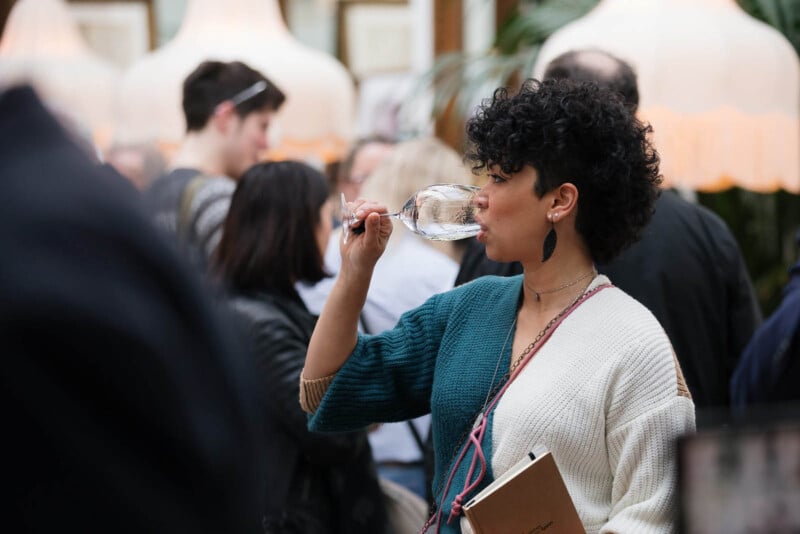
- Don’t photograph people if they’re eating. Instead, concentrate on documenting the experience. Capture images of the service and the food itself. I usually start shooting again once guests are onto coffee or drinks after the meal.
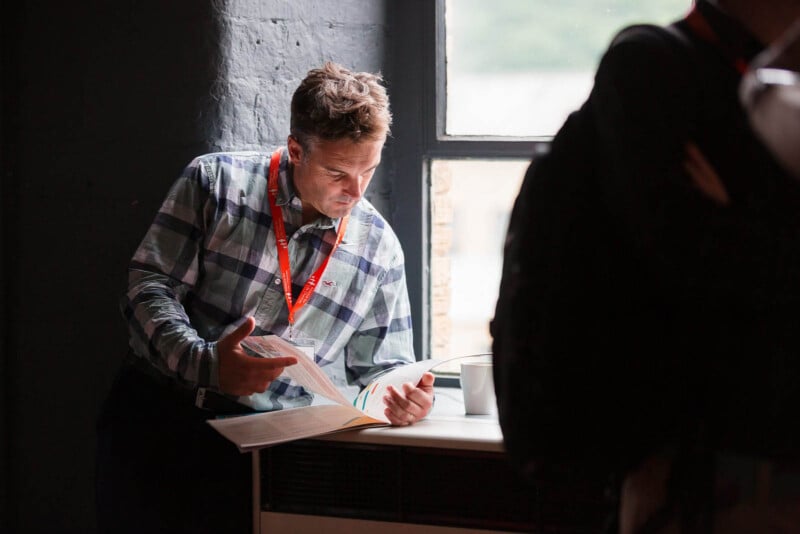
4. Keep Your Eyes Open and Your Camera Ready
Photography is about being in the right place at the right time but that’s not to say you have to be lucky. You can make your own luck.
When I’m shooting event photography I’m always looking for interactions and moments that show people are engaged and having a good time. The secret is always to be ready to shoot and to keep your eyes open.
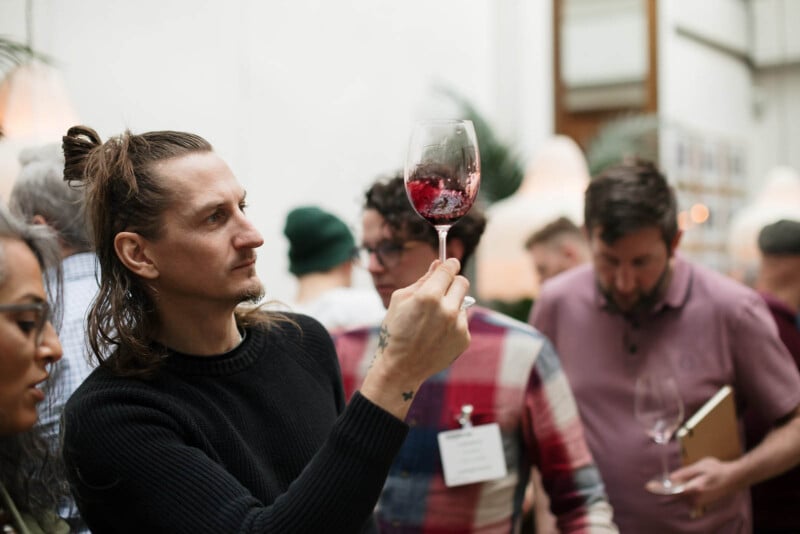
With experience, you start to anticipate when shots are likely to present themselves. Be on the lookout for people laughing and having animated conversations. These can give you a good few minutes to get yourself into a better spot so when the next laugh or smile comes you’re in the best position to capture it.
I find when I’m shooting event photography I spend a huge amount of time scanning the room, watching, and looking for opportunities. If you can spot these and anticipate them early enough to get where you need to be then that’s half the battle won.
5. Recognize Your Stakeholders and Their Needs
If you’re commissioned to shoot an event, it’s imperative that you understand all the stakeholders that are involved. Before you even arrive at the event you should already have a good understanding of the brief. If not, don’t be afraid to ask!
A lot of work goes into putting on an event and if you want to provide an excellent service, you need to understand everyone’s different needs. Make sure you capture the room, not just during the event but beforehand when it’s presented at its best. Look for details that show the attention to detail that the event organizer has put into the planning, whether that be food, refreshments, table settings, entertainment, etc.
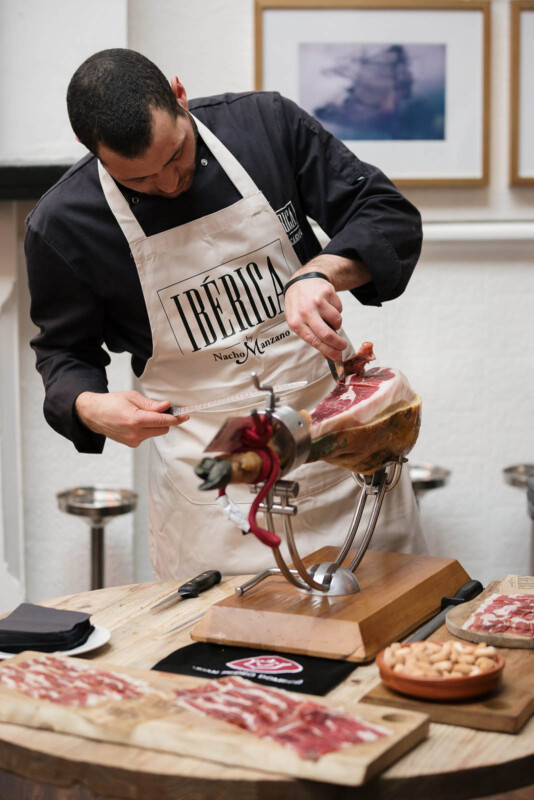
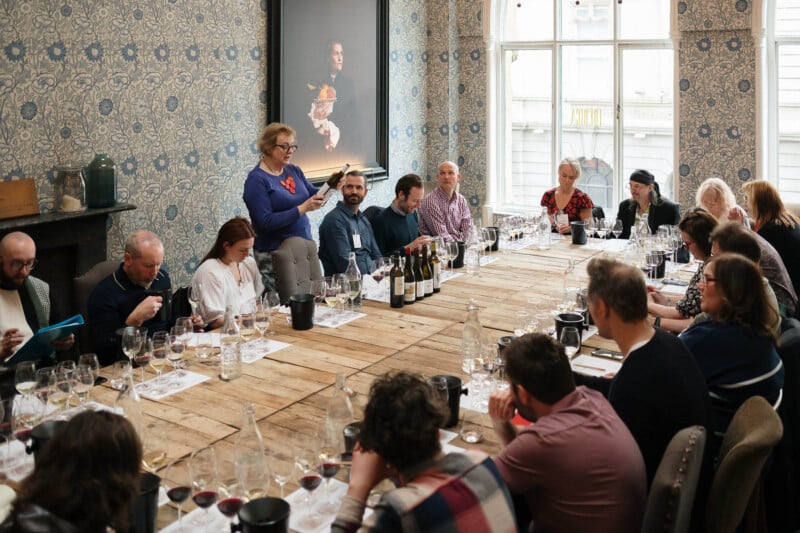
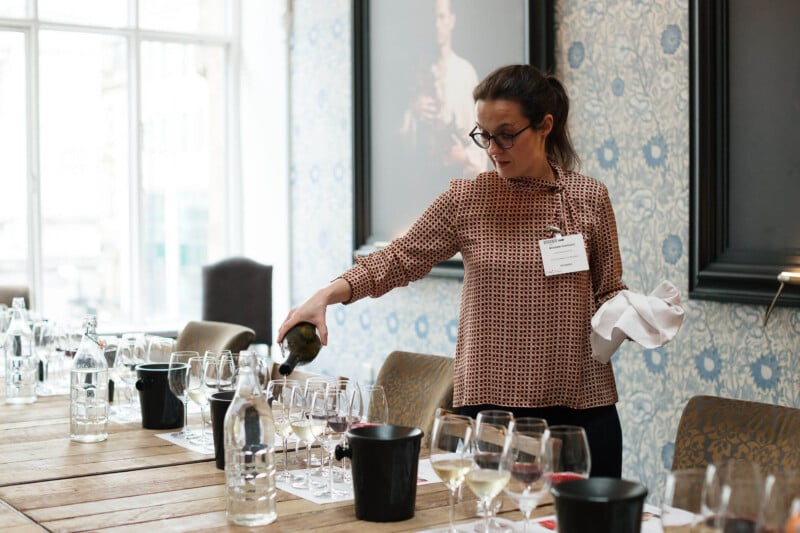
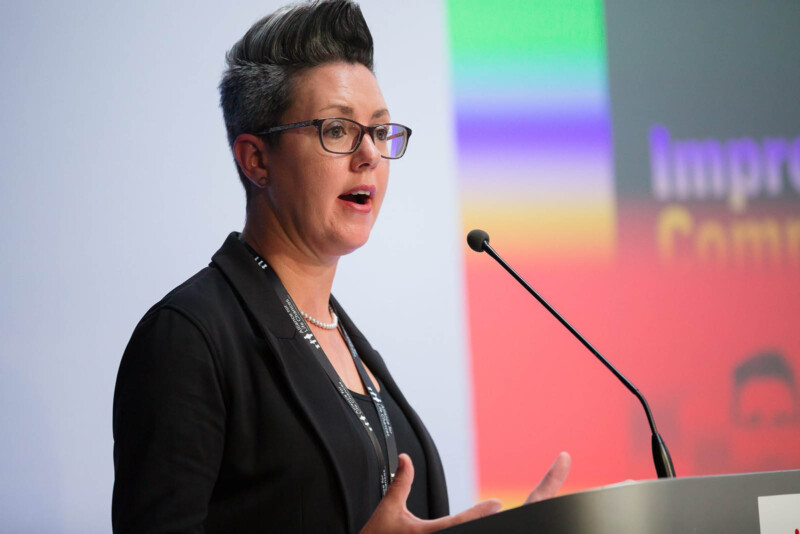
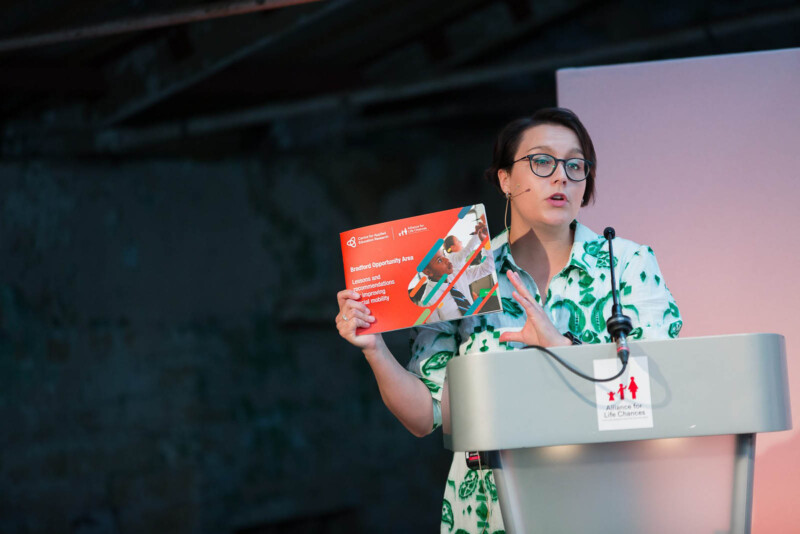
If the event has particular VIPs make sure you know who they are and that you capture them in your images. If the event has speakers or panels make sure you capture the whole panel together plus everyone in action individually, speaking and engaging with the guests. Similarly, if guests are interacting with speakers capture that too from the speaker’s point of view.
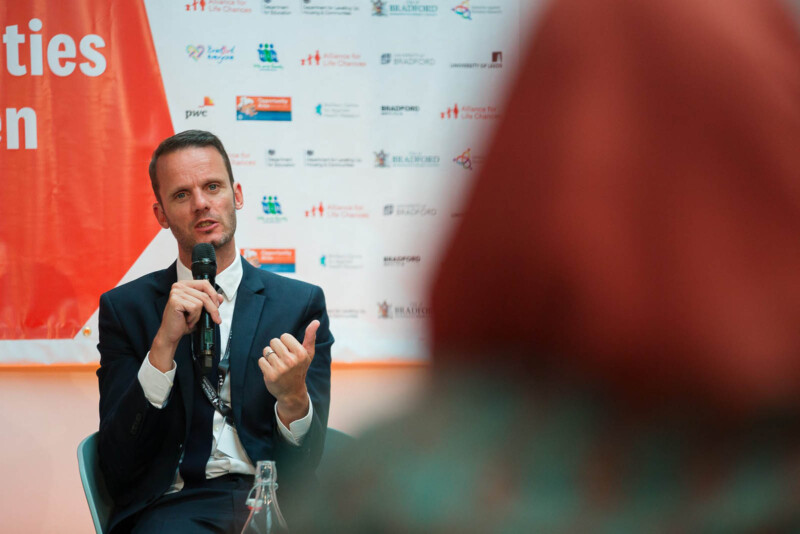

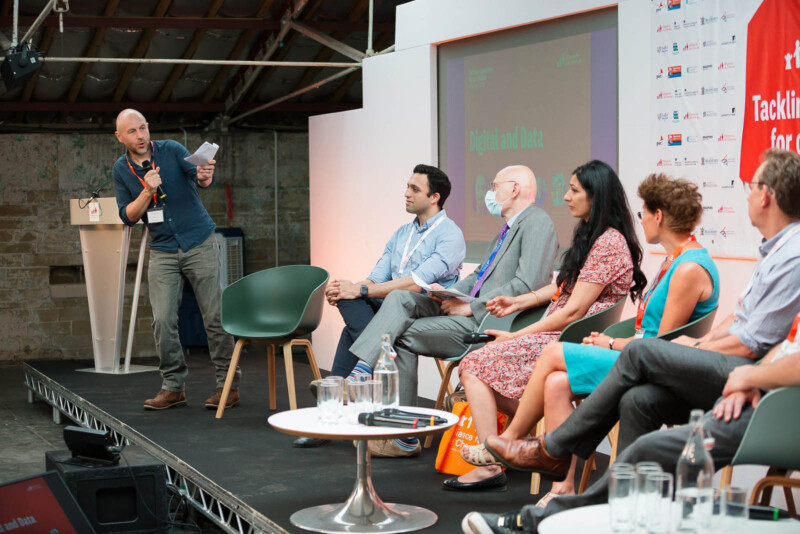
If you’re shooting a corporate event make sure you’re composing your shots to maximize visibility of their branding or the branding of key sponsors.
Sometimes your brief will give you a specific list of required shots like these. Other times you may be working to a looser brief but being able to understand the different elements that go into a successful event and capture them effectively will make for very happy clients.
6. Be Prepared to Work Hard
Finally, event photography is hard work. As we’ve discussed, the conditions can be challenging. It can be difficult to move around effectively. There are a lot of things happening in different places and your job is to capture everything with no second chances. It’s not a job for the faint-hearted!
I’ve shot events where I’ve covered 13km jumping between two keynote stages and if you throw into the mix that I’m often shooting with a 70-200mm lens and flash attached to my camera, that’s a lot of weight to be carrying.
Be prepared to work hard… and wear comfortable shoes.
I really hope you find these tips useful for your own event photography.
About the author: Simon Wiffen is an award-winning photographer, husband, dog owner, record collector, and dad of three. The opinions expressed in this article are solely those of the author. You can find more of his work and writing on his website and blog. This article was also published here.