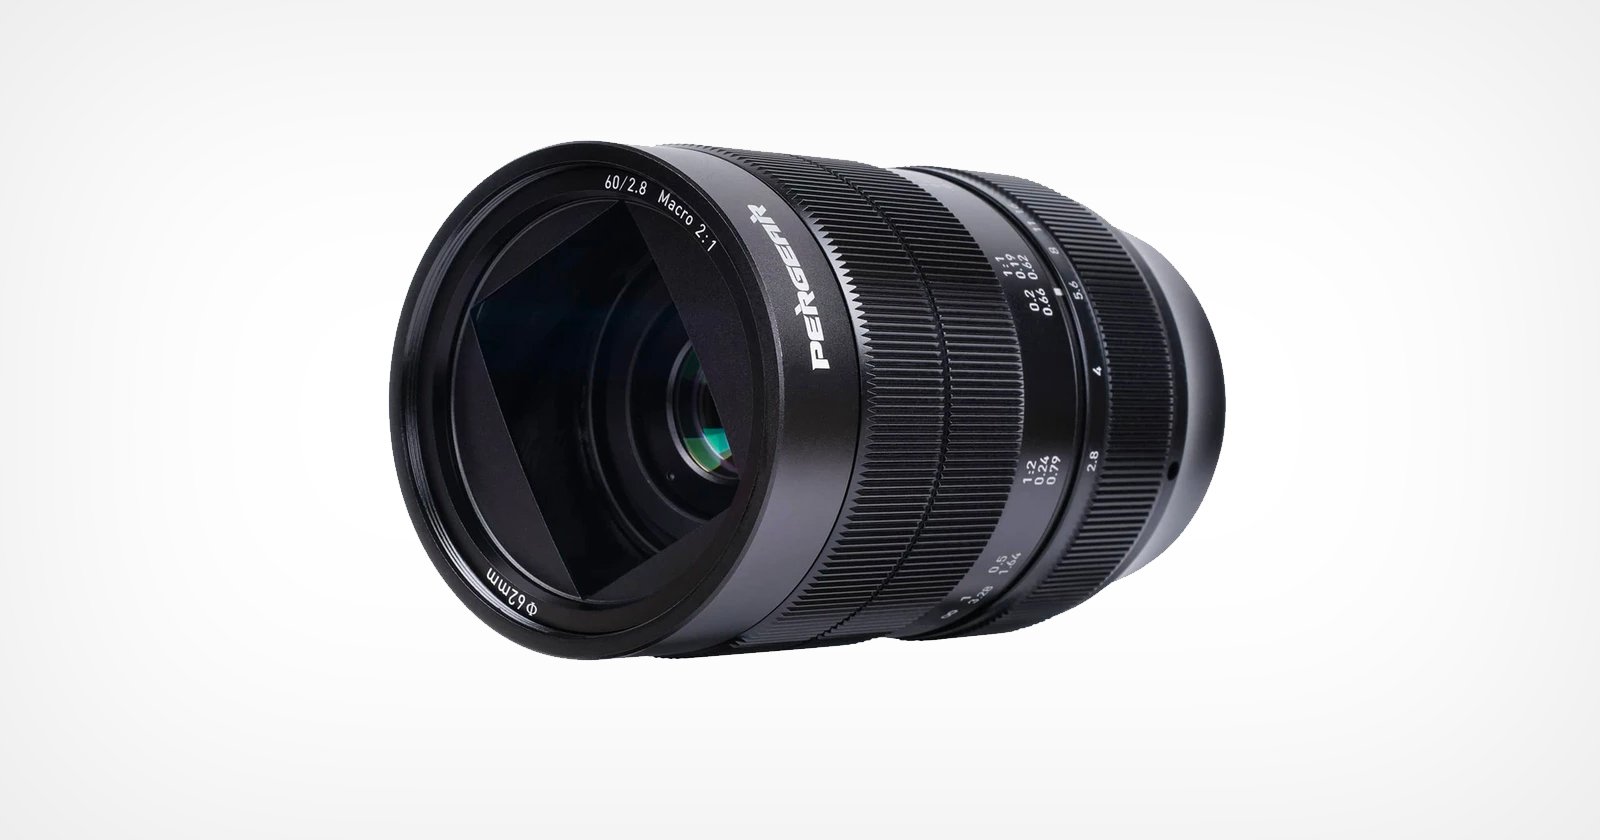
Pergear 60mm f/2.8 Mark II Review: A Basic Macro Lens at an Attractive Price

A while ago, after I reviewed an inexpensive shift lens, Pergear contacted me to review a lens available only in Sony and Nikon mounts. I told them I did not have cameras that would take the lens. Later, I learned that they reissued their 60mm f/2.8 macro lens, Mark II.
Full disclosure: A sample lens was provided for free for the purpose of this review.
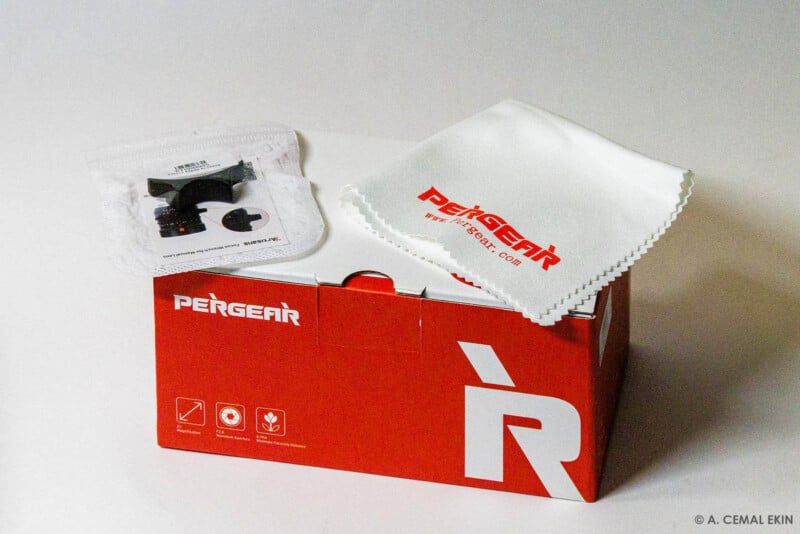
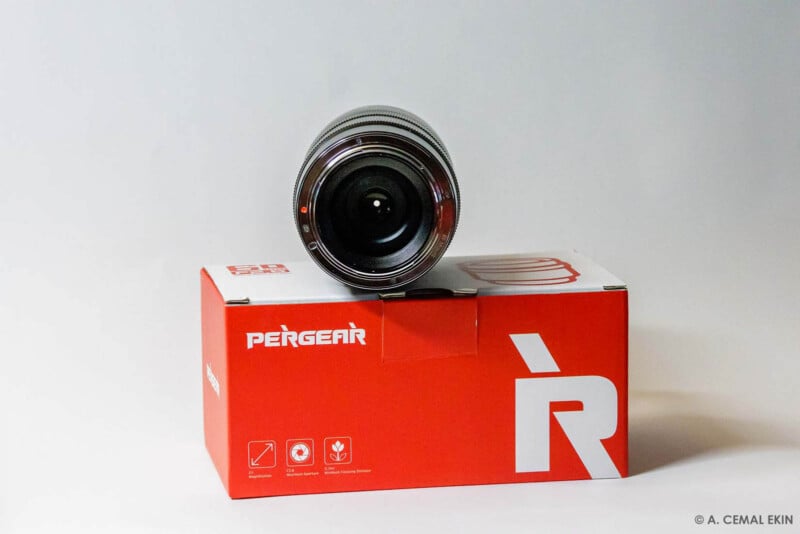
The lens arrived in a well-padded package. Removing the shipping bag and the inner foam padding revealed a well-made box containing the lens, a microfiber cleaning cloth, and in a small plastic bag what they called the Focus Wrench.
I removed the lens from the box, feeling its heft and solid build. The front and rear caps were tightly in place. The focus and f-stop scales were easy to see in white against the black body. I tried the focusing ring and realized why they included the focus wrench to help rotate the ring. Both the focusing and f-stop rings are stiff and hard to turn. Here are some photographs of the exterior of the lens and the package.


There were no instructions or any other paperwork in the box. The specifications are on their site, so I will not repeat them here again unless I have something to add, correct, or clarify. I also could not find any serial number on the lens or lens mount. It may be there and escaped my attention, but I tried hard to find it. No luck!
It is available from Amazon at a 15% discount if you use this link. The discount will be applied at checkout automatically. Or visit the Pergear website, where you can use the code 99K1V3BFDJYJ at checkout for the same 15% discount. It is available in Sony, Fuji, M43, L, and Canon RF mounts.
First Time on the Camera
I mounted the lens on my camera to see how it felt, and the extra weight of the metal construction was noticeable. Not too heavy but heavier than my 18-150mm Canon RF lens. I also realized manual focusing with the stiff focusing ring would be difficult when hand-holding the camera. For my needs, this lens will go on a tripod-mounted camera. The aperture ring does not have click stops but rotates smoothly without clicking and with the same stiffness as the focusing ring.
I came close to a flower, focused by moving back and forth, and clicked the shutter. Nothing! The shutter would not release. I was puzzled and wrote to my contact at Pergear for clarification. After that, I searched on the Internet and found the answer: I had to change the setting to allow the shutter release to work with no lens mounted.
Please make a note of this. Since the lens has no electronics, the camera does not recognize it. Then I remembered having the same problem with another lens I reviewed. Forgetfulness goes with the age!
Record Keeping
A controlled workflow becomes necessary since this lens does not transmit information like the aperture, distance, or lens used. For each frame, I need to record the lens-to-subject distance, focus ring position, the f-stop setting, and the frame number. My protocol will be:
- Take the picture, preview it to show the frame number, and record the frame in the camera viewer using my phone; this will record the frame number.
- Follow that by taking a picture of the lens showing the focus and aperture ring positions.
- I will add the lens and f-stop information using a Lightroom plugin, LensTagger. (This plugin works!) The focus distance information will be missing in EXIF data, but I can probably enter that into the label field.
Evaluation Environment
For evaluating the macro photography performance, I will use the following:
- A Canon R7 32.5 MP APS-C CMOS sensor camera.
- A sturdy tripod.
- Macro focusing rail.
- Cable or remote release.
- A pair of LED light panels as needed.
- My friend Dennis will participate in taking test pictures and writing his impressions; he is very experienced in macro photography.
Handheld Test
I went out to the backyard with the Pergear 60mm Macro lens mounted on the camera. Most of the flowers faded, but there were still a few. I took a series of shots of the spirea flowers. Manual focusing with no focusing aid, stiff focusing ring, and the gentle breeze resulted in a series of photos I will refrain from sharing. Manually passing the f/stop information to each frame with the LensTagger plugin worked.
The stiff focusing ring made quickly adjusting the focus a big challenge. My main tests will be done on a tripod and mainly indoors. I will concentrate on close-up and macro photography for testing, although the lens and its focal length are also suitable for portraits.
On the Tripod, but Still Hard
Shooting macro photography is difficult, especially at life-size or twice the life-size. Any tiny movement, a little shake, starts moving the image in the rear viewer, making judging focus difficult. In addition to the magnified image movement, the very shallow depth of field at close focus distance adds to the difficulty. The stiff focus ring does not help at all.
I have a sturdy tripod and a good ball head. But the focusing rail helped less than I expected. Although it allows setting the focus to 1:1 and then moving the camera back and forth, it sounds easier than done!
Dennis commented on the unfortunate design decision not to include aperture control from the camera. He said using a macro lens hand-held frequently requires the use of a flash to stop both the motion of the subject as well as the motion of the camera. An electronic connection to the camera allows the user to find the subject with the lens aperture wide open, and move the camera/lens to achieve focus. The lens aperture closes to the desired f-stop to increase the depth of field when the shutter release is pressed.
Getting Real Close
Shooting mainly at half the life-size to twice the life-size to test the close focusing ability of the lens made it necessary to find suitable subjects. The distances marked on the lens confused me a little. When working with Dennis, we measured the distance from the subject point in focus to match the indicated number, 0.62″, and decided that it reflected the distance from the subject to the sensor plane. It is not the lens-to-subject distance, which is much closer.
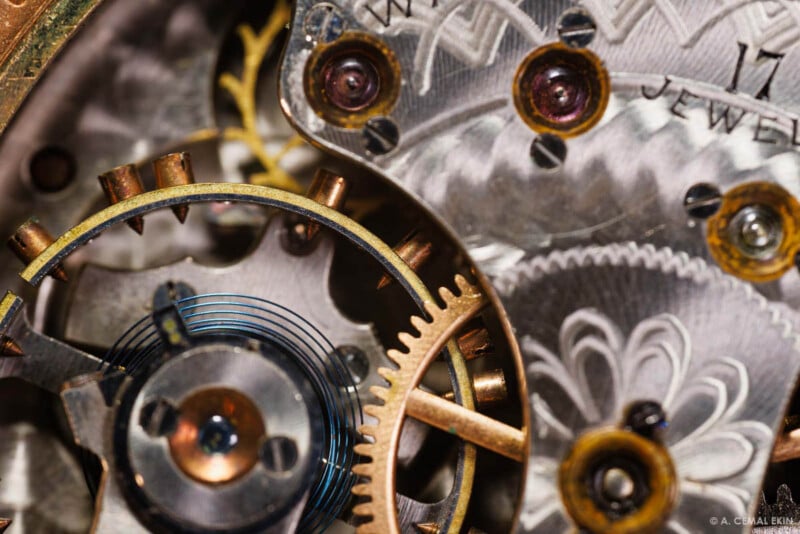
Among the photographs is a penny on the table that sat at a slight angle to the camera. I photographed it at different f-stops to show the change in the depth of field, albeit a tiny amount. That is even more visible in the watch mechanism Dennis photographed at different apertures. The focus was set on the brass gear in the middle, and the rest of the innards came into focus at smaller apertures.
Flowers are generally fun to photograph, and I enjoy doing that. But at such close range, one quickly realizes that the petal edges are not as sharp as they appear. After many attempts, Dennis photographed a series of flowers at different f-stops. The challenge continues!
I continued the flower photography experiments the next day but from a little greater distance. Still close-up but not life-size. That was a tad easier. I even attempted a rudimentary focus stacking and macro panoramic stitching.
Impressions
- The lens seems to be well-built, with easy-to-read markings.
- The focusing and aperture rings are far too stiff and difficult to use.
- A disconnected lens reminded me of the photographers of the past taking manual notes of their settings and hard to get used to today.
- The Pergear 60mm Macro Mark II can get very close to yield twice the life-size images.
- That comes at a slight cost of lower image quality if the aperture is stopped down to gain extra depth of field.
- The price is attractive at the $199 list price.
Possibilities
I will present many full-frame photographs in the gallery at the end of the article. None of those images are edited or cropped.
Here, I will present a few that I selected to edit to some extent. They will show how much original captures can be improved. And these can even be further edited. So, all is not lost on the lens.
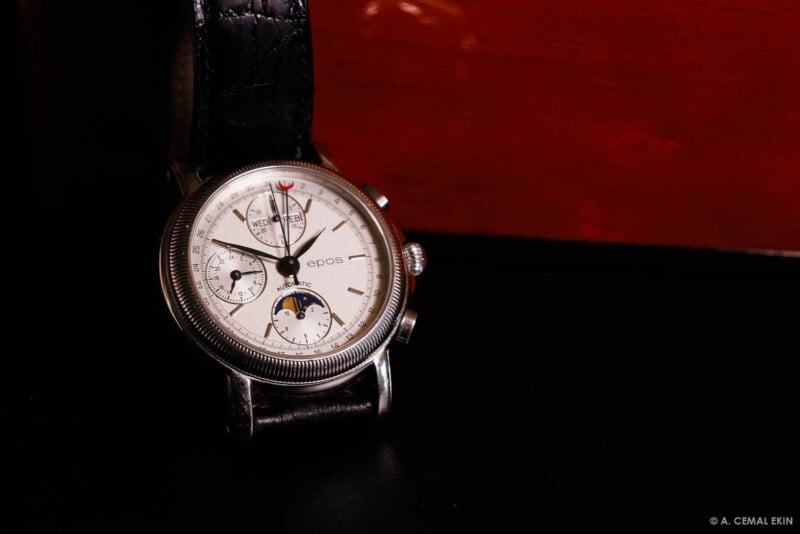
Before Editing, the Watch Faces


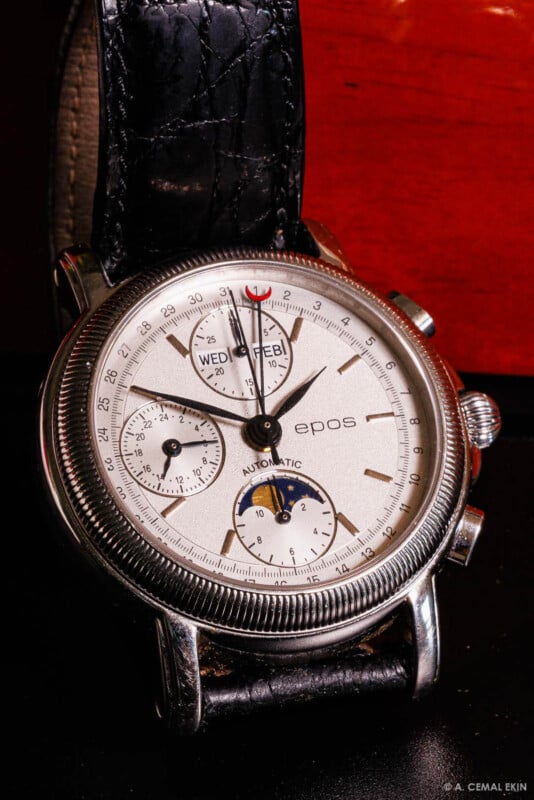
After Editing, the Watch Faces


Focus Stacking or Stitching
I experimented with rudimentary focus-staking by manually (of course) changing the focus between shots. After positioning the camera for a particular framing, I took a series of five photographs, all at f/5.6, while shifting the focus slightly backward by eyeballing the focused point. I loaded them into Photoshop, auto-aligned the images, and then auto-blended them for the final result. It was not too bad! Here are the originals and the focus stacked result.


I also took four photographs, slightly moving the camera on the rail to one side in between shots. Then, I stitched the images into a macro panorama and edited them in Lightroom with various tools. Here is the result, about 65 megapixels original, down-sampled for this article:

Recommendations
- Ease up on the ring rotations; with no autofocus, quick focusing will be an asset.
- The focus wrench did not look like it would help much, so I did not stick it on the lens focus ring.
- In its place, a 2-3 inch screw-in rod may, just may, help with the focusing.
- This is an experimental lens for many. If the price is lowered to around $150-$175, it may become an impulse purchase for some users.
Sample Images
The images below constitute a selection from among the samples we have photographed. They are not edited or cropped but presented in their original import conditions. There are minimal adjustments associated with the camera but not to the extent that they would change the image quality. Use them for reference; they are not aesthetically pleasing or icons of image quality.
I thank Pergear for providing the review copy of the lens. I also thank my friend Dennis for making a trip to participate in the testing process. Like any tool, a lens can produce different results in different hands. You may get much sharper results. Who knows.
Who knows.


About the author: A. Cemal Ekin is a photographer based in Warwick, Rhode Island who has been shooting for roughly 60 years. The opinions expressed in this article are solely those of the author. Ekin retired as a professor of marketing emeritus from Providence College in 2012 after 36 years of service there. Visit his website here. This article was also published here.