Shooting Color and Black and White Film… At the Same Time
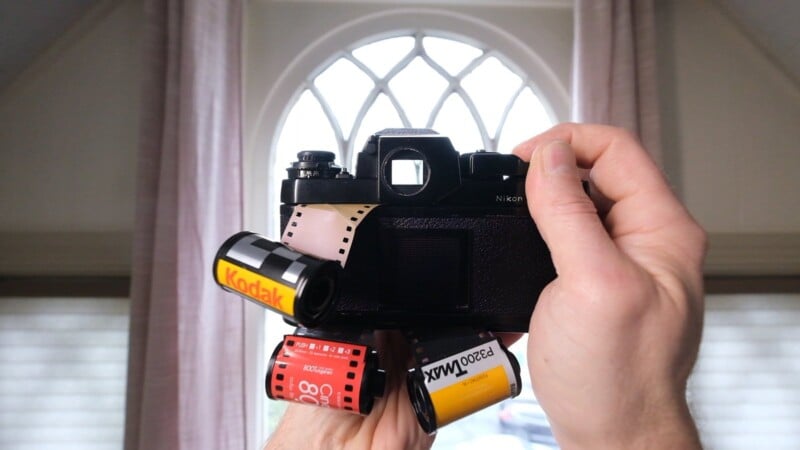
There are a lot of crazy ideas out there when it comes to experimental photography. Multiple exposures. Film Soups. Shooting your rolls backward. But have you ever heard of anybody loading two rolls of film into a camera at the same time? Me neither, and that’s exactly why I’m going to do it!
Going into this experiment I figured I’d have some problems to solve. The first would be getting the correct exposure for the back roll because the light has to not only expose the front roll but also travel through the front roll to expose the second roll behind it. After finding out how much light reduction occurs when it travels through film, I’ll offset each film’s iso to match however many stops I need.
Another obvious problem is that film cameras are designed to handle one roll at a time, and well, that’s not what I’m doing here. So going into this I anticipated some binding issues, or maybe even some ripped film. It’s worth noting that the winder on the F3 is so diesel I’ve torn film leaders off a single roll before let alone adding the additional resistance of two rolls.
Finally, I assumed that doing this would mess with the image sharpness of both the front and back rolls in some capacity. Sandwiching two films into a camera will move the front film slightly out of alignment from the plane of focus, and the back film will be obstructed by the front roll possibly delivering mush images.
So let’s just set the bar nice and low here; do I expect tack-sharp pictures? Nope. If I come away with a few frames that were lined up and exposed all the way through, I’ll consider that a win.
Loading the Two Rolls
If cramming two rolls of film into one canister sounds really awkward and like a big pain, you’d be right. It is.
I tried a few different ways of getting both films rolled into one canister. I figured the best way to prevent the two sandwiched films from getting caught when advancing was to make sure the edges lined up perfectly. Doing this in the dark would be nearly impossible, so I had to come up with a way to start the rolls into the canister with the lights on.
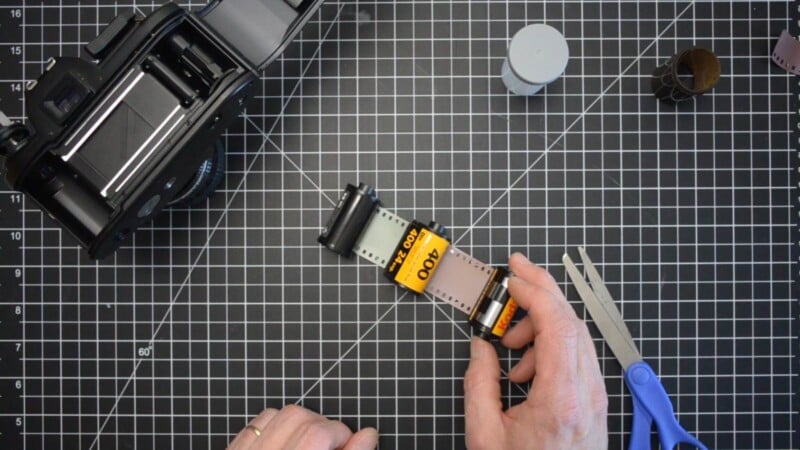
What I ended up doing was using an empty canister to transfer the roll of Fujicolor 200 into temporarily while still attached to its own canister. This temporary transfer was done in a dark closet so the film wasn’t ruined, but then I could access the end of the Fujicolor’s roll in the light to line up and tape on the second film. This other roll would be T-Max P3200 black and white, and when in the camera will be placed behind the roll of Fujicolor 200, against the pressure plate.
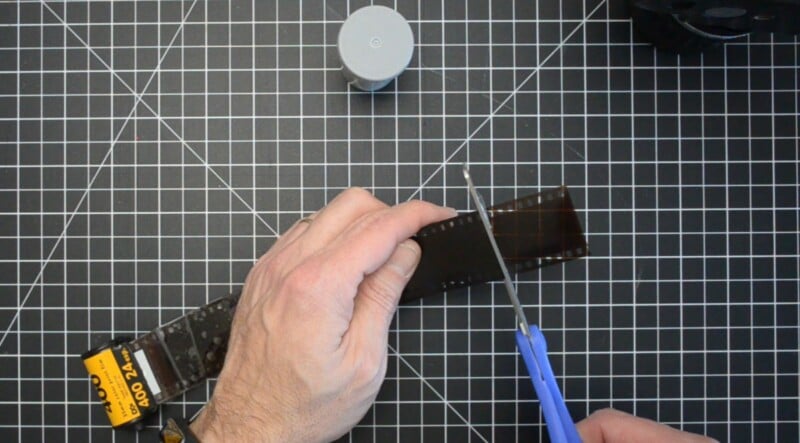
After everything was lined up and taped together, I went back into the dark closet and wound as much of the two films into the one canister as I could fit and cut off the excess. Using this method I was able to load about 20 frames into the canister using two 36-exposure rolls. Surprisingly, turning the spindle with two back-to-back rolls was a little stiff, but not impossible.
With both films loaded into one cassette, it took a few attempts to get the leader right. At first, I tried cutting a double-leader starting both films on the winder, but that ended up creating a gap at the advancing spindle and a ripple between the films. What ended up working was cutting the rear film leader off straight and taping it just behind the other leader of the front roll.
The reason I chose to put the color film in the front and the black and white film towards the back is that I thought this would deliver a better end result. I wouldn’t have to worry about color shifting like I would have if the light traveled through the black-and-white roll first.
OK, so the camera is loaded, and the hard part is complete!
There Were Some Failures
After some initial tests with my light meter, I measured about a 3-stop light reduction through film.
For my first attempt, I grabbed a roll of Kodak Ultramax 400 and Fomapan 400 to stack. To get my 3-stop difference between the films I decided to shoot the Ultramax at box speed and pull the roll of Fomapan (Holga) to iso 50.
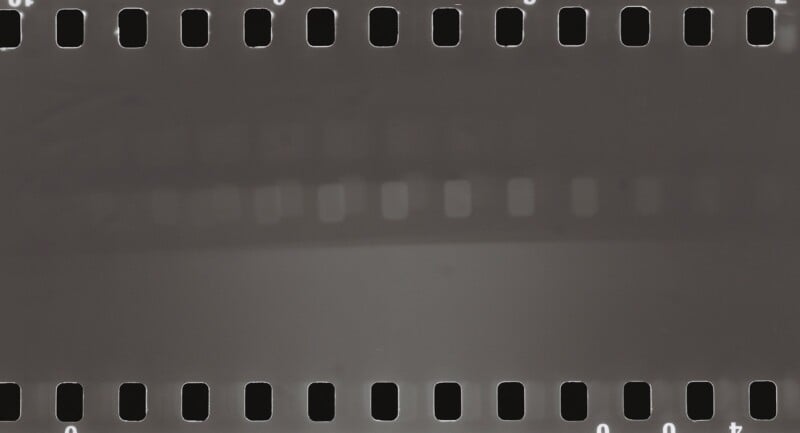
Unfortunately, this first run turned out to be a bust. While the color Ultramax images turned out fine, the black and white roll didn’t have any images exposed. It looks like I would need more light to make it through the front roll of film.
I can see from the exposure on the Fomapan negatives that there was definitely an issue with the two films not staying flat or aligning properly in the camera as well.

Let’s Try This Again
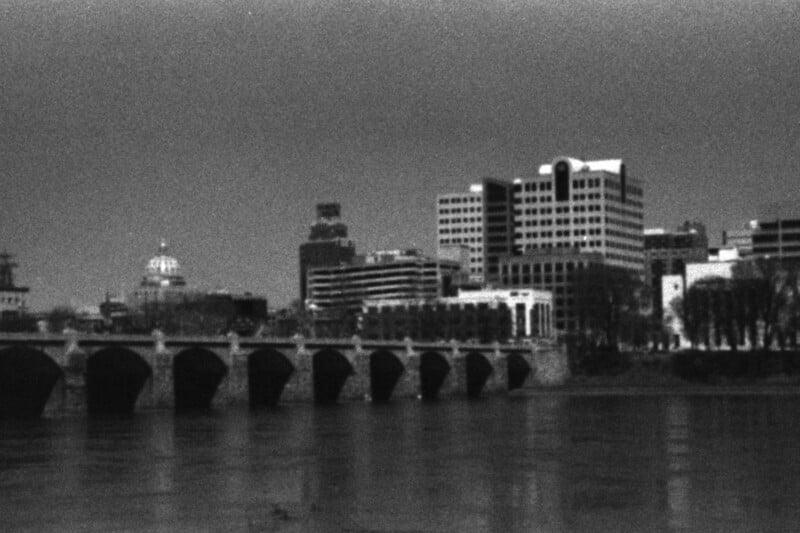
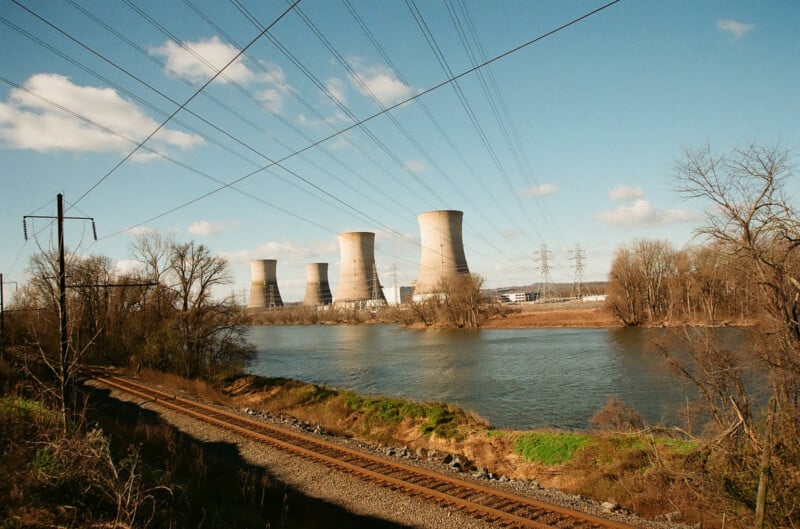
Okay, so round two. I needed more light to hit the back film so I increased the iso difference between the front and back films. This time I used a roll of Fujicolor 200 and Kodak T-Max P3200. I rated these shots at 100, overexposing the Fujicolor slightly while developing the roll of T-Max at 3200.
To fix the binding issue, I cut back the rear film so there was only one starter leader (the Fujicolor) getting advanced by the sprocket wheel. I think the problem was that when both films were attached to the winder it was creating a bow and a space between the front and back rolls.
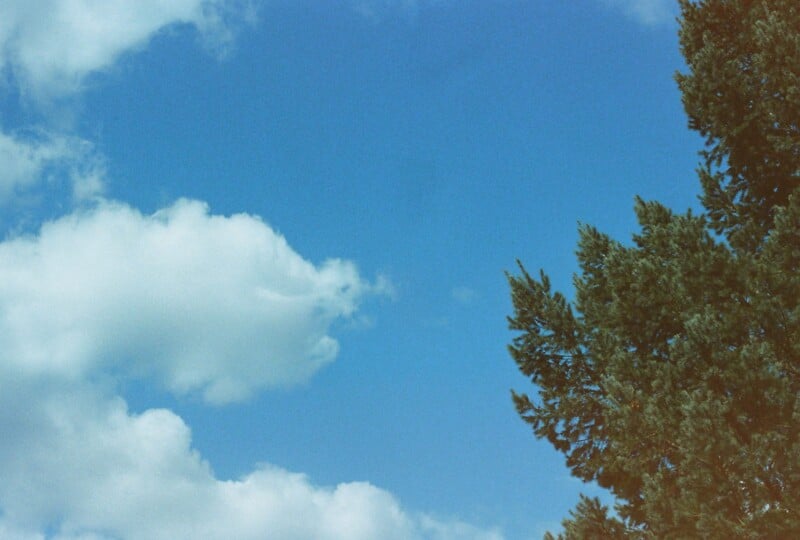
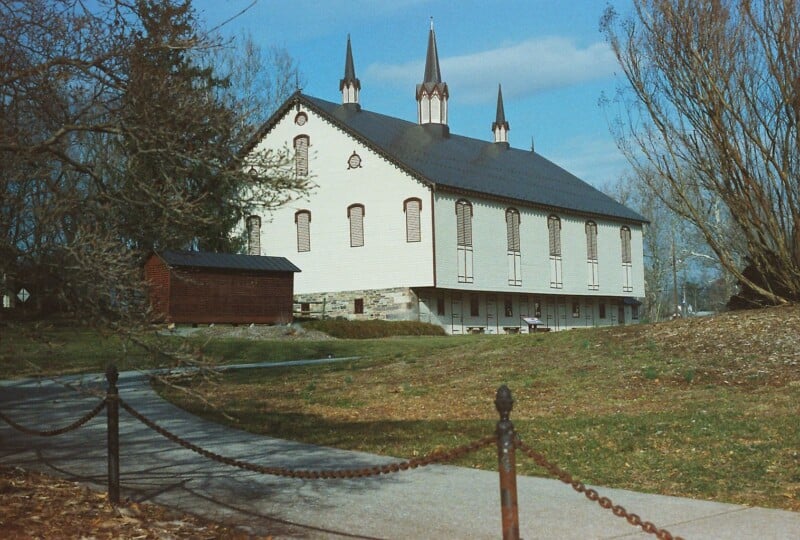
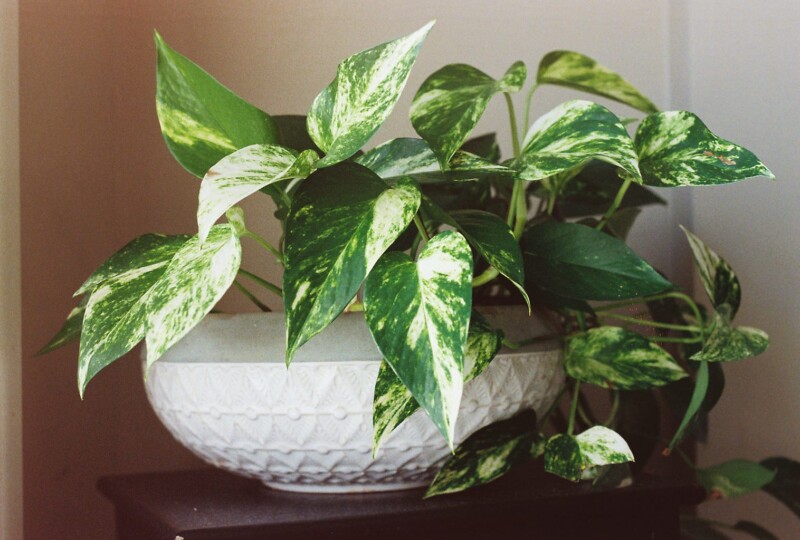
After loading and shooting 18 frames of the Fujicolor/T-Max rolls I was happy to see this time was a success! Kind of…
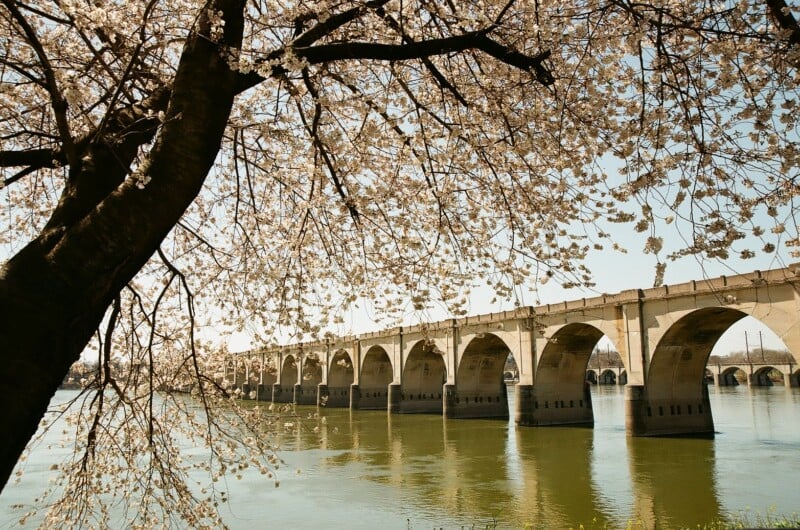
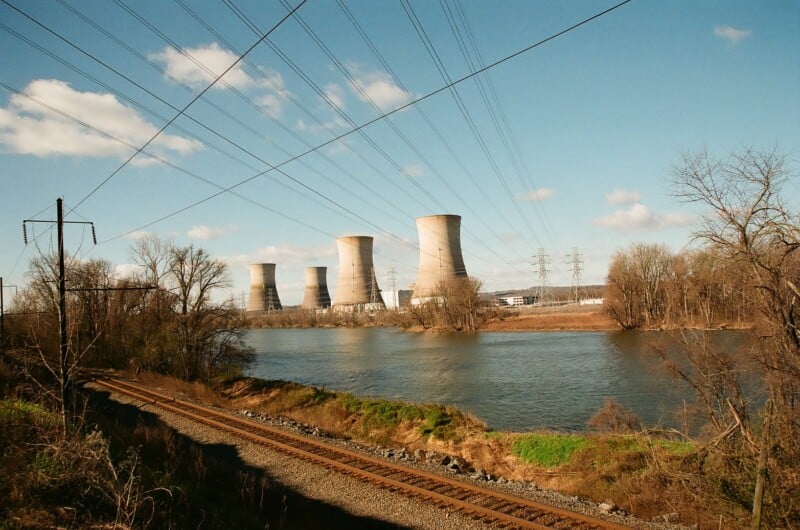
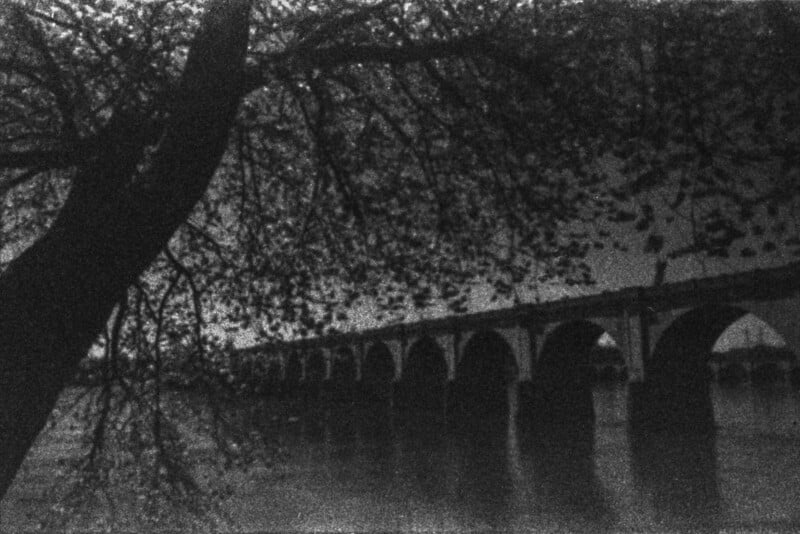
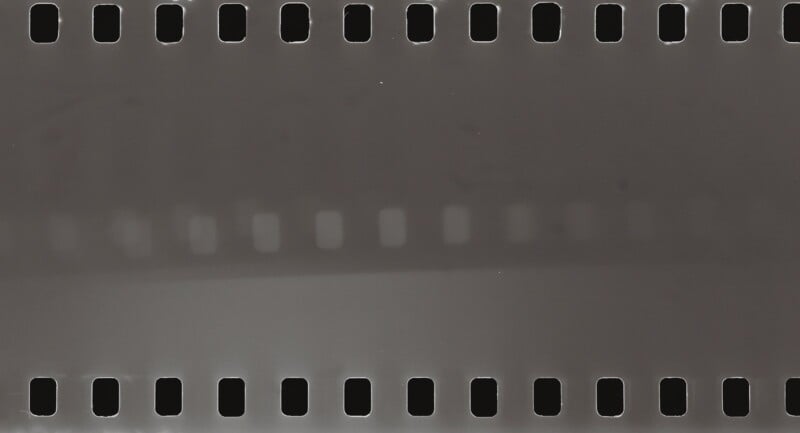
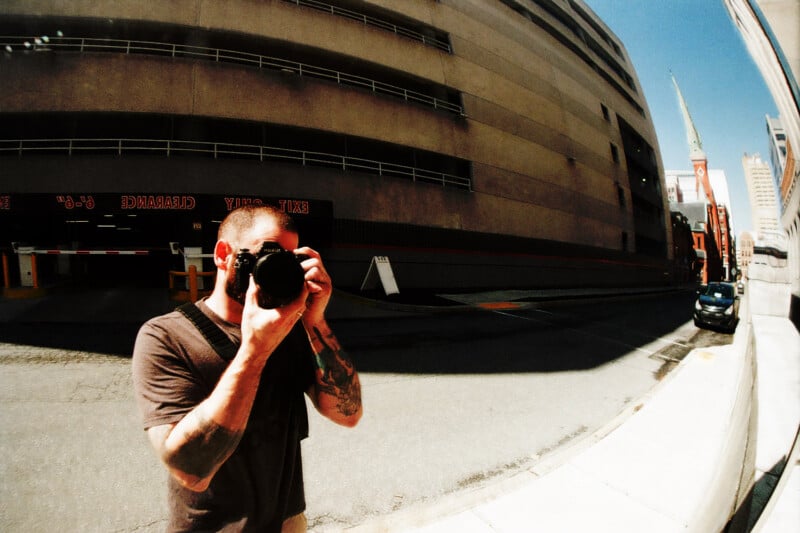
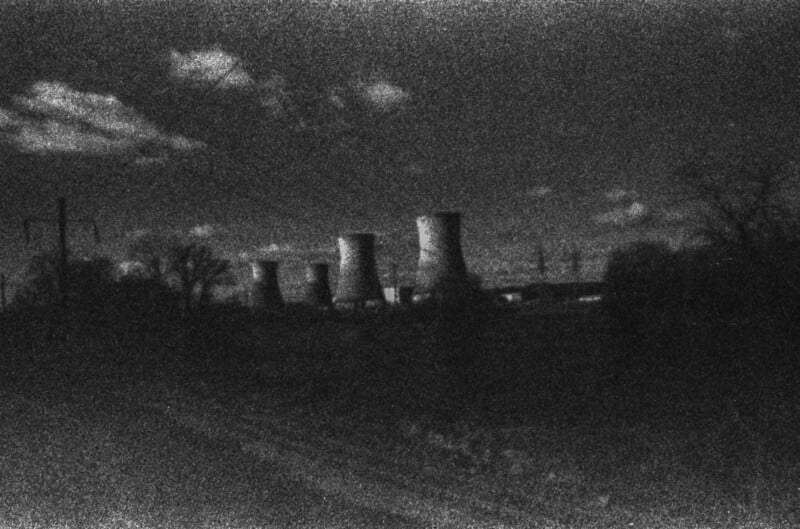
With this attempt again the front roll of color film came out fine, but now with a 5-stop difference between the two rolls I had actual images on the back roll of black and white. These images were still several stops below a “correct” exposure, but still, they came through!
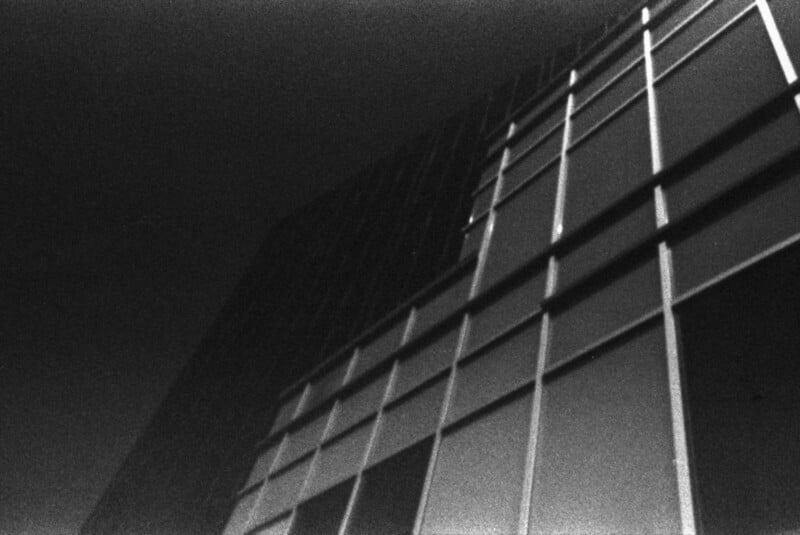
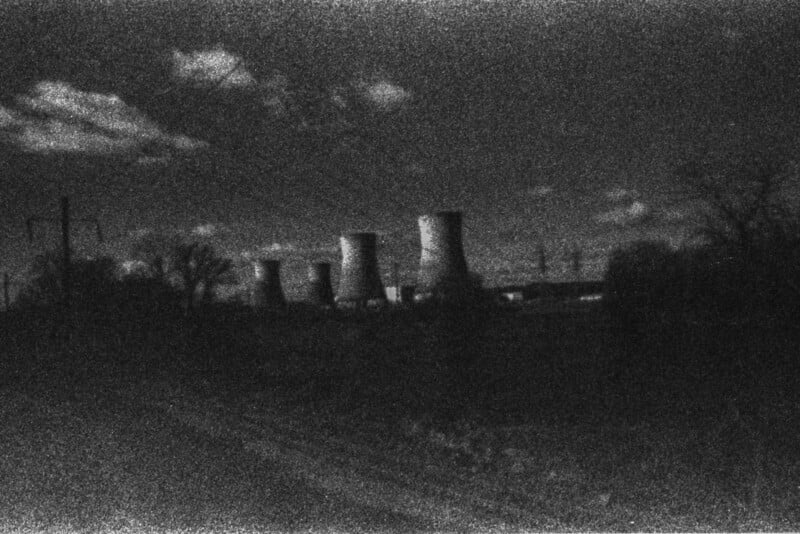
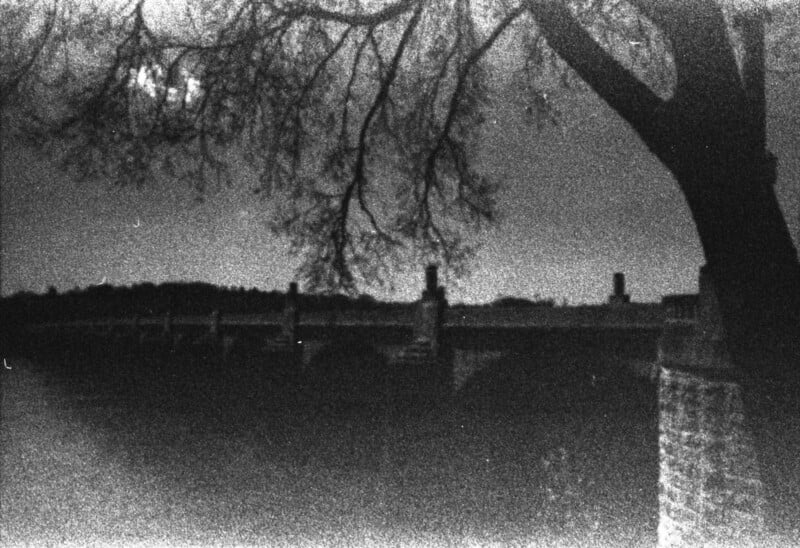
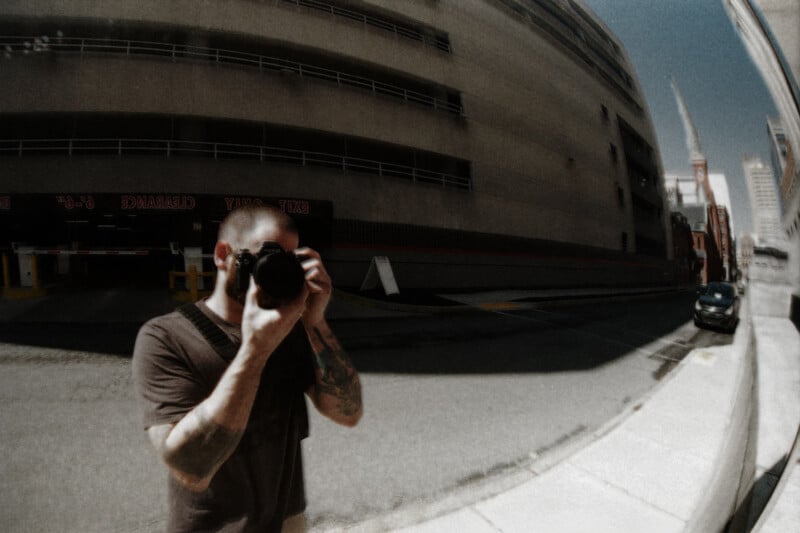
In the sharpness department, I didn’t see that much of a difference in the Fuji images, but the T-Max was a different story. There was significant blurring combined with excessive blotchiness of the grain from underexposure. Basically, the black-and-white shots looked like I was like shooting a pinhole image without using a pinhole camera.
Also, I was given a nice reminder that I need to change the door seals on my F3…
Combining the Images
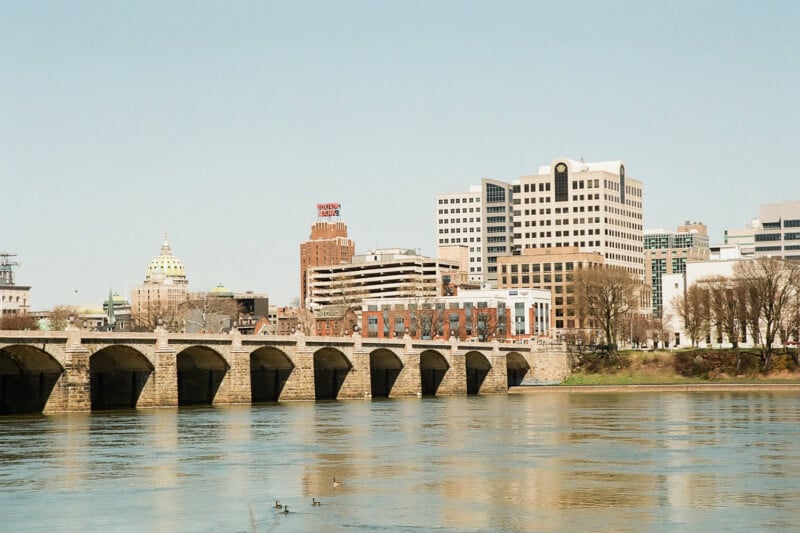
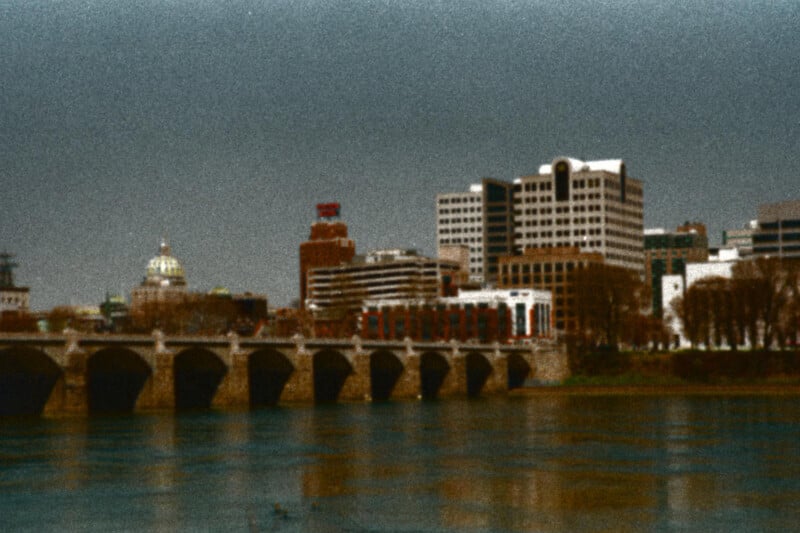
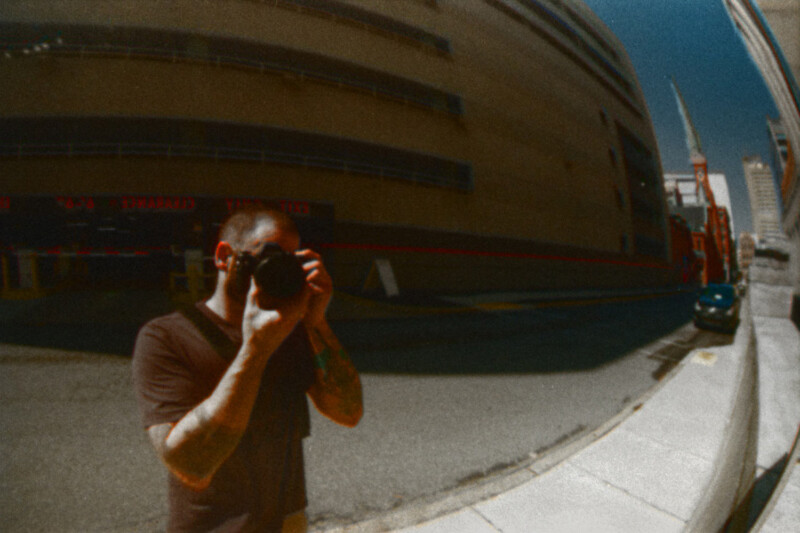
To merge the two negatives in Photoshop I stacked them together as layers and then used the transform tool to get the alignment as close as I could. I placed the color layer on top and changed the blend mode to “color” to composite the images together.
The ‘color’ blend mode in Photoshop ignores differences in luminosity between your adjustment layer and your base layer so it transfers the color from the Fuji negative onto the T-Max negative, just like it would have been inside the camera.
However, because the T-Max shots were underexposed, directly merging the two films reduced the overall brightness. The shadow areas looked a bit weird and mushy from applying color on top of something that had no detail.
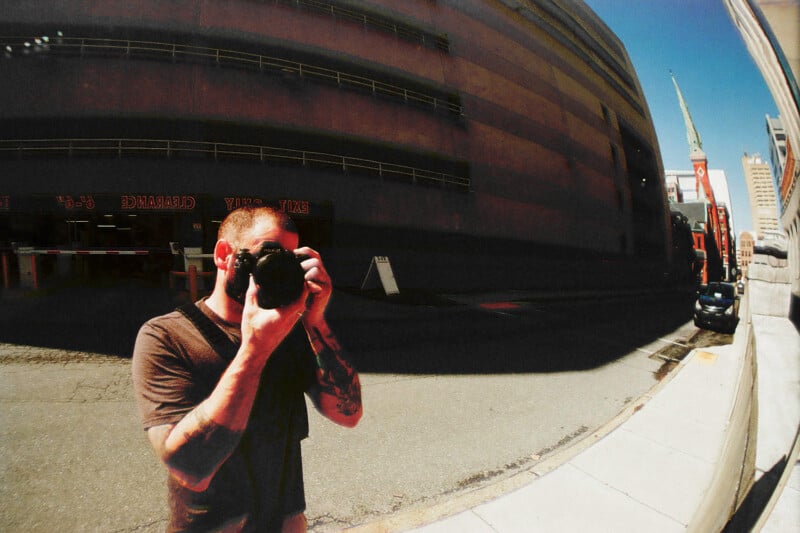
I got a much better result using some of the contrast-based blend modes because they adjust the luminosity of the merged images. ‘Soft light’ looked similar to the ‘color’ blend mode when merging the two films but helped even out the difference in exposures between the two rolls. ‘Pin light’ and ‘Hard light’ blend modes created something that almost reminded me of a cross-processed image.
Another option I tried that looked interesting was not using blend modes but just adjusting the opacity of the color layer down to about 50%.

Going Forward
When I was initially planning this experiment I wondered if the final stacked images would create some kind of neat separation or 3D effect. While the technique didn’t deliver perfect results that jump out of the frame I’d still consider it a success.
It’s worth noting that there’s probably a more technical way to go about doing this, but I enjoy tinkering around and just messing with things until they work. A big part of the fun for me with any film experiment is all about trial and error.
Of course, there’s still plenty of room for improvement here, but after just a few attempts, I’m able to get images on both rolls without them jamming up the camera. So that’s an awesome starting point in my book.