How I Took a Photo of the Andromeda Galaxy from My Backyard

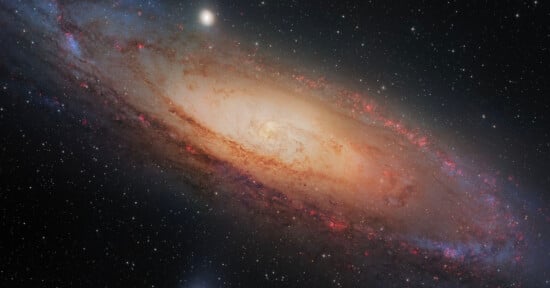
I recently shot a photograph of the Andromeda Galaxy that went viral, appearing everywhere from the front page of Reddit to Newsweek. The photo was taken with a four-inch telescope over the course of multiple nights from my backyard near Charlottesville, Virginia, US.
Indeed, Andromeda was one of the first targets I attempted when I began my astrophotography journey in earnest two years ago. As a beginner then, my results were satisfactory to my beginner’s eye, but are a far cry from what I have been able to capture recently. This came from both refining my techniques and adjusting my equipment to be more specialized to reach my astrophotography goals.
So what have I learned in the last two years since the initial attempts to shoot Andromeda? Here are a few lessons, in no particular order:
Time of Year is Critical
September through December are the best months to shoot Andromeda from mid-northern latitudes. While it’s present in the sky much of the year, shooting targets above 30° is imperative to mitigate atmospheric distortion, improve tracking and get clean results. In October, Andromeda spends the night in these higher altitudes.
Location, Location, Location
While many narrowband nebula targets can be shot beautifully in the middle of the city, for galaxies it’s best to seek out a dark sky location – at least Bortle 4. I’m lucky to have a Bortle 3 backyard where I shoot most deep-sky targets.
The Bortle scale is a measure of sky darkness, with 1 being darkest and 9 being inner-city sky. To find dark skies near you, check out a light pollution map.
Equipment Considerations
The most dramatic advances in the quality of my images came largely due to equipment upgrades. My early deep sky efforts were with a mirrorless Sony a7 III and Sony 200-600mm zoom lens, which together cost more than my current telescope and astro camera.
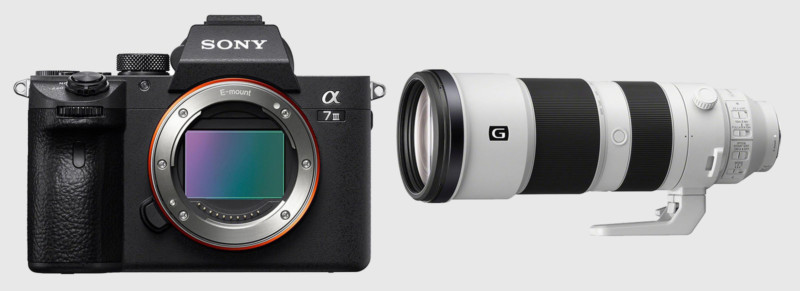
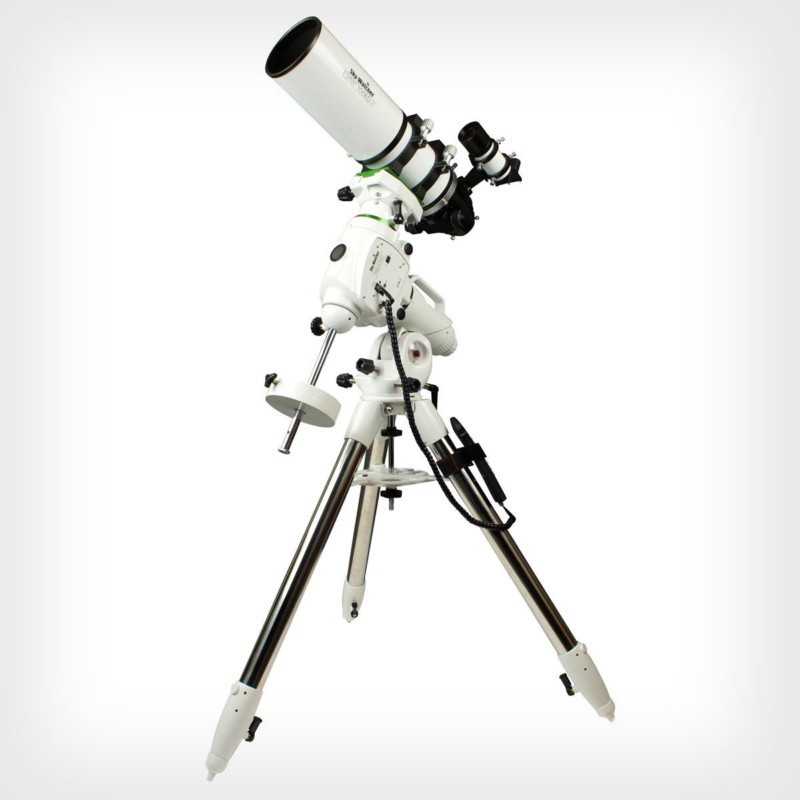
However, the optics in my Skywatcher Esprit100ED telescope are tailor-made for the stars, whereas a camera lens is made to serve many photography purposes and is not specialized to astrophotography.
I also learned that it was critical to ensure that your camera, whether starting with a DSLR/mirrorless or using a specialized cooled astro camera, is matched with your lens/telescope to prevent over- or under-sampling of stars. I matched my Esprit100 with a ZWO ASI2600MM-Pro which with a 3.76µm pixel size is right in the sweet spot of resolution for the 550mm focal length.
Ruthlessly Delete
I shot Andromeda over several nights and had hundreds of subs (individual two-minute exposures) to cull through. Throwing away any subs that weren’t of the highest quality was essential to getting the result I did. If a sub had a tracking error, clouds, or focus problems it went straight into the delete folder.
I was left with only the best shots to stack, and when quickly looking through my final selects, the shots were nearly indistinguishable in star shape and size which helps ensure a better final image.
Post-Processing the Photos
Post-processing of astrophotographs is time-consuming and the methods can be hard to learn. There is no shortcut around this step as post-processing for astrophotography is equally or more important than your equipment or your capture. There is a wealth of information out there and you could spend countless hours studying the post-processing techniques available in books, online tutorials, and community forums.
I found renowned astrophotographer Adam Block’s approach to teaching most useful, and patiently walked through his many tutorials until I was comfortable with the powerful tools available with today’s processing software, notably Pixinsight. Adam’s emphasis is on “being careful with your data,” and this mantra guides my approach.
I also learned that shortcuts like global adjustments, e.g. with level sliders in Lightroom, can seem helpful but can easily compound processing errors down the road. Instead, I’d recommend a careful, deliberate approach to a processing workflow that will improve your end results. My own workflow for the Andromeda photo was primarily in Pixinsight with some final global touches in Lightroom and Photoshop.
Overcoming Dynamic Range Issues
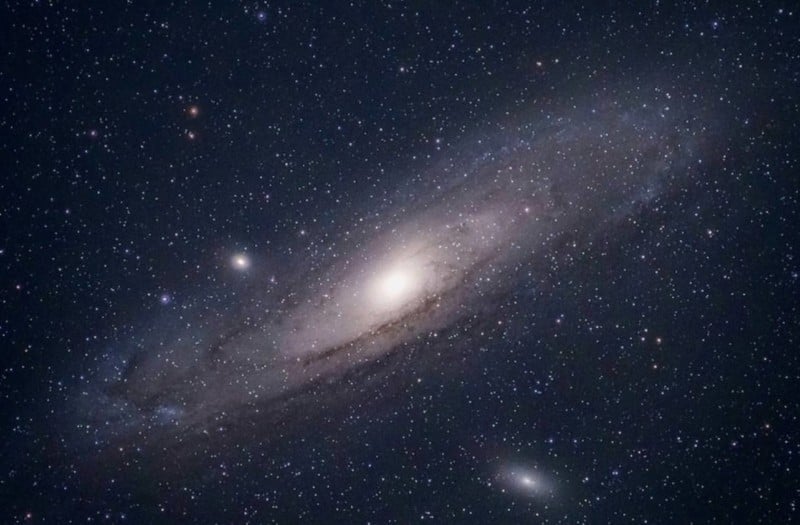
While Andromeda is one of the brightest targets in the night sky, its brightness can be challenging in that it is easy to overexpose the galactic core (see the center of my early attempt).
I approached this by shooting shorter subs, 120 seconds vs the 300 seconds or even 600 seconds I usually expose for deep sky targets. I wanted the galactic core to be as small and clear as possible in my unstretched subs. Then, in processing, I used iterative stretching, masks, and the HDR multiscale transform tool in Pixinsight to ensure that as I brought out the fainter outer regions of the galaxy, the core remained properly dynamic.
Astrophotography is Frustrating but Rewarding
If all this seems overwhelming that’s because it is — at first. Thankfully climbing the learning curve has been extremely fun and both artistically and intellectually rewarding, if at times frustrating.
If you are interested in learning astrophotography, now is a great time. The combination of advances in both optical and processing technology make the hobby ever more accessible, and resources and practitioners abound. The astrophotography community is very generous with knowledge, and there is likely an accomplished astrophotographer near you who would like nothing more than to pass on their knowledge.
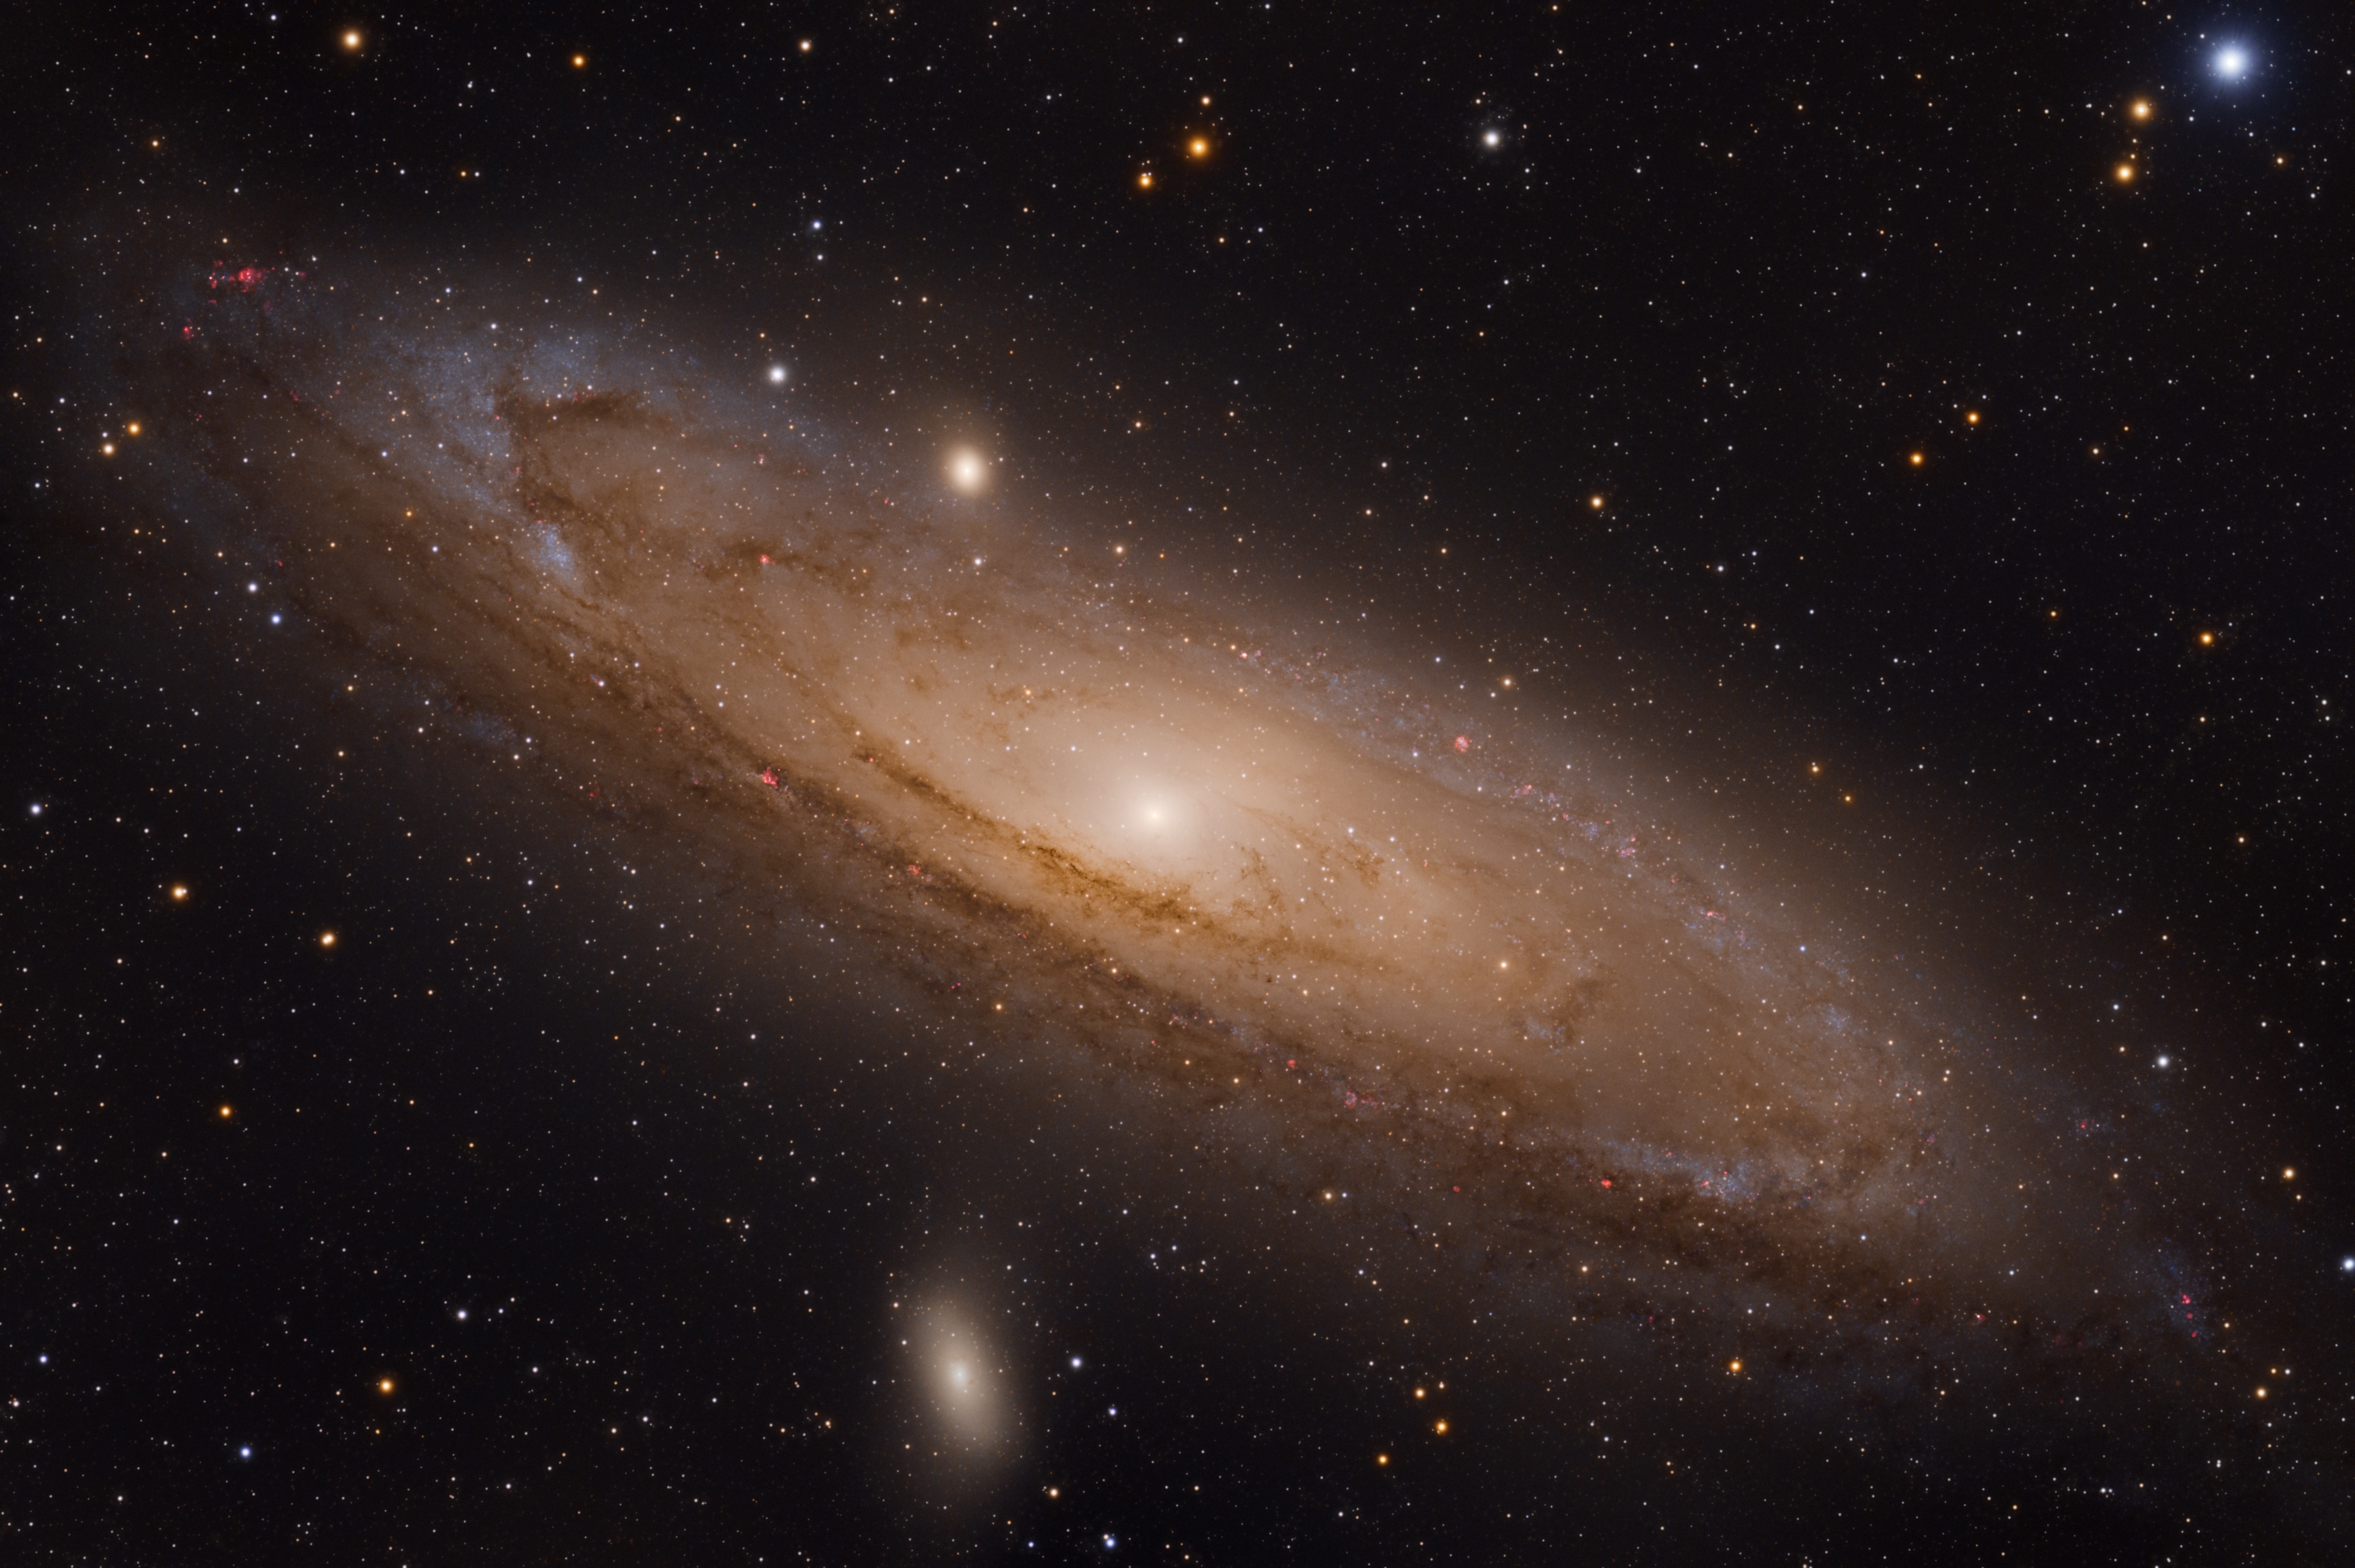
Final Photo and Details
Here is the viral photo I recently shot again and the details behind how it was made:
Imaging Telescope: SkyWatcher Esprit 100 ED f/5.5 APO
Imaging Camera: ZWO ASI2600MM Pro (Gain 100)
Mount: SkyWatcher EQ6R Pro
Filters: Chroma RGB, Chroma Ha (3nm)
Accessories: Pegasus Focus Cube2 · Pegasus Astro Pocket Powerbox Advanced
Software: Sequence Generator Pro, PHD2, Pixinsight, Lightroom, Photoshop
Guiding: ZWO OAG, ZWO ASI120MM-S camera
Frames: 90x120s R, 90x120s G, 90x120s B, 20x300s Ha
Darks: 25
Flats: 15
Flat Darks: 15
The Andromeda Galaxy is 2.5 million light-years from our solar system and is the closest spiral galaxy to us. It probably looks a lot like our own Milky Way. There’s probably also some dork taking a picture of us at the same time I was taking this picture of them. Of course, the same time means 2.5 million years in our future.
Also, fun fact: we are heading towards each other at 113km/s and are due to collide in 5 billion years. (Although the distance between stars is so great there will be little if any actual interaction).
Another fun aspect of this photo: there are 24 million pixels (roughly) in this image and around 1 trillion stars in the Andromeda Galaxy which takes up half the image. This means there are somewhere in the neighborhood of 21,000 stars per pixel in the galactic glow.
You can find more of my work on my Instagram, @brennangilmorephoto, and my website, brennangilmorephoto.com.
About the author: Brennan Gilmore is a deep sky and landscape astrophotographer based in Charlottesville, Virginia.