13 Tips for Photographing Tiny Spring Flowers
Spring is around the corner and the little flowers start to pop up everywhere. This article focuses on how to photograph these little flowers with a macro lens.
Note: I photograph macro mostly different than a lot of other ‘macro photographers’ as I am doing it the ‘easy and lazy’ way, meaning I don’t use a tripod which makes me fast and flexible. Everyone works differently and in my opinion, there is no right or wrong way to work. I am simply explaining my personal method of working. The article is meant to get you inspired!
These techniques can literally be used anywhere. You only need a small patch of flowers. You can even do it in your garden! In this article, I’m mostly using a little field of Snowdrops and Crocus flowers next to my house. Here’s a little video of the simple scenery:
Let’s get started!
1. Get Low
Get low on eye level with the flower. Don’t photograph them from an angle up top as you won’t get proper depth that way.
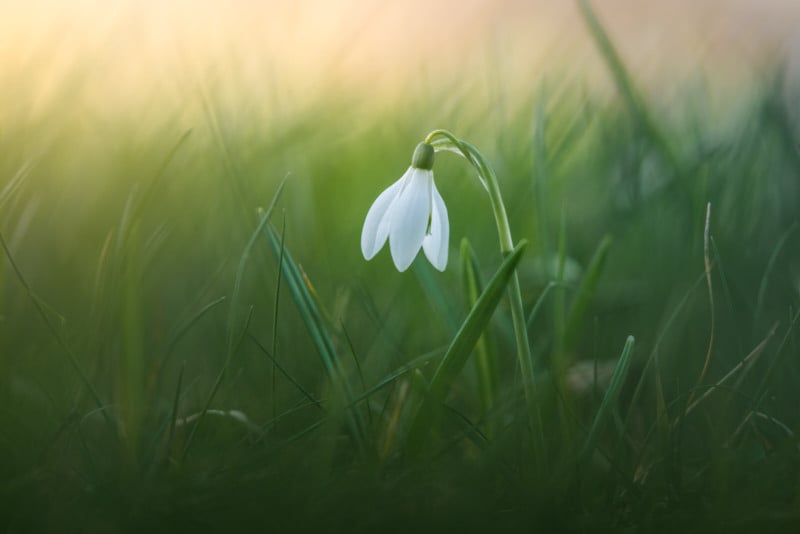
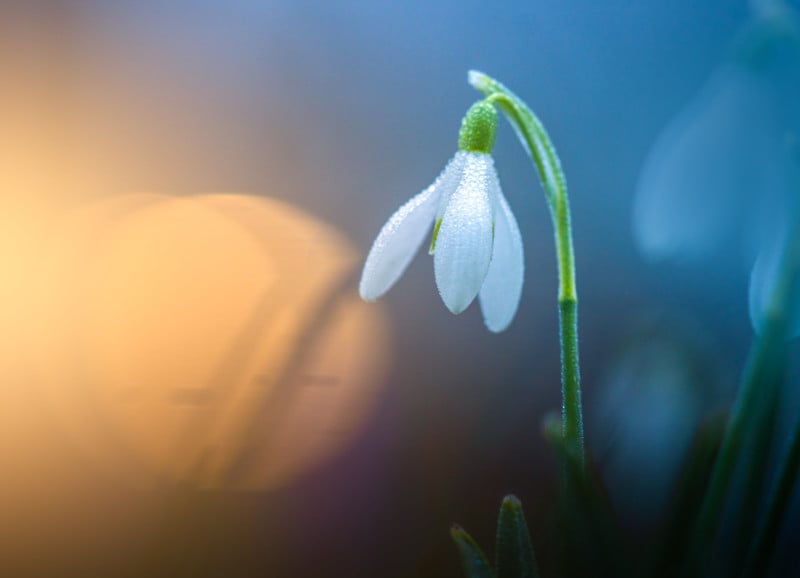
2. Capture Morning Dew
Shoot during early spring mornings to get dew drops on the flowers. You may also bring your own water spray to get that ‘wet look’ but I find the little dew drops more natural and beautiful.

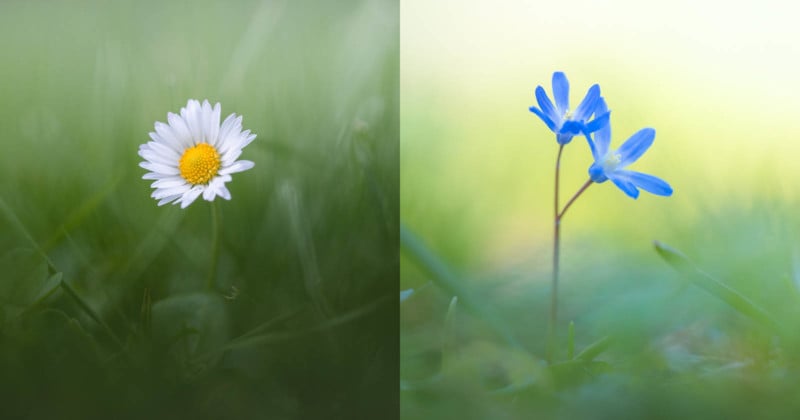
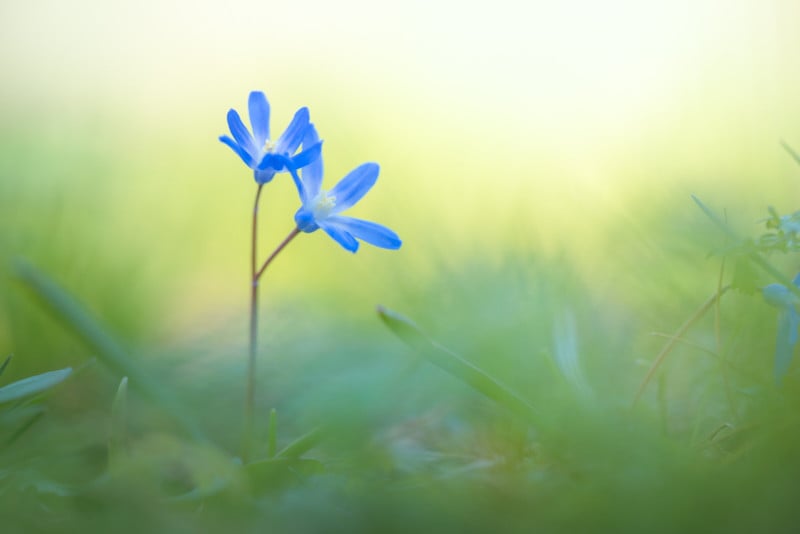
3. Different Lights, Different Moods
Different kinds of light give a completely different mood. Photograph in the evening to get a ‘darker’ mood, and photograph in the early morning to get a more colorful mood.
This kind of photography can be done perfectly fine at any time of day. An overcast day is actually perfect to spend some hours of macro flower photography. When it’s very sunny, strong shadows can be difficult to work with. Try to find shade (behind a tree) or create your own shade by bringing a white umbrella to put it over the flower!
4. Precise Compositions
Composition needs to be extremely precise. A centimeter to the left or right completely changes your composition. Therefore you can take countless compositions with just one subject. Try slightly moving and take all kinds of different shots from the same flower.
5. Handheld Flexibility
For my style of shooting, I don’t use a tripod. Two reasons are: 1) I often need to get extremely low to the ground and a tripod makes it cumbersome, and 2) with handheld shooting, I can changes composition extremely quickly and precisely. It takes some practice though, and when it gets darker you need to ramp up your ISO a bit.
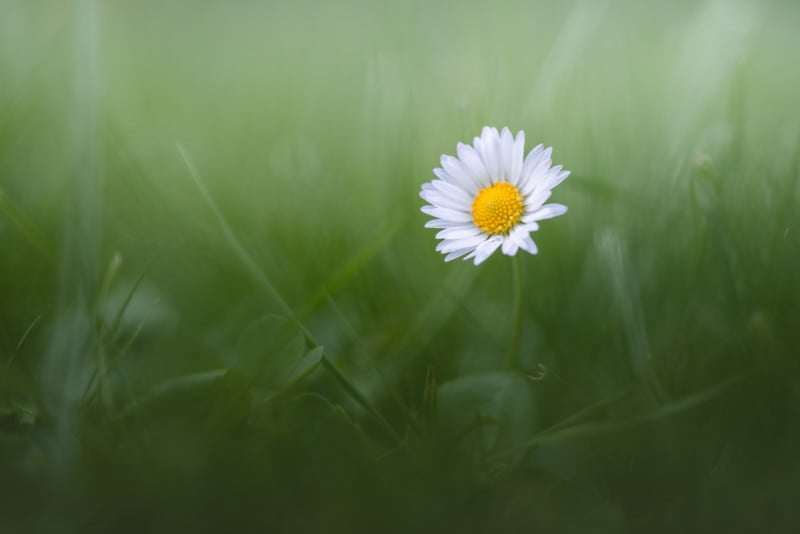
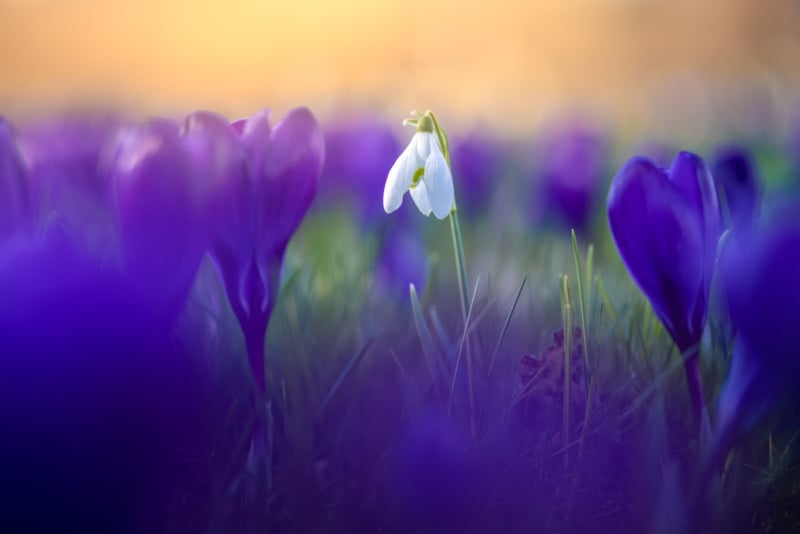
6. Move Back and See More
Shoot from a bit further to see the flower with its environment. Seeing it stand in between the “big” grass or other bigger flowers makes it look tiny and adds emotion.
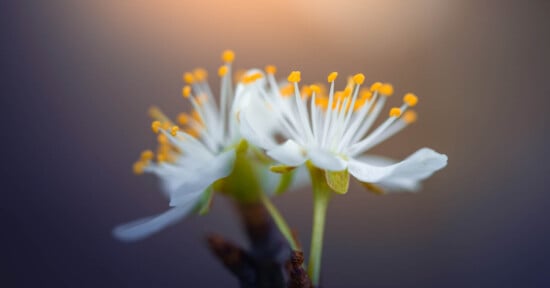
7. Move In for Details
Shoot super close, to basically get a ‘portrait’ of the flower. And you can shoot even closer to get only a tiny bit of detail of the flower.

8. Focus on Focusing
Focus is extremely tight at this scale. I often use autofocus and I am really careful with my focus point. Determine exactly what you want to focus on, whether the top of the flower or the leaves themselves. I often focus on the stern, and sometimes on the outside of the leave. See what you like best!
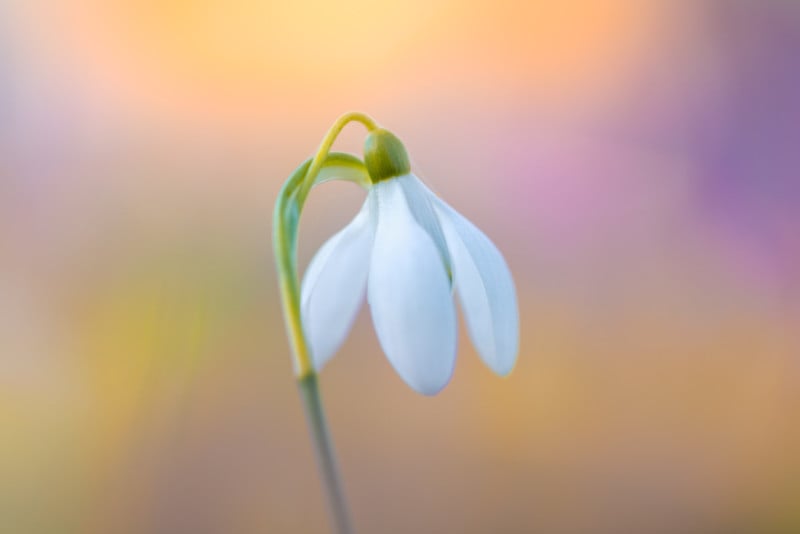
9. Open Up for a Dreamy Look
Most of my shots are taken wide open at f/2.8 with the macro lens. This gives me that super dreamy look. You may want to stop down a bit more if you want more of the flower in focus.
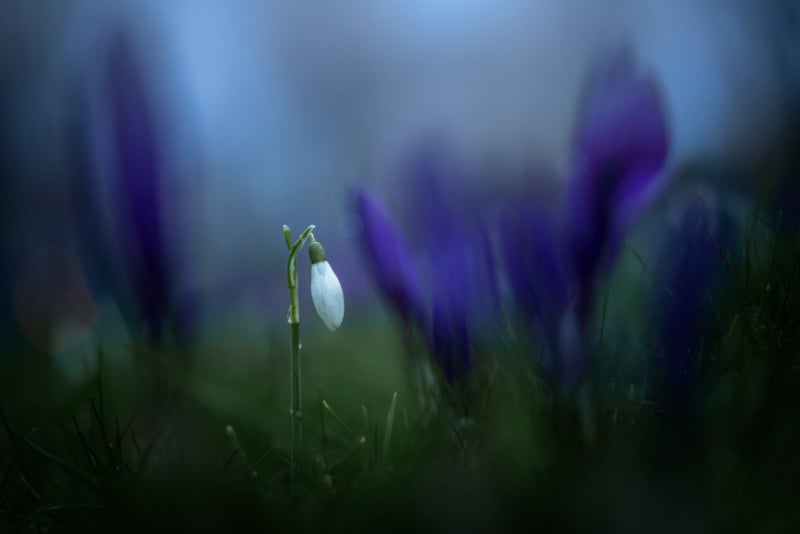
10. Use Flowers for Bokeh
Use other flowers as foreground bokeh. This gives an intimate look.
11. The Importance of Backgrounds
The background is almost more important than the flower itself! Having the right light and color in the photo can make or break it. It often only takes a super small movement to change the background. So take that time to find the proper background.
12. Lights as Backdrops
Use streetlights or car lights as interesting bokeh backdrops! Flowers can often be found right next to the road. You can use building or car lights to your creativity.
13. Remove Distractions in Post
Use editing techniques to make your shots even more dreamy, by removing distracting little parts (like little dirt on the flower, or distracting things on the grass).
Note: If you are interested in how I edit all my landscape images (including a special macro lesson), you can check out my editing course.
Finally, here’s a bonus tip: a flip screen on your camera is super handy for all of this. If you don’t have one, you’ll need to lay down on the ground. It could be a good idea to bring a picnic blanket with you.
I hope you found these tips useful. I wanted to add one last thing: you don’t need an amazing camera to create these shots. The lens (macro lens or standard lens with macro rings) is the most important component here.
The gear I personally used for these shots included the Sony a7R IV and Sony a7 III mirrorless cameras and the Sony 90mm f/2.8 Macro lens.
About the author: Albert Dros is an award-winning Dutch photographer. The opinions expressed in this article are solely those of the author. His work has been published by some of the world’s biggest media channels, including TIME, The Huffington Post, The Daily Mail, and National Geographic. You can find more of his work on his website, or by following him on Facebook and Instagram. This article was also published here.