5 Ways to Use the Lightroom’s Brush Tool in 2022
Even though the Brush tool is not a new tool in Adobe Lightroom, you may be surprised by all the ways it can be used and all the advantages you can gain by using a brush. This is part of my daily workflow and I hope it will become part of yours!
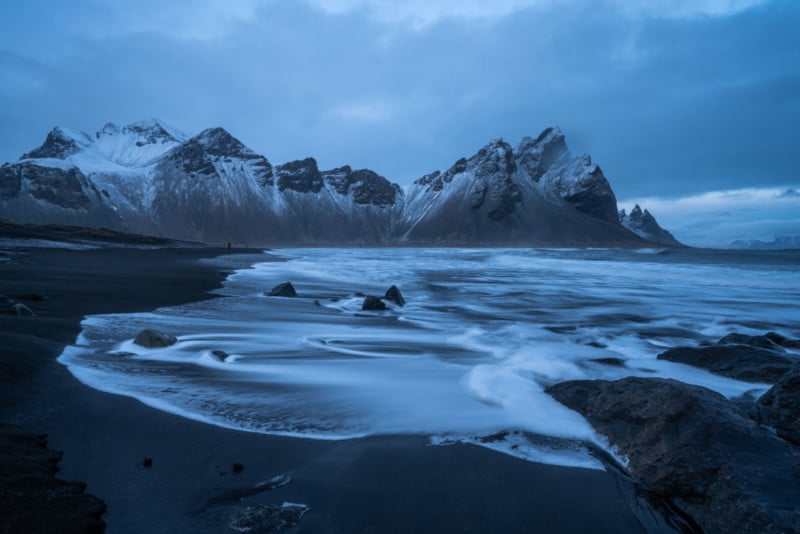
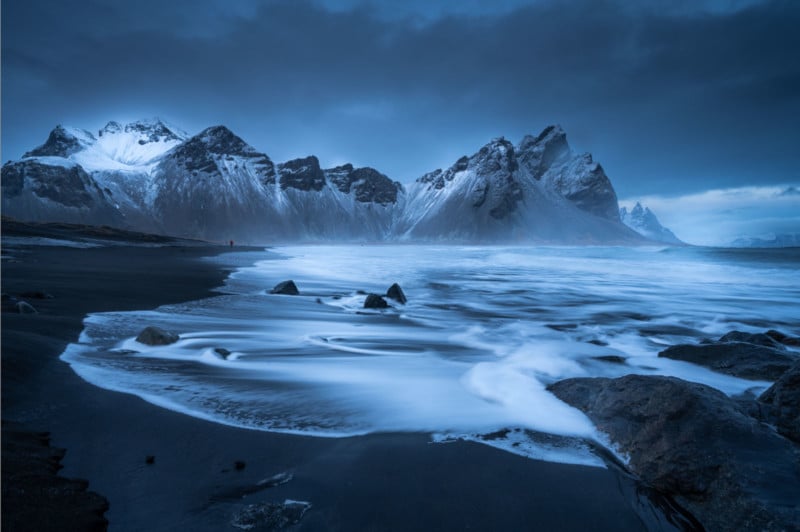
Let’s do a basic retouch just to get a better idea of what we are working with. Adding some contrast, opening up the shadows, bringing down the highlights, and doing the white and black points.
#1. Dodge and Burn
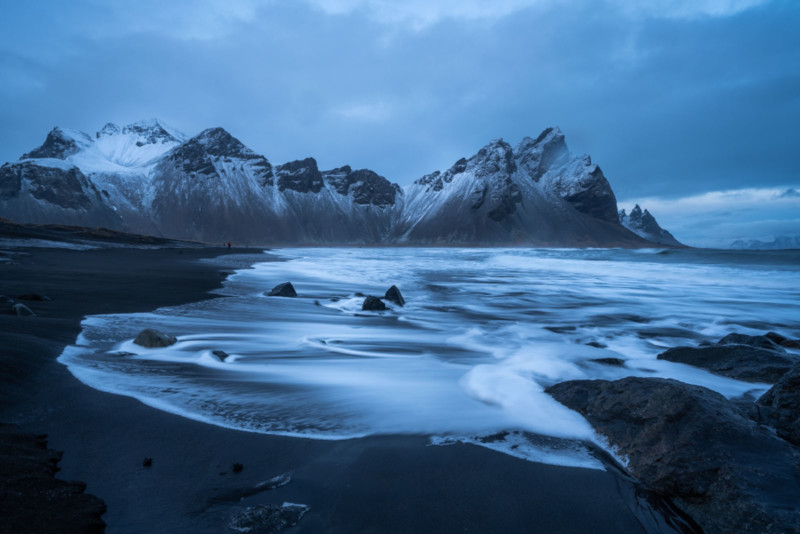
If you click on the brush, you can double click on effect within this section and it will set all the settings of the brush to zero. You have to play around with the flow and density, they determine the energy put into your brush if that makes sense so make sure your brush is not too intense and noticeable. You can set it to a minimum of 70.
Also, the feather slider is key, because the more feather the more pleasing, gradual, and natural your brush will be, otherwise it gives a very defined brush and will look odd. Now with that brush you can paint over brighter areas or some parts of the photo you want to highlight to bring back light in your photo:
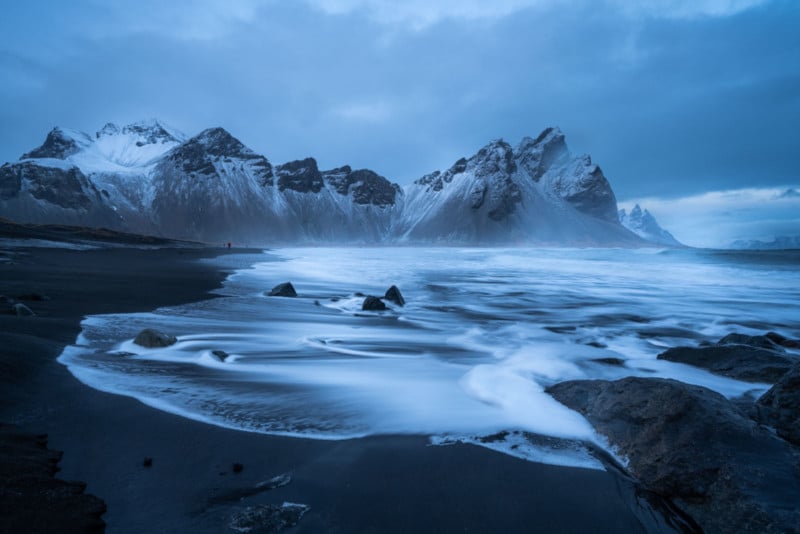
#2. Create Fog
This is a cool trick to add some fog to your sunrise shot or dramatic photos. To create the effect you need to lower clarity and dehaze as well as boost a bit of exposure. You can now paint that effect on some part of the photo, I advise you not to put it everywhere to keep it natural. If you want to erase some part of the brush you can press the option key and your brush becomes an eraser:
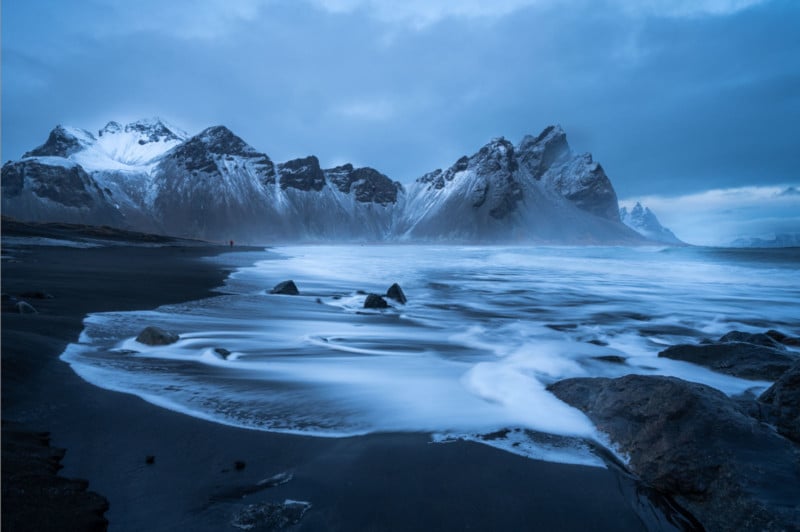
#3. Enhance Your Snow
Another great way to use the brush is to enhance snow. Here we already have some snow and so you can take a new brush, boost the exposure and add some clarity. To make sure that your brush is only affecting a certain area, you need to click on Range Mask > Luminance and you can be much more precise:
#4. Fix Your Graduated Filter
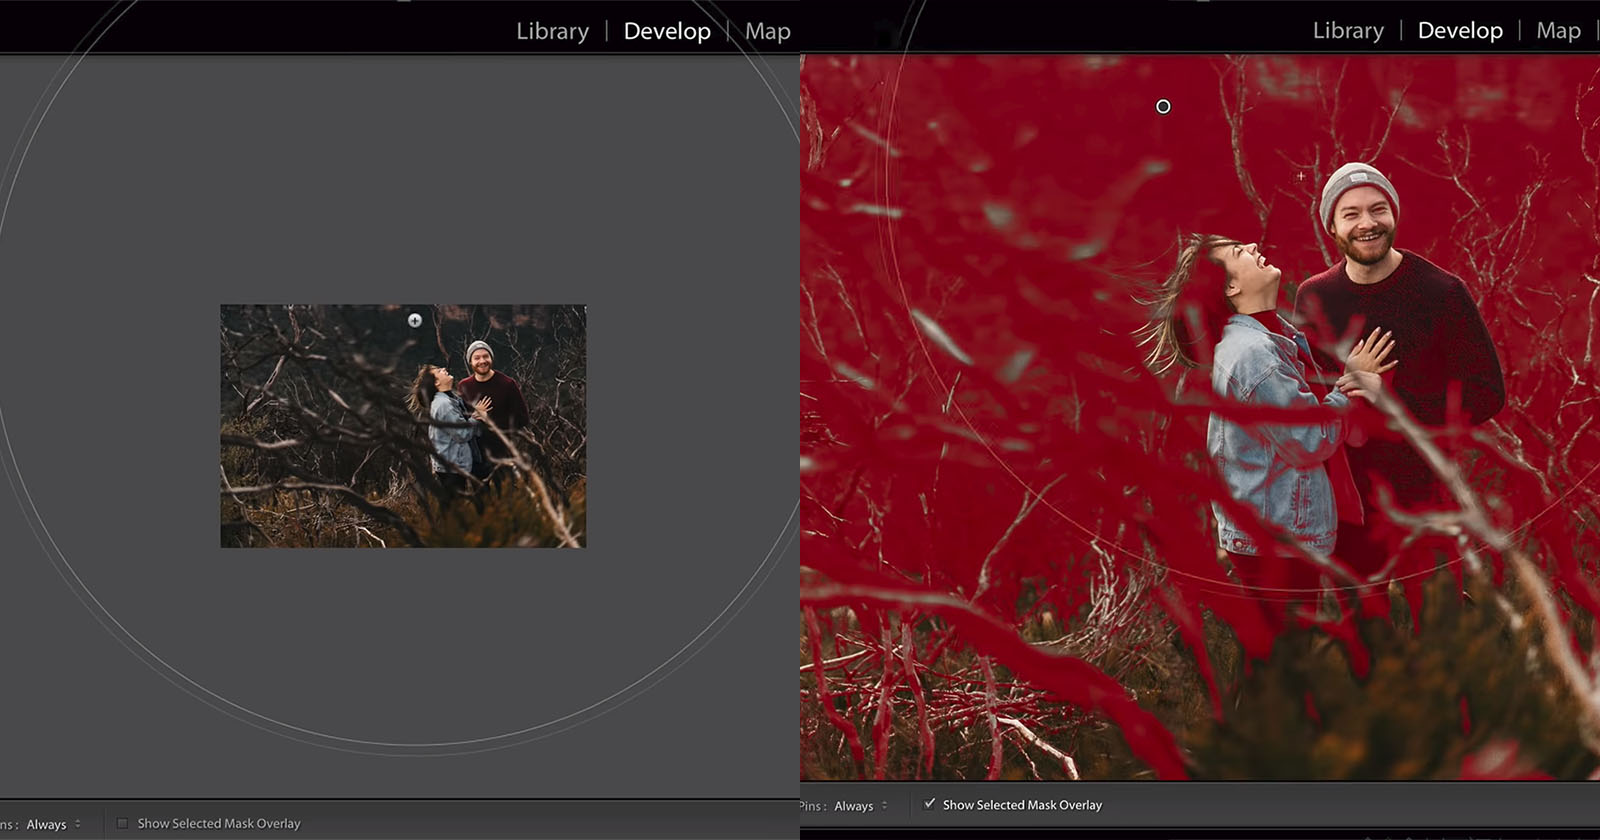
You can use the graduated filter in a lot of ways but I find it very practical when it comes to closing down your photo and adding some drama to your scene. However, this graduated filter can also affect other elements that you didn’t want to be affected such as the mountains in this example. I dropped a graduated filter on top of the photo and you can select the brush within the graduated filter section and use the range mask > Luminance to remove the effect of the graduated filter from your subject:
#5. Use a Very Precise Brush
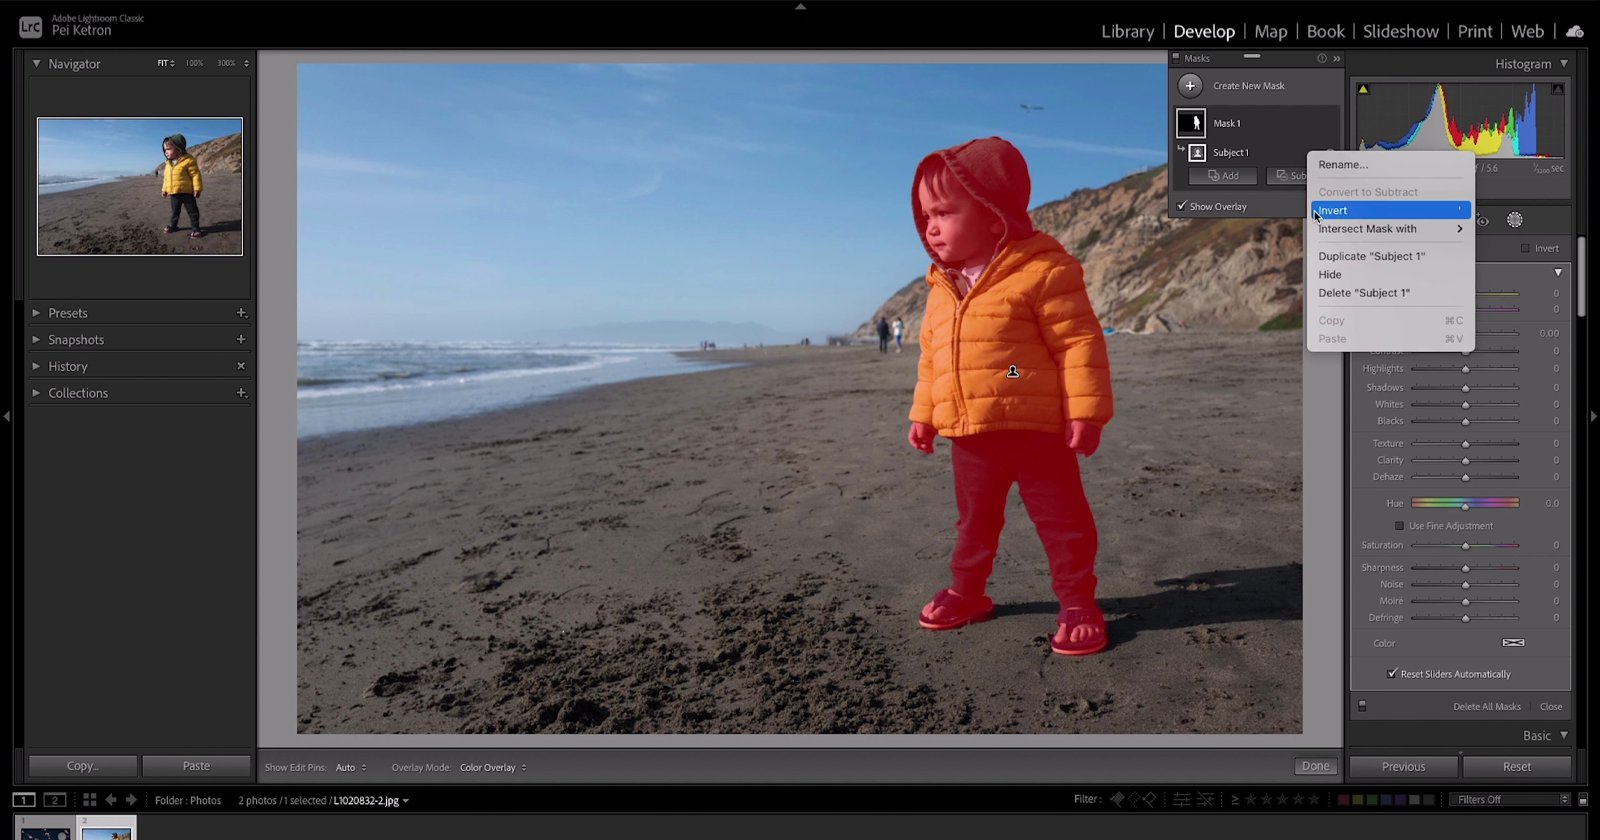
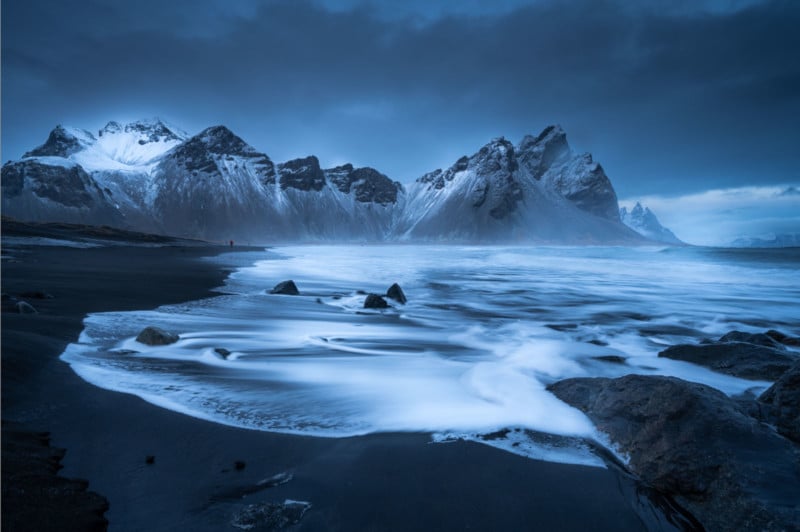
Sometimes we use a brush and want to be very precise and not affect all the elements around what you’re working on. To do that, let’s brighten the water but not the sand here. You can take a new brush, boost the exposure, and select auto mask. This way only the very center of your brush will affect your subject:
There you go, the top 5 uses of the Brush tool for me in Adobe Lightroom 2021! I hope you learned something new and that you will get a lot of use out of your brushes!
About the author: Serge Ramelli is a landscape and fine art photographer who has published numerous books on the subject. His fine art photography has been sold in one of the largest gallery networks in the world. Ramelli hosts a YouTube Channel where he teaches photography and editing techniques which you can subscribe to here.